How to Sew a Cloth Napkin | DIY Mitered Corner Napkin Tutorial
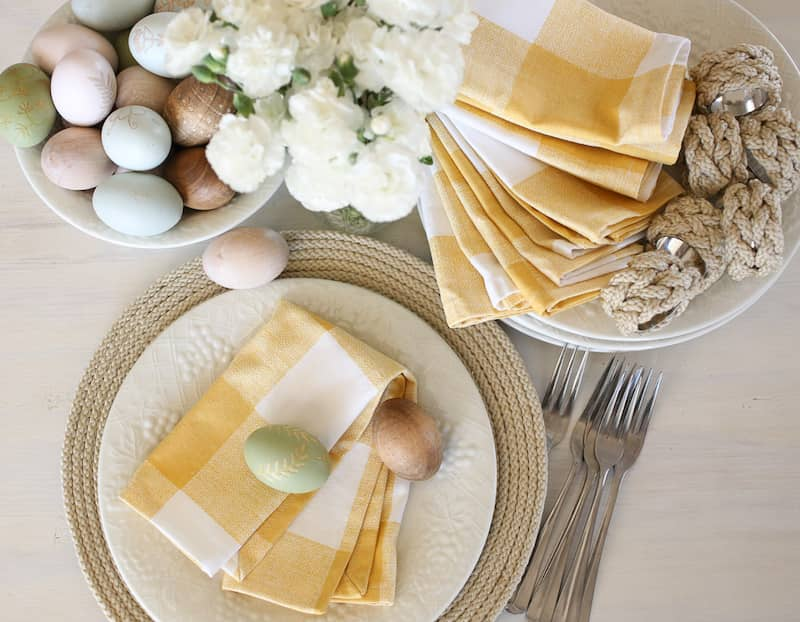
This DIY cloth napkin tutorial will help you to sew a mitred corner napkin for your home or for a gift! Making useful items for your home is so rewarding, plus you can make them the exact size and pattern that you would like!
This post contains affiliate links
One year I decided to sew napkins for our Christmas dinner, we were hosting Christmas and were going to have at least 20 people here. Naturally, I was pregnant at the time but that didn’t deter me from sewing over 25 napkins…just in case we had a few more people show up. In my mind it would be so easy…and the sewing part was easy! What I didn’t account for was standing at the ironing board and pressing all of those napkins. Needless to say, my back sure hurt when I finally got all of those napkins done. My husband just shook his head and wondered why I couldn’t have just bought napkins.
The truth is I could have, however, I had something specific in mind and it was way cheaper to sew them than it was to buy them! That is usually what motivates me to make something myself, I want something specific that I can’t find anywhere and I believe I will be saving money.
#Handmadehomechallenge
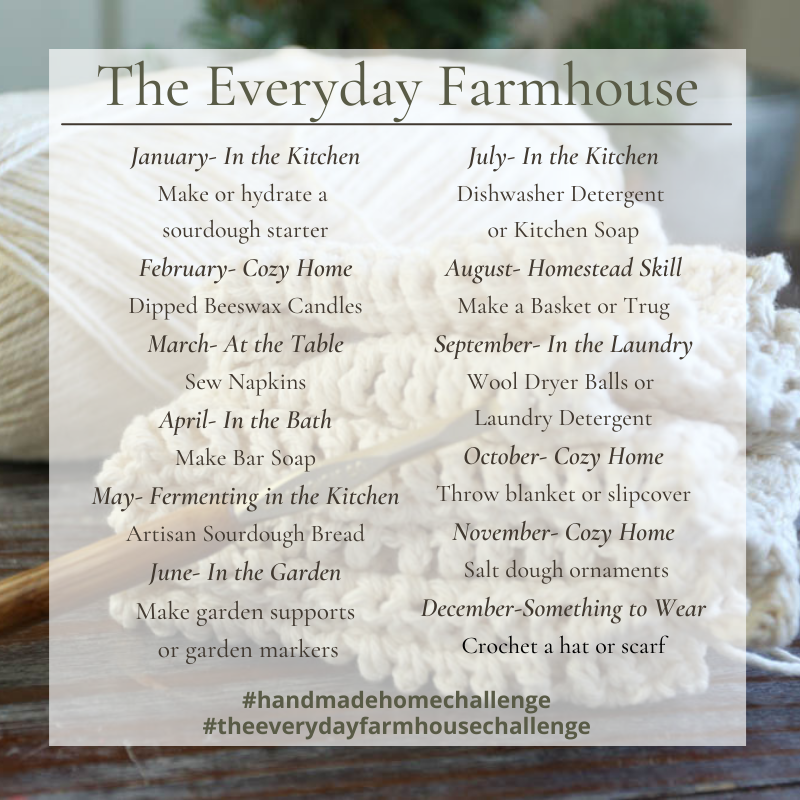
This DIY cloth napkin tutorial is for our March prompt for our handmade home challenge. Every month for 2022 we are learning a new handmade skill. So far for the year, we have done the following:
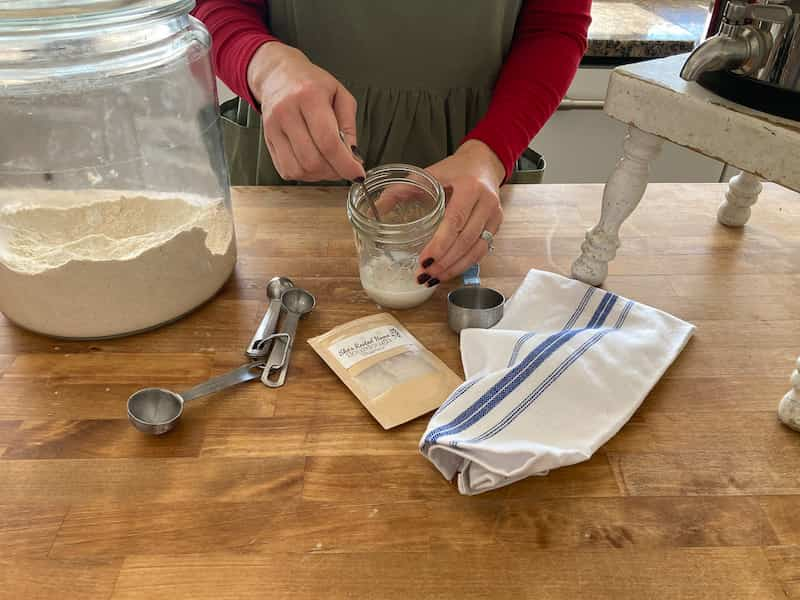
Sourdough Starter Recipe | Simple Easy Sourdough Starter Step by Step
How to Reactivate a Dried Sourdough Starter
Candle Dipping | Hand-Dipped Beeswax Taper Candles
This month it’s napkins! By the way is it mitred or mitered? I have spelled it both ways throughout the post because even after looking it up I’m still confused and I think either one is ok? Correct me if I’m wrong…I know I can count on someone for that! Ha!
Choosing Fabric for Cloth Napkins
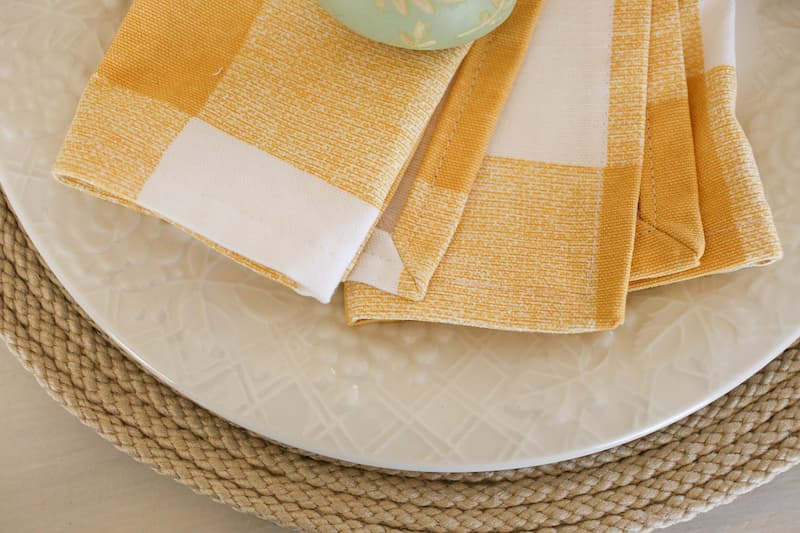
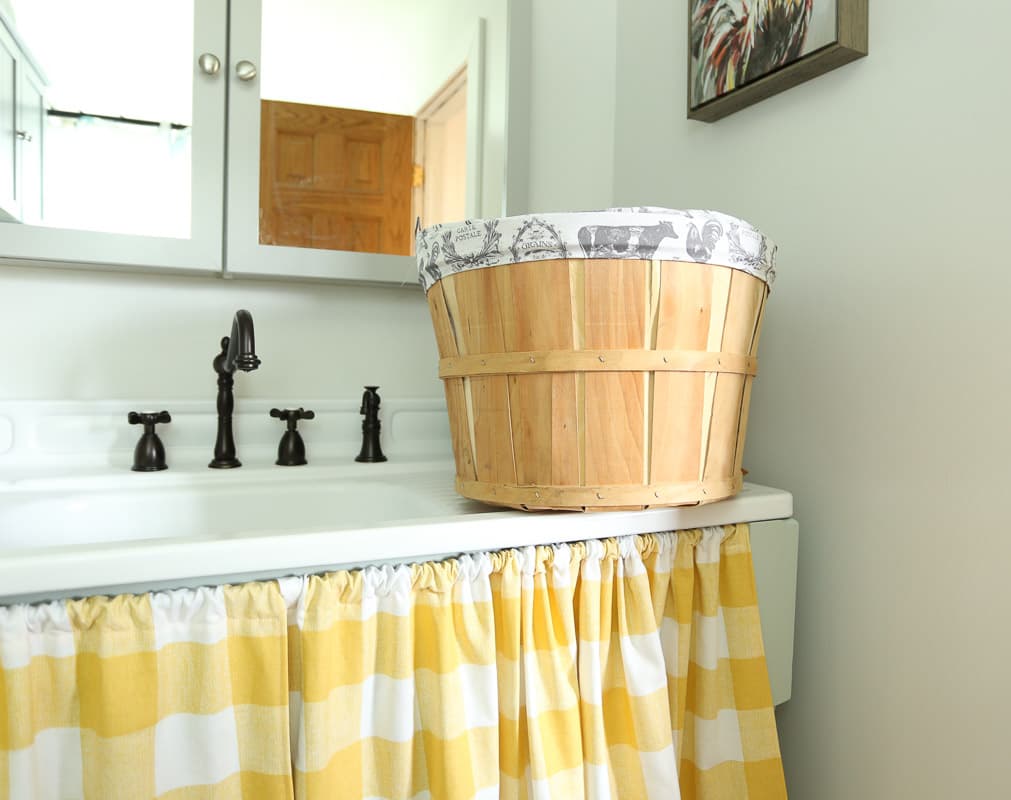
I like to use things that I have on hand for projects like napkins, I had a nice cut left from my under sink curtain in our Vintage Bathroom Makeover. This beautiful fabric is from Shopfabric.com. I reached out to them to see if they would offer my readers a discount and they sent me a code for 15% off! Their prices are already good, and you can use this code TEF15 to make them even better!
Any cotton or cotton blend fabric makes beautiful napkins, I also like linen for a more natural and informal look.
What Size to Make Your Cloth Napkin
PSA: Prewash your fabric. I’m just like you, I find prewashing fabric annoying. It’s a step I have skipped and regretted many times, (I’m looking at you shrunken slipcovers). I made one napkin and then washed it to see how much shrinkage I could expect. It was at least 1/2″ all the way around. So, I decided if I wanted the napkins to look nice and actually be 15″ I would prewash the fabric! I highly suggest you do the same!
Here are the standard sizes for cloth napkins, however, you can make them any size you like. I have made rectangular napkins in the past as well. The ones I made here are a finished size of 15″ square.
- Formal Dinner Napkins: 18″-22″ square
- Dinner Napkins: 18″-20″ square
- Lunch Napkins: 14″-16″ square
- Tea Napkins: 12″ square
What Size to Cut Your Napkins
The instructions for these napkins require a 1/2″ hem that is folded over twice. Therefore you need to allow for an extra 1″ all the way around. To make a 15″ square napkin, you need to cut a 17″ square.
Make a Hemming Template for Your Cloth Napkins
This is the first time I have ever done something to help me be more precise! I am kind of an eyeball-it type of person. When my husband saw me doing this he said he didn’t even know me anymore! He’s an engineer so precision is his gig…me, not so much. He said these weren’t just napkins, this was fine craftmanship! Quite the compliment don’t you think?
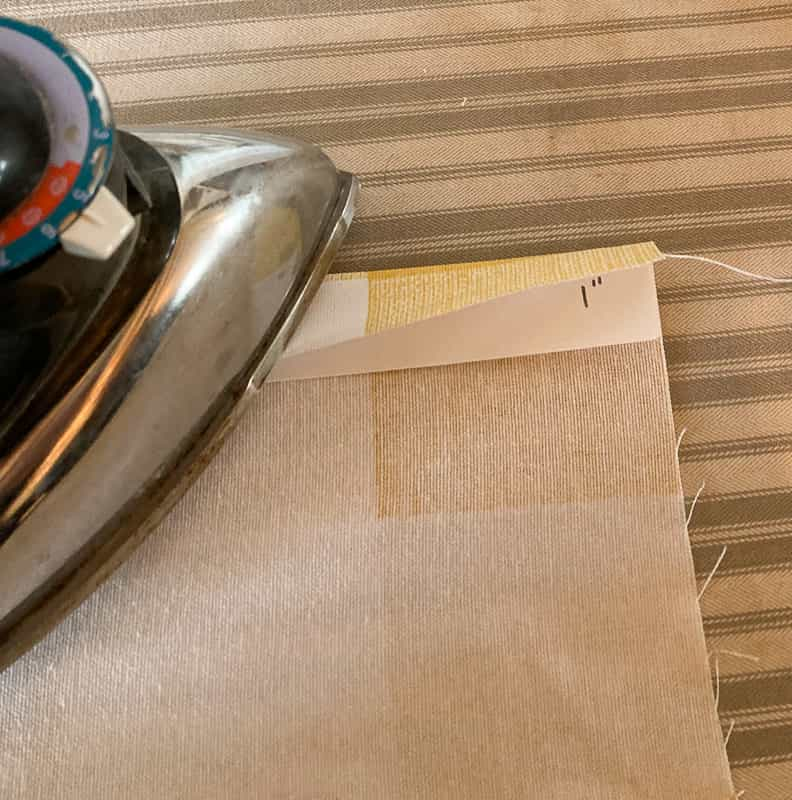
All I did was take a piece of poster board, cardstock or a manilla folder will work well too. Just cut a long strip that is 1″ high and another long strip that is 1/2″ high. Fold your fabric down over the 1″ piece and press with your iron, next fold it down over the 1/2″ piece and press that as well. These folds will be your guides as you make the napkins.
Here’s a Video for Making Napkins with Mitered Corners
Steps for Sewing Mitred Corner Cloth Napkins
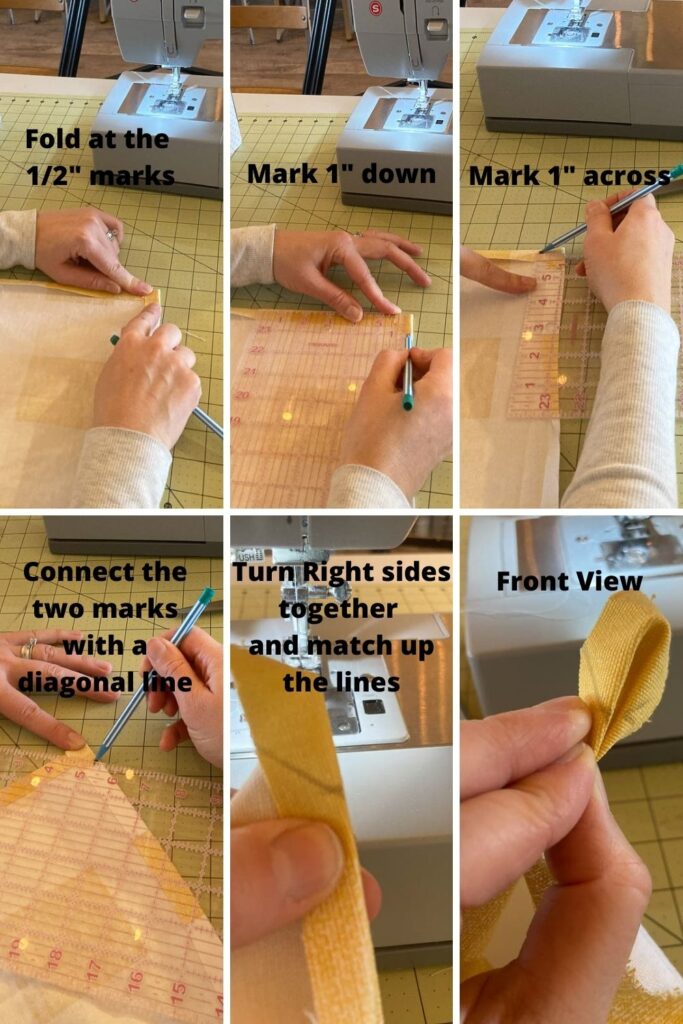
- Fold down at the 1/2″ mark that you made with the iron
- Using a ruler mark down the side at 1″
- Next, mark across the top from the corner 1″
- Now, connect the two marks with a line.
- Turn your napkin right sides together and match up those marks
How to Sew a Cloth Napkin with Mitered Corners
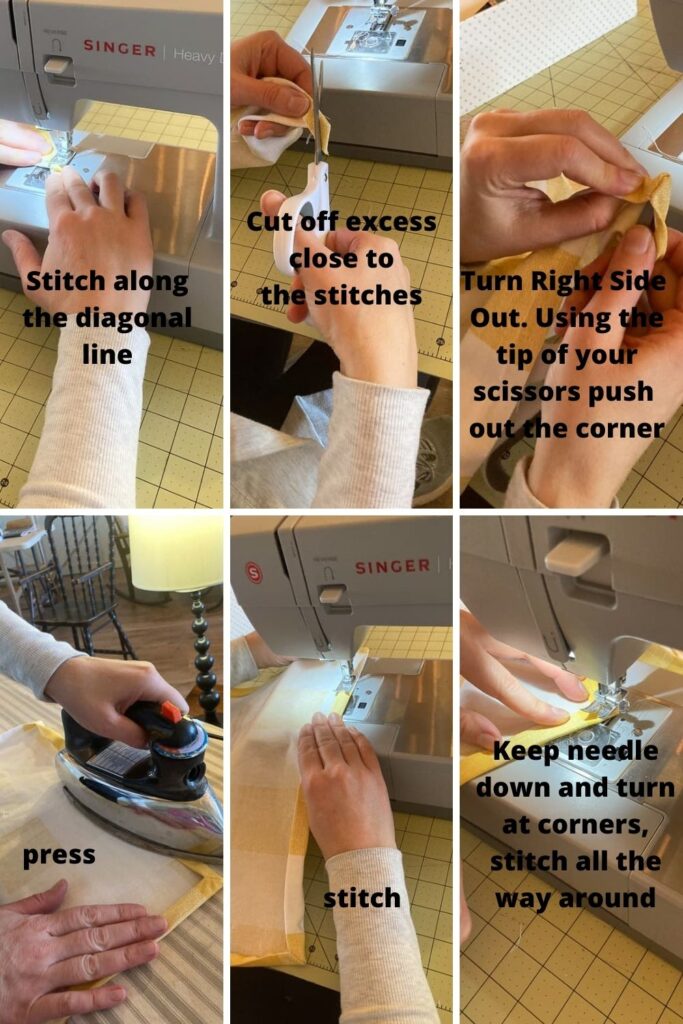
- Stitch along the diagonal line that you made, it’s very short. Make sure to back stitch at the beginning and end.
- Cut off the excess fabric, snip as close to the stitches as you can
- Turn the napkin right side out and using your scissors, or a pencil, push the corner out. Repeat for all four corners.
- Give the napkin a good press before stitching.
- Next, stitch all the way around the napkin, staying close to the inside edge.
- At the corners, keep your needle down and just turn the napkin to stitch each side.
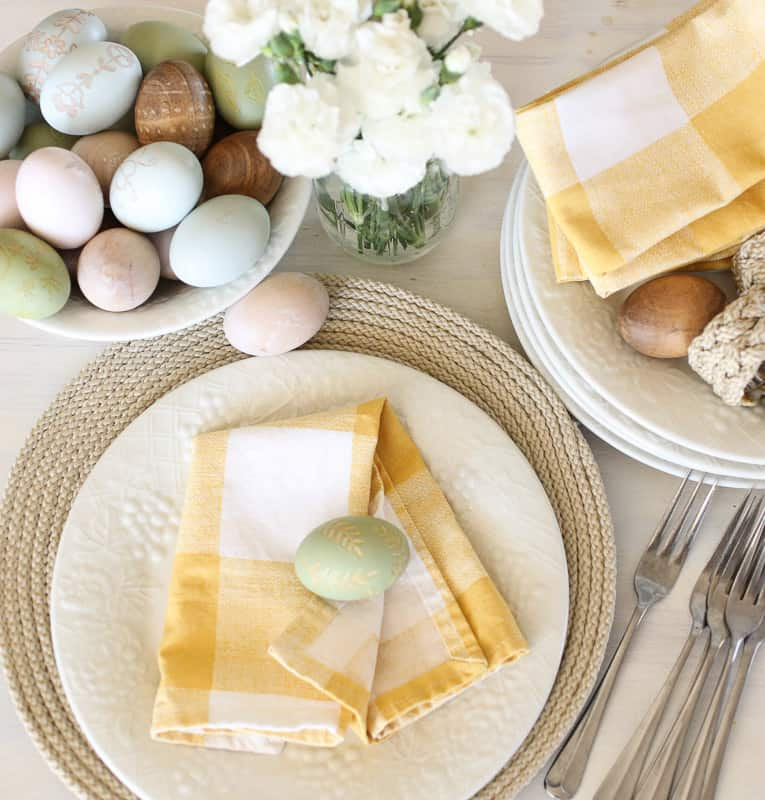
Mitred Corner DIY Cloth Napkins
That’s it! You are all done! The actual stitching is the quickest part of the project, there is a lot of pressing and preparation ahead of the sewing. I found it easiest to do each step in batches. I pressed the hems for all of the napkins, then I measured and marked each one. Next, I stitched the mitered corners, then I snipped the excess and turned them all out. Lastly, I pressed and then stitched the napkins.
I hope you give this a try and make something beautiful and useful for your home!
Helpful Tools for Sewing Cloth Napkins
- A sewing machine…obviously. I love this one and it’s super affordable!
- A Rotary Cutter, Cutting Mat and Larger Ruler. This set is great!

Love these, have pinned so I can make some myself. Thank you for sharing.xx
Thank you! I hope you enjoy making them!
We use cotton napkins for our meals. I’ve never made my own so will need to give your tutorial a try. The yellow and white pattern would also be perfect with my kitchen colors. I’ve been on a yellow kick lately:)
If you have time to add this to the Friday with Friends party I would be so happy:)
https://myhubbardhome.com/friday-with-friends-jump-into-spring-link-party/
take care,
Rachelle
Love these pretty cotton napkins!
Congrats, you are being featured at the next FWF link party!
Thank you for sharing!
Hugs,
Rachelle