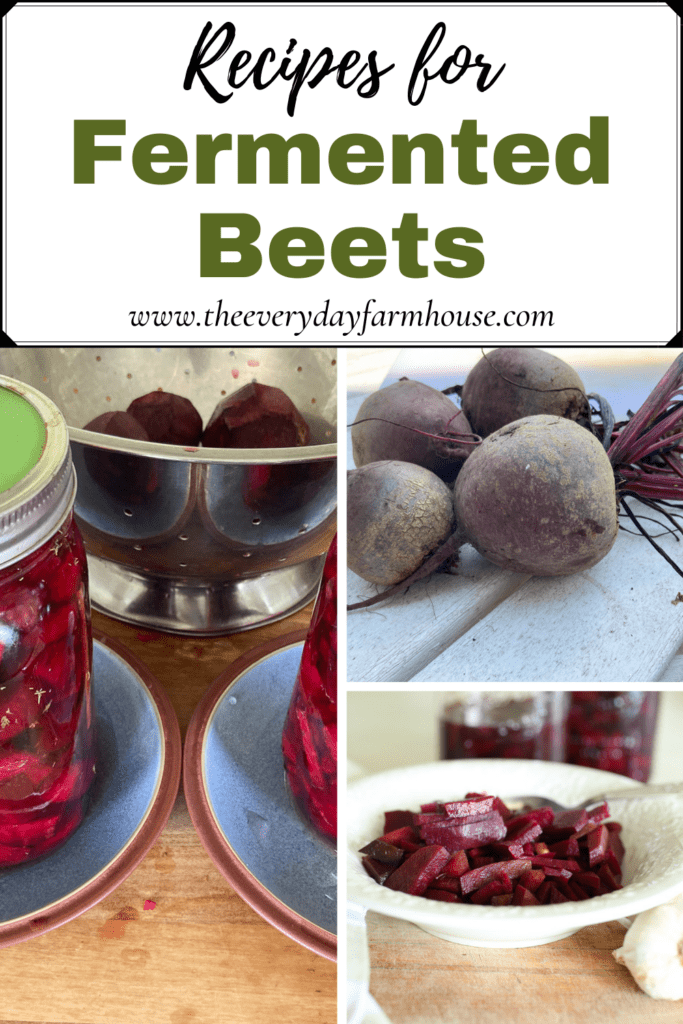
Simple Fermented Beet Recipe–2 Ways
Simple fermented beet recipe, two ways! Learn how to preserve your beet harvest with fermentation! It’s easy and adds gut-healthy probiotics to an already nutrient-packed veggie!
Disclosure: Any information given is my opinion formed through my own research. This information is not meant to diagnose, treat, prevent or cure any illness. Please do your own research regarding your health as you are responsible for your own decisions.
Fermenting Vegetables
I started fermenting vegetables a few years ago. The first vegetable I tried was carrots. My midwife had raved about some fermented carrots she had at an upscale ethnic restaurant. I told her I was pretty sure it would be easy to recreate the flavor. Turns out it’s very easy! You can see my post on fermented carrots here.
Next, I tried sauerkraut. A neighbor friend shared his family method with me for making sauerkraut. I made several batches of that with green cabbage and then started experimenting with red cabbage! I share the method for red cabbage sauerkraut here.
The truth is I don’t like to can. I know, it’s almost glamourous in the homesteading world, I mean really I’m almost a heretic for not liking it! I will do the occasional batch of jalapenos and I have canned beets, I’ve made jalapeno jelly and mulberry jam, but I just don’t love the process. Fermenting is a good alternative for me. We have a big family and it is rare that we grow enough extra food to really justify canning anyway. We may have enough extra for a few quarts of food.
What are the Health Benefits of Fermented Beets?
Beets
Beets are high in fiber, vitamin B9 (great for pregnant women), manganese, potassium, iron and vitamin C! So we’ve got essential minerals, vitamins, antioxidents and fiber, what a great vegetable!
Fermenting is an age-old method of preserving food. The first civilization using fermentation to preserve food was likely thousands of years before Christ. Nearly every culture has its own claim to fame for fermentation, from Kimchi and Sauerkraut to Indian Chutneys. There has been a recent rise in popularity for the humble fermented food, and with good reason.
Lacto-Fermentation
Lacto-fermentation, a method of food preservation that increases the nutrient content of the food. The bacteria produce vitamins and enzymes that aid in digestion. This makes the minerals in cultured food more readily available to your body.
Almost any vegetable can be fermented and fermenting homegrown or farm-fresh produce is a great way to preserve the harvest and enjoy it through the winter. Enjoy making this probiotic-rich snack. Probiotics help balance the microbial content of the gastrointestinal tract. This helps in supporting the immune system and reducing inflammation in the gut.
When I have canned beets in the past, I have boiled them first to get the skin off. Then I chopped and water bath canned them. This means they have been heated twice. This is bound to reduce the nutrient content of the beet.
How to Make Fermented Beets
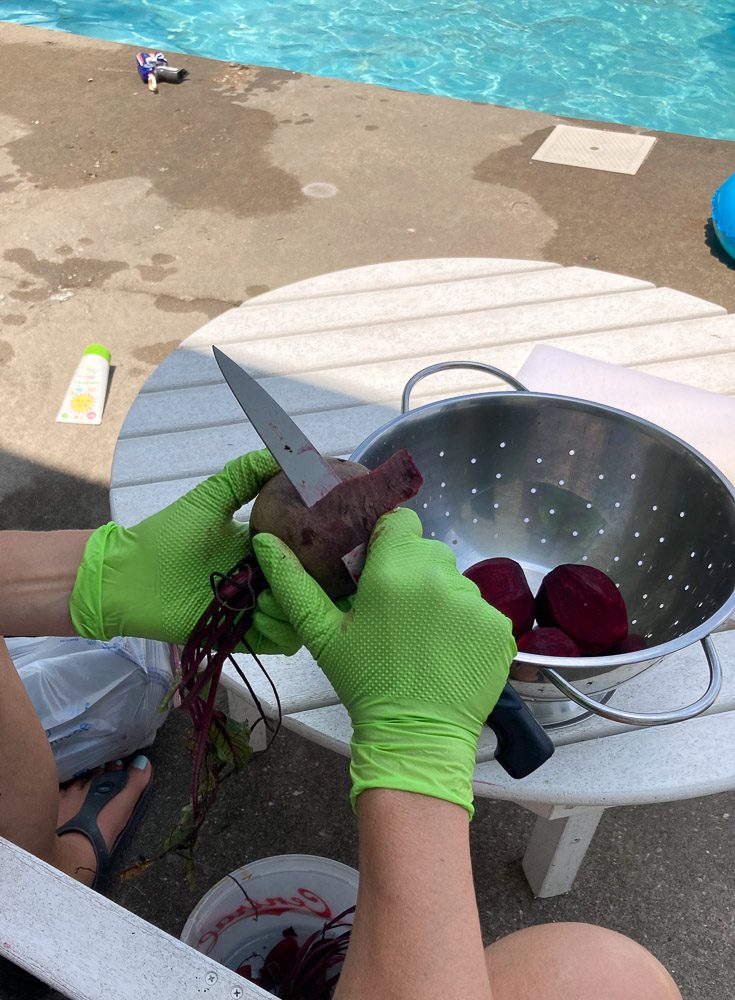
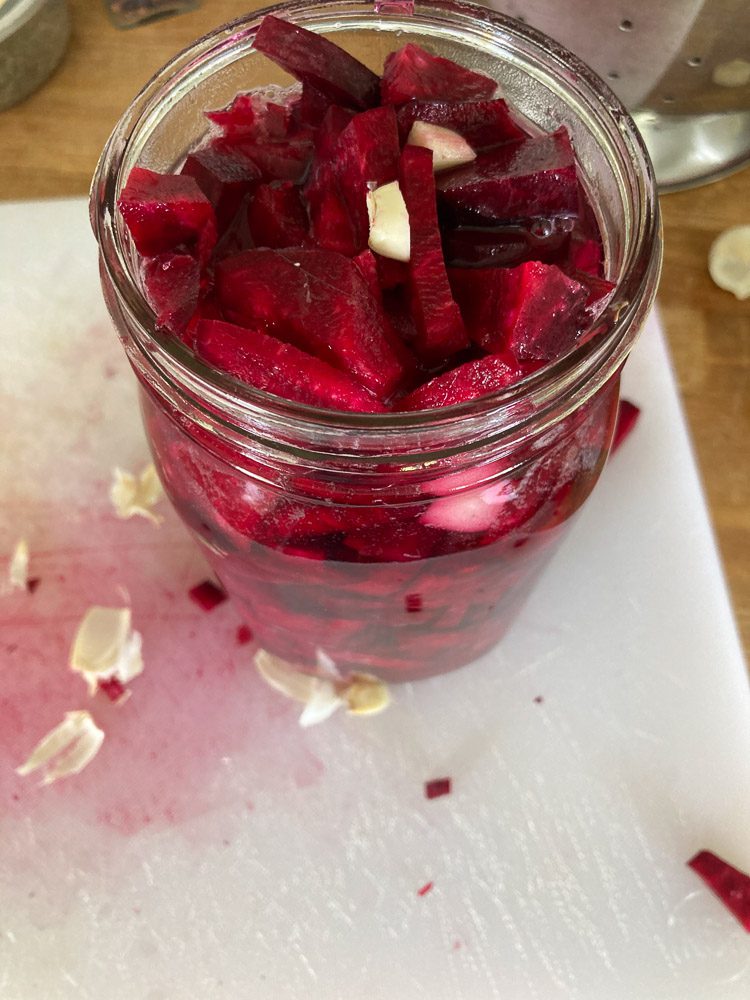
To start you need to peel and cut up the beets. First I cut the ends off and then I just peel the beets like I would an apple. It’s really not difficult.

Wear gloves to prevent purple hands 
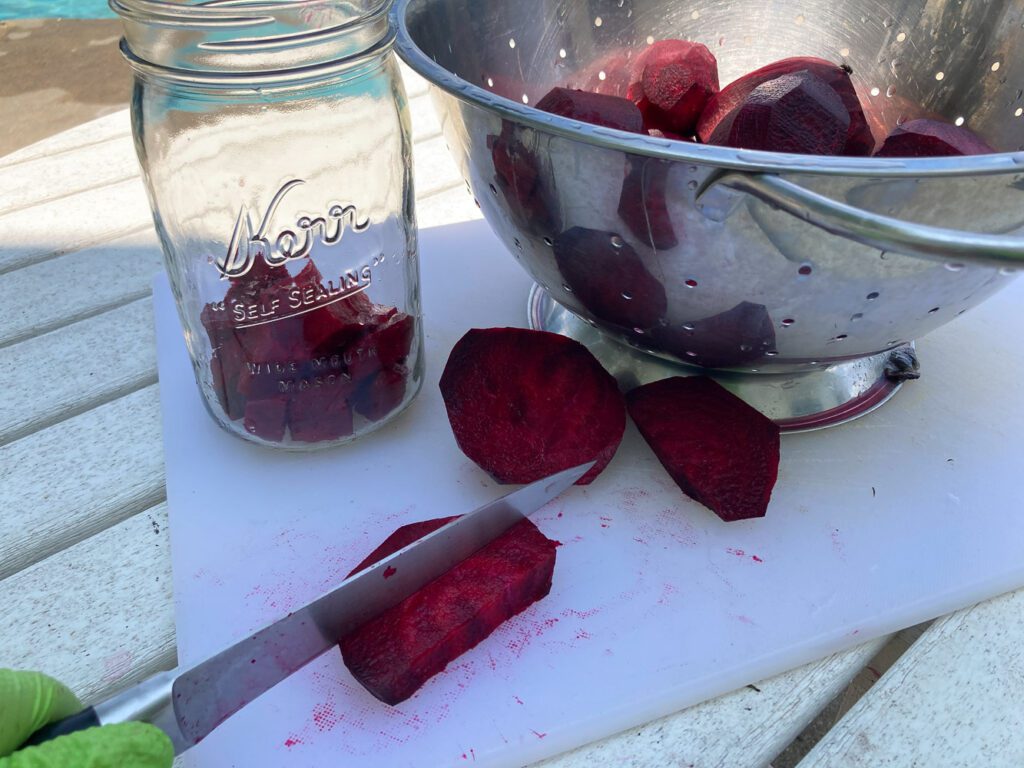
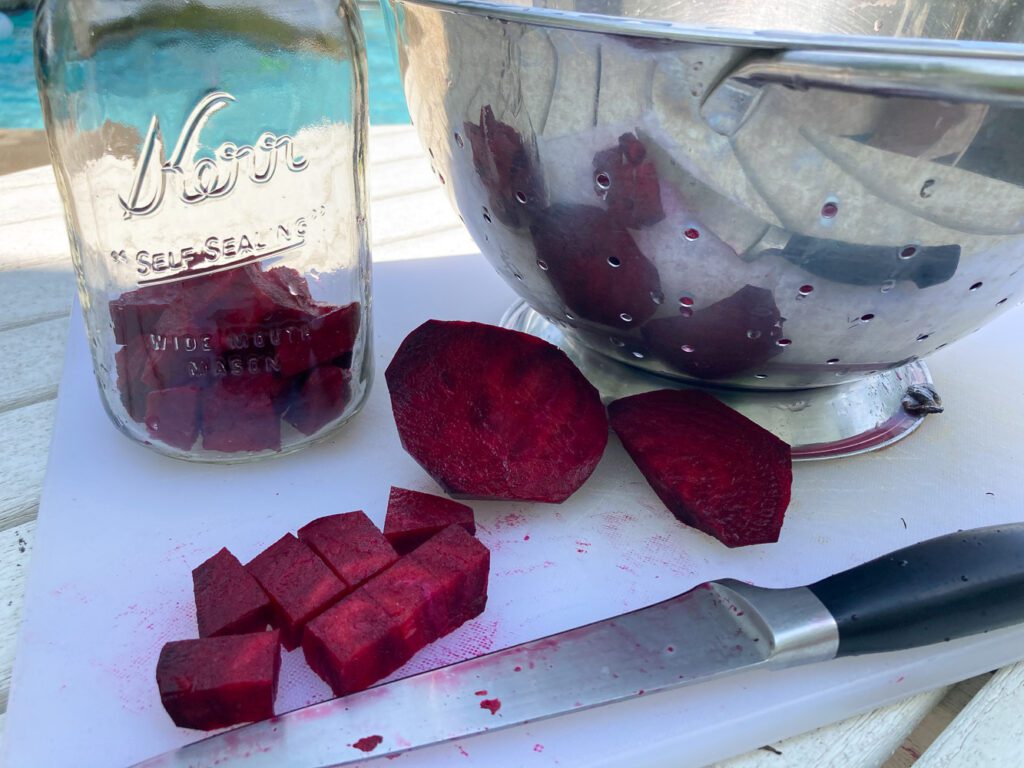
Next, chop the beets up pretty small. Since we are not heating these, they are going to remain pretty firm. The smaller chunks will ferment more quickly and become a bit softer.
After chopping up the beets, pack the jar full of beets. Then make a brine for the beets to ferment in. The salt creates conditions that favor the bacteria, preventing the growth of pathogenic microorganisms, and adds flavor. Salt is vital to the fermenting process.
The general rule of thumb for fermenting is 2 cups water to 1 TBS salt.
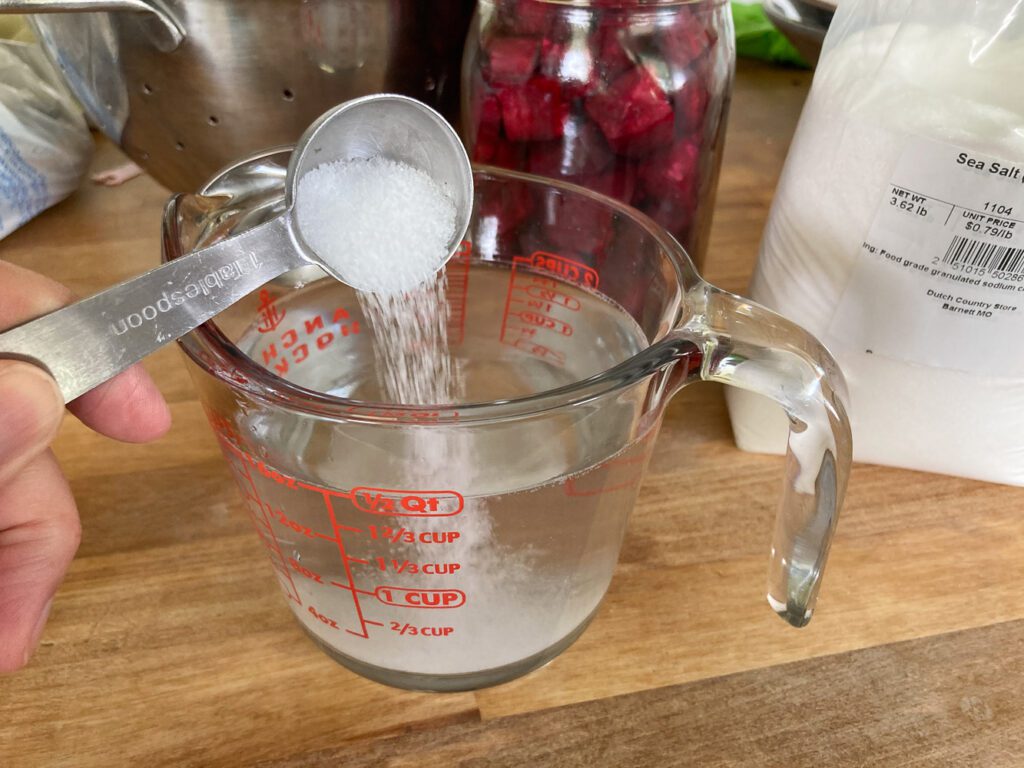

A 1-quart jar holds approximately 1.5 cups of water when packed full of beets. It took 2 large beets or three medium beets to fill a quart jar.
What Tools Do You Need to Ferment?
You don’t necessarily need any special tools to ferment. However, there are a few things that will streamline the process and make it even easier.
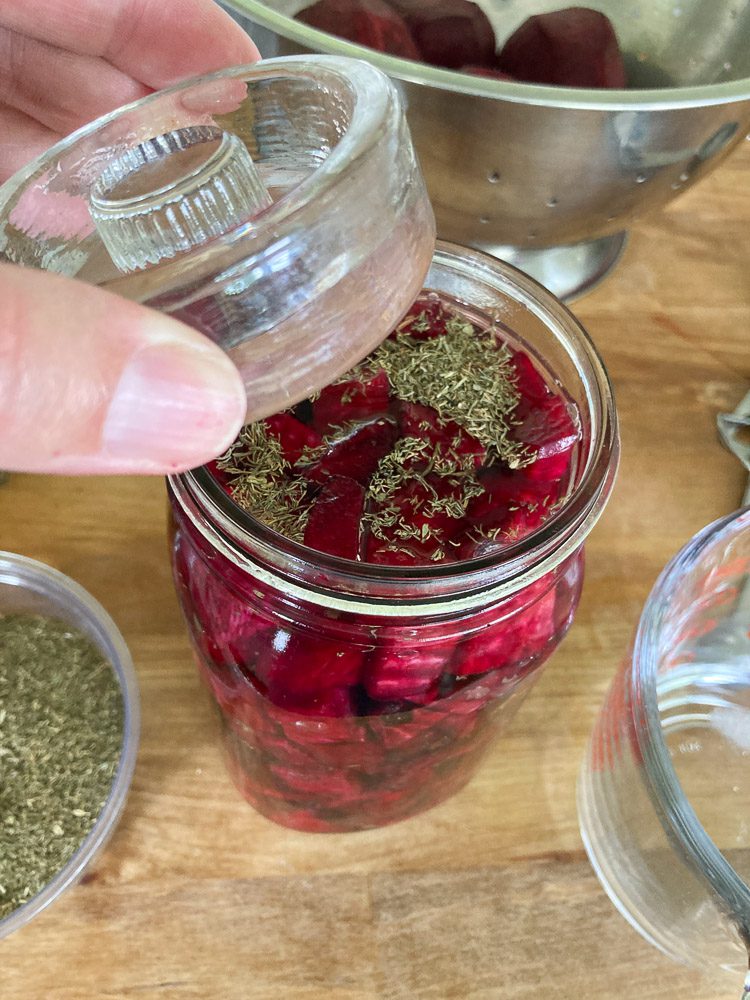
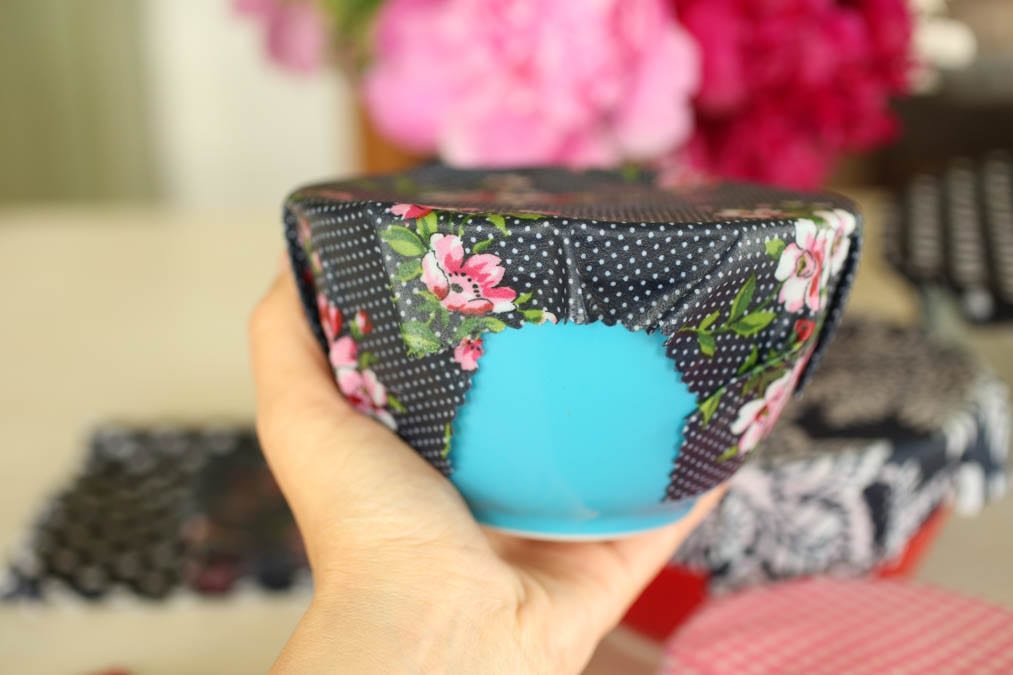
Weights
Essentially you will just need something to keep the vegetables under the brine so that they don’t mold. You could boil a medium-sized rock and use that to hold the veggies down. I have used a yogurt lid with a slit cut on the sides and push it down in the jar to hold the veggies under.
Or you could purchase glass weights like these to hold the vegetables down. I really like the weights, they are a perfect size and easy to remove and clean.
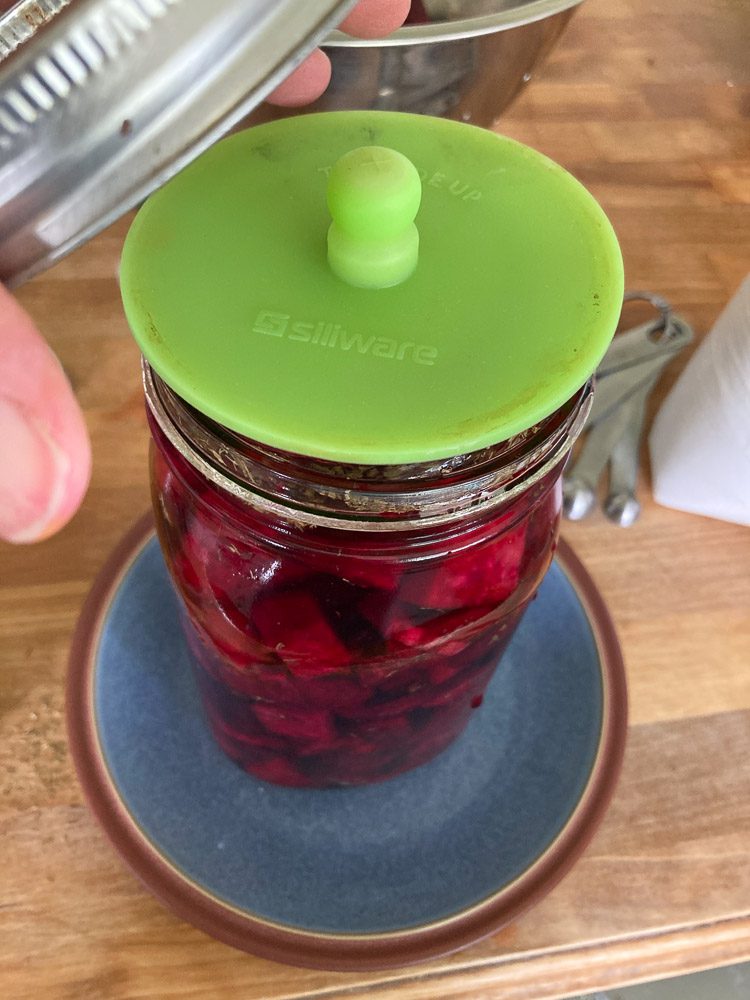
Pickle Pipes or Fermentation Lids
The purpose of a fermentation lid or pickle pipe is to allow the pressure to be released. If you want to ferment without this, then you will need to remember to burp your jar periodically. I know that I wouldn’t remember to do that, so I like to use these lids.
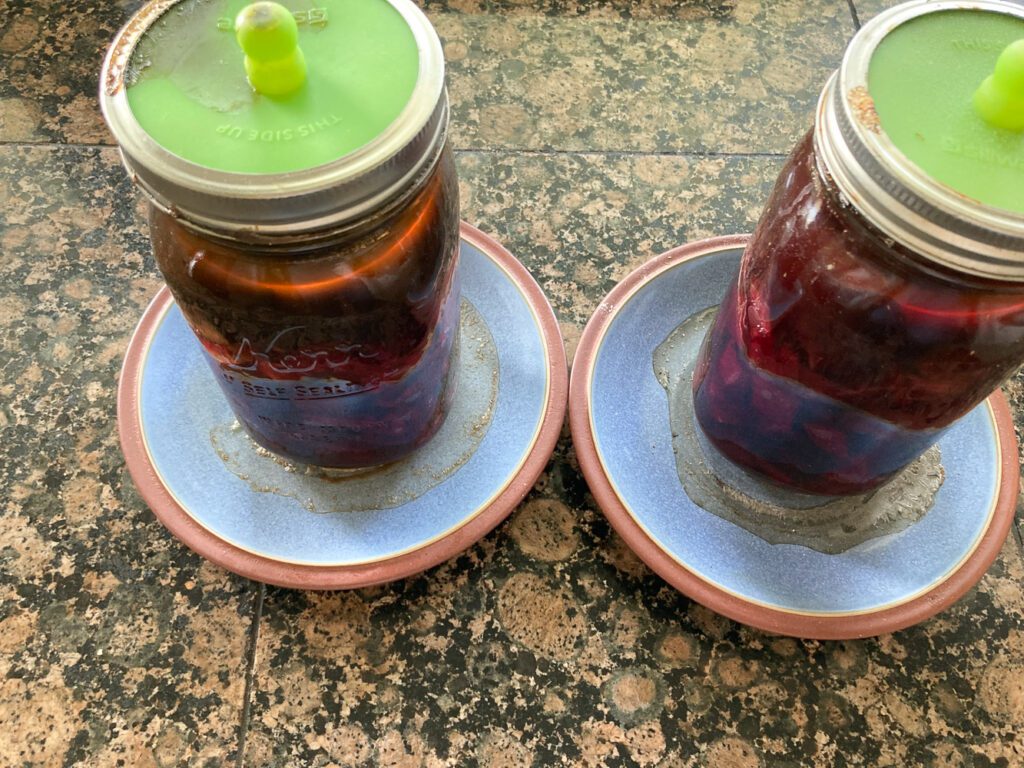
Place the Jars on Plates or shallow dishes
As the beets ferment, they will bubble up and spew a bit. Place the jars on plates or shallow dishes so that it doesn’t go all over your counters. By day three they should stop leaking.
Here are the two recipes for fermented Beets.
Pickled Fermented Beets

Pickled Fermented Beets
Equipment
- Pickle Pipe
- Glass Weight
Ingredients
- 3 Beets
- 1 ½-2 cups Salt Brine 1 TBS Salt to 2 Cups of Water
- ½ tsp Dill dried or fresh
- 1 whole Cinnamon Stick
- 3 whole Cloves
Instructions
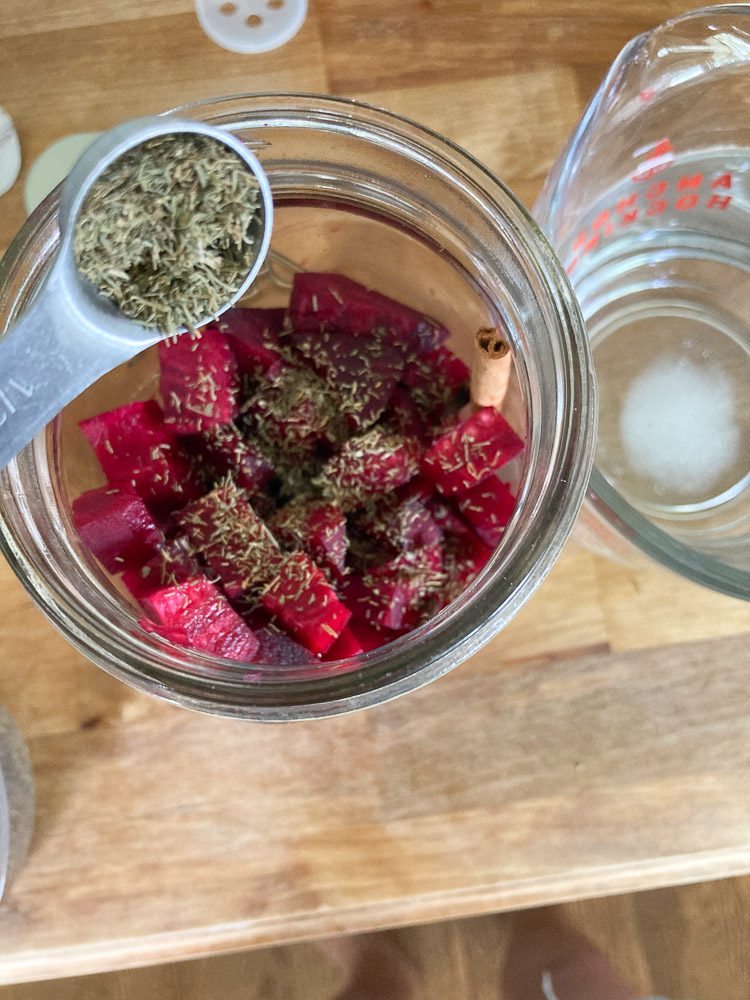
- Peel and chop the beets into small pieces. Make the salt brine 1 TBS salt to 2 cups water. Pack the chopped beets into the jar, add in the dill, the cinnamon stick, and the cloves. Pour the salt brine over the beets until they are completely covered. Place a weight over the beets to keep them submerged in the water. Put a pickle pipe on the jar and close the lid. Let the beets sit in a dark corner at around 75° for 7-14 days. 14 days will produce a more tender beet.
Garlic Fermented Beets
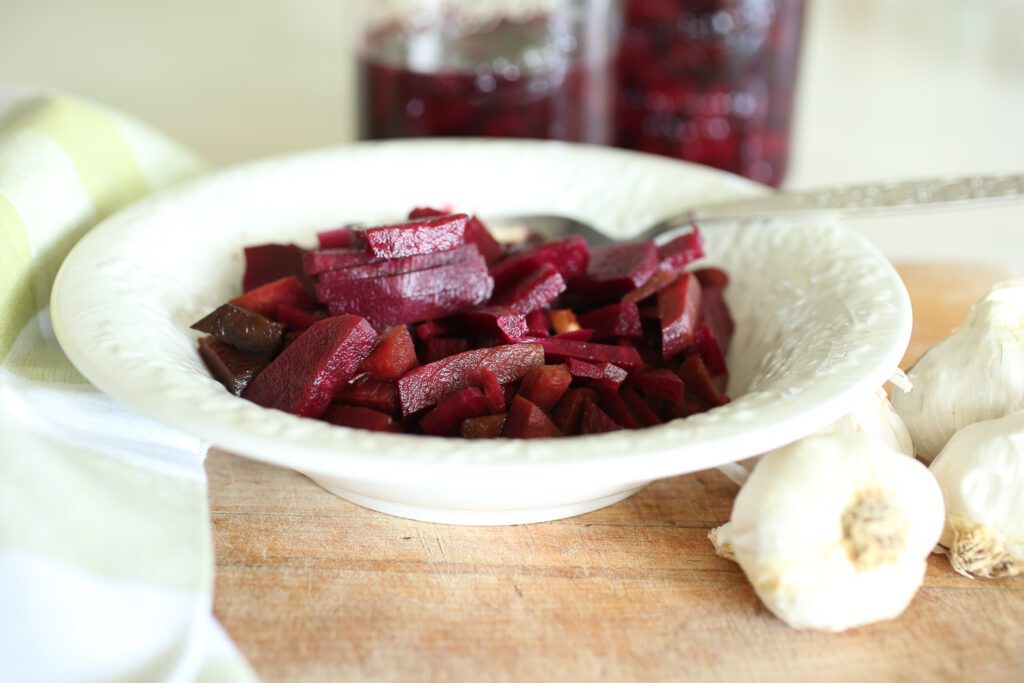
Garlic Fermented Beets
Equipment
- Pickle Pipe
- Glass Weights
Ingredients
- 3 medium Beets
- 3 cloves Garlic
- 1½-2 Cups Salt Brine 1 TBS salt to 2 Cups water
Instructions
- Peel and chop the beets. Peel and chop up garlic. Pack the beets and garlic into a quart jar. Make the salt brine and pour it over the beets and garlic. Add a glass weight to make sure the beets and garlic stay submerged in the salt brine. Put cover with the pickle pipe and tighten the lid. Set in a dark corner of the kitchen at around 75° for 7-14 days.
How Long to Ferment Beets?
I tested the beets at 7 days, at 10 days, and then 14 days. They were tasty at 7 days, but still quite firm or crispy. At 10 days they were very flavorful and firm, but a little more tender. At 14 days they were delicious and while still firm, were not as crunchy. I like the beets firm like this, but if you are used to canned pickled beets, the texture will take a bit of getting used to. Some say you could par-boil put them in an ice bath and then and peel them first and then ferment them. This would certainly make them less firm, but again perhaps some of the nutrient content would be lost, also you would need some sort of culture since some of the enzymes would be lost in cooking. So, cooked vegetables do not ferment without adding a culture.
It will not hurt to let the beets ferment longer. Let them go as long as you like, taste them periodically and see if you like the flavor and texture. After you are happy with them, just place a regular lid on the jar and keep them in the refrigerator.
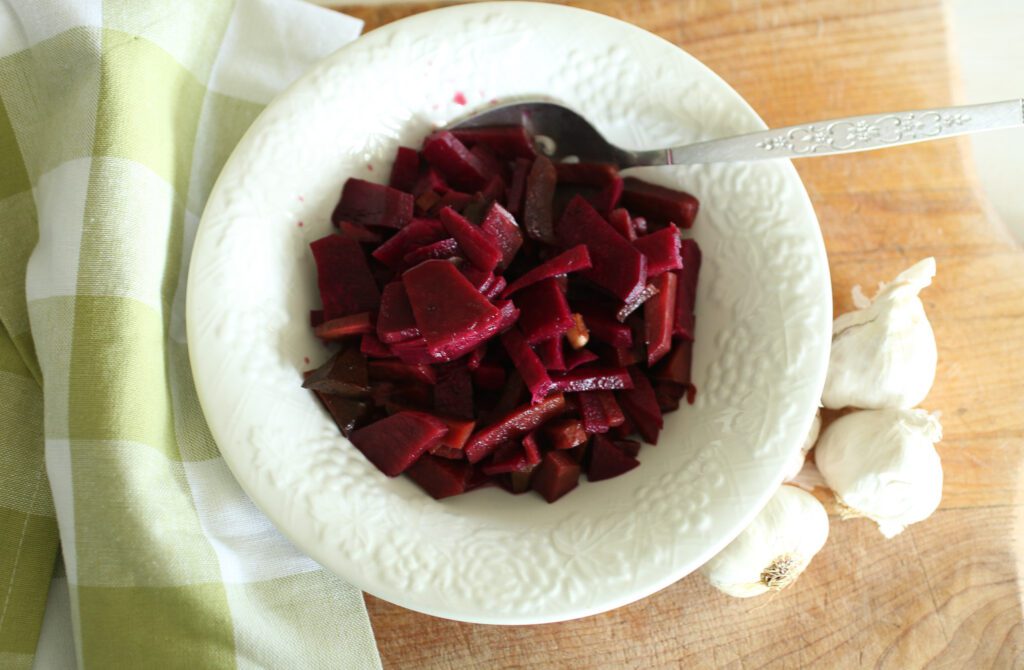
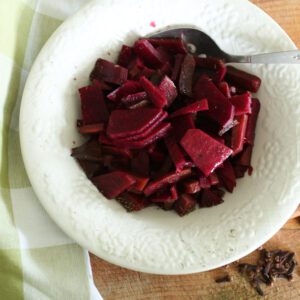
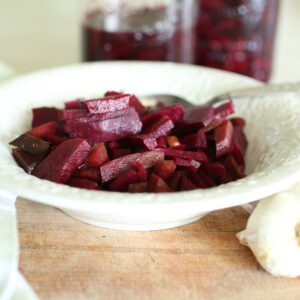
How to Eat Fermented Beets?
We like them as a side dish, on salads, or as an afternoon snack. I do think they taste a bit less earthy than cooked beets. I have a dear friend that does not care for beets, she was able to almost enjoy the garlic fermented beets as the garlic covered up the earthy flavor of the beets.
That’s it! I hope you enjoy fermenting your vegetables and enjoy the health benefits! Let me know in the comments if you have tried fermenting and feel free to ask any questions!
Pin and Share!


Hi, thank you for the easy direction for fermenting!
I have tried fermenting twice, both times resulted in mold. I think it was my house: built poorly in 1945, gaps everywhere to the outside. I chose to ferment close to a floor oil furnace vent to the underside of my house, (open to the outside air), mostly for the heat as I tried this in winter. Now, after much deferred maintenance including a new foundation, I am ready to try again. The furnace register has been “plugged” up, so no air from under the house …also no heat for the past 5 years. Sorry for all the details, I just thought it might help you answer my question.
I had the glass weights, however, they would just sink…One batch I tried had 3 of them as they kept sinking!
So…just HOW do you keep them from sinking? I tried both sizes. I don’t ‘do’ regular mouth jars, only the wide mouth. I’d love to try again, but I have basically tried every way to keep food from molding by covering: bag with water, other glass jar, weights, etc..
The first ferment I tried was in a fermenting crock and wooden top…it molded, too.
help?
Thank you!
Hi Carol! The first thing that comes to mind is that you are not packing your jars tightly enough. Air is the enemy of preservation. Really pack the carrots or beets or whatever in there tightly. I tend to make a mess when I pour the liquid brine in there as I usually pour too much in and when I add the weight, some liquid will pour out. Also, make sure you have the specified amount of salt in the brine as that is also key to keeping mold away. Check on it from time to time to ensure that every bit of the vegetable is covered in brine, about 3 tbs salt per quart of water. Hopefully that helps! A friend of mine makes sauerkraut in a huge crock and just keeps it down in his cellar where it is nice and cool. He covers the top with a big cabbage leaf and then a plastic yogurt lid shoved down in there to keep everything submerged.