Easy No Peel No Sugar Applesauce
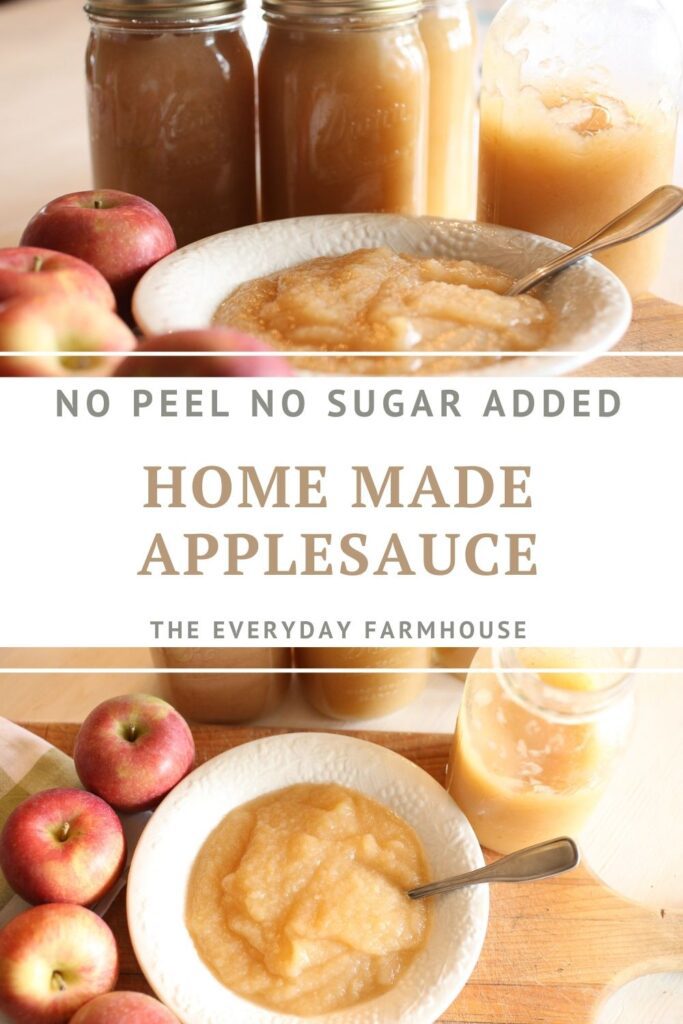
Making simple healthy no peel applesauce at home is easy if you have an Instant Pot and an applesauce maker. Your kids will love making and eating this no-peel applesauce with you!
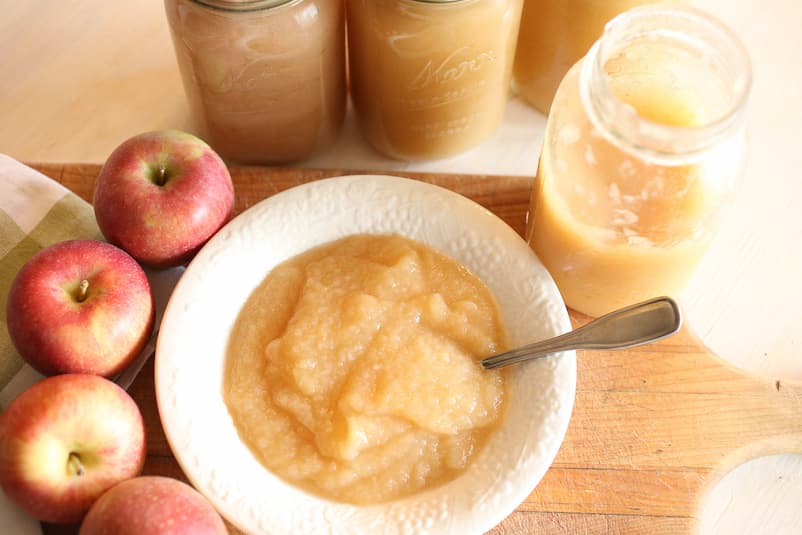
Last year our apple tree gave us enough apples to make applesauce, however this year a late frost ruined our apple crop. Thankfully, we live in an area with many Mennonite communities. They have the best bulk food stores! Truly I feel spoiled! One store has what they call Apple Days every October. They bring in truckloads of apples and set up huge wooden bins of apples. There are all sorts of varieties including Honeycrisp! In years past they were around 25 cents a pound! This year they were closer to 50 cents a pound which is still pretty outstanding! For $50 we left with over 100 pounds of apples.
If 100 pounds of apples sounds intimidating, just know there were people there with twice that many! I actually kind of felt like an underachiever! That is until we got them home and worked on making applesauce and apple butter for three days! I don’t love canning but applesauce and apple butter through the winter are worth it!
The most time-consuming part of making things with apples is peeling them. That’s why I’m so happy to share this no-peel applesauce!
What Equipment Do You Need for Homemade Applesauce?
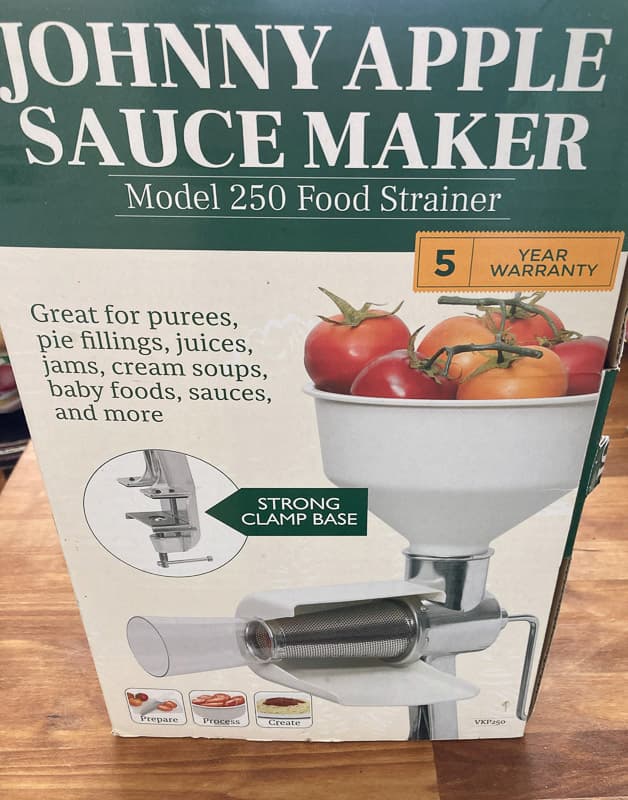
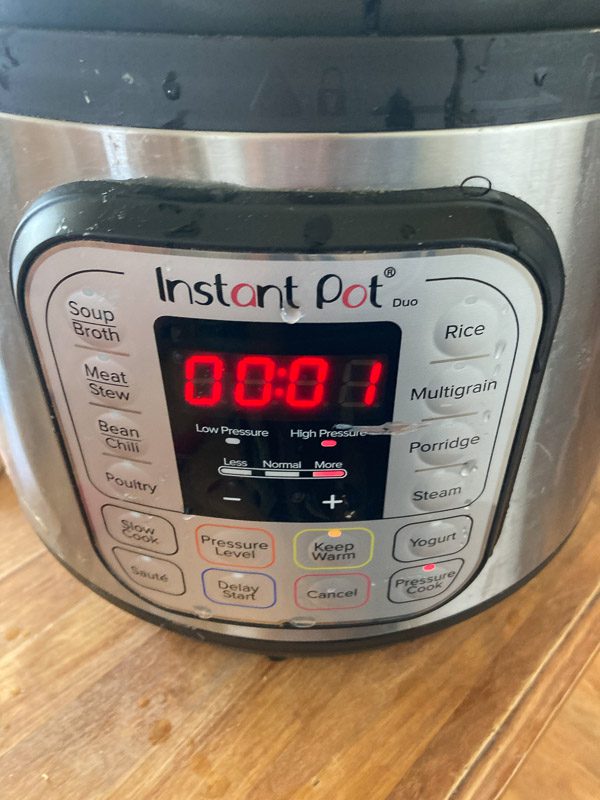
This is what we use to make applesauce, of course, you don’t have to have each of these items, and I have tried many different methods and I like this one the best!
In the past, I have peeled and chopped apples and cooked them in the crockpot. This certainly works, but the result does not have the same fresh applesauce taste, and the sauce itself turns out chunkier.
The Instant pot is an investment, however, you can use it for so many things and I believe ours has paid for itself 10 times over!
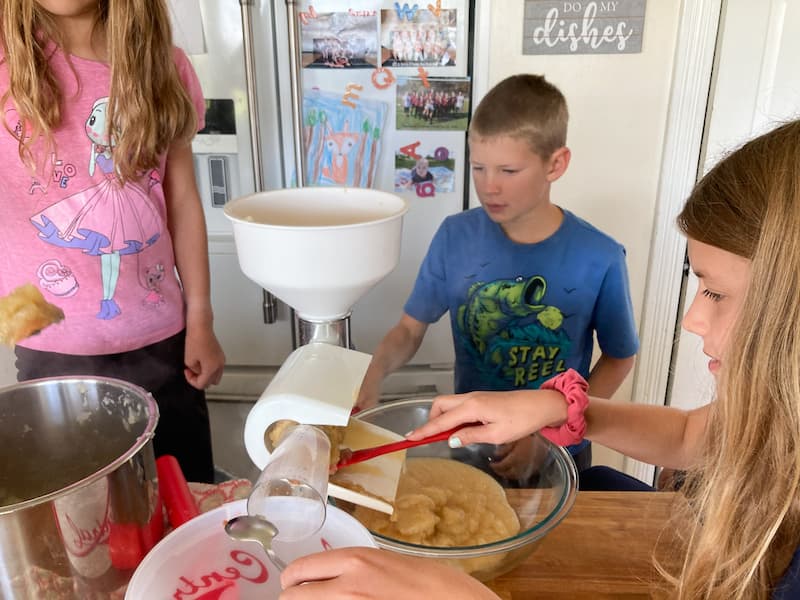
The Johnny Apples Sauce Maker is also an investment. However, you can use it for making salsa and spaghetti sauce or anything with tomatoes. I considered getting a food mill attachment for my Kitchenaid Mixer but it was more expensive. Plus I don’t love the noise of the mixer running for hours on end! The Johnny Apple Sauce Maker used to be called a Victorio I think. It really is super handy and my kids like to run it!
Homemade No Sugar Added Applesauce
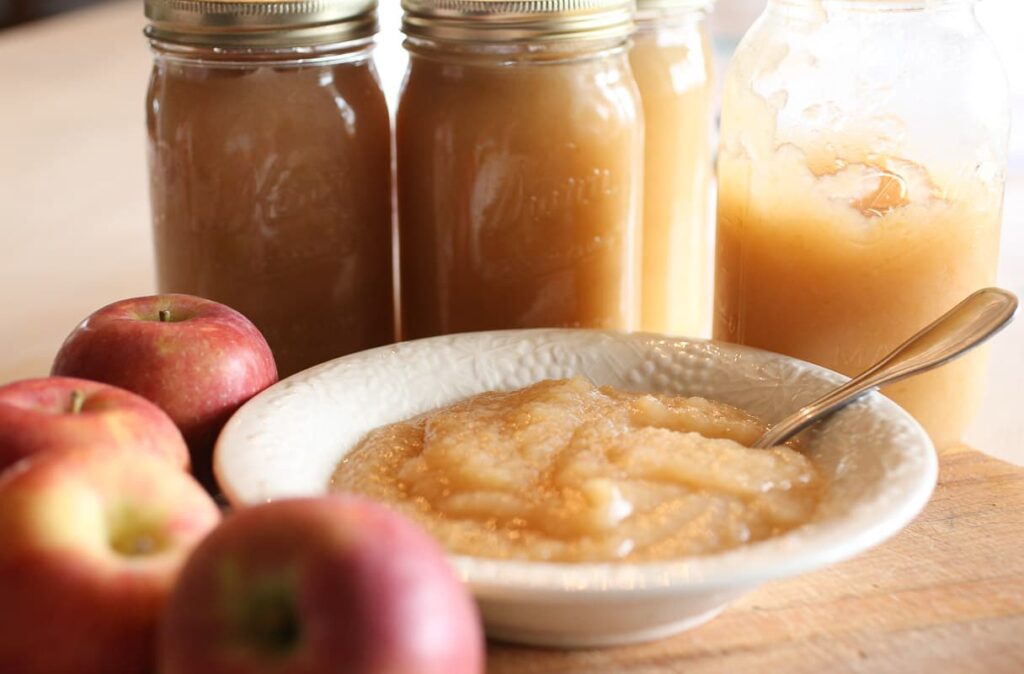
With a few pieces of equipment and some good apples, you can make applesauce that is so tasty you won’t need to add any sugar.
The key is picking naturally sweet apples that are in their prime. The section below will help you to pick some good varieties!
What is the Best Apple for Homemade Applesauce?
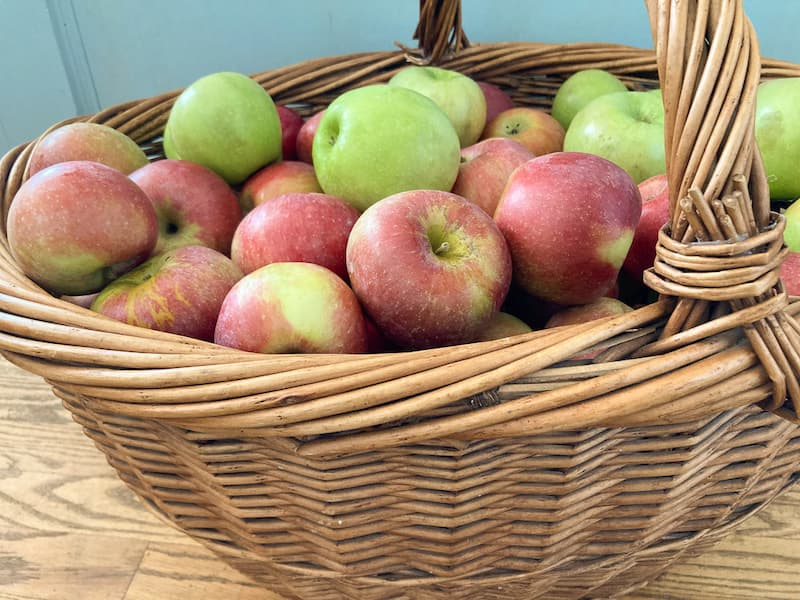
We try all sorts of apples when we make applesauce. We mix different types of apples together as well. Jonathan and Cortland are some of our favorites. Jonathan, Granny Smith, and McIntosh are tasty mixed together as well. We just did a batch with Honeycrisp and Granny Smith and it was outstanding. Even our oldest teenage son loved it! You really can’t go wrong with any variety!
Of course, the key to good applesauce is a good apple. Make sure the apples are tasty, you aren’t going to get sweet applesauce from mealy or bland apples. Pick a few varieties and taste them, if the apple is naturally sweet and tasty, it will make good applesauce. Spots on the outside are no big deal, as long as the apple itself is still good. Most of the Honeycrisp apples we used had spots on the outside, but it was just the skin. If you use them right away they will be fine.
How to Make No Peel Applesauce with the Instant Pot and a Food Mill
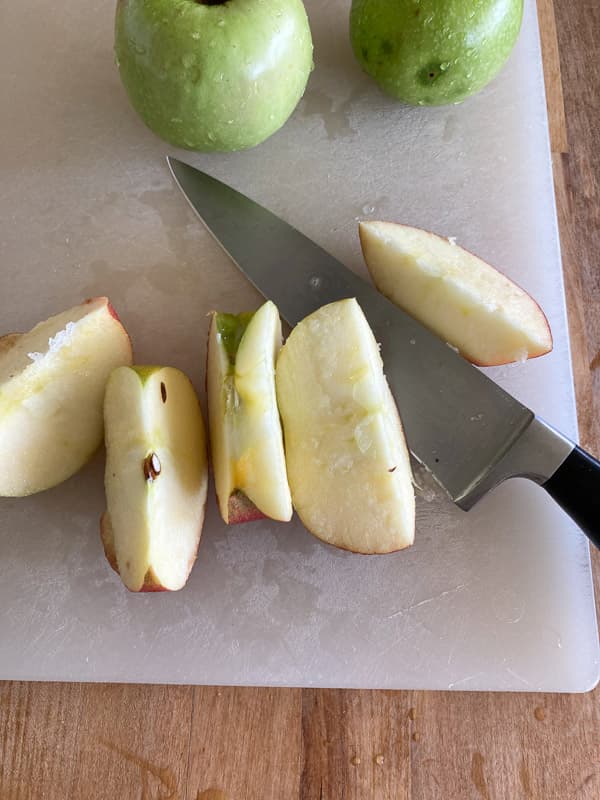
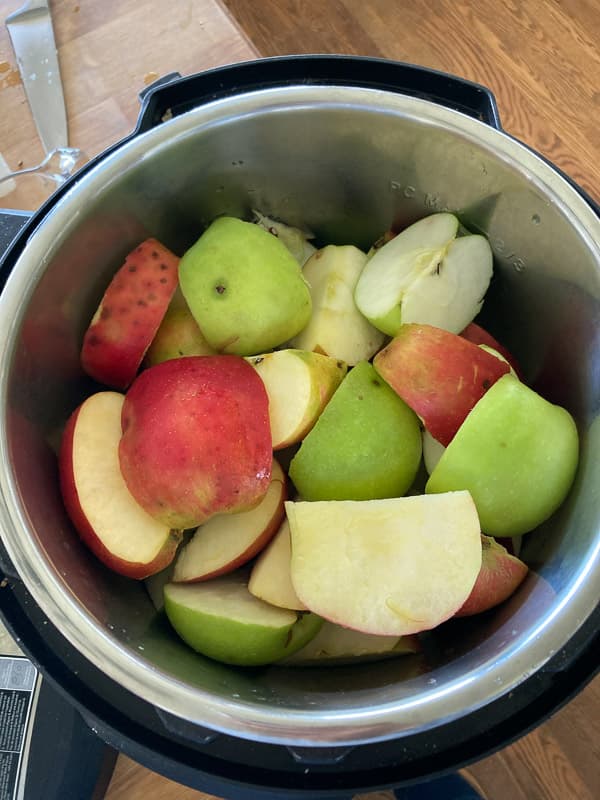
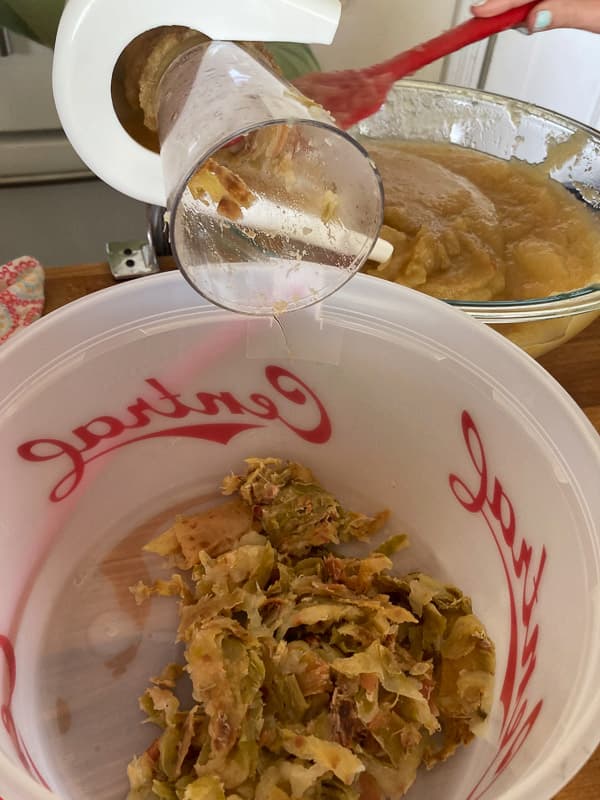
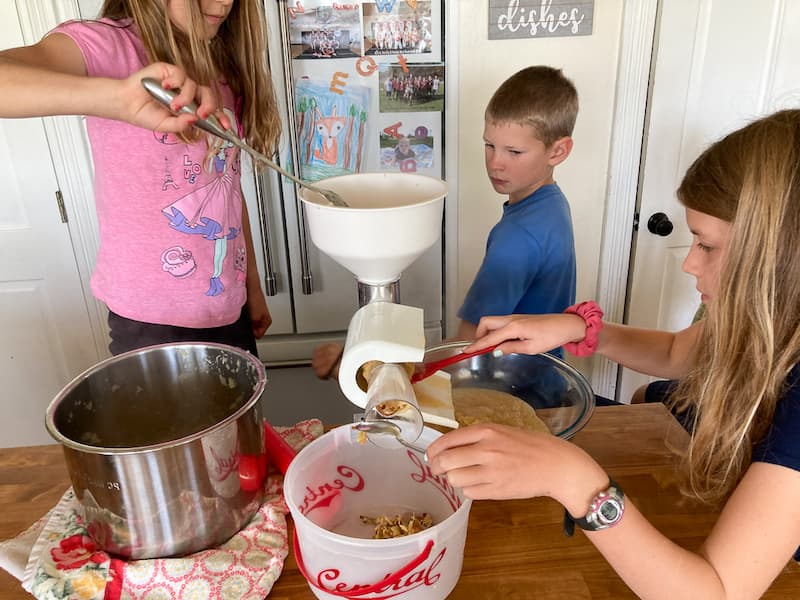
The Instant Pot makes it pretty quick and simple to cook the apples for applesauce. However, if you don’t have one, you could definitely boil the apples on the stove until they are pretty tender.
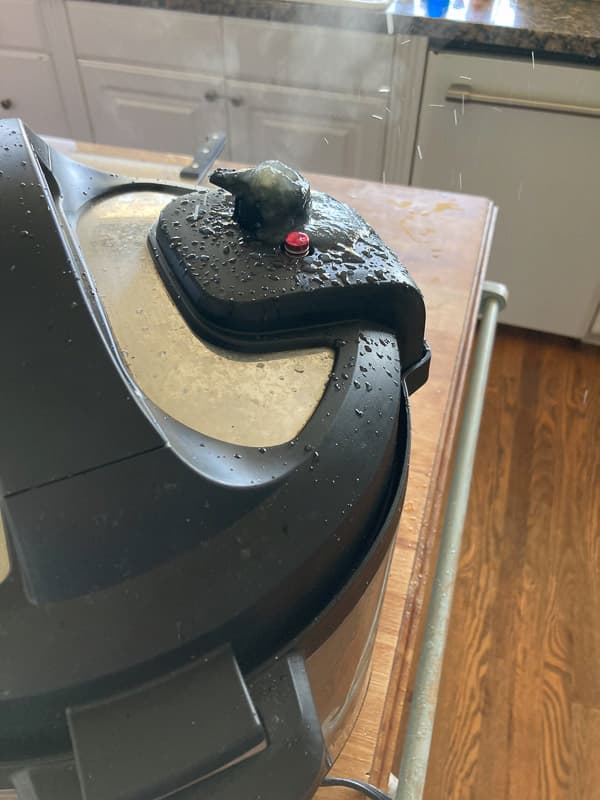
If using the Instant Pot, you simply cut the apples in half, and leave the core, the seeds, and the skin intact. Place them directly in the IP. If you have the 8 qt. IP, you only need 3/4 cup of water. If you have the 6 qt, you only need 1/2 cup. Do not overfill the pot. I suggest filling it below the top line. We had some spew out the top when we overfilled it.
Set the pot at high pressure and press pressure cook, and 1 minute. That’s it! Once it gets to pressure and finishes, you can let it naturally release pressure for a few minutes, then quick release.
Using a slotted spoon transfer the apples to the Food Mill. The mill will grind the apples into perfect applesauce and will separate the peels, core, and seeds! It’s delightful! If you have chickens or pigs, they love those scraps!
That’s all there is to it! Naturally, you could add cinnamon or other spices if you like. However, we don’t add anything at all!
You can keep the applesauce in the fridge for up to a week, or you can make a huge batch and can it to preserve it for the winter!
Canning Homemade Applesauce
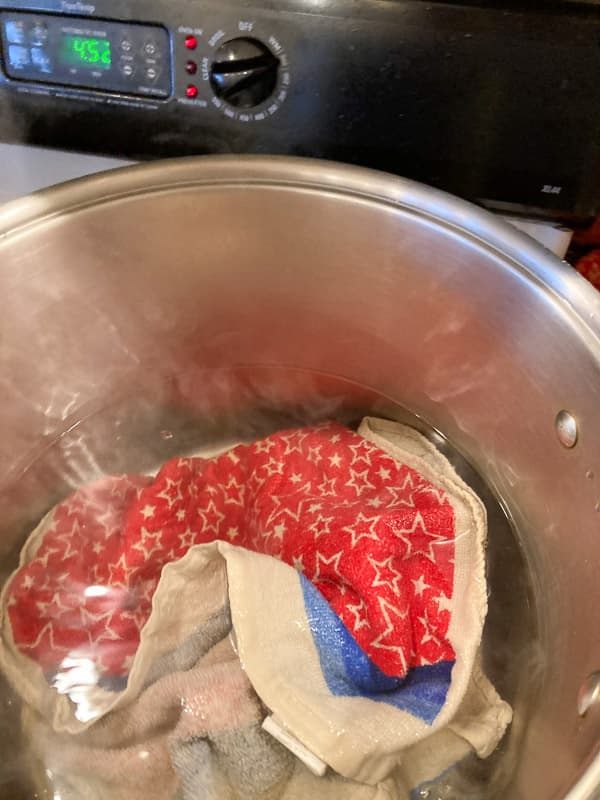
For homemade applesauce, you simply need to do a 10-minute water bath. I like to put a towel in the bottom of a large pot to keep the jars from clanging around in the bottom. The jars need to be fully covered with water and stay in for a rolling boil for 10 minutes. This is the proper way, however….
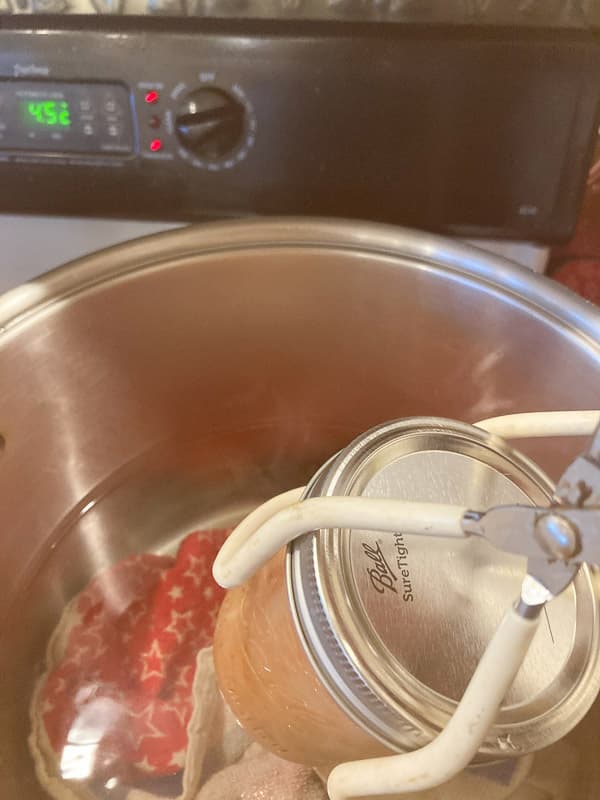
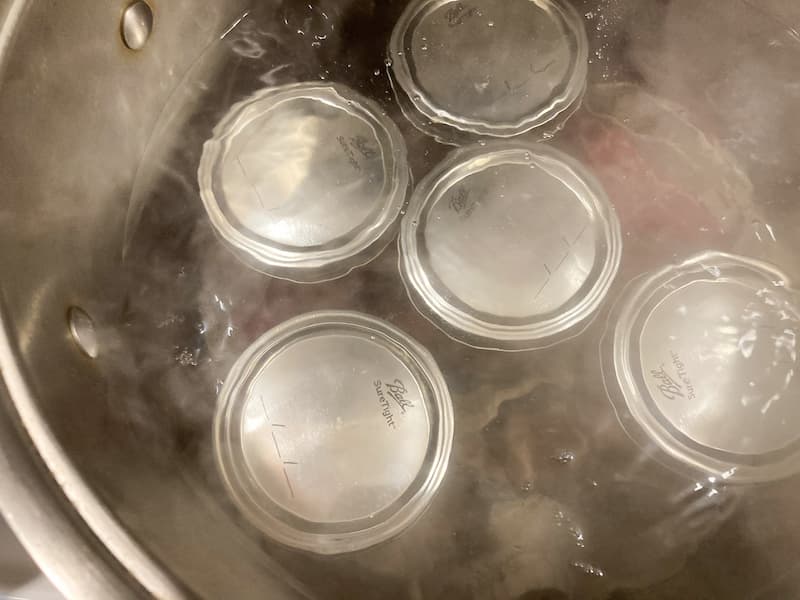
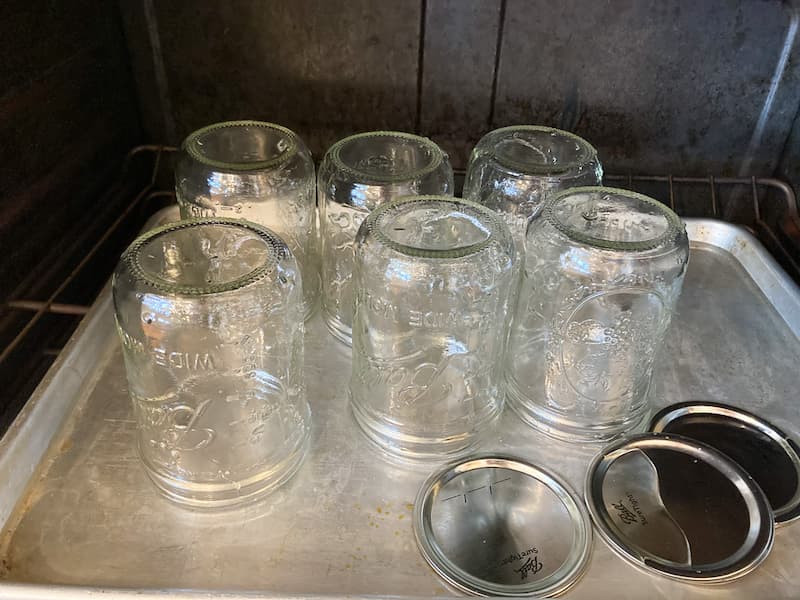
I often heat the jars and lids, and fill them with hot applesauce instead of a water bath. I heat the jars on a sheet pan in the oven with it set to 200 degrees, filling the bottom of the pan with water. This sterilizes the jars and also heats them up nicely. If you fill them quickly with the hot applesauce, the jars will seal without water bathing them. This is called hot packing. However, I’m not sure if I should recommend that practice, if you are at all unsure, please don’t listen to my advice and do the 10 minute water bath.
I hope you give this a try and enjoy fresh no-sugar-added applesauce! You might find that it can become a fun family tradition! You can take this applesauce to the next level and turn some of it into apple butter!
Pin and Share!


You only had to cook the apples for one minute?? That is amazing!! I just recently purchased an Instant Pot and I have used it so much! I’ll grab some apples and give this homemade applesauce a try! Thanks!