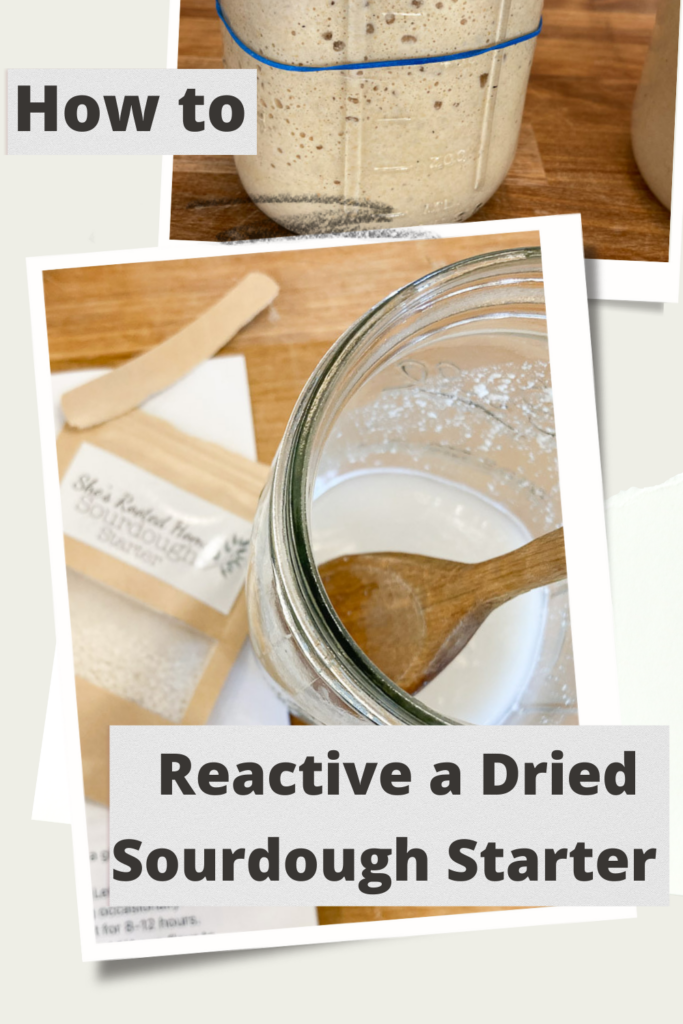
How to Reactivate a Dried Sourdough Starter
Learn how to reactivate a dried or dehydrated sourdough starter. Getting a sourdough starter going is actually easier than you think! You can eliminate all the guesswork by buying a dehydrated starter and rehydrating it!
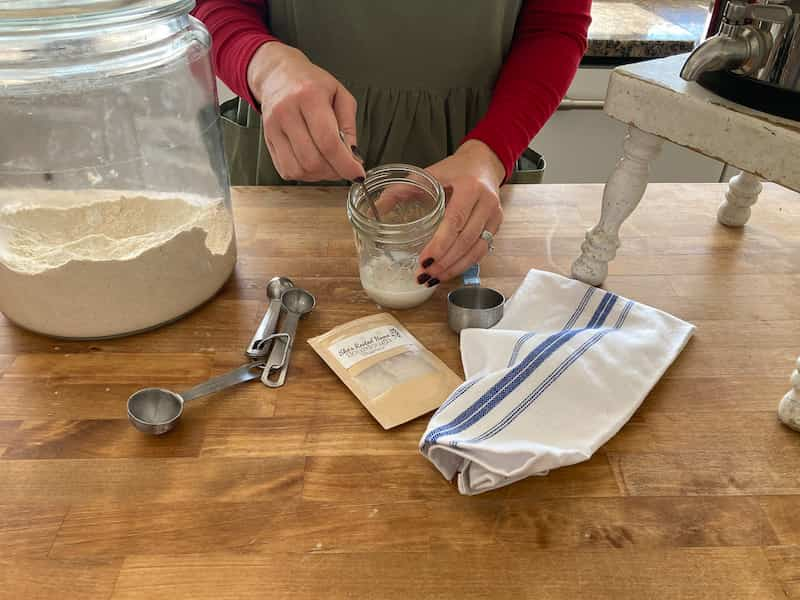
Some people have trouble getting a sourdough starter going from scratch (I’m raising my hand). I have done it in the past and succeeded, and I have also ended up with a moldy failed starter. When you are working with a dehydrated starter, you are ensuring that you have a healthy live culture from the beginning. It’s sort of fool-proof. Plus, it’s similar to getting a bit of starter from a friend! I got my dehydrated starter from Tara at She’s Rooted Home.
This post will have a lot of information, please don’t let that overwhelm you. I am just trying to give you answers to any questions you might have. If you don’t want all the information, just focus on the section called Rehydrating Dried Sourdough Starter.
There is a video at the end of this post that shows the process step-by-step
What are the Benefits of Eating Sourdough?
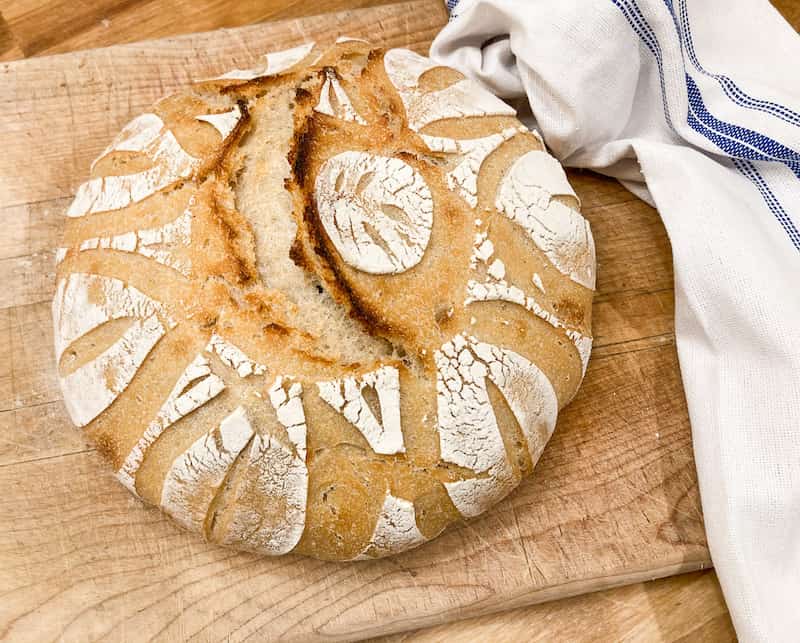
Sourdough bread is typically easier to digest. The bacteria and yeast contained in sourdough begin to break down the starches in the grain before you even eat it. This makes it easier for your gut to digest! It also contains more good lactic acid which makes it easier to digest, especially if you have mild gluten sensitivity.
Because sourdough is fermented, it contains good bacteria (probiotics) which we know is good for our gut health!
Sourdough is an old-fashioned way of baking bread, and it feels good to be able to do something that our great-grandmothers did! Plus the taste is just so unique and it has a nice depth of flavor, especially toasted!
Since sourdough is not highly processed like store-bought bread, it retains much of its natural nutrients. Iron, magnesium, vitamin E, potassium, zinc, and vitamins B-6 and B-12 to name a few.
What is the Best Flour for Sourdough Starter?
I did loads of research on this before I rehydrated my starter and I found this article to be very helpful. The author did an experiment with lots of different types of flours. After my research, I decided that I would use my usual Prairie Gold White Whole Wheat Flour.
Please note that you can also change the type of flour that you are using. You can gradually add in a different type of flour as you transition to a different type of flour. Don’t switch all at once, use half of the old type of flour and half new as you switch over.
Best Jars or Containers for Sourdough Starter
Glass jars are really the best for keeping a sourdough starter. Glass can be cleaned and disinfected ant high temperatures and doesn’t absorb smells like plastic can. Wide mouth jars are best as it is easier to feed and remove starter from a wide mouth jar.
For starting out you will only need a pint-sized jar. As your starter grows over the five days that you are rehydrating it you will need to move it to a larger quart-sized jar with a lid.
Rehydrating Dried Sourdough Starter
Here are the step by step instructions for rehydrating a dried sourdough starter
Materials Needed
- A glass jar
- A coffee filter or paper towel
- A spoon or fork
- A lid for the jar
Ingredients
- 2 TBS Dehydrated Sourdough Starter ( I bought mine here )
- 1/4 Cup Filtered Room Temperature Water (I use the Berkey for filtering water and love it!). Ideally the water should be free of chlorine and not cold, that will slow the process
- 1 heaping TBS flour of your choice
Temperature
The ideal temperature for your starter is 70-75 degrees. Of course, it will still work if the temperature is warmer or cooler, it will just change the timetable a bit. Warmer temperatures will likely cause the process to speed up. Cooler temps will likely slow the process down.
Step 1 (First Feeding)
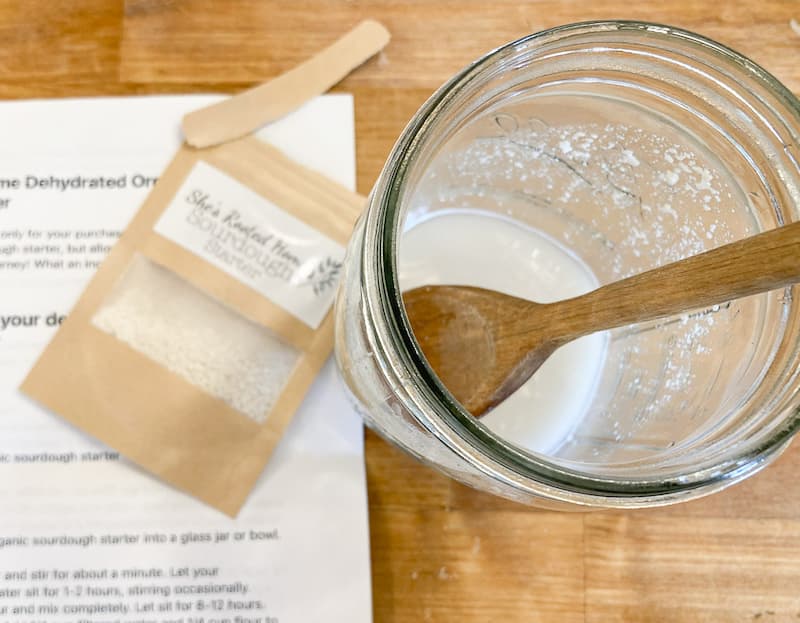
Pour the starter into a pint-sized glass jar
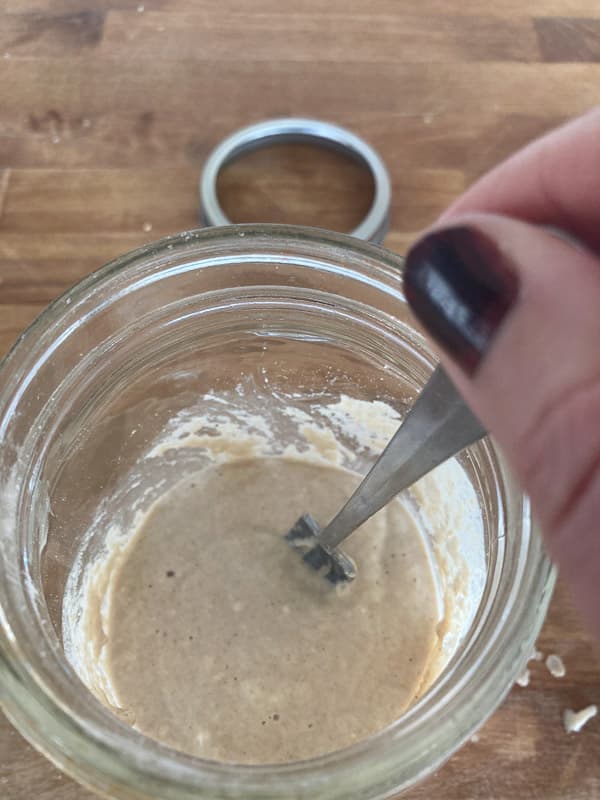
Add 1/4 cup filtered water and stir well for 30 seconds or so.
Let it sit for a couple of hours
Add the heaping TBS of flour and let it sit for 8-12 hours
Step 2 (Second Feeding)
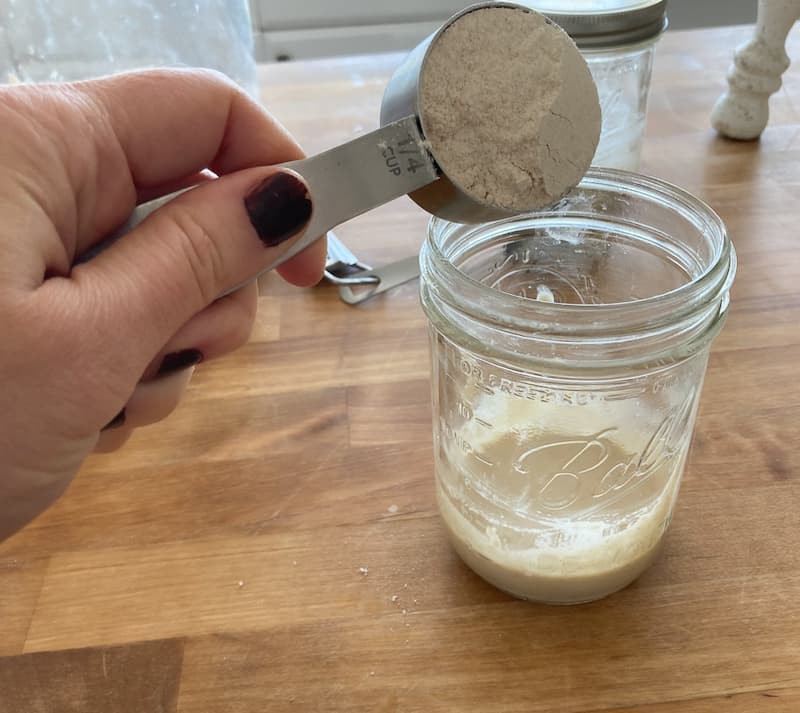
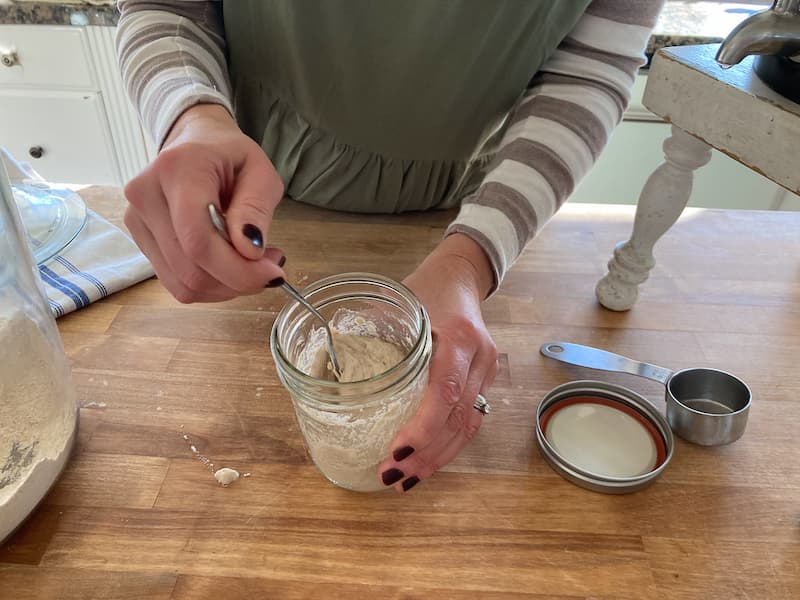
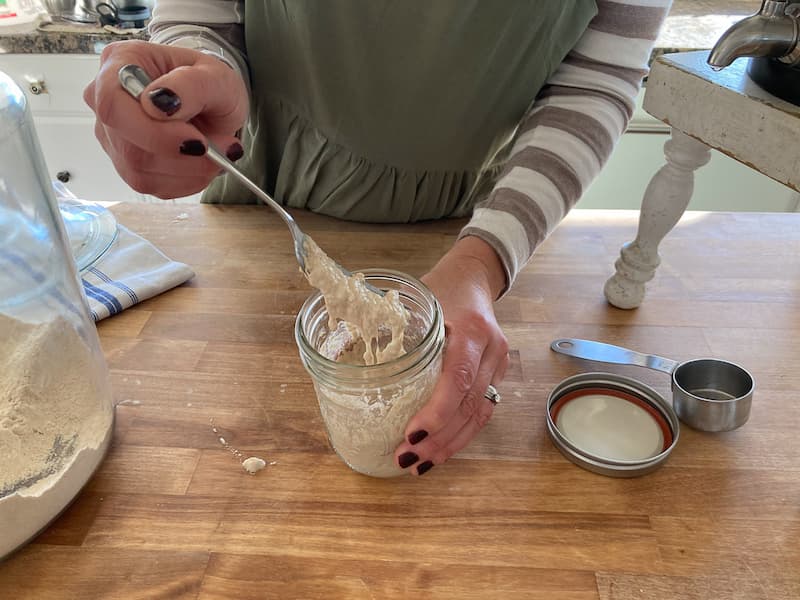
Add 1/4 cup filtered water and 1/4 cup flour and mix completely
Let sit again for 8-12 hours
Step 3 ( Third- Fifth Feeding)
Continue to feed the starter every day morning and night, or just once a day if you aren’t in a rush. Watch the starter, if it has liquid pooling on top or if it starts to bubble within two hours after you feed it, then you can feed it again in 8 hours. If it doesn’t seem to be active yet, then wait 12 hours or longer to feed it. Use the same 1/4 flour and 1/4 water. Pay attention to the consistency. It should be like a thick pancake batter, not too runny and not too thick. By the second or third feeding, you may start to see a few bubbles!
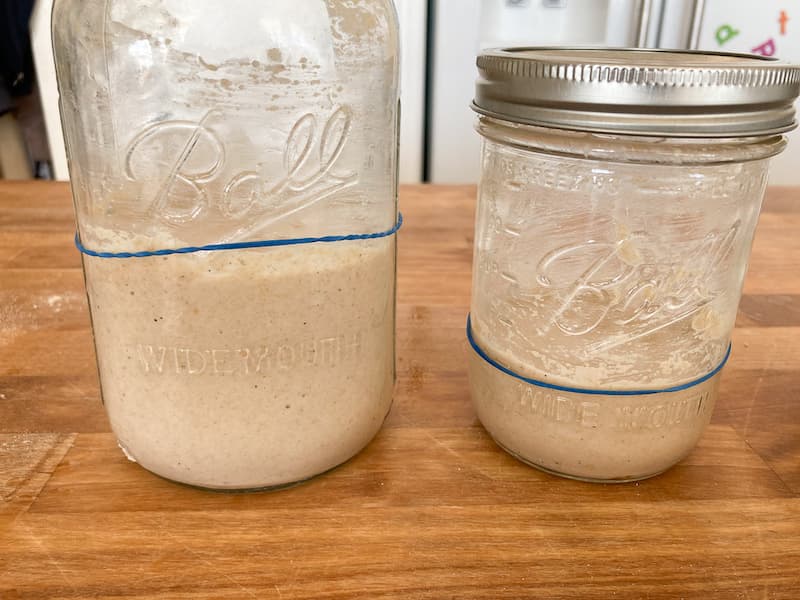
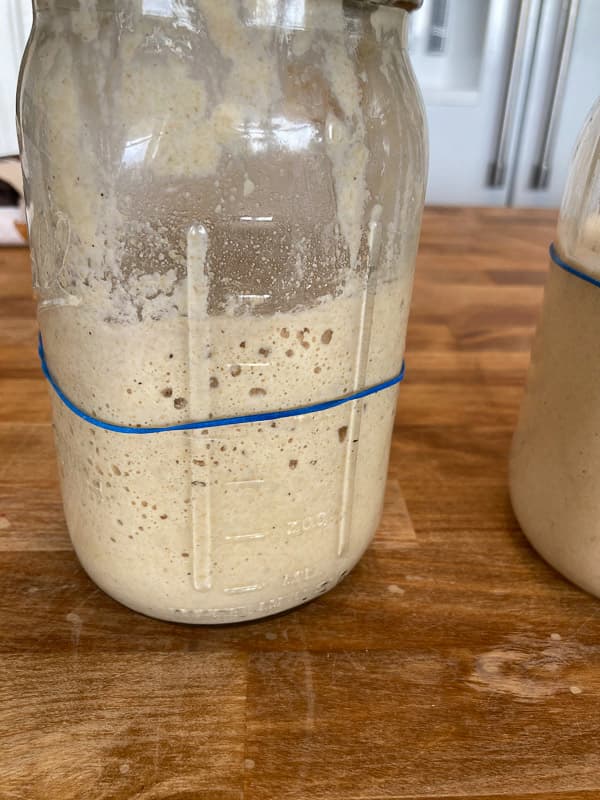
After the fourth or fifth feeding, start to watch for the starter to double in size, rising with bubbles. This shows that it is very active. You can mark the side of the jar and see if rises to double. If you miss it and it has fallen back down, you should be able to tell by the traces left on the sides of the glass.
If the starter rises and falls quickly this may mean that it is too hungry and you can feed it more than the 1/4 cup ratio.
By the fifth feeding, you also need to decide how much starter you would like to keep. If you want to keep a large amount on hand, as more than a cup, you will also need to feed it that amount. For example, if you have 1/2 cup of starter in the jar, you will need to feed it 1/2 cup flour and approximately 1/2 cup water to keep it active. I have a large family, so I need to keep at least two cups of starter on hand so that I can have the amount I need for a recipe that I will likely need to double or triple.
If you don’t need as much, then you will want to take some of the starter out (discard) and either throw it in your compost or use it in a discard recipe. Then feed the remaining starter. This will keep the amount you have on hand manageable. You only need to do this in the beginning. Once your starter is established, you can simply stick it in the fridge until you need it. Then you don’t have to feed it every day.
Step 4 (Moving out)
If your starter is rising and appearing active, it is technically ready to bake with. It should be doubling in size within two to four hours of feeding. However, you might want to add more bulk to your starter so that you have enough to bake with and also enough left in the jar to keep it going. However, you can now move your starter to a larger permanent home.
Pour and scrape your starter into a mixing bowl, add in 1 cup of flour and 1/2 Cup of filtered room temperature water. Mix well.
Next, you can move the starter into a larger jar, perhaps a quart size. You want it to be large enough for the starter to be able to rise and not spill out of the container. Remember wide-mouth jars are best. You will also want a lid.
An active starter is one that has been fed and has worked through that flour, you will know this because it will have doubled in size or risen. This is an active starter that is ready to use in a recipe. That is why a recipe will often instruct you to feed it a few hours before you bake with it.
Healthy Sourdough Starter Day By Day


How to Keep and Feed a Sourdough Starter
This is one of the areas where people feel overwhelmed with their starter. You begin to feel like it’s a child that needs tending to each day. It really doesn’t have to be that way. Here are a couple of different ways to keep your starter alive without feeling burdened by it.
Keep it on the Counter and Feed Daily
If you keep your starter on the counter, then you need to feed it regularly to keep it alive and healthy. Feeding it once a day should work fine, however, if the starter is large, like more than a couple of cups worth, you may need to feed it twice a day. The rule of thumb is you need to feed it the same amount as is in the jar. So if you have 1 cup of starter in your jar then you need to feed it at least a cup that day. If you don’t use it, then the next day you will need to feed it more, and it will just continue to grow if you are not using it.
This is the most common way to keep a starter here in America. However, this is also what makes people want to quit. Seeing that starter sitting there and knowing you need to feed it and then bake something so that it doesn’t get large and out of hand is kind of annoying. Or knowing that you need to either make a discard recipe or throw out some of the starter feels wasteful. It’s like putting pressure on yourself for no good reason. The starter should be a blessing to you, not a burden.
If you do bake a lot of bread or if you are regularly making items with sourdough, then this method will work just fine for you.
Keeping Your Starter in the Refrigerator
This is a great method for the weekly or bi-weekly baker. You simply feed the starter after you bake and then store it in your refrigerator for a week or more. Some people say you should still tend to it every week and feed it, however, you really don’t have to. I have left mine in there for up to six weeks.
Keeping Your Starter in the Refrigerator Method 2
I just recently learned about this method from my friend Anja at Our Gabled Home. She is from Germany, and this is the way they keep their starter. She simply bakes with her starter and then she adds some flour to whatever is left, she doesn’t add any water. Then she puts a lid on it and puts it in the fridge. When she knows she is going to bake, she takes the starter out, feeds it some water stirs it up, and lets it get active. Then she uses the starter.
Helpful Tools for Sourdough Baking
What is a Sourdough Discard?
It is the amount of sourdough starter that you get rid of before you feed the starter. You want to feed your starter enough to keep it alive and healthy. If your starter is too large, you have to feed it a lot to keep it active, as a result the starter just gets bigger and bigger.
Do You Need to Discard Your Sourdough Starter?
The answer depends on a couple of things. How often you bake and how you keep your starter. If you are making something with your sourdough starter nearly every day, then you won’t need to discard it, or perhaps you are using up what you would discard by making things like flatbread or English muffins.
However, if you find that you are only baking once a week, you don’t need to keep your starter out on the counter and feed it daily, you can keep it in the refrigerator and kind of ignore it for a period of time.
What to do with Sourdough Discard?
If you find that you have too much starter, you can simply scoop some out prior to the feeding and put it in your compost, feed it to your chickens, or even better, make something with it!
There are lots of recipes out there for sourdough discard. I love this sourdough apple crisp!
Troubleshooting your Sourdough Starter
Here are a few common things that you may notice with your starter.
- A clearish gray or black colored liquid on top- This simply means that your starter is hungry. You will probably notice this if the starter has been neglected for a day or so. This is nothing to worry about, but if left for a long time without feeding, your starter may die. The liquid is an alcohol by-product called hooch. You can simply pour it off and feed your starter.
- The starter isn’t rising- this can be a couple of things. If your starter is too runny, it just won’t rise like a thicker one. Simply add a bit more flour. The other problem may be the house is too cold. Move the starter to a warmer place like near the stove.
- There is mold on my starter! Unfortunately it’s time to call it quits and start over. Mold is no good
- I’m not sure my starter is active–You can do a float test, grab a small amount and drop it in a cup of water, if it floats then it is active and ready to use.
- My starter is crusty looking on top–That’s okay! You can just scrape it off and feed your starter. This may be an indication that your starter is hungry and you need to feed it more often.
Video for How to Reactivate a Dried Sourdough Starter
That’s it! Reactivating a Dried Sourdough Starter is Really a Simple Process!
I hope you find this post helpful! If you are participating in my #handmadehomechallenge please tag me on Instagram or Facebook, or leave a comment on this post! I love to hear about your learning experiences!
Pin to Your Sourdough Board!
