Simple Basic Beginner Soap Recipe with Shea Butter | Cold Process
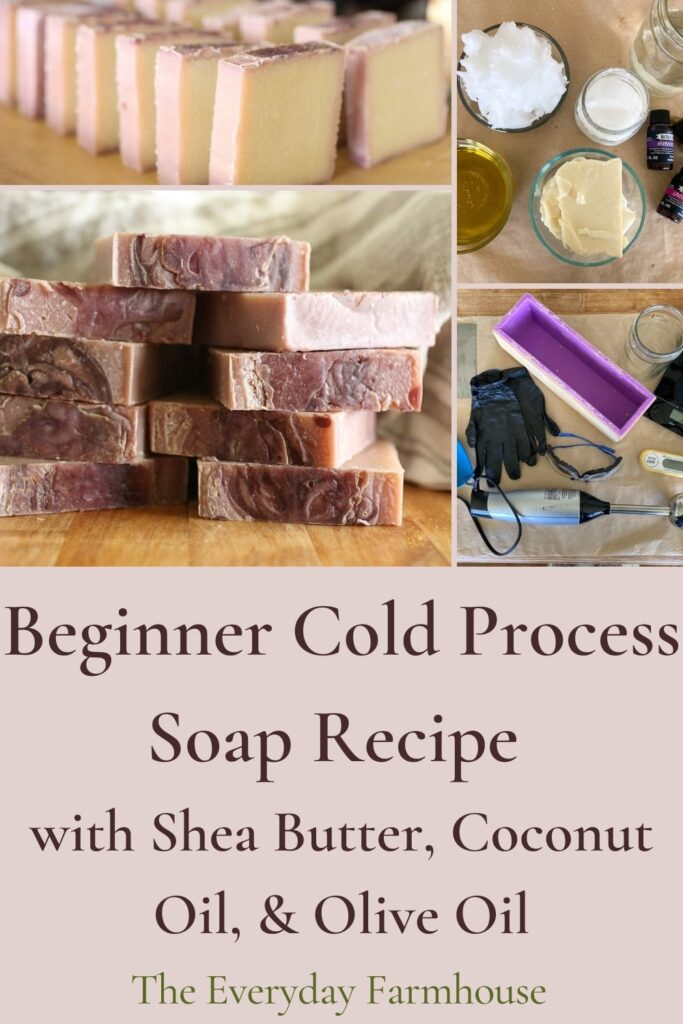
This simple beginner soap recipe is uncomplicated and will give you a great bar of soap for your family or to give as a gift! Getting started in soap-making is a rewarding endeavor that will give you a superior product over store-bought soap!
Not sure if soapmaking is for you? Check out this post on Why You May Want to Make Your Own Soap.
This post contains affiliate links.
Simple Beginner Soap Recipe Ingredients
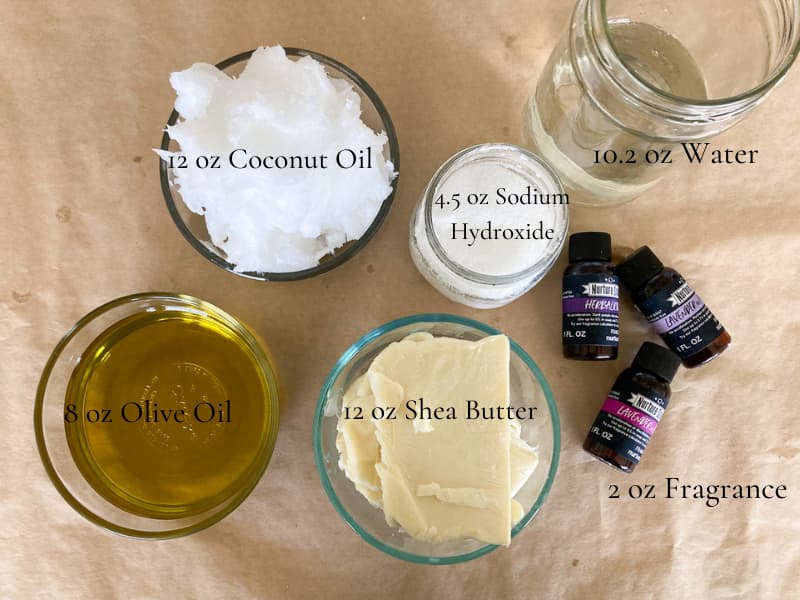
- 8 oz. Olive Oil (25%)
- 12 oz. Coconut Oil (37.5%)
- 12 oz. Shea Butter (37.5%)
- 4.5 oz lye (sodium hydroxide)
- 10.2 oz filtered water I use the Berkey Water Filter and really like it.
- 2-2.5 oz of fragrance oil or essential oil (I love lavender)
- A spray bottle of 99% isopropyl alcohol (optional)
Sodium hydroxide and lye are often used interchangeably when referring to the solid form of the chemical. However, sodium hydroxide is actually the solid form that must be combined with water to make lye. So, when you purchase sodium hydroxide the container may say lye…don’t get confused. Either way, the dry form must be combined with water to make soap.
What is Cold Process Soap?
The cold process is a method of creating soap that requires no extra heat to make the soap. I find this definition kind of confusing because you do actually use heat to melt the fats, oils, or butters. However, that is just to get them to the point of being workable with the lye. After the oils are melted, you let them cool and combine them with the cooled lye. At that point, the saponification process makes its own heat with no help from you.
Cold process differs from hot process soap in that cold process soap heats from the inside out vs. hot process which heats from the outside it. Hot process soap is more rustic in it’s appearance and more difficult to do fancy swirls and get creative with color. However, hot process soap can be used as soon as it hardens whereas cold process soap must cure for 4-6 weeks.
One is not better than the other, it is just a matter of preference. Research each and decide how much hands-on time you want to spend and also what you want your finished bar to look like.
Equipment Needed for Cold Process Soap Making
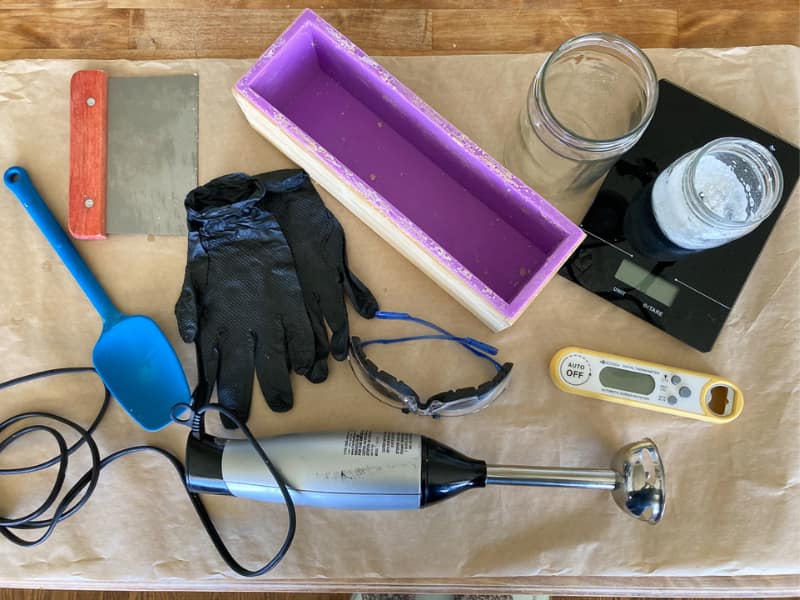
- An immersion blender
- A soap mold-you can actually get very creative with this and use things that you have on hand, plastic containers work well. This post shows how to use a cardboard box to make a soap mold!
- Digital Kitchen Scale
- Gloves – I like nitrile gloves, they are stronger than latex and better for use with chemicals
- Goggles
- Instant read Thermometer
- A Rubber Spatula
- Measuring spoons
- Glass bowl or measuring cup for oils
- Extra spoon or spatula for mixing
How to Make Cold Process Soap
The actual process of soap making is pretty easy. I think of it as mixing up any other batter for a cake or something like that. The mixing part actually goes pretty quickly. There are however a couple of time-consuming parts of soap making. Figuring out which recipe to use, letting the lye cool, heating up the oils, and giving the soap weeks to cure are all lengthy steps. However, none of the steps are difficult.
Step 1
Safety: Wear long sleeves, rubber gloves, and goggles
Set up your area and prepare your mold. Clear away anything not related to soap making. Gather everything you will need. Get your immersion blender, your scale, gloves, goggles, and your rubber spatula, bowl, and an extra spoon.
Set out all of the ingredients. You may find it helpful to measure all of the oils and put them in a bowl then put the containers away, just to keep your workspace clear.
I like to put down some cardboard or thick newspaper to protect my counter. I have a butcher block island top and I have burn marks from where I have dripped lye. Plus your spoon from mixing the oils will make a mess too.
Step 2
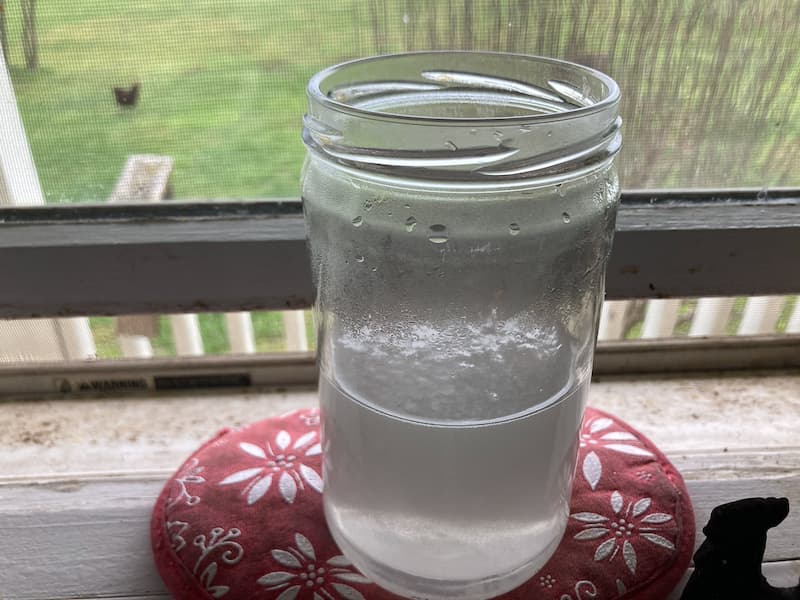
Place the container for mixing your lye on the scale, press tare, and make sure it says 0. Next measure the water-you need 10.26 oz of filtered water.
Then carefully spoon the 4.54 oz of sodium hydroxide into the water until the scale reads 14.84 oz
Set this glass container aside to cool. I like to put mine in a corner of my kitchen counter out of reach of children and in an area that no one really uses.
Step 3-
Melt the oils together. The temperature of the oils should be around 100-1115 degrees when combined with the lye mixture, so watch the temp or allow time for it to cool.
Step 4-
After the lye and the oils have cooled to a similar temperature around 110 degrees, you may now combine them. Place your immersion blender into the bowl or cup of oils, gently tap it on the bottom and wait for the bubbles to rise up, this gets the air out and helps to avoid splatters. Once you have done that take your cooled lye, remember the lye and the oils should both be cooled to 100-120 degrees. Having them within ten degrees of each other is ideal.
What I have found is that the closer to 115 or 120 the lye and oils are the faster it reaches trace. Anything lower than 110 seems to require more blending.
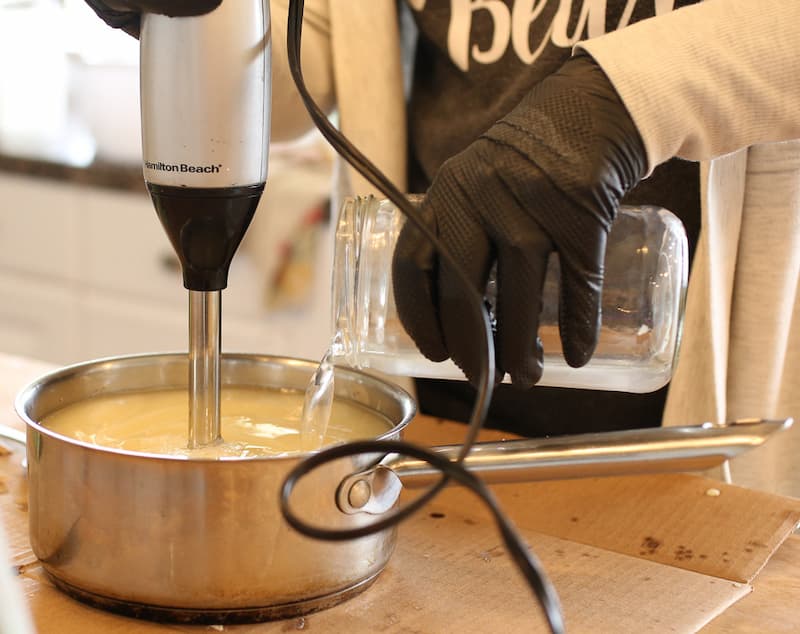
Pour the cooled lye slowly into the oils. Pulse your stick blender and alternate mixing it and stirring with the blender. Check after about 30 seconds. As you mix, you will notice the batter will thicken and also lighten in color. The ideal consistency is like cake batter or thin pudding. You are looking for what is called “trace”. This is when the batter thickens so that when you lift the mixer up a trace will remain on the surface of the batter.
Step 5-
Add in any fragrance or essential oils. Don’t forget this part…the first time I made soap I was so excited about reaching trace that I completely forgot to add the fragrance! I just quickly poured it into the mold!
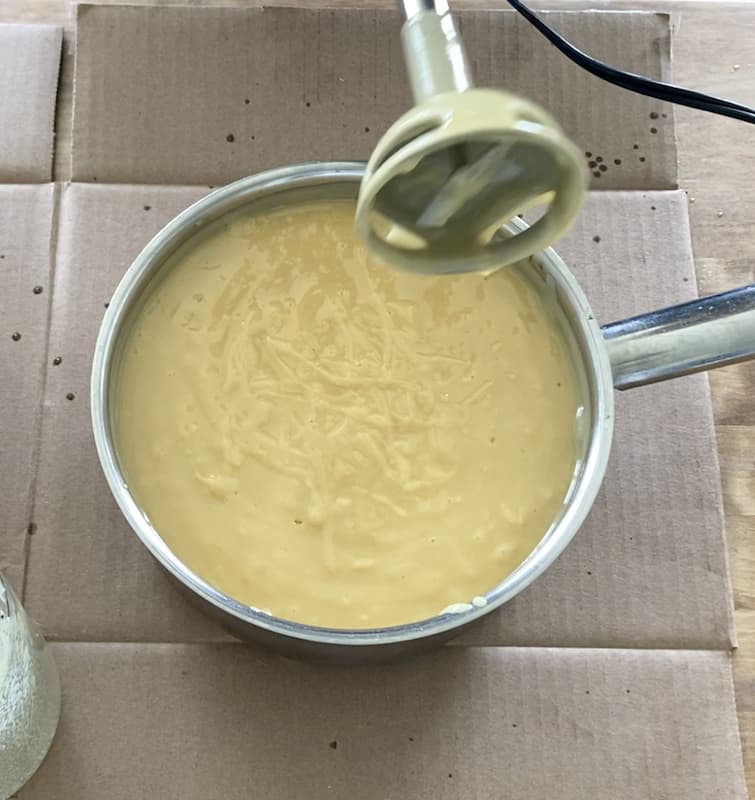
Use a whisk or just stir with the blender to mix the fragrance in to avoid over mixing.
Lastly, pour the batter into the mold and then tap it on the counter to get any air bubbles to rise to the surface. Use caution and keep your safety glasses or goggles on just in case there are any splatters when you tap. At this point, it is still caustic.
Spraying the surface of the soap with 99% isopropyl alcohol will prevent soda ash from forming. It looks like a white film on your dry soap.
Step 6
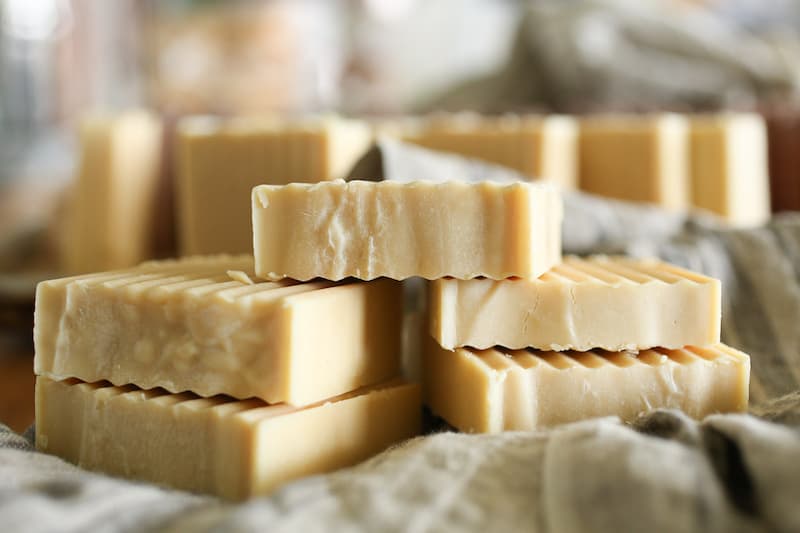
There is a phase called the gel phase that occurs as the soap saponifies. The main benefit of the gel phase is that it intensifies the color of the soap. We didn’t add any colorant to this soap, so the gel phase is your choice. It turns out the fragrance had a colorant in it and I did not know it! That is why this soap has color!
If you want to ensure your soap goes through that phase, you can wrap the mold in towels overnight to keep it warm. Even with this uncolored soap, if you let it go through the gel phase, it will be a darker white.
This is a great article on gel phase, it explains it with pictures perfectly!
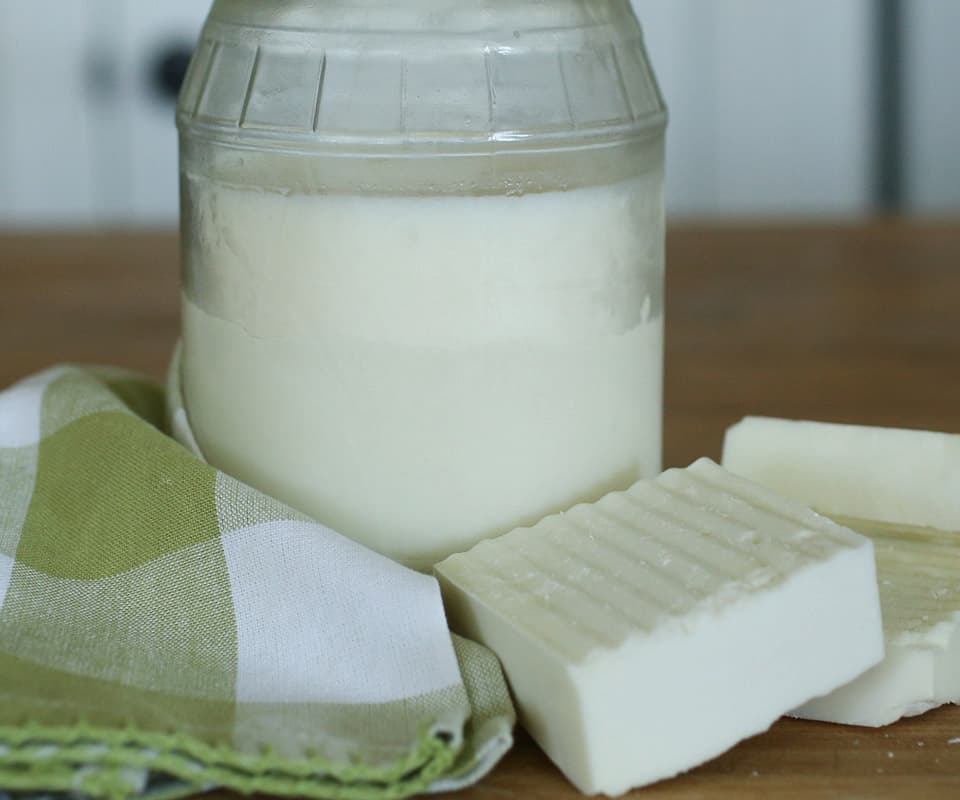
If you want to skip the gel phase, you can pop your mold right in the freezer and let it sit there for several hours. I do that when I am making soap with milk…but that’s a whole other post!
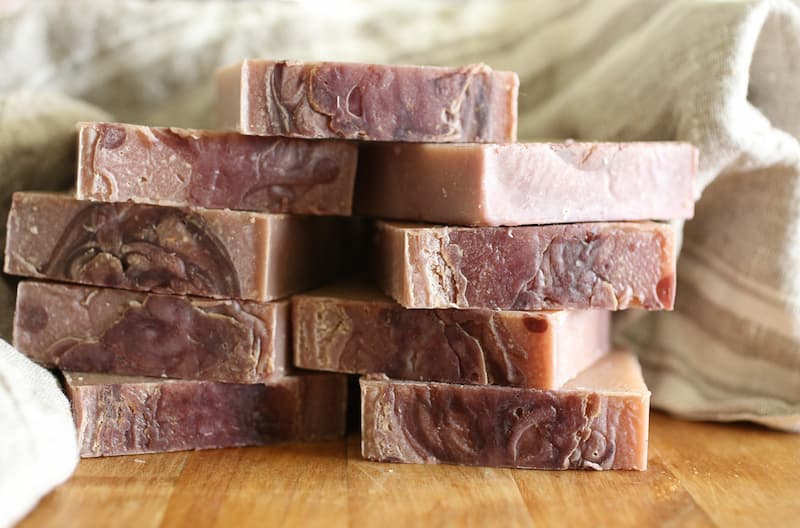
Honestly, I am finding that the gel phase is simply not necessary for saponification. I have had several batches of soap overheat by wrapping it in a towel and it cracked. I rarely intentionally add color to my soap, perhaps I may get into that at some point. This particular bar has color because the fragrance oil contained a colorant…I didn’t realize that and was completely surprised when it came out purple! The fragrance oil was called herbalicious.
Step 7
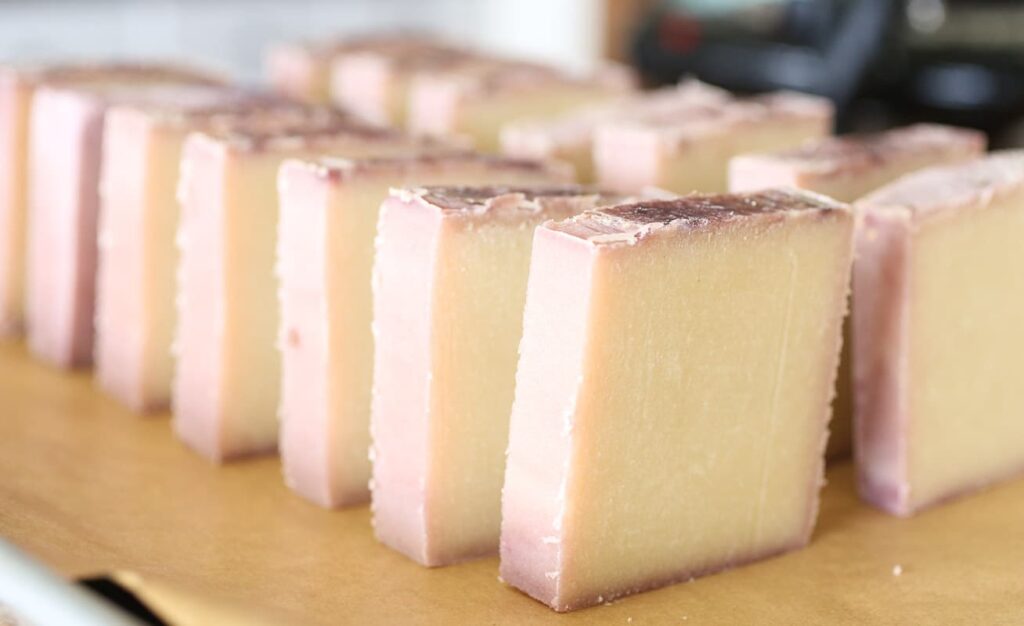
After letting the soap sit in the mold for 24 hours or up to three days, you can remove it from the mold and cut it into bars. Place the bars on a drying rack or a waxed paper-lined cookie sheet so that the air can circulate around the bars. Don’t stack them on top of each other. Set aside where they won’t be in the way.
Lastly, Let the Soap Cure
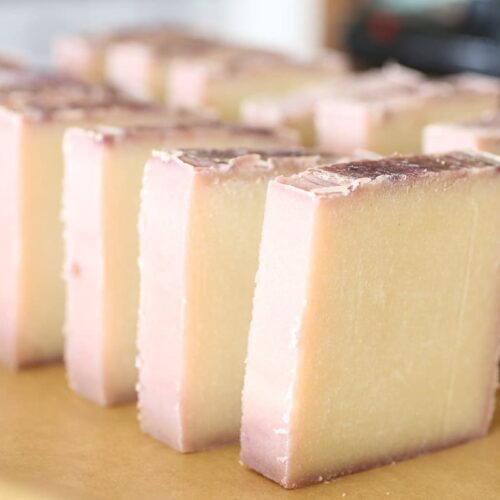
This soap should cure for at least four weeks…I know it’s hard to wait! However, during this time the soap will become hard as the water evaporates and will also become milder for use!
That’s it! Really a fun process and a wonderful way to get creative and make something useful! So let me know if you give it a try and how it goes!
Want to Watch Me Make This Beginner Soap?
Beginner Soap Recipe Cold Process Printable
Beginner Soap Recipe
Equipment
- Immersion Blender
- Soap Mold
- Digital Scale
- Thermometer
- Rubber Gloves
- Safety Glasses
Ingredients
- 8 oz Olive Oil
- 12 oz Coconut Oil
- 12 oz Shea Butter
- 4.5 oz Sodium Hydroxide
- 10.2 oz Water
- 2 oz Fragrance oil
Instructions
- Using a digital scale measure oils and shea butter. Place all of the oils and shea butter in a medium saucepan. Turn on low heat. In a glass container, measure the water. Slowly pour the measured sodium hydroxide over the water. Stir gently. The solution will begin to heat up rapidly. Move to a safe place out of the reach of children. Allow the lye and the oils to cool for about 45 minutes. You are looking for a temperature around 115 degrees. Anything within 10 degrees or so is fine. The higher the temp the faster trace is reached. After both are cooled, you can pour the lye slowly into the pan with the melted oils. Using a stick blender, mix the two together until you reach trace. The mixture will become lighter in color and begin to thicken. Trace is when it is thick enough to leave tracks on top of the batter. Add in the fragrance oil and mix, but don't overmix. As soon as it is incorporated, pour it into the mold. Cover and set aside for 24 hours.After 24 hours you may remove it from the mold and cut it into bars.Set the bars aside to cure for 4-6 weeks.


This has been on my to-try list! I made soap with a friend a few years ago, but want to make it myself. Your process makes it super simple and I can see exactly what I need at a glance. Thank you! I’m going to try it for the #handmadehomechallenge.
Yay! That makes my day Rachael! I hope you love soaping!
HI, Im rating this a 5 because i messed it up. you might find amusing. i don’t know why, but i left directions away from working table and ran back and forth. i used coco butter, coconut and shea. i totally goofed not using olive. i didn’t realize it until they were melted. oh well,, i said, it’ll work. well, it didn’t.. when i added the lye it reached trace in 10 seconds, the blender wouldn’t even work. it was strange, curdled cheese looking. i also realized i used the wrong pan so it may not have been stainless steel. anyway, i went back in the other room to get molds and when i came back a minute later,, i saw it had exploded. i’m thankful i wasn’t in the room. i sstirred with a spatula, what a waste of time and money… we’ll see what happens.
oh dear! Yes having soap seize like that is very frustrating. It’s best to make soap with no other distractions and just really focus on what you have going on with it!
Jenn – I had an explosion too but think it was because I didn’t allow my oils to cool enough prior to mixing the lye. What temperature should the lye and oils be, prior to mixing? Room temp?
Because of the explosion, I used my immersion blender on high to try to salvage the excess bubbles. It worked, I think. I was able to cut and start the curing process earlier because my soap was so rigid going into the mold.
The recipe states that they should be within ten degrees of each other. Usually around 100 degrees. I’m not sure what you mean by explosion…I’ve never had that. Perhaps it was overmixed and seized up?
Hello Jen,
Thank you for sharing this recipe! I am brand new to soap making, and appreciate the help!
I had two questions: can I add sweet almond oil to this recipe? If so, how much would you recommend?
Thank you!
As far as adding or taking away oils from a recipe, you really can’t do it without running the recipe through a lye calculator. This soap recipe is about 5% superfatted which means there is about 5% of the oils or fats that is left after the lye eats the rest and saponifies. This leaves 5% for moisturizing, some people superfat up to 8%. If you want to add sweet almond oil, you would want to take away some of the other oils or increase the superfat and that would change the lye content. A lye calculator is easy to use and allows you to play around with your ingredients and make sure your end result is safe to use. I like this one https://www.the-sage.com/lyecalc/
Hi Jenn,
Thank you for this recipe. I am looking forward to trying it but wondered if it can be increased using the same proportions. Could I multiply ingredients by 1.5 or 2 and would it still work? I have a large soap mold that I purchased .
Also, I prefer essential oils. Would the amount using essential oils instead be the same for this recipe?
Thank you.
Yes, it should work just fine! Yes, use the same amount of essential oils