Cheerful Vintage Farmhouse Bathroom on a Budget
Creating a cheerful vintage farmhouse-style bathroom on a budget is possible. Join me as I walk you through all the steps we took to take our bathroom from ultra-funky to fresh and farmhouse!
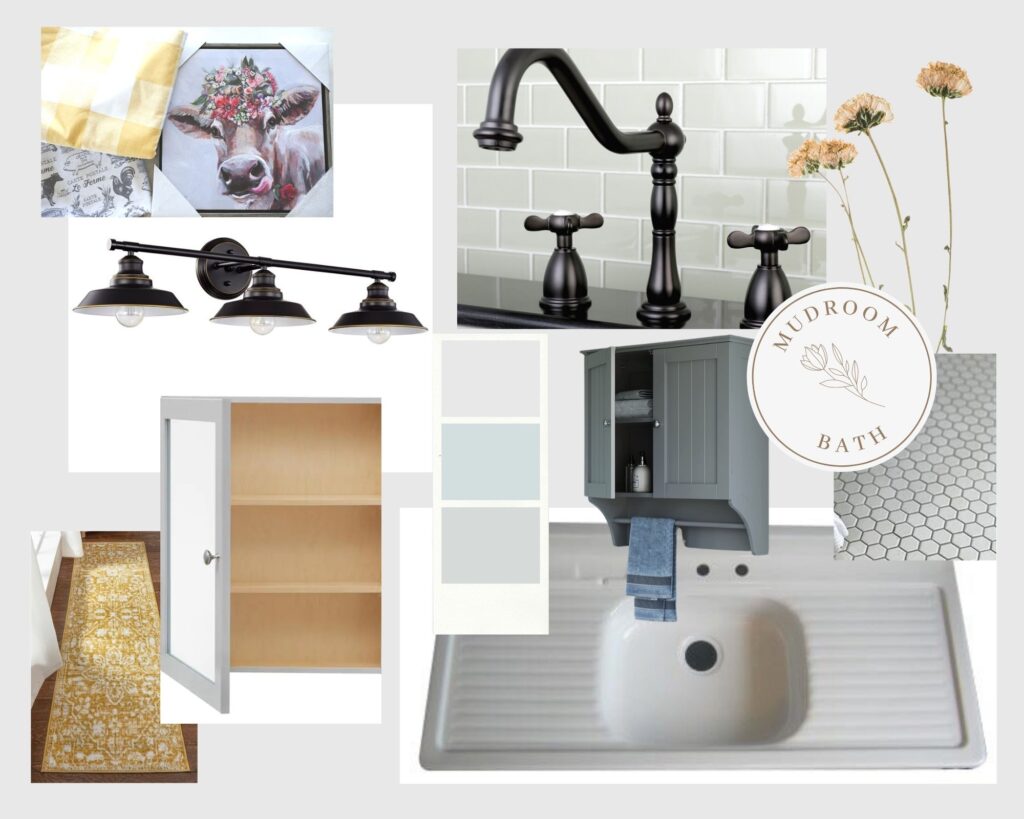
Farmhouse Mudroom Bathroom Makeover
Do you like a good before and after? Good! Me too! This bathroom was one of the worst places in our house. It’s a small bathroom right inside our mudroom/laundry room. We made over our mudroom a while back, you can see all the details on that here.
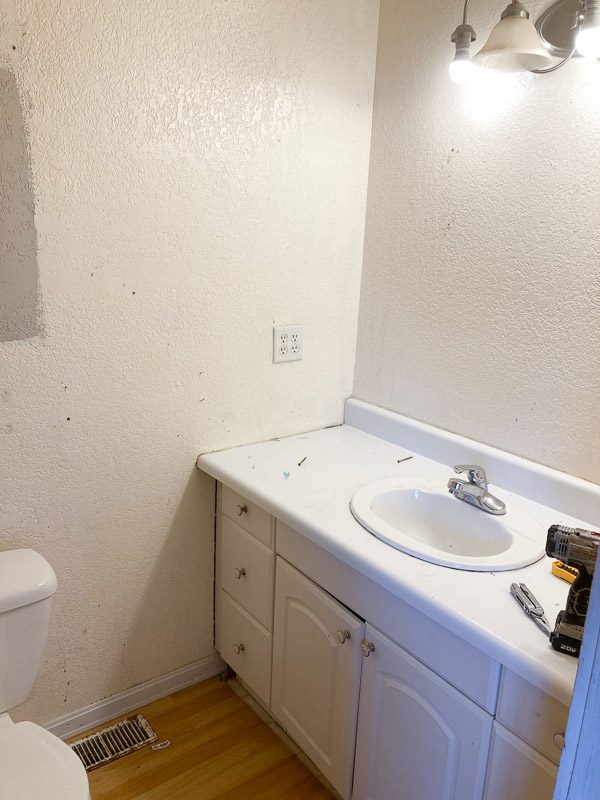
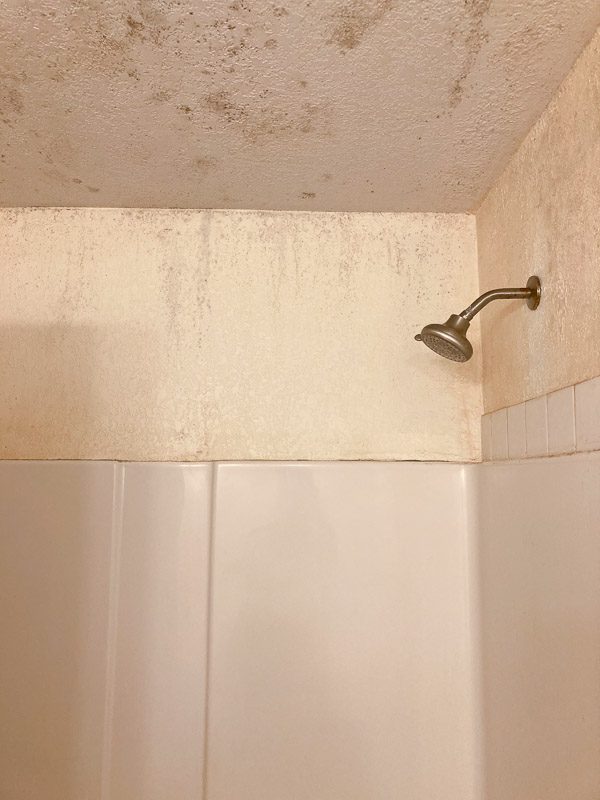
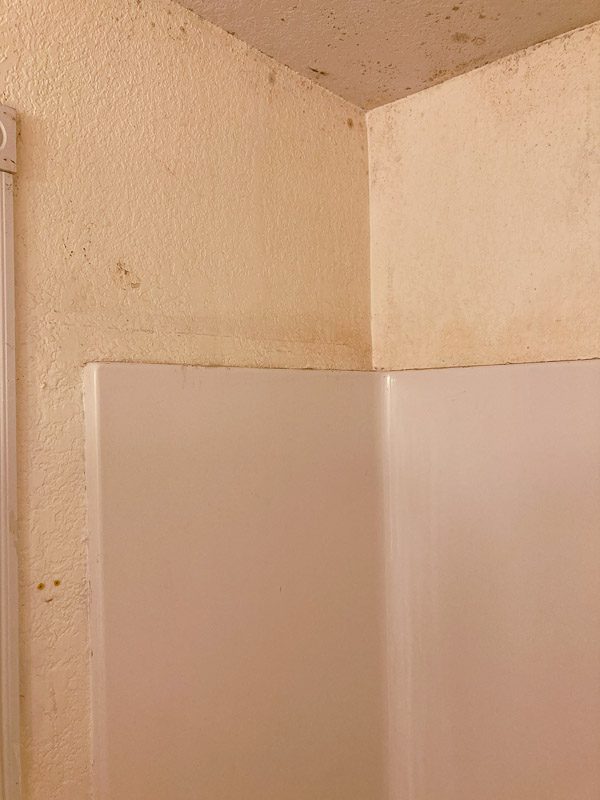
We’ve lived in this house for 10 years now and have redone two of the four bathrooms. I had painted this one once, but it really needed to be gutted. We had a serious issue with mold. The previous owners did not use the right kind of drywall for bathrooms, so there was mold on the walls. Also, we had a leaky roof and that added to the mold on the ceiling. We got a new roof last year, so with that problem fixed, we knew we needed to tackle this bathroom.
Being a large family, there is never really a good time to cut out a bathroom. We decided to take this on over the summer because we have an outdoor shower near the pool. I will someday share a tutorial on that here. Anyway, having that place for the kids to shower really made this project possible.
Before Mudroom Bathroom
Here are a few before shots of the bathroom…pretty funky!
After Farmhouse Mudroom Bathroom
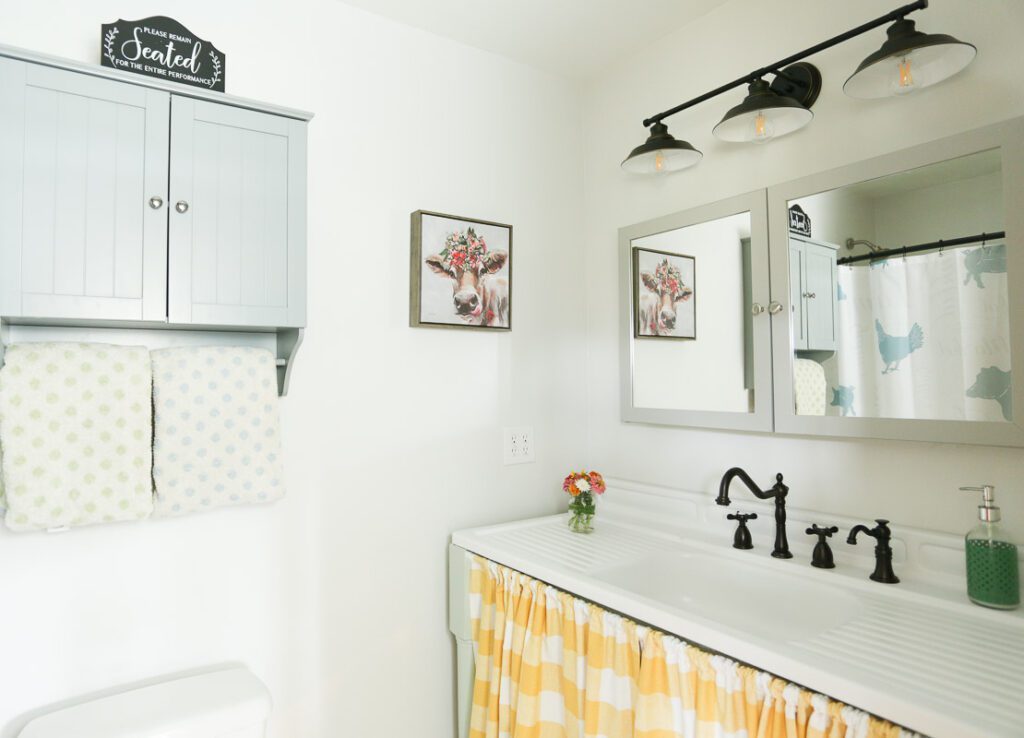
Much better right? We did not replace the shower. The bathroom is pretty small, and in order to remove the shower and get a new one in there, my husband would have had to take out the entire wall with the door on it. The shower itself wasn’t in terrible shape. We scrubbed it down, replaced the rusty rod with a better one, and hung a new curtain. Plus, keeping the existing shower helped to keep the cost down! We also kept the same toilet, but we did replace the seal.
This bathroom has no windows and it was super difficult to photograph… which is why the lighting looks odd in some of the pictures. The color of the curtain is more like the picture above, not so much the one below.
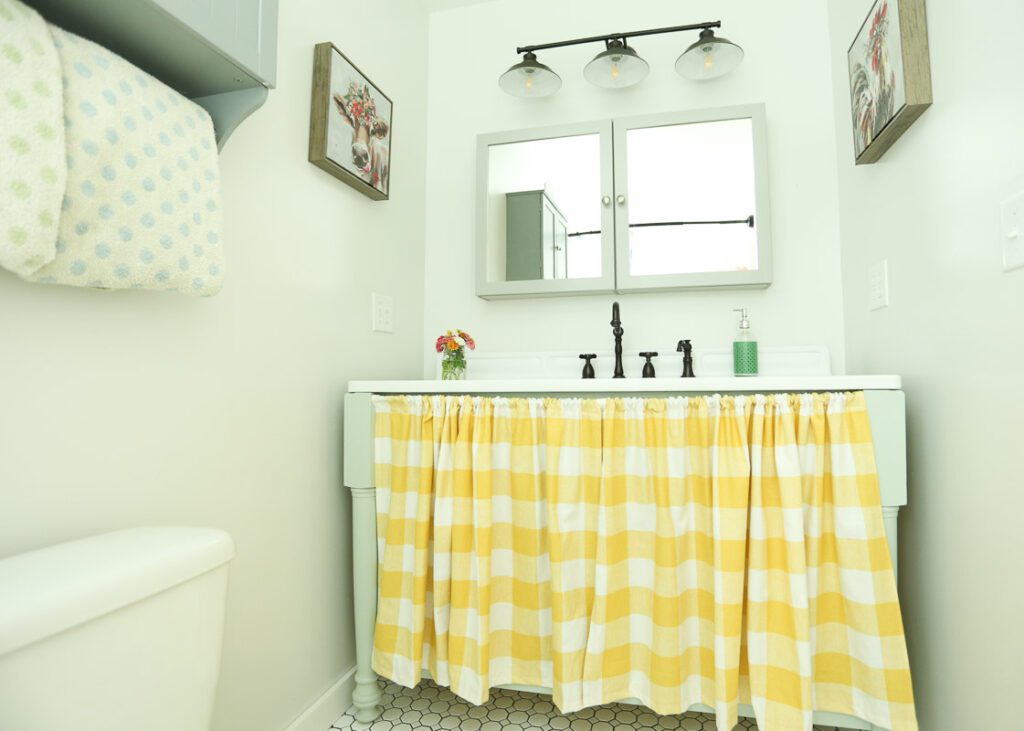
Shop This Post for Similar Looks
Here’s What We Did to Create a Vintage Farmhouse Bathroom
- Gutted the bathroom down to the studs
- Hung new bathroom grade drywall
- Taped and mudded the walls and ceiling
- Put in a new vent
- Put in new flooring
- Painted the walls Glidden Light Pelican Grey
- Hung new lights
- Hung three new cabinets
- Refinished the vintage sink
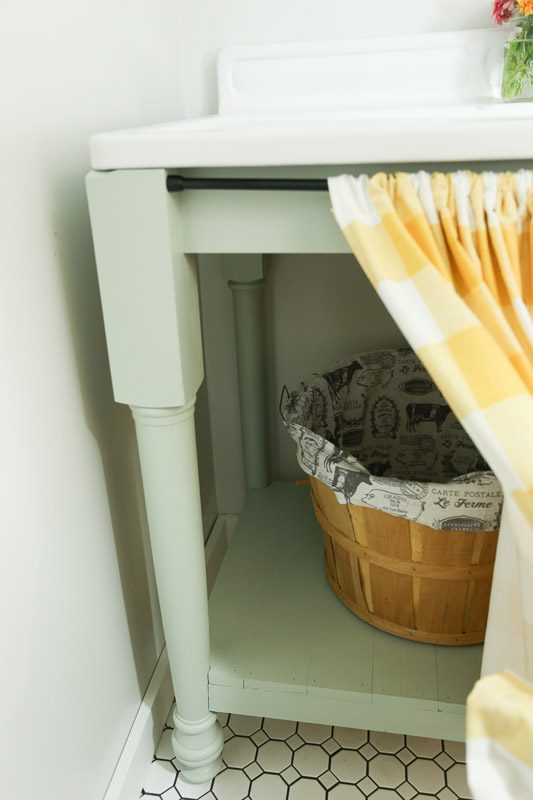
- Built a base for the sink
- Sewed a curtain for under the sink
- Sewed basket liners for the bushel baskets
- Hung artwork
- Installed a new shower curtain rod and new curtain with these rings
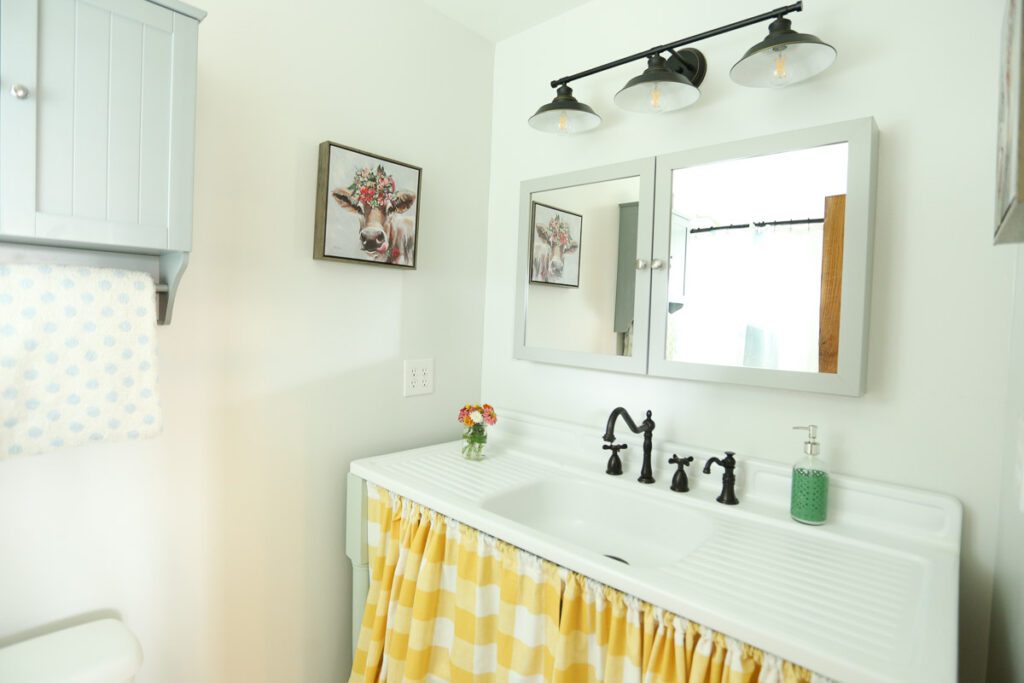
Mirrored Medicine Cabinet
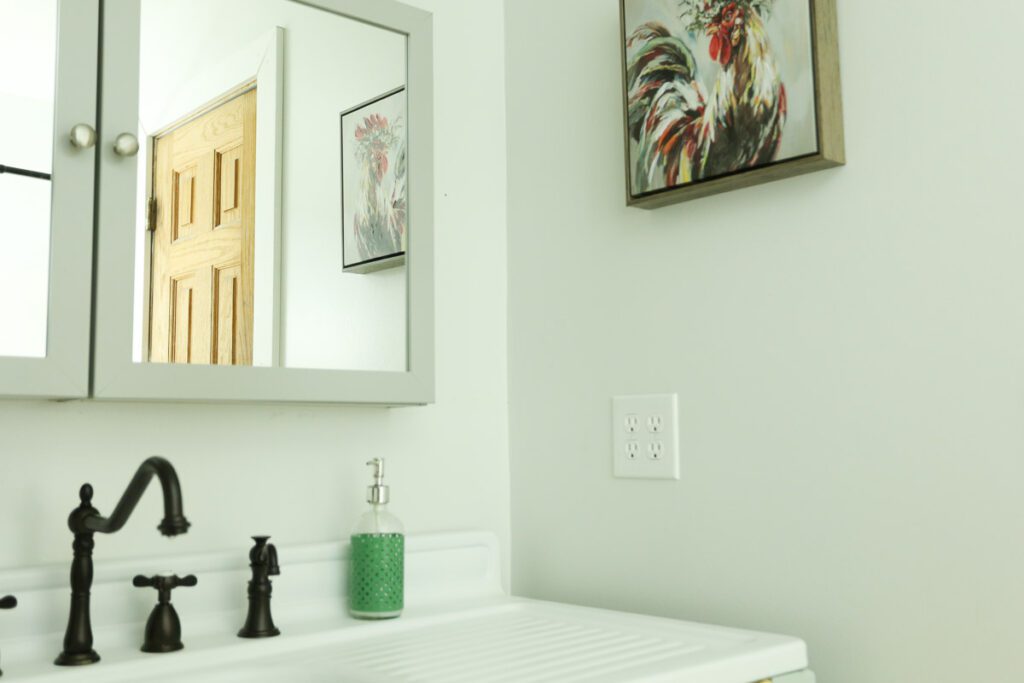
I had a ridiculously hard time finding a mirrored medicine cabinet that I liked and that would fit the space. Truly, I truly cannot stand the large tri-folding cabinets. I understand they are practical but to me, they are just ugly. Anything else that I found was ridiculously expensive, like more than we wanted to spend on the entire bathroom. I bought a couple of cheap cabinets at Menards, and my husband even hung them, but they were so cheap-looking that we knew there was no way we could use them.
I thought I had found the perfect ones at Ikea. However, Ikea is 2 hours away and they are still forcing the mask nonsense so I couldn’t bring myself to shop there. Just when I was about to talk my husband into building cabinets, I decided to search local one more time. I looked on Lowe’s website and found this one! It’s actually two cabinets that he butted right next to each other. I thought I wanted white, but I think the grey gives a nice contrast so I’m not going to paint them at this point. They were affordable too at around $60 each!
Vintage Metal Farmhouse Kitchen Sink in a Bathroom
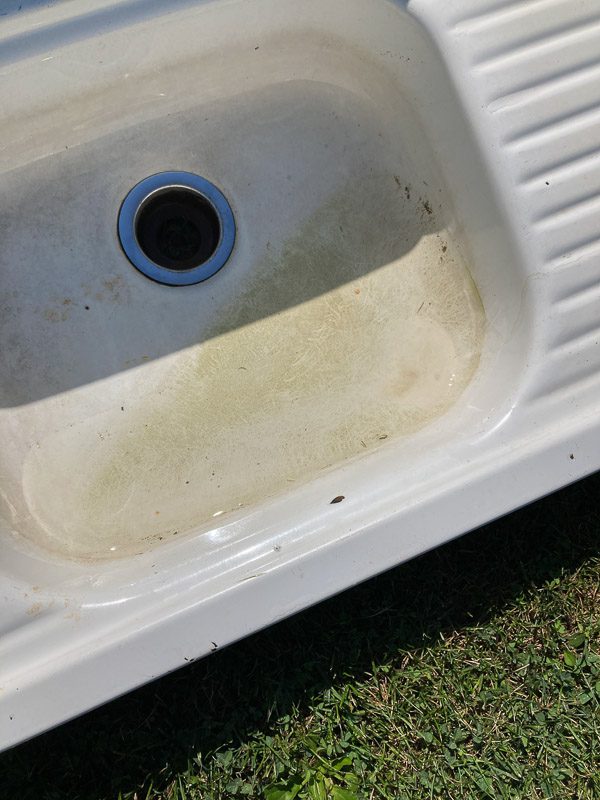
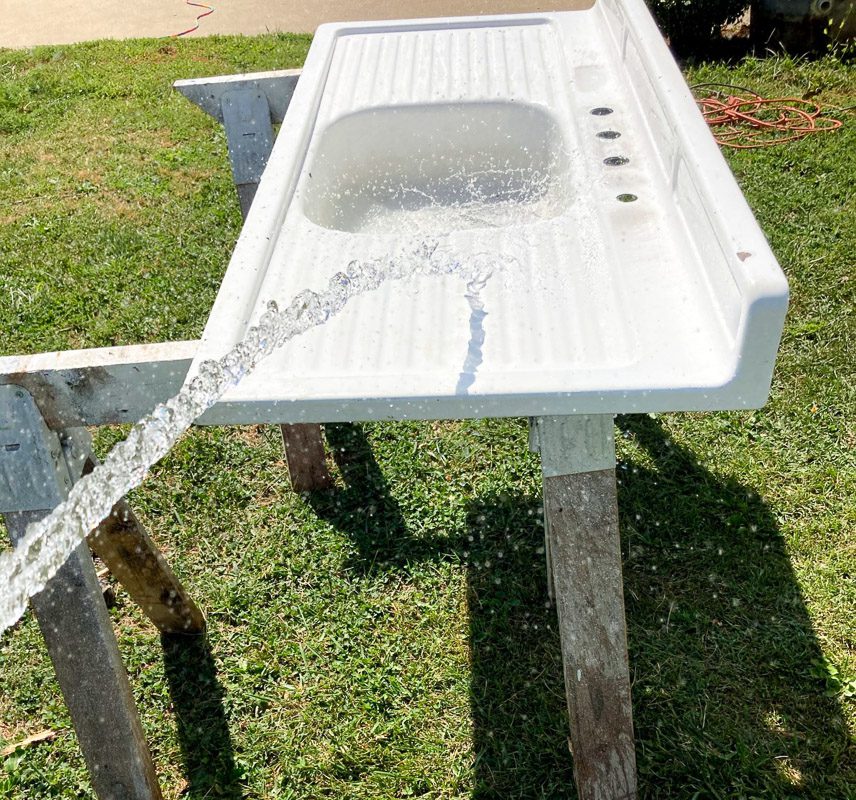
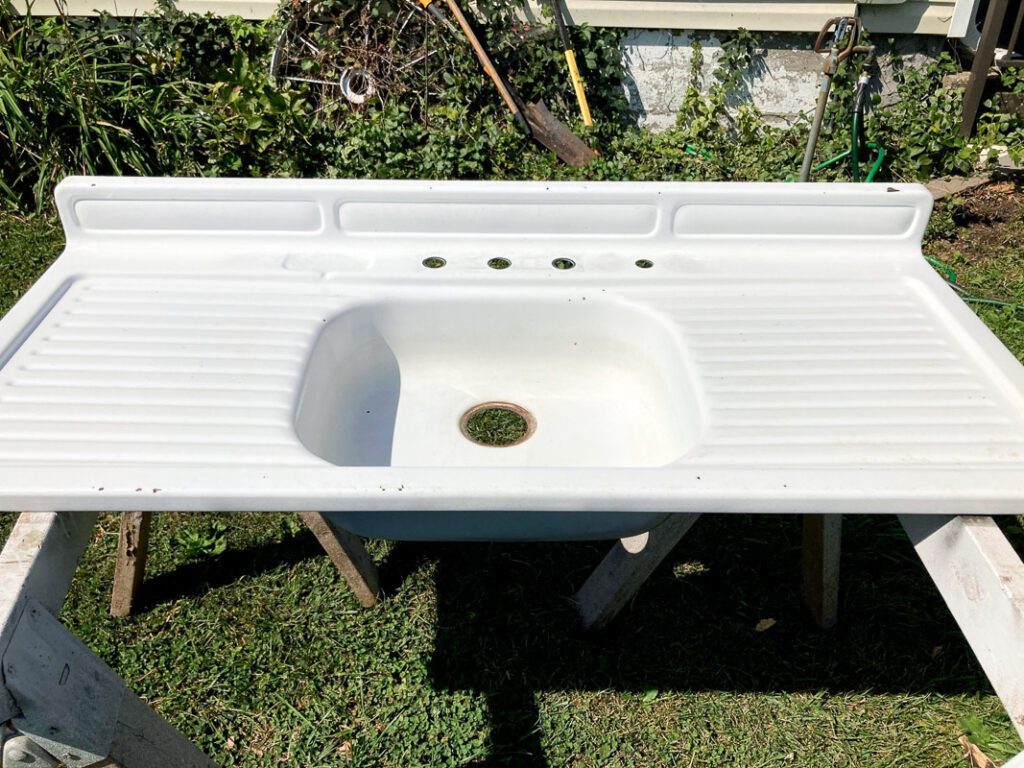
I am aware that this is a kitchen sink. However, I had it on hand and it wouldn’t work in our kitchen. I had been saving this sink for years. We used it outside for the kid’s mud kitchen. It was in decent shape, and I was actually hoping to just give it a good scrub and be able to use it without refinishing it. However, even after scrubbing, it was still stained and scratched. The big chips didn’t bother me, I think those just add character, but I knew I wouldn’t be happy with the dark stains in the basin. I researched a million different ways to redo a vintage sink. We were trying to do this bathroom on the cheap, so spending a thousand dollars to have it professionally refinished wasn’t an option. So, here’s what I did.
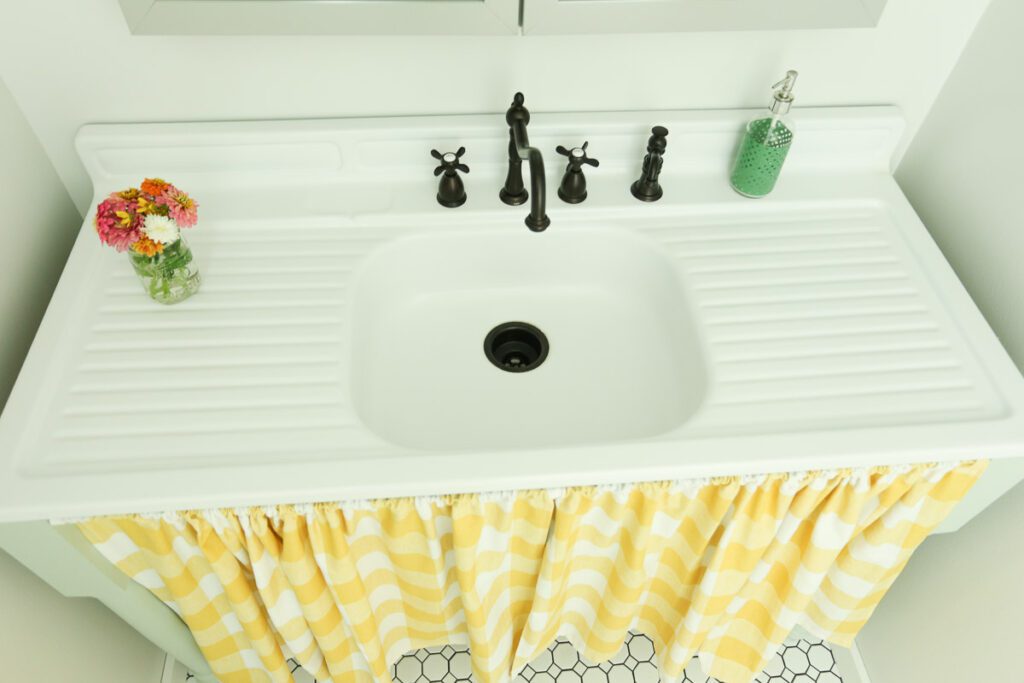
How to Make Over a Vintage Metal Enameled Sink
There are several products on the market specifically for redoing tubs and sinks. However, many of them are quite expensive and really don’t get great reviews. I watched a couple of videos of people using this product but just couldn’t get excited about trying it. It looked messy and again it was quite expensive. Then there was this product, but it didn’t get great reviews on the actual color of it, and it was $30 for a kit.
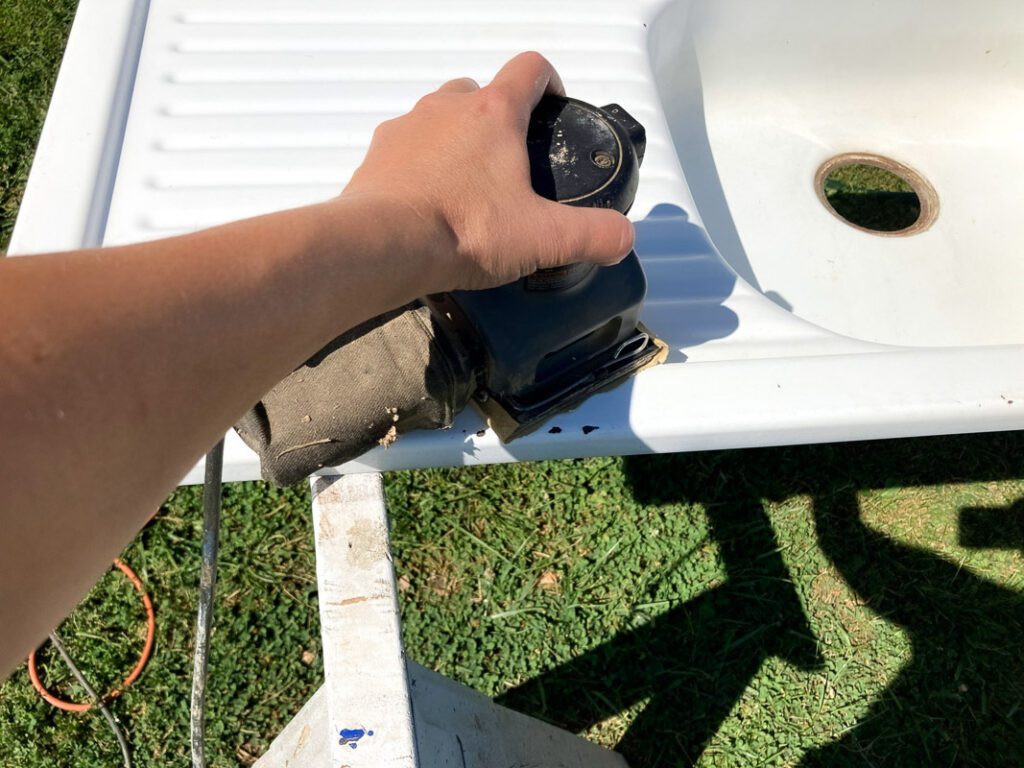
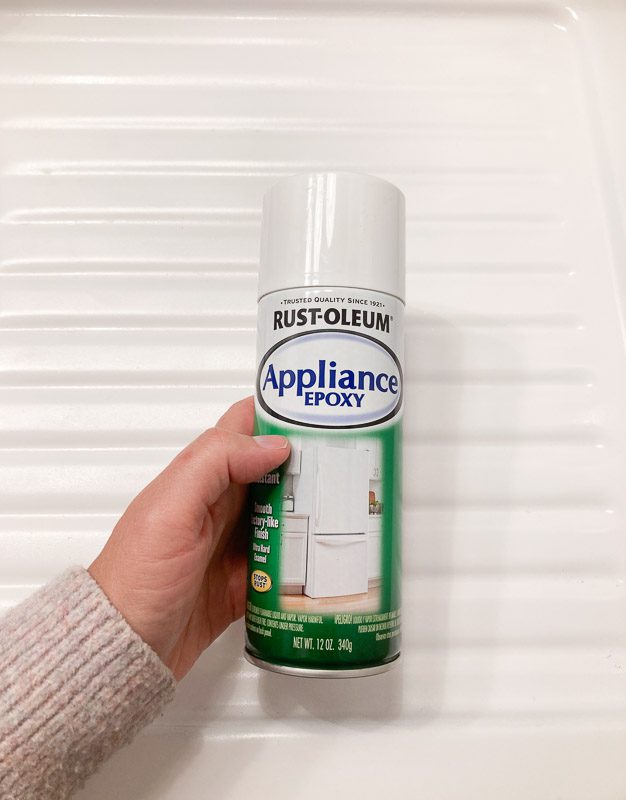
I tried a professional enamel paint first and after one coat, I knew it wasn’t going to dry as hard as I would need. So I sanded that off and decided to try this appliance epoxy. Lowes didn’t have it in stock when I was shopping, and that’s why I bought the enamel paint. If you are thinking about trying this, I would definitely recommend an epoxy, not an enamel. It just dries much harder. The appliance epoxy is super cheap, like less than $5 a can and it took less than two cans to cover the sink. Thankfully they had it in stock at a different store. I knew after the first coat that this was much more like it. It dries to a hard glossy finish.
Of course, I cannot speak to the long-term durability of this finish. I would definitely let it cure for at least a week before using it. The directions do not recommend using a primer first. I had already primed mine, so we will see if that makes a difference. The can says it is water-resistant and scrubbable. Only time will tell. Honestly though, if I have to touch it up, it’s easy enough and certainly cheap! It looks nice for now anyway! I don’t think you will come up with anything that is going to hold up like a professional baked-on finish, at least I truly doubt it!
Under Sink Storage
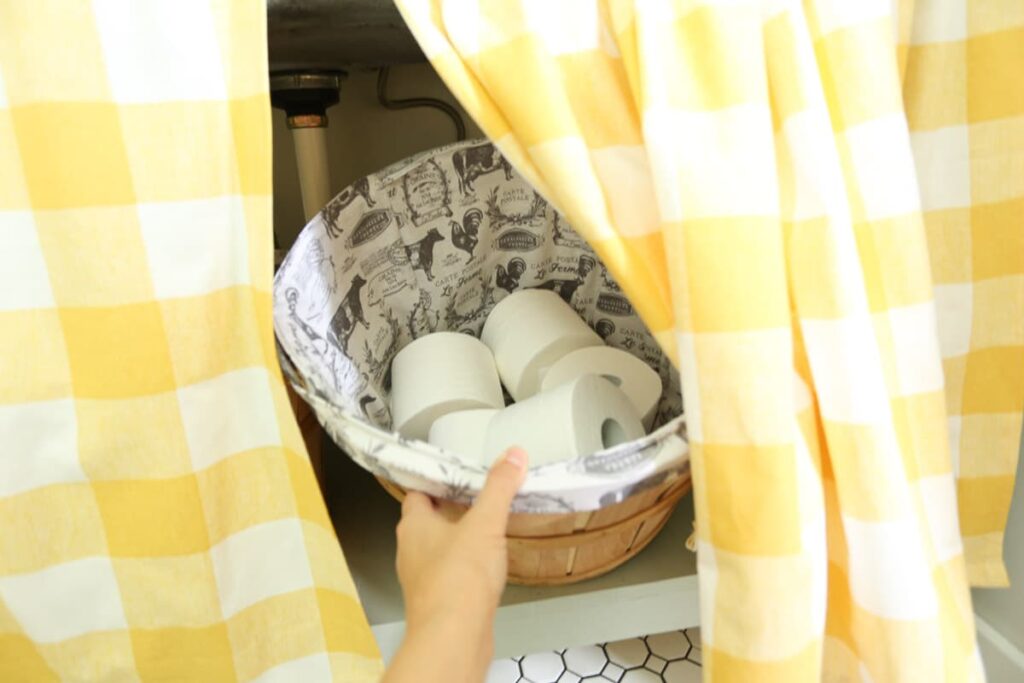
I was searching for big baskets to use under the sink for toilet paper and other personal items. I couldn’t find anything that I really liked. Then I remembered that I had these bushel baskets! You can get these ultra cheap at Hobby Lobby.
The fabric for the liners is also from Hobby Lobby, and I have a tutorial on how to make these right here!
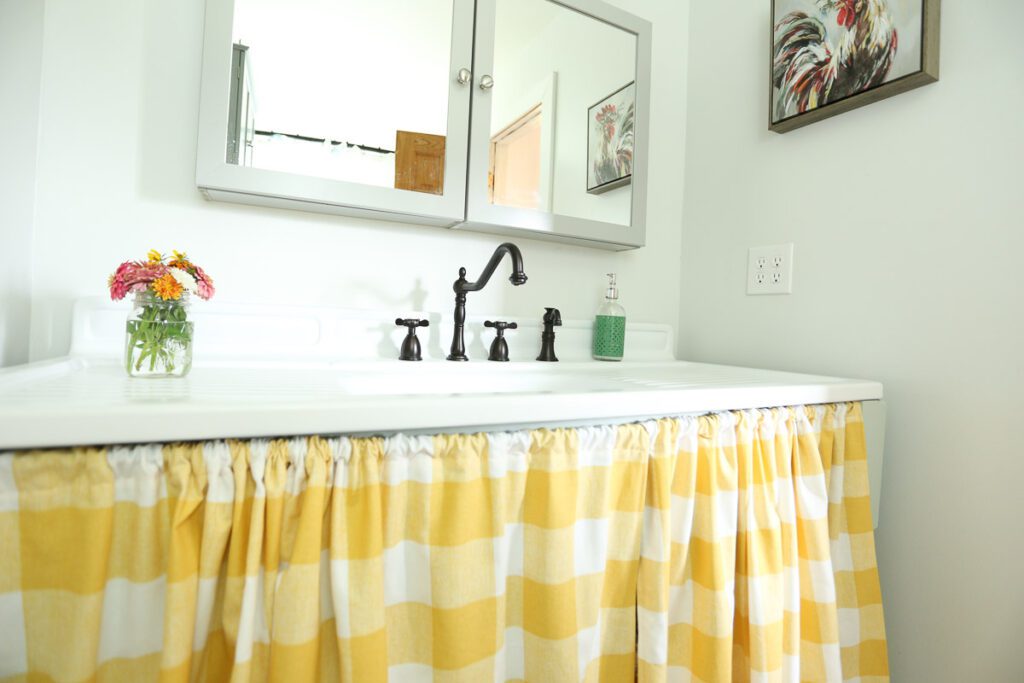
Yellow Buffalo Check Fabric
I love buffalo checks, you can see my buffalo check dining room here. I searched for just the right fabric for the curtain, I kind of wanted a bright floral, but when I saw this yellow buffalo check I knew it was exactly what I wanted!
Shop-Fabric.com is where I purchased this fabric. This post is not sponsored, but I just want you to know that this is a great place to get fabric! Their selection is beautiful and the customer service is top-notch! My first order arrived quickly and unfortunately, there was a problem with it. There was a factory seam and a couple of little blemishes. I reached out to the company on a Saturday and they got right back to me. The lady was so helpful and they replaced the fabric, even overnighting it to me!
Total Cost of a DIY Vintage Bathroom Makeover
This is an average, I looked through receipts and I think this is all pretty accurate! The total is $1,265. Not too bad I suppose. It could have been close to double that if we had replaced the shower and toilet. The faucet was the biggest splurge. I’m sure I could have found a cheaper one…but I really liked this one!
- Drywall including mud and tape- $100
- Paint for walls and sink base-$55
- Tile including thinset and grout and backerboard- $230
- Lumber for sink base-$125
- Lights- $130
- Three Cabinets-$185
- Faucet and drain- $250
- Fabric-$45
- Sink Paint-$10
- Plumbing-$40
- Curtain Rod-$40
- Curtain and Rings-$25
- Artwork-$30
Farmhouse Bathroom on a Budget
I hope you enjoyed this vintage farmhouse bathroom makeover! In the future, I will be sharing about building the base for the farmhouse sink. If you have any other questions on this farmhouse bathroom makeover, feel free to ask in the comments!
Pin and Share!





Cutest bathroom ever and the skirt is perfection. I need to keep this post for my bath. thank you.
Thank you so much Diana! It is definitely much improved! The fabric was super affordable too!
Love, love, love the sink! Nice save! I still remember the one in my grandma’s kitchen. Looking forward to seeing your outdoor shower. Happy Sunday!
Thank you Terry! I wasn’t sure anyone would be interested in the shower, now I know that I should share it!
Wow! Not only is it so pretty, it’s so functional!! We’ll be sharing your post in our weekly roundup on Sunday. Thanks so much for sharing it with us on the Wonderful Wednesday Blog Hop!
Thank you so much!
I love this makeover! Great idea using the kitchen sink.
Thank you Kippi!
This is such an adorable bathroom redo! I love that sink. I’ve always passed them up because I didn’t know how to make it look new again. Never thought about Epoxy paint! Everything is fantastic. Thank you for sharing it at Farmhouse Friday. We are featuring it tomorrow. Hope you link up again soon. Pinned