How to Paint Buffalo Check Walls–Our Dining Room
This project was done in collaboration with Zibra Paint Brushes. This post also contains affiliate links.
Be sure to check out the video at the bottom!
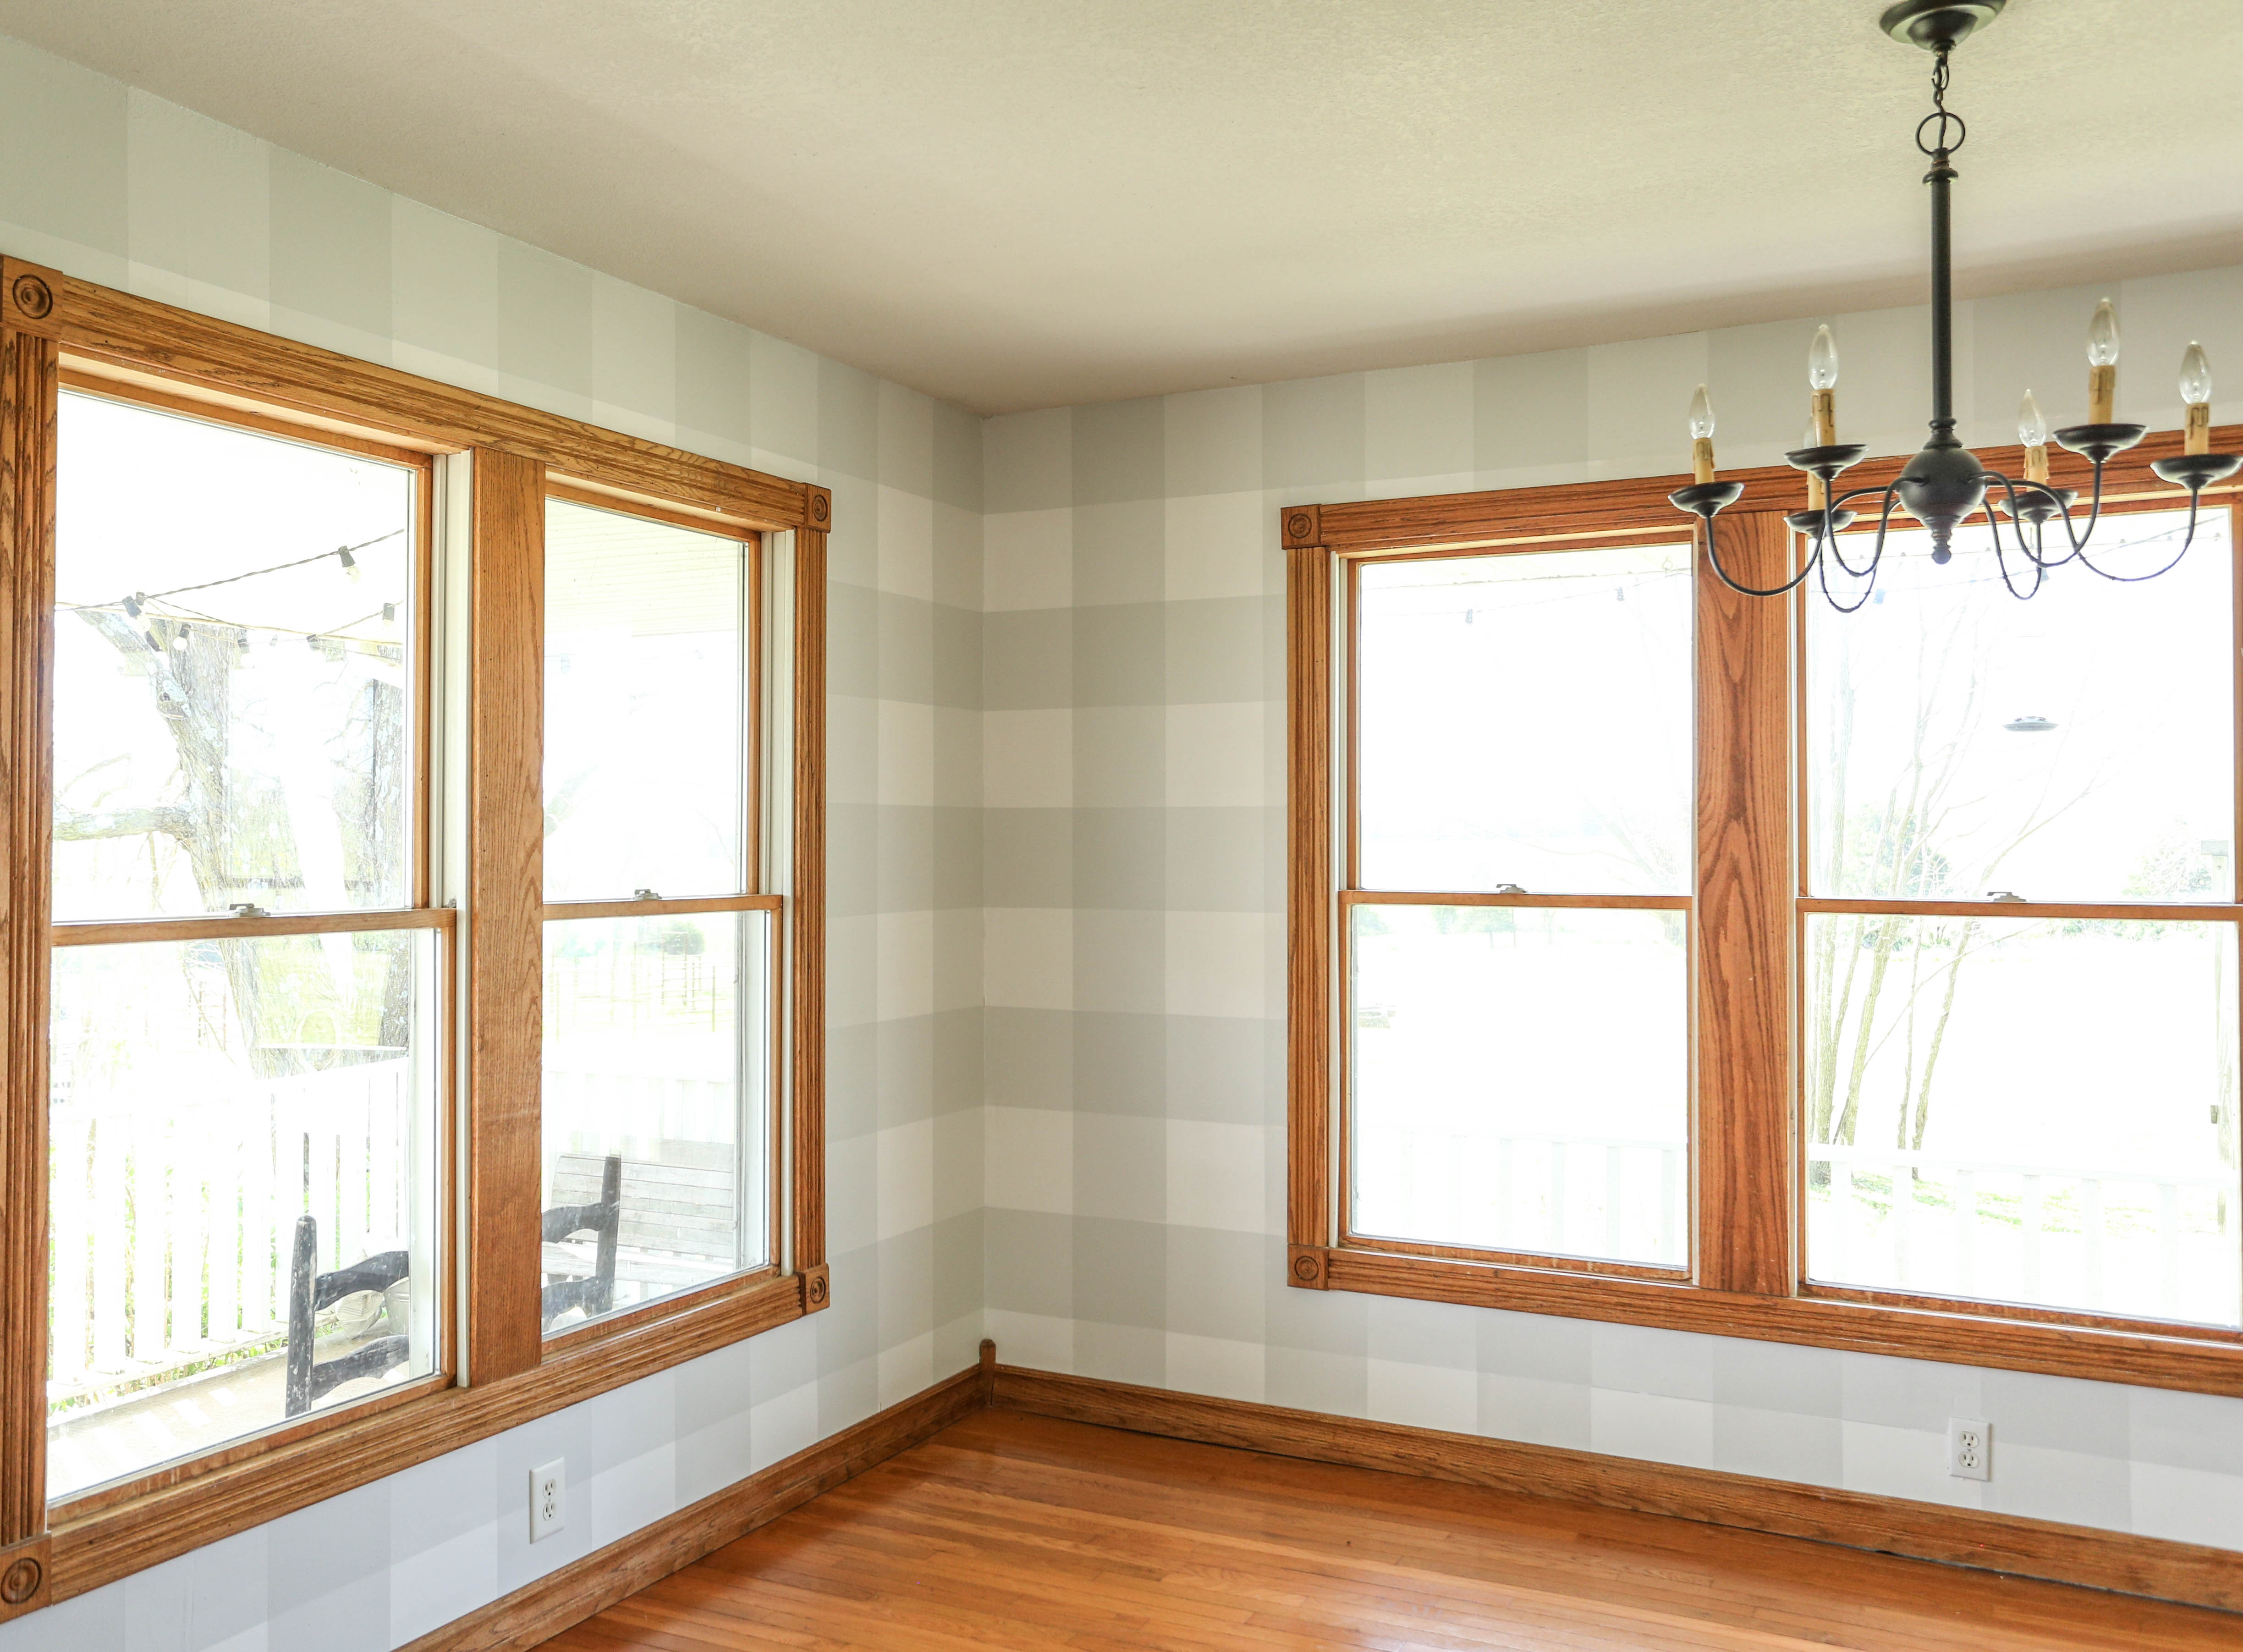
I love buffalo checks! They give such a homey feel to any space. I have been wanting to add buffalo check walls to my dining room, but the rolls of removable wallpaper are quite expensive! Plus, we have lived in too many houses that were done in the 90’s. The word wallpaper makes my husband revolt! So, I decided that painting them would be a good option.
If you remember my mudroom post, you know that I am not afraid of taping and painting.
Disclaimer: This project is quite labor intensive. I should have probably stuck with just doing an accent wall rather than the whole room! However, I truly love the way this turned out. Also, due to the fact that the paint must dry before taping the next rows, you must allow for several days to complete this project. So, let’s get started with how to paint buffalo check walls! There is also a video below to help you see the process!
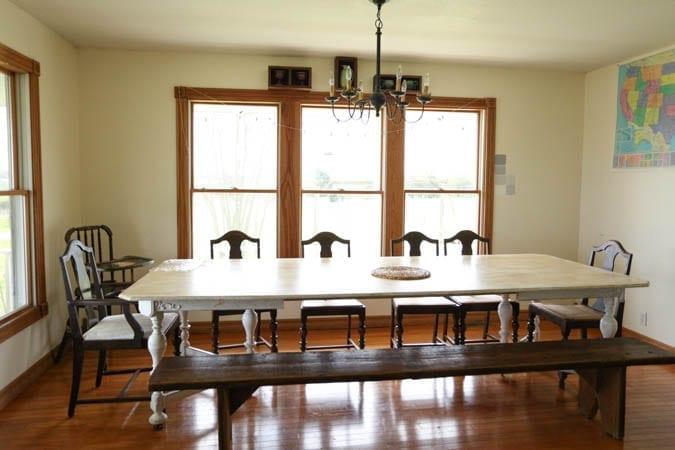
First, Here’s a Before
Step 1:
Select your paint colors. True, buffalo check has four colors, however we only did three and it is just perfect. It is vital that you are absolutely sure of your colors before you start painting. This is not a project that you want to change your mind on midway through…ask me how I know!
Tips for selecting your colors:
My mistake was trying to select coordinating colors, a dark grey and a light grey. What I found was that this just doesn’t work well. The best thing to do is select the white, and then select the darkest color. For me I chose Dutch Boy Baltic Grey. Then you need to ask your paint person to mix the third gallon at 50% saturation of the first color you picked. Now, this is not difficult at all. However, I found that not every paint counter worker is aware of this process. I had to ask several people before they pointed me to the assistant manager. He knew what to do and was happy to help me. It is as simple as typing a number into the computer.
Step 2:
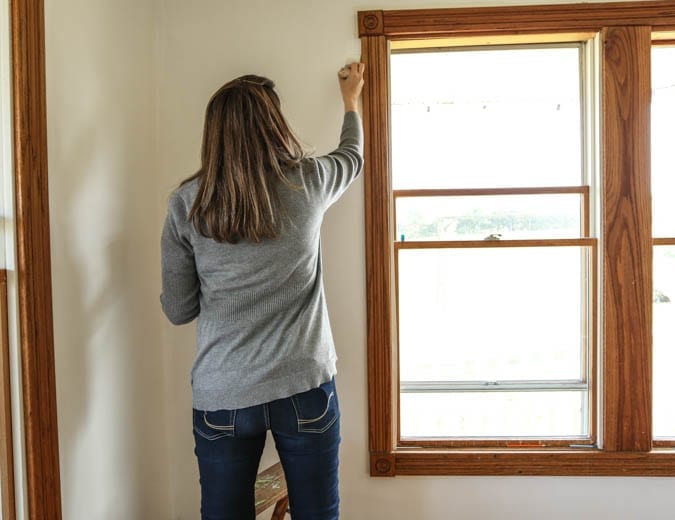
Lay out your project. To start, we measured the walls length and height to help us decide on what size squares we wanted. This took some math, of which I had no part. My engineer husband did all the figuring. I just told him approximately how big I wanted the squares. He measured down to the sixteenth of an inch to make sure they came out as even as possible. Our squares are 9 9/16”
Step 3:
Prep your wall. Make sure it is clean and smooth. Patch any holes. Sand smooth and prime. Even if you are using a paint that contains paint plus primer, it is important to prime over any areas that have been patched. If you do not, the paint will stick to the tape and come off when you remove it! Again, ask me how I know!
Step 4:
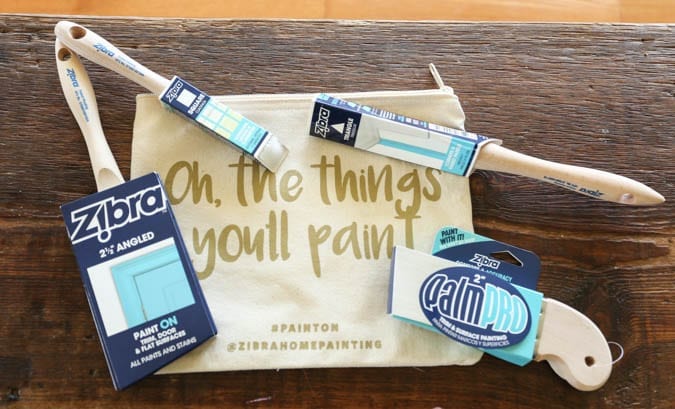
Paint the base color. For us this was white. Use a good paintbrush to cut in around windows, doors, corners and ceiling. I really liked the little palm brush for this. It has the most accurate angle of any brush I have ever used.
Step 5:
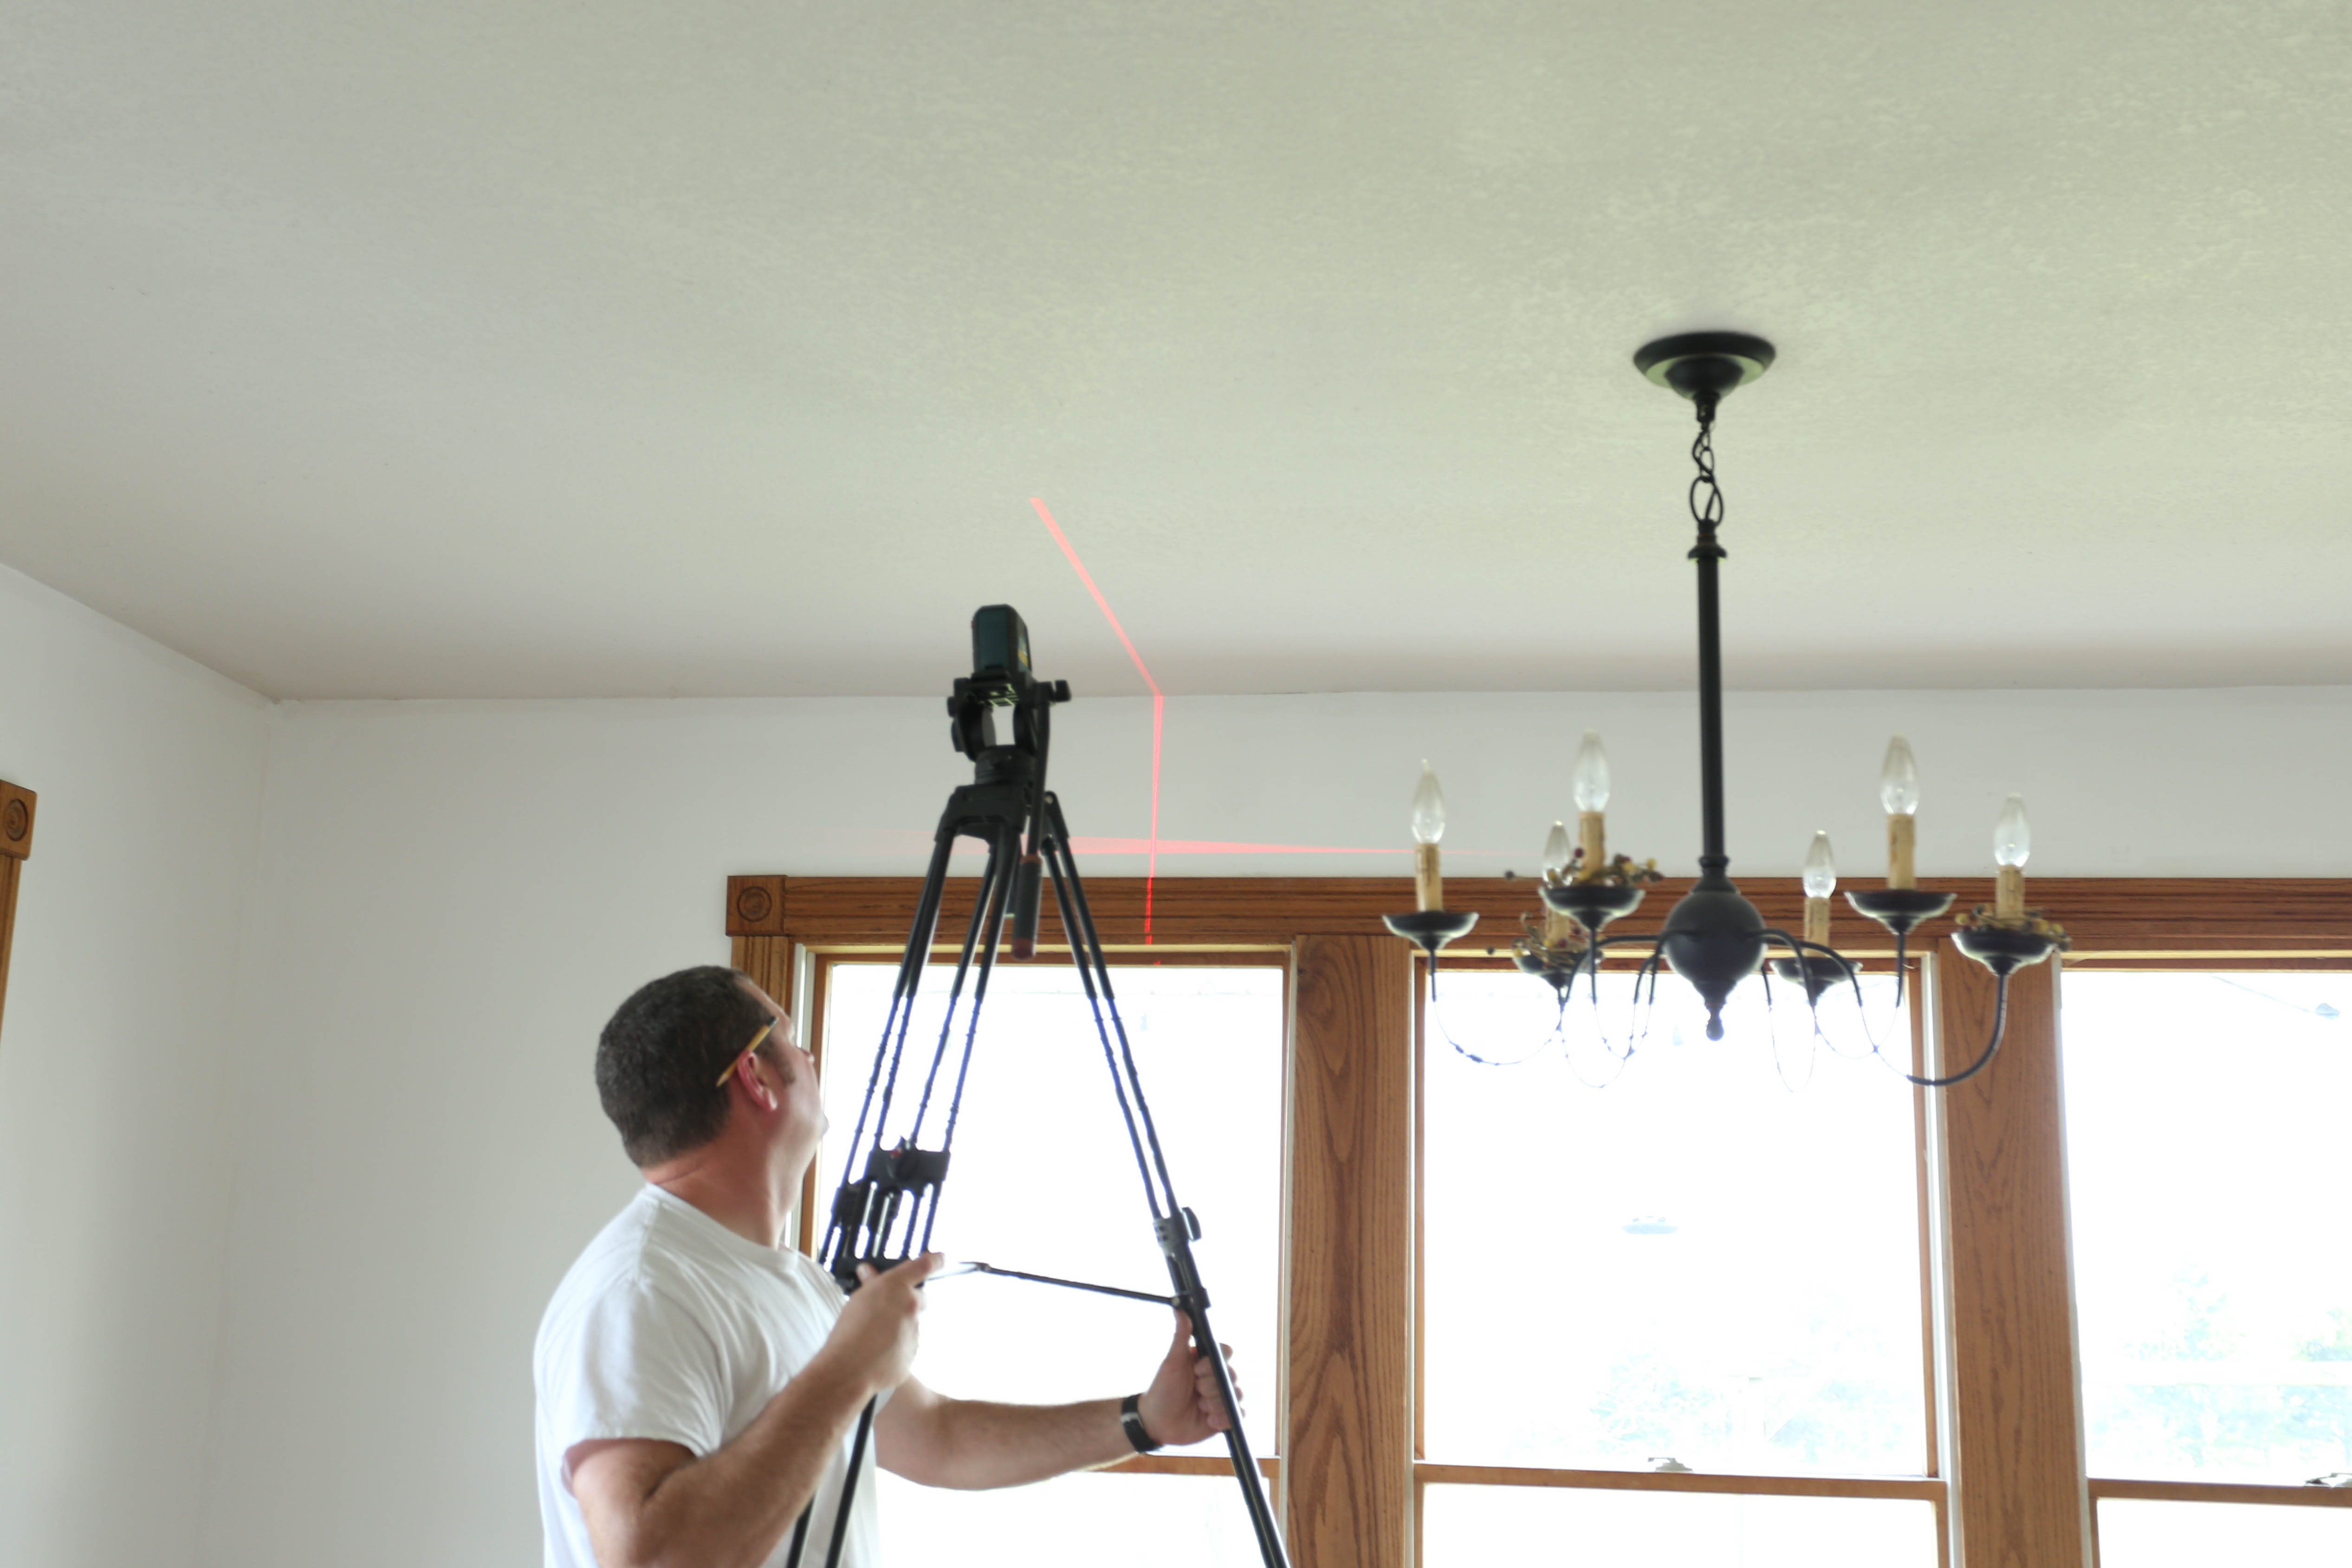
Measure, mark, and tape the horizontal lines. We measured and marked the distance down the wall. Then we used a laser leveler to guide us as we taped the lines. This was an incredibly useful tool for the job!
Tip: Make sure you are taping outside of the line for the row you are painting.
Step 6:
This step may seem like extra, but it will ensure that you have super straight, super clean lines. First, get out your paintbrush. I used the 2 1/2” angled brush. Now, using the base color (white) put a light coat of paint over the tape to seal it. Any paint that bleeds under the edge will be the base coat. Therefore, you have straight lines!
Step 7:
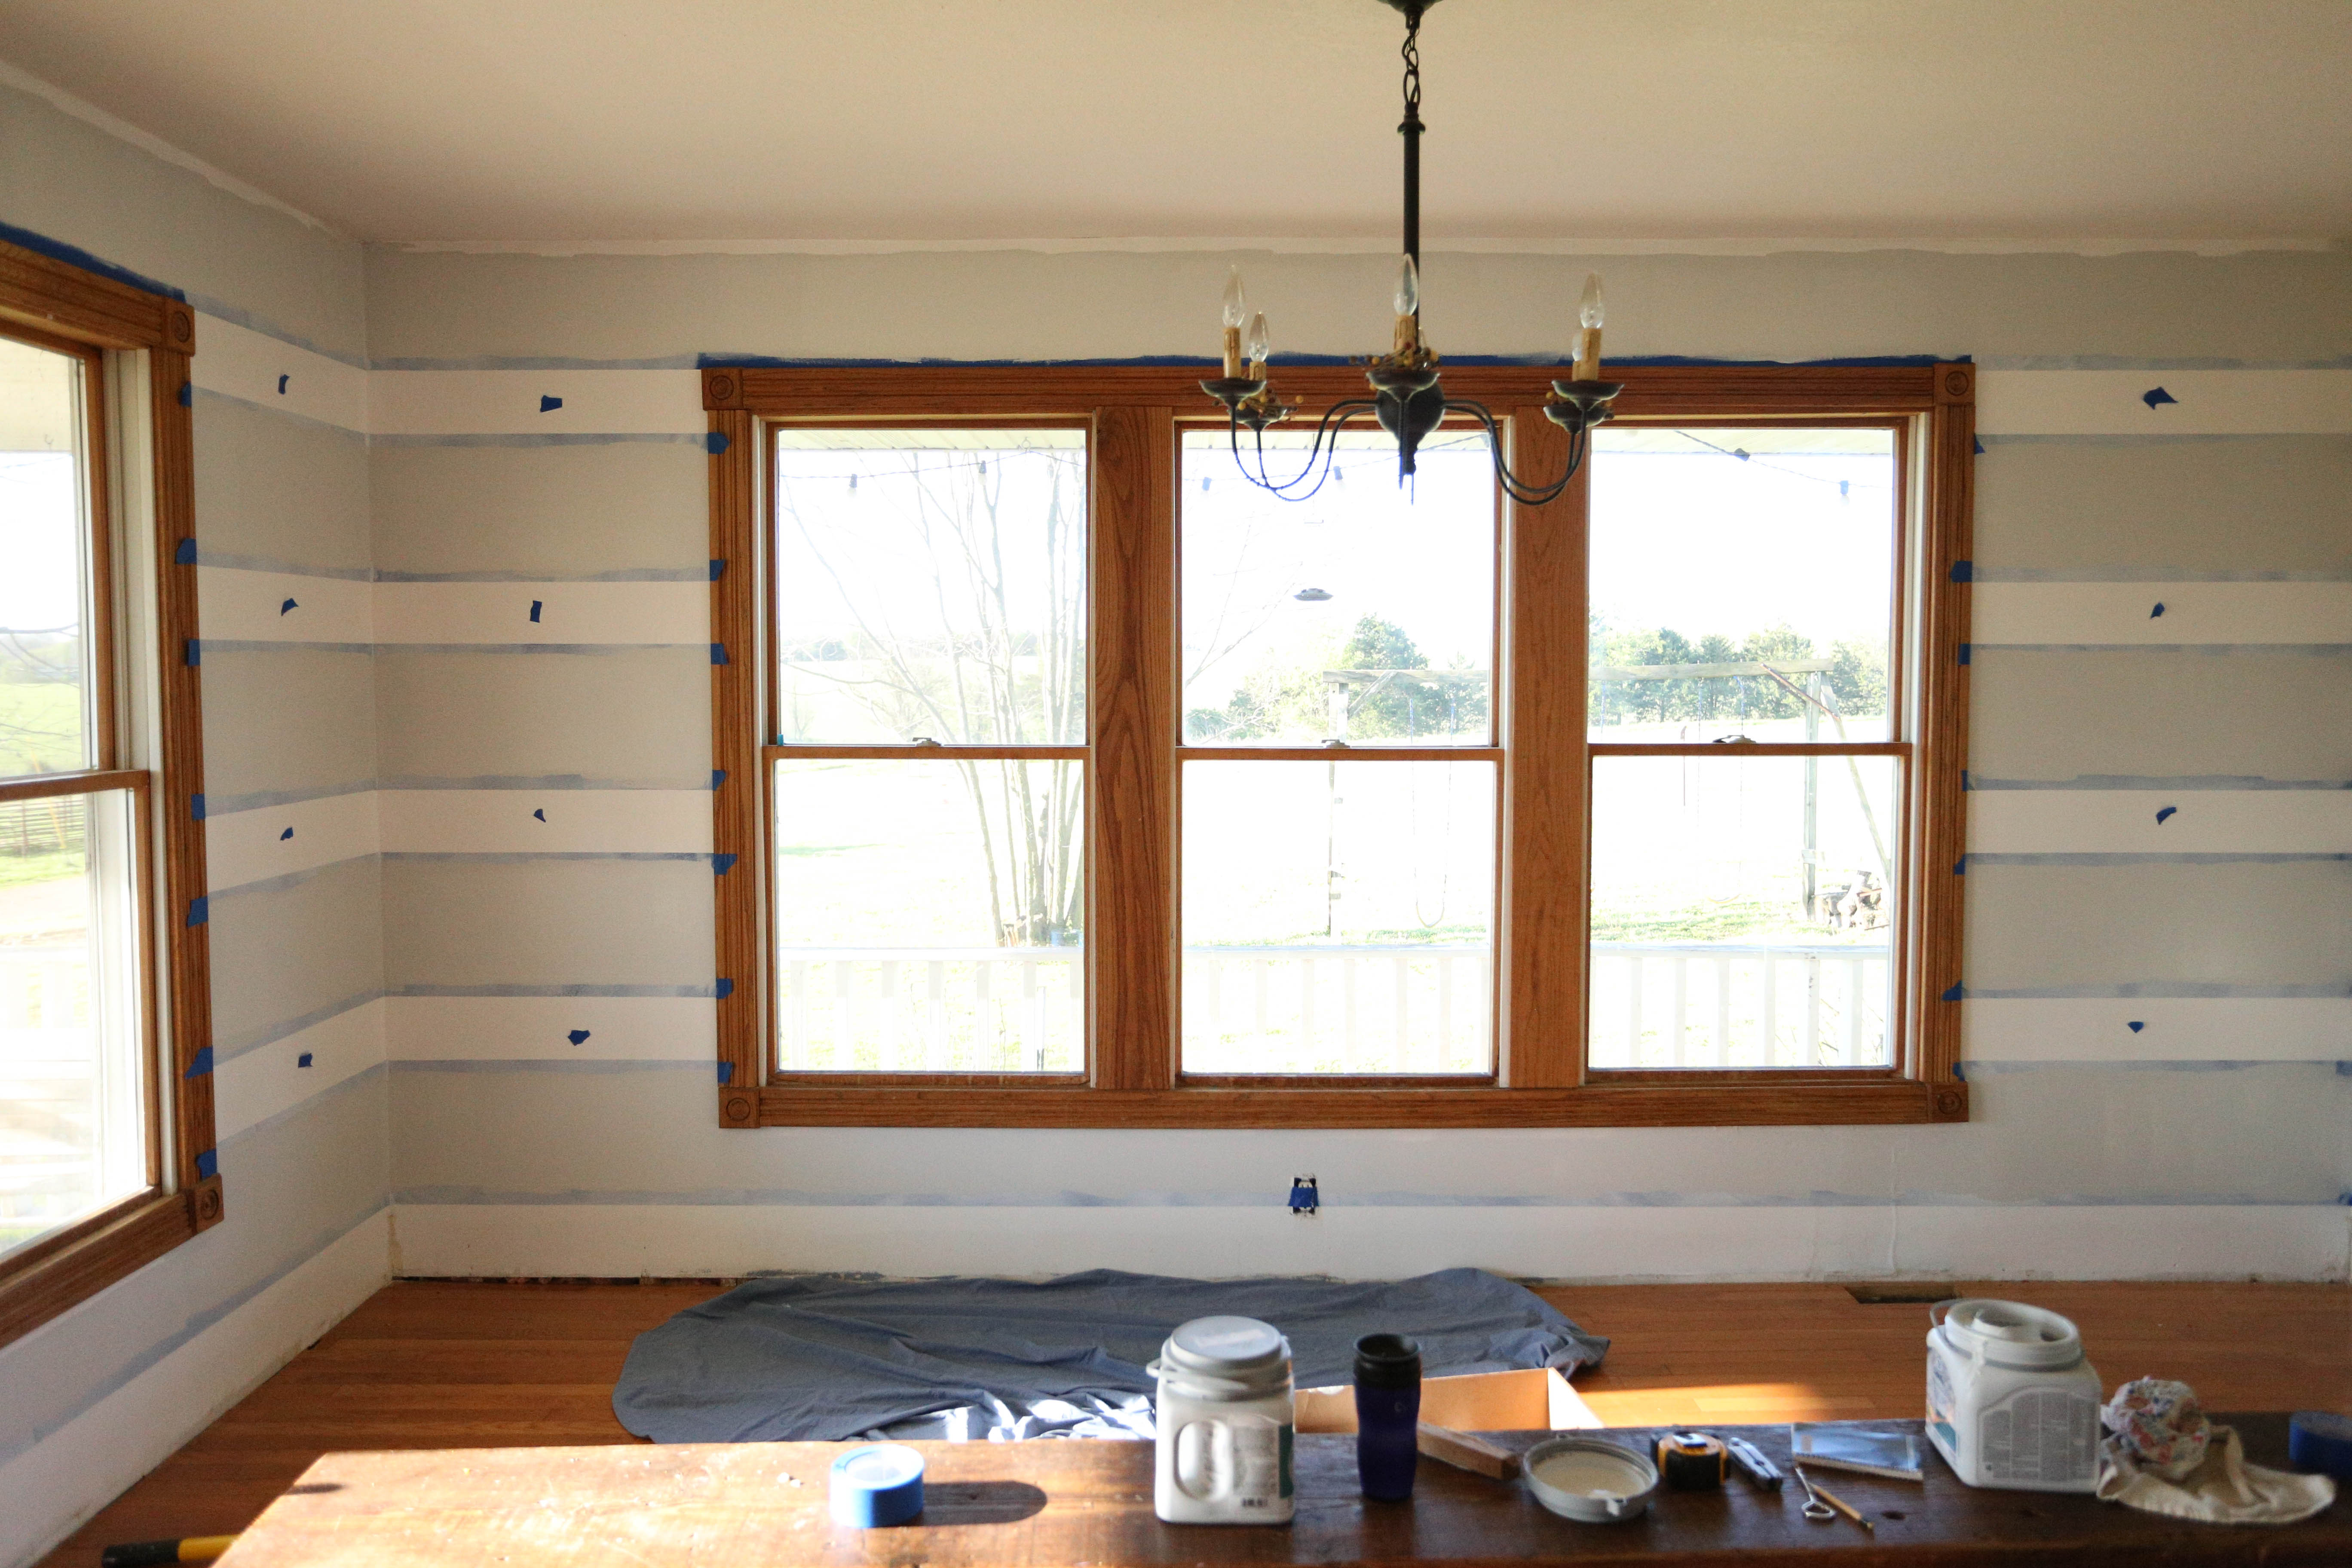
Paint the next color–the lighter of the two greys. Be sure to cut in with a paintbrush in the corners, along the ceiling, and around windows and doors.
Step 8:
Pull the tape off right away, then let the paint dry for 12-24 hours
Step 9:
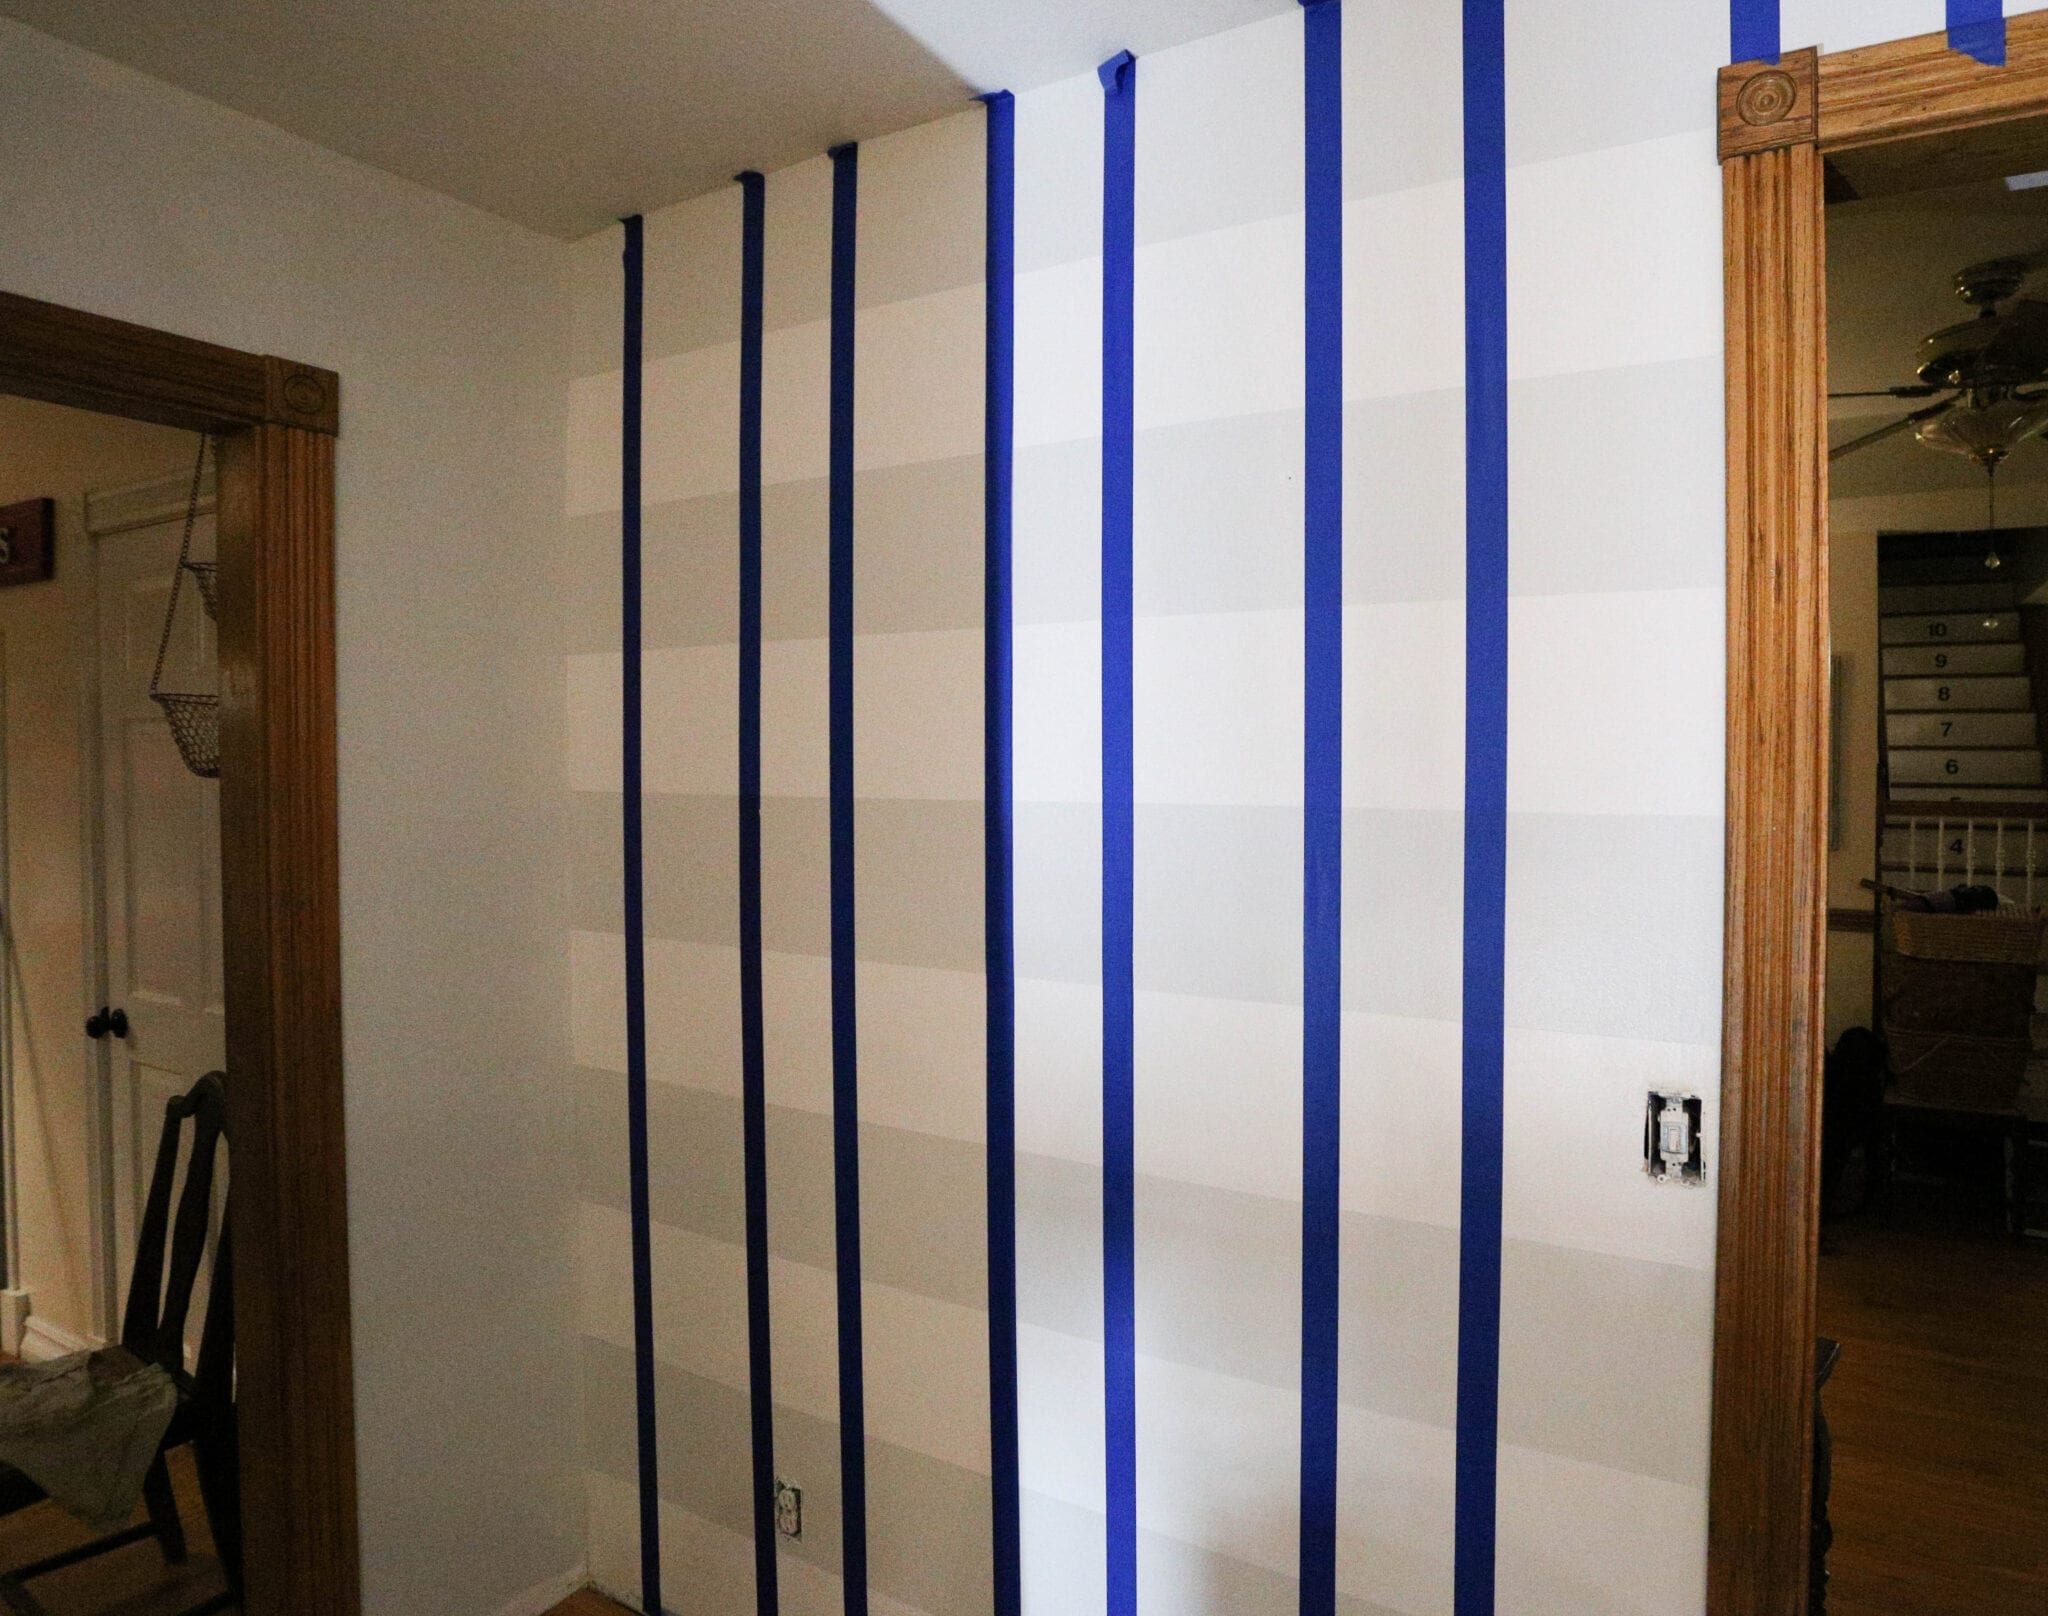
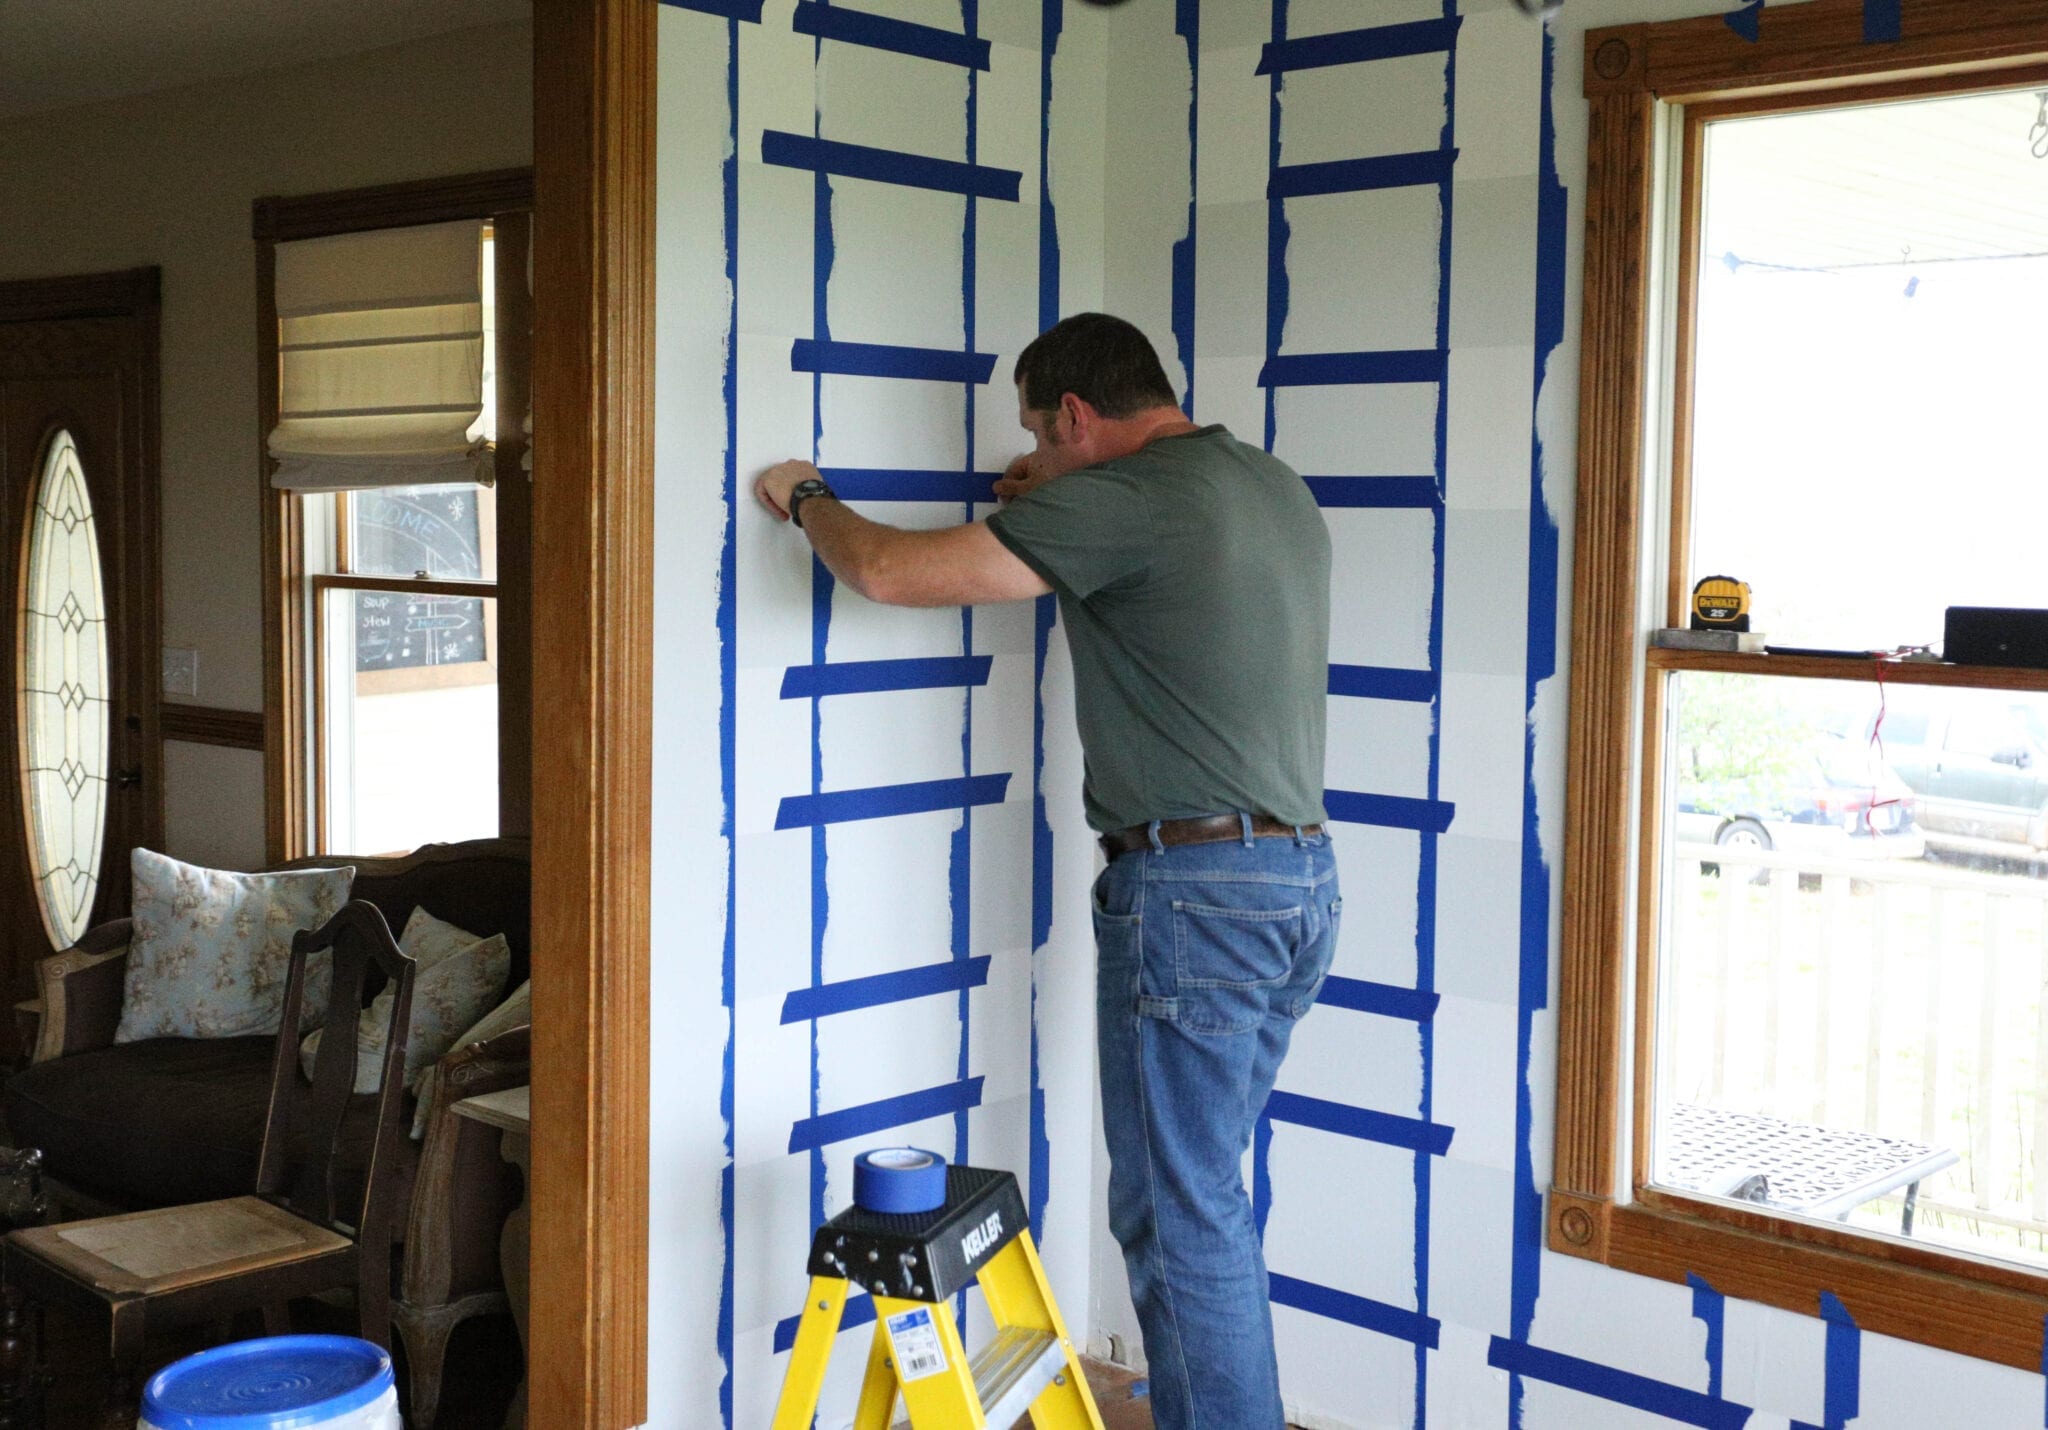
Next, measure and mark your vertical lines.
Step 10:
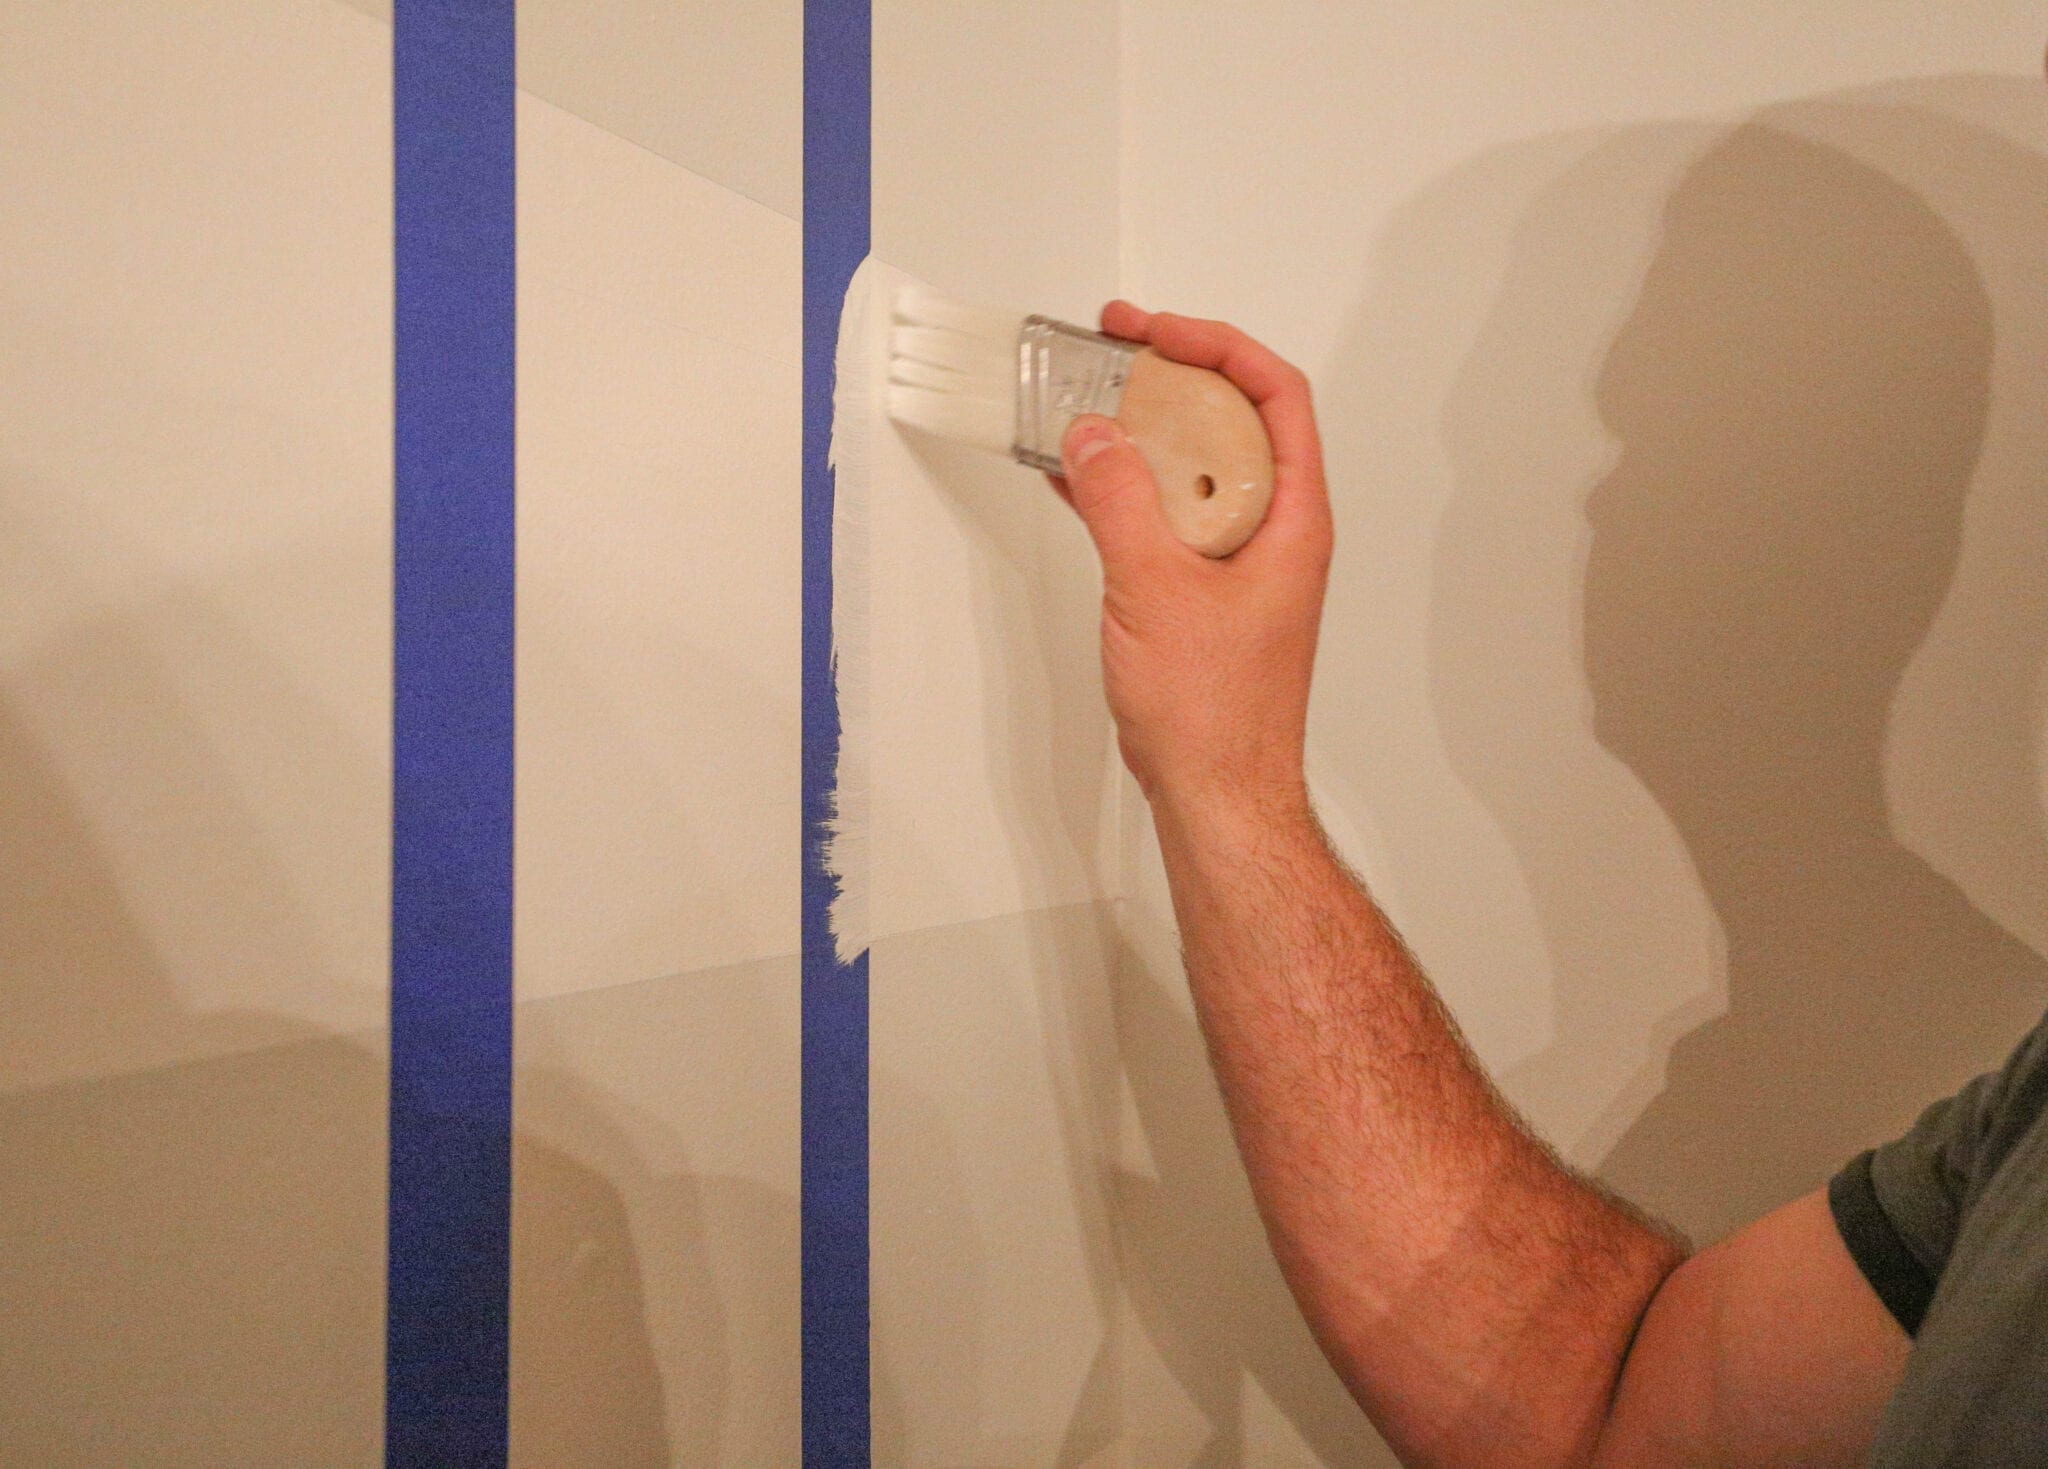
Using a paintbrush, seal the tape with the light grey
Step 11:
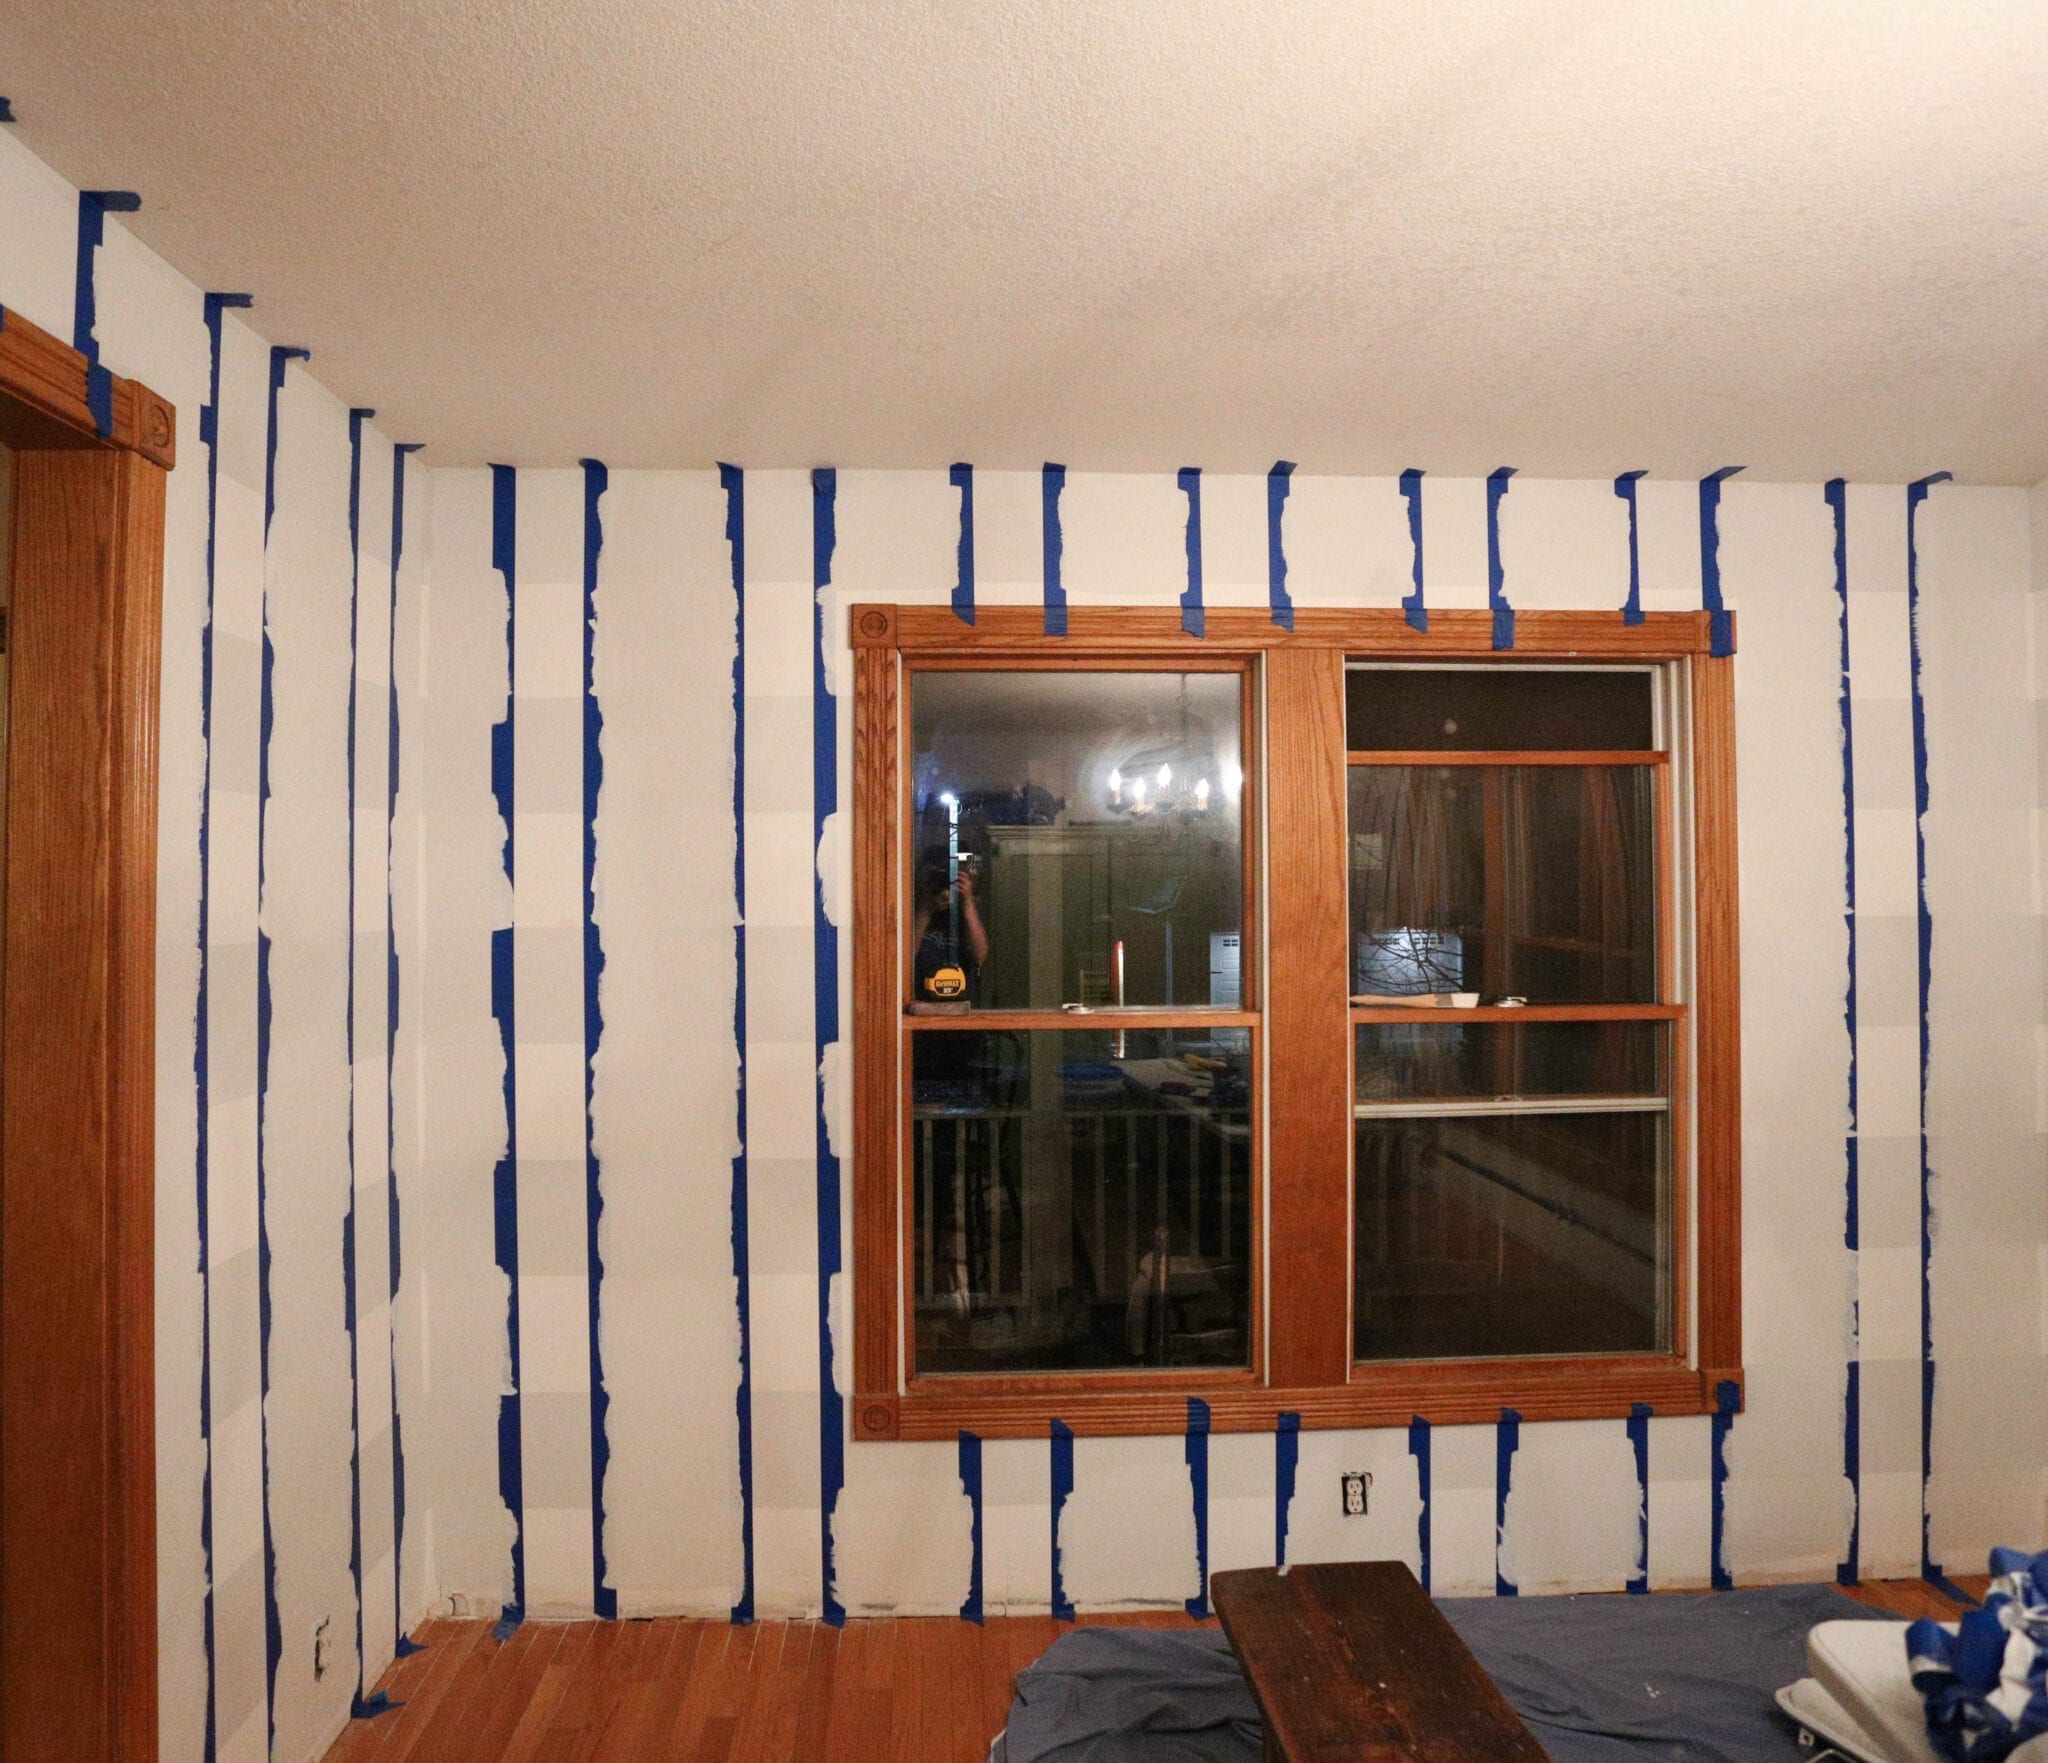
Paint the vertical stripes using the same light grey color. Leave the tape up this time. Let dry for 12-24 hours
Step 12:
Tape horizontal lines for your final squares. All of these squares will go over the light grey column. These will be painted the darkest color.
Step 13:
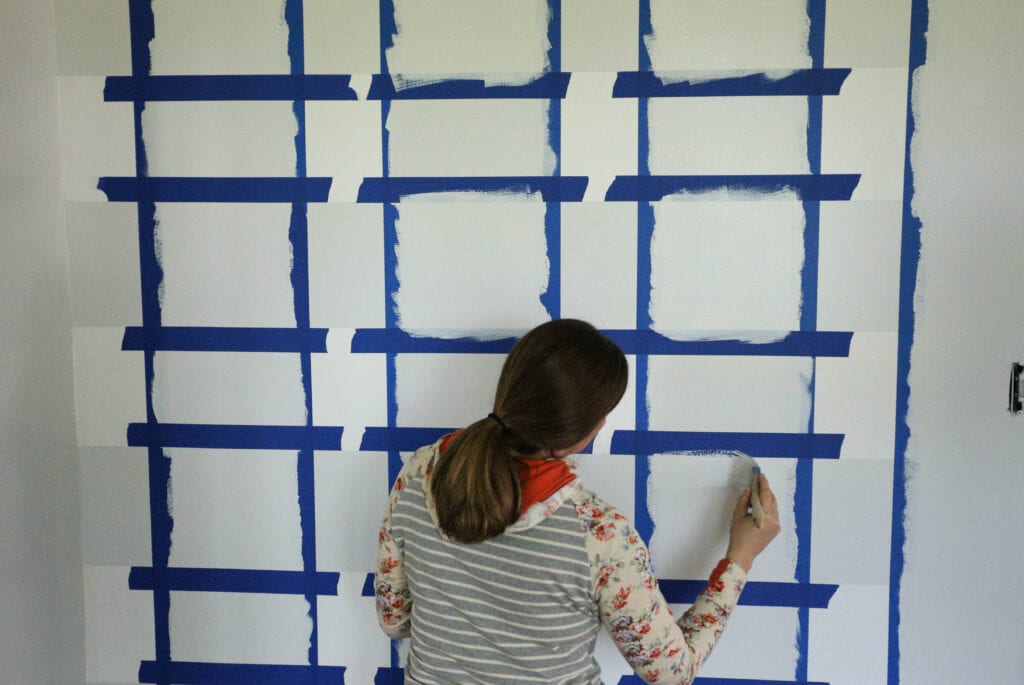
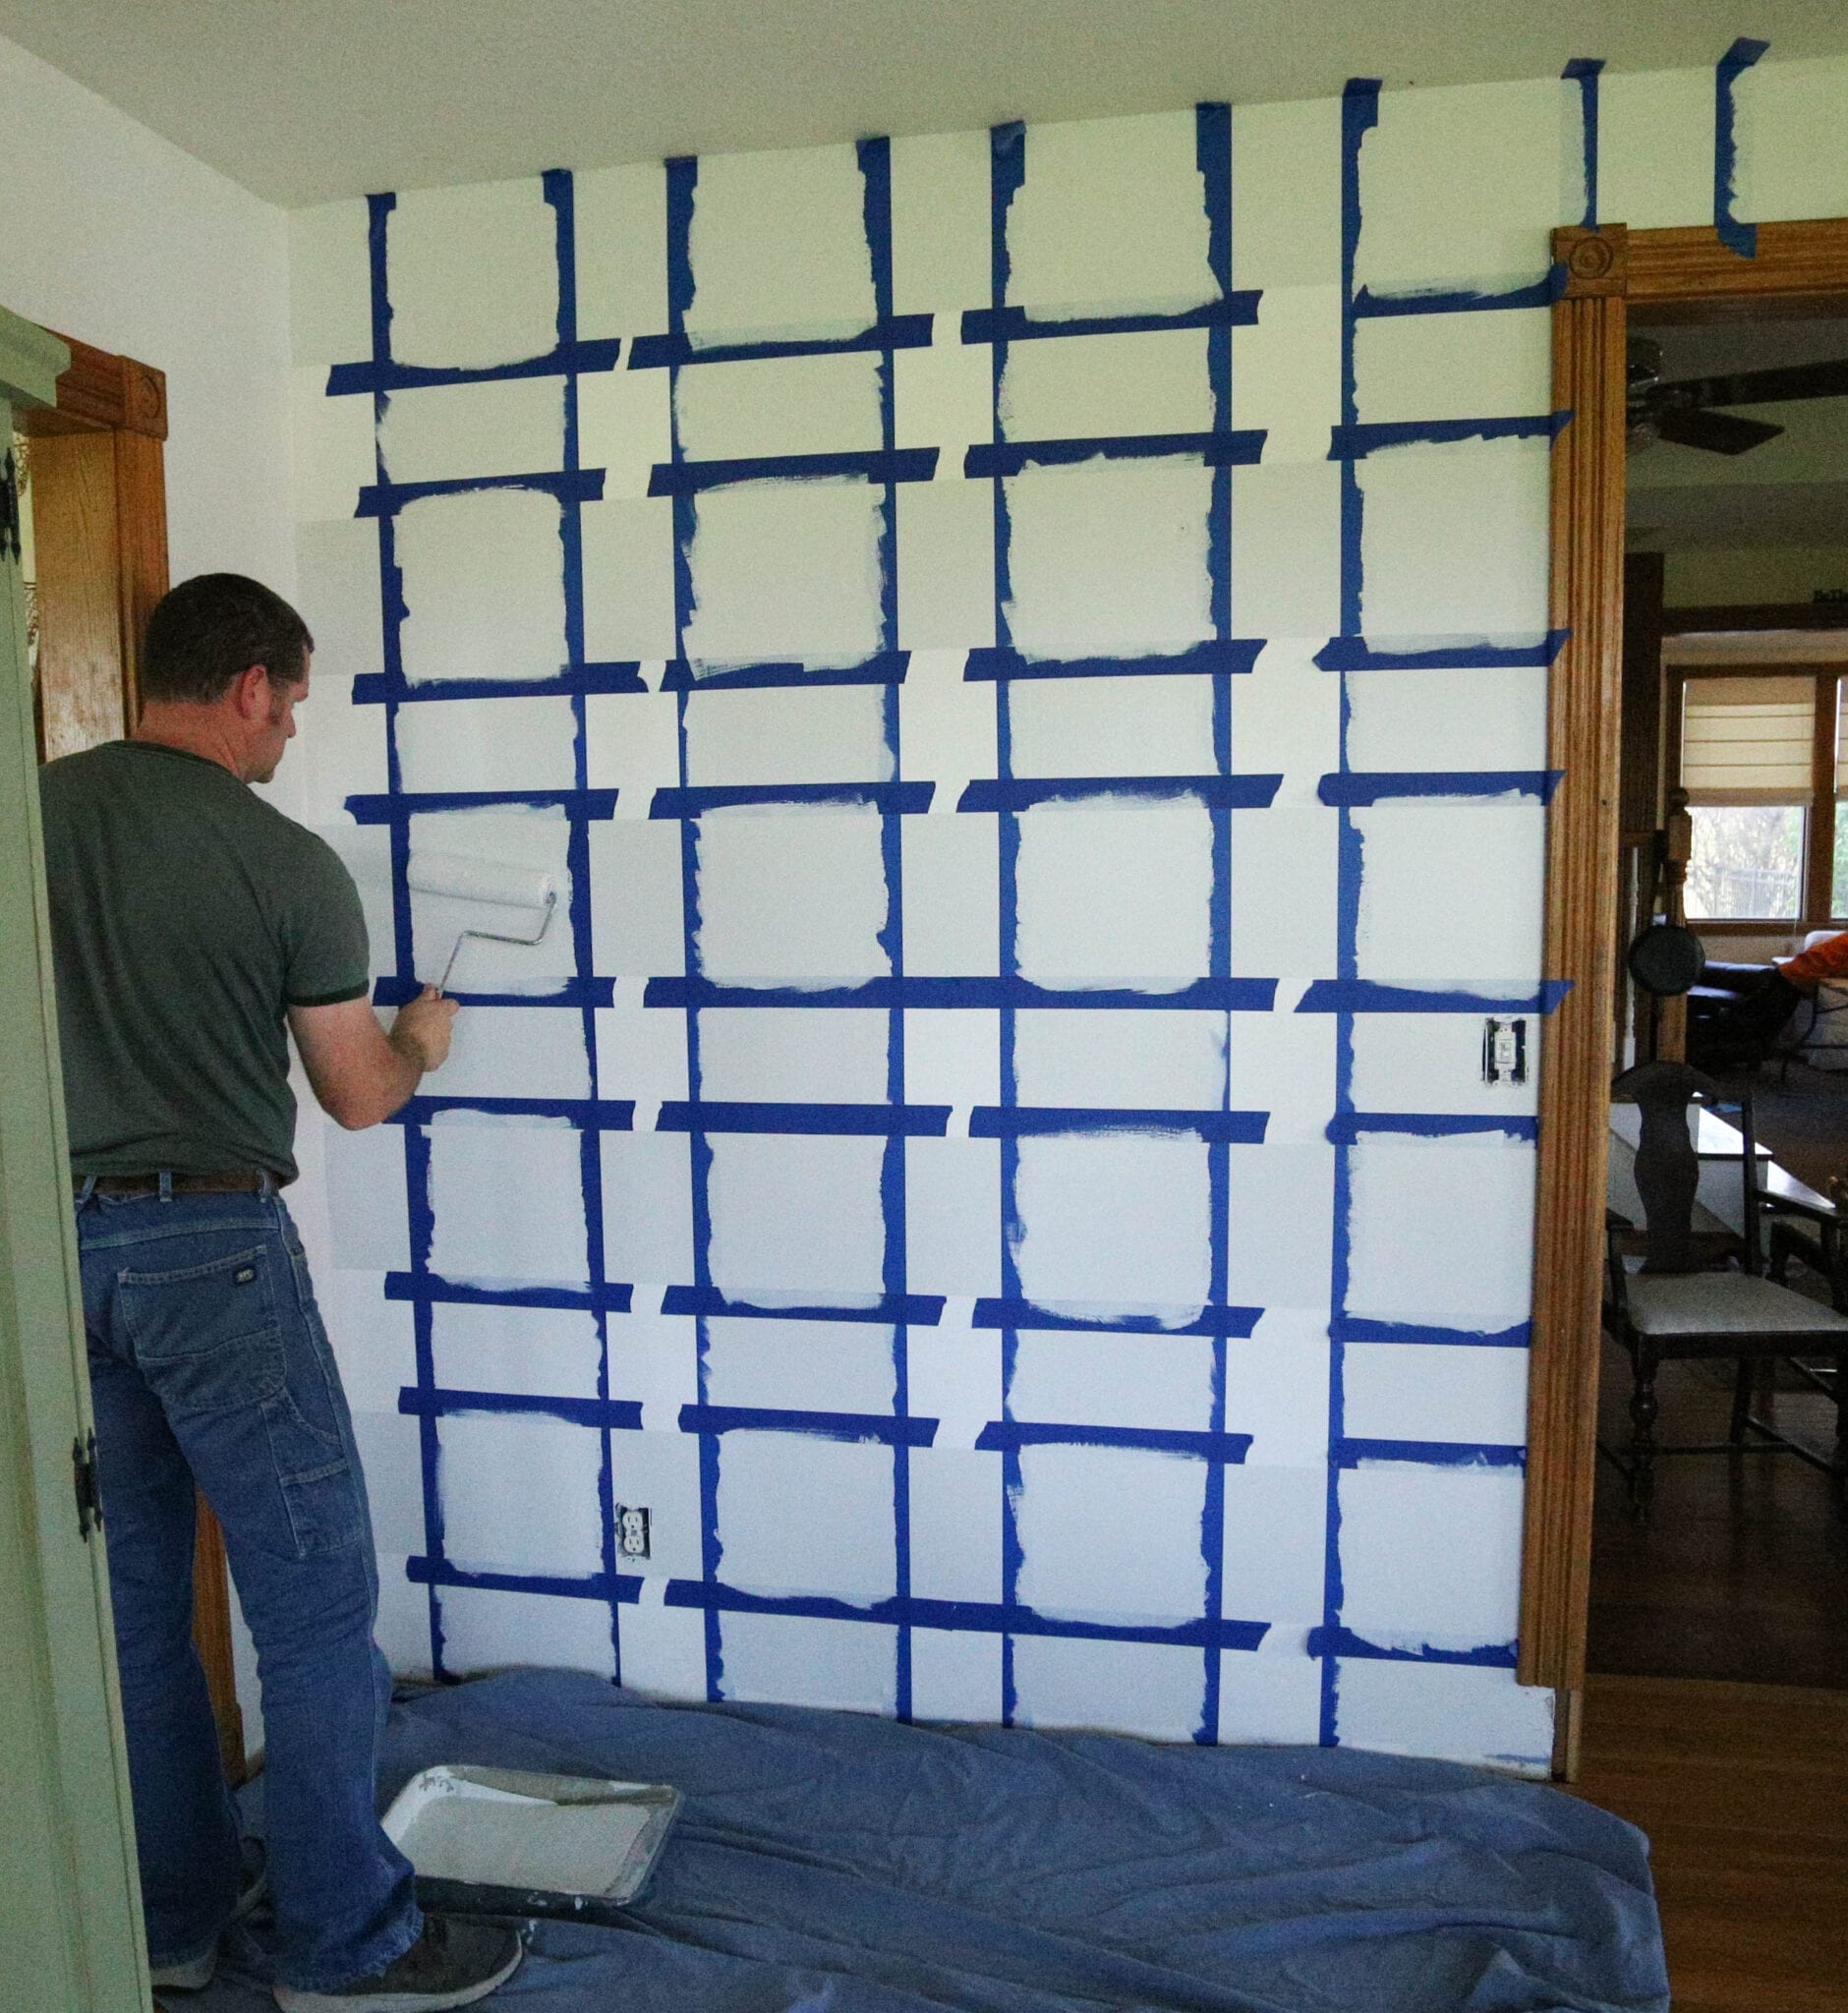
Seal the paint with the lighter color underneath. Paint the darkest grey in each taped off square.
Step 14:
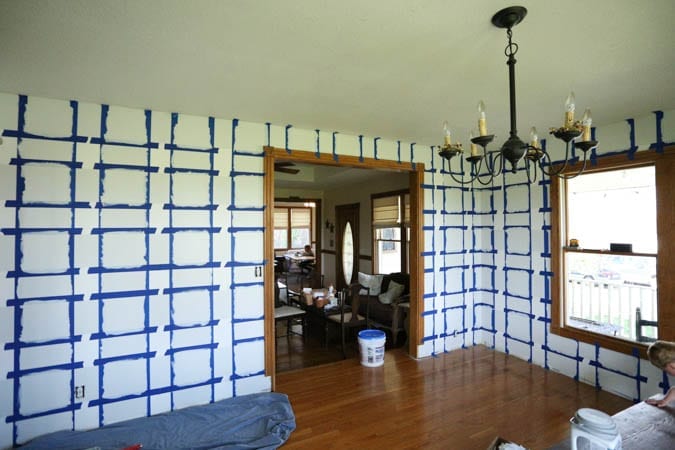
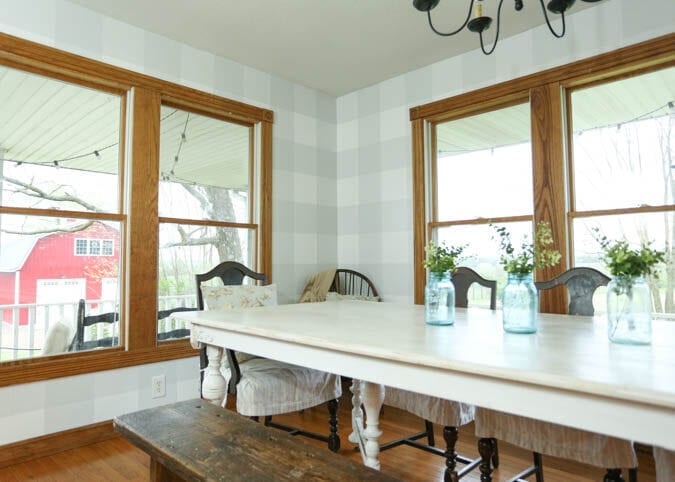
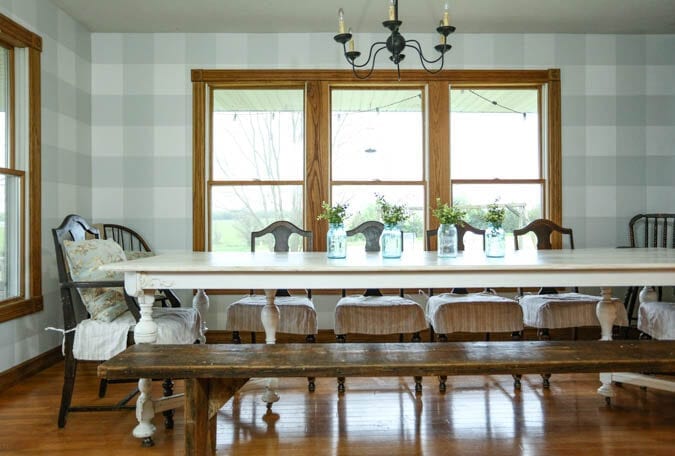
Remove all the tape, and stand back to admire your outstanding work! Hello buffalo check walls!!
The Brushes I used
Video
Pin for later!



How adorable!!! I just love anything buffalo check and this is awesome! Thanks for the great tutorial. 🙂
Thank you so much Emily!
Wow! Those walls are amazing!
Hi Kym! Thank you!
I absolutely adore this! And our house had so much wallpaper in it when we bought it so I know how much work it is to remove. I think this is the perfect solution. Great tips for how to choose the paint colors as well! Plus that laser! So many great things about this tutorial, Jenn!
Yes! Wallpaper can be the absolute pits to remove! Thank you for the kind words!
Looks really nice…but I have never heard if buffalo checks!
Well, I guess you learned something new today! Thank you!
Great tutorial! Definitely time intensive, but the results are so fun!
This is absolutely amazing! I’m going to have to pin this to remember to try it when I get to the upstairs bedroom redo. Love, love, love the tip about “sealing” the tape with the base color. Awesome tip that I will definitely be trying soon. Thank you so much for sharing your beautiful room. 🙂
Hi Amy! I am so glad this was helpful and inspiring! It would be adorable in a bedroom! Thank you for stopping by!
Wow! This was definitely a labor of love, and it turned out fabulous! Thanks for sharing at Vintage Charm–pinned!
Yes! I am so glad it’s done, and I love it! Thank you for sharing!
Great job. Love the checks.
Thank you!!
This is just fabulous. Honestly, “labor intensive” is just the right description for such a big project, but WOW the results!! And your instructions make it all so doable. Thank you for paving the way!
Thanks so much for joining the Grace at Home party at Imparting Grace. I’m featuring you this week!
Thank you Richella! Your support is always a blessing!