How to Make Beautiful Salt Dough Ornaments | Embossed or Molded
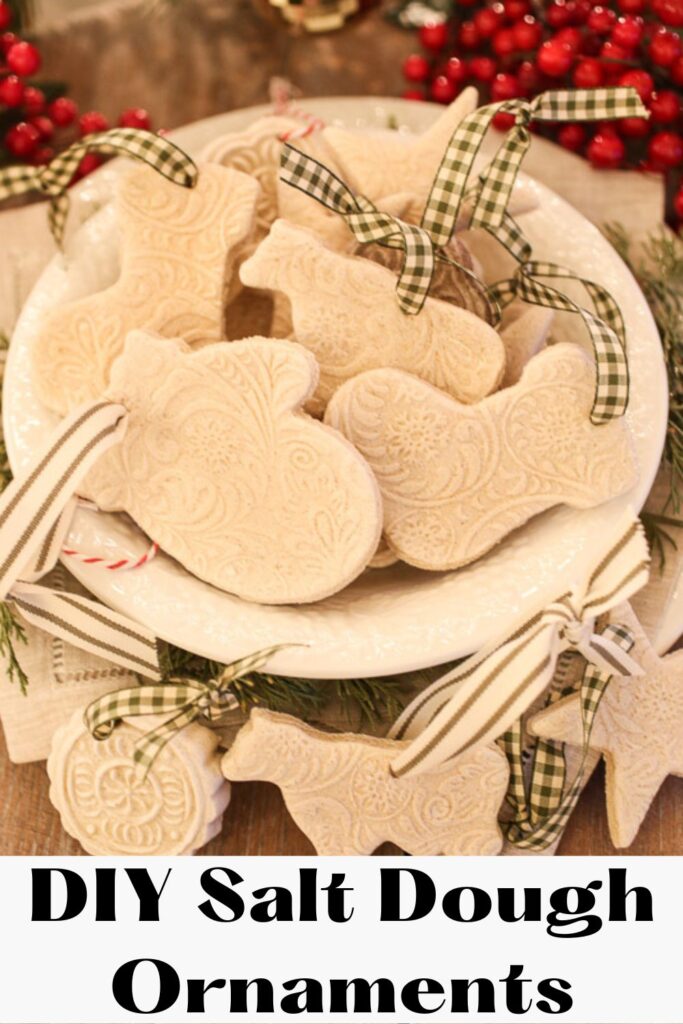
You can make beautiful salt dough ornaments this Christmas! You can take your ornament-making tradition to the next level with basic ingredients and a few fun tools!
There is a quick video at the bottom showing the whole process!
This post contains affiliate links
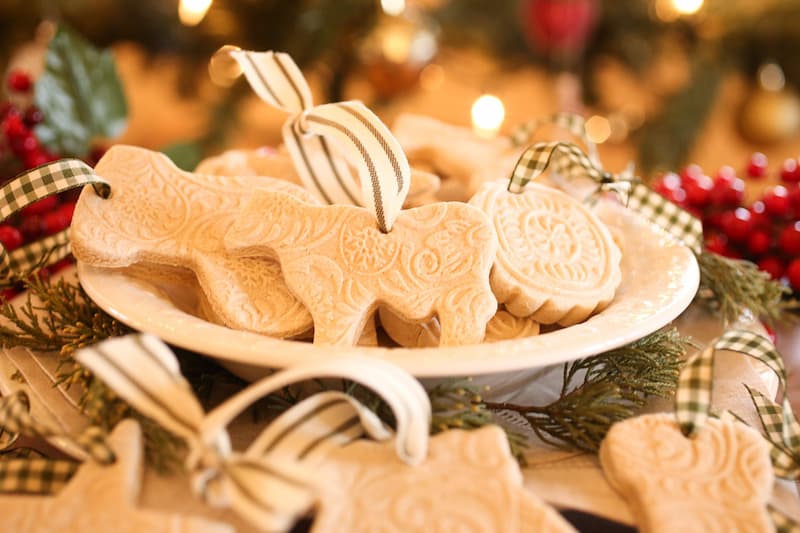
My kiddos loved making these ornaments! It’s everything kids love, soft dough, rolling pins, and cookie cutters! This year, we have made several batches of these experimenting with different ingredients like cinnamon and essential oils. We also tried several different molding and rolling techniques until we came up with the most beautiful ornaments!
Basic Ingredients and Supplies for Salt Dough Ornaments
- 2 Cups of Flour
- 1 Cup of Salt
- 1 Cup of Water
- Rolling Pin
- Cookie Cutters
Extra Ingredients and Supplies
If you want to make your ornaments a little bit prettier or if you want to make them smell amazing, you might consider adding these ingredients and supplies
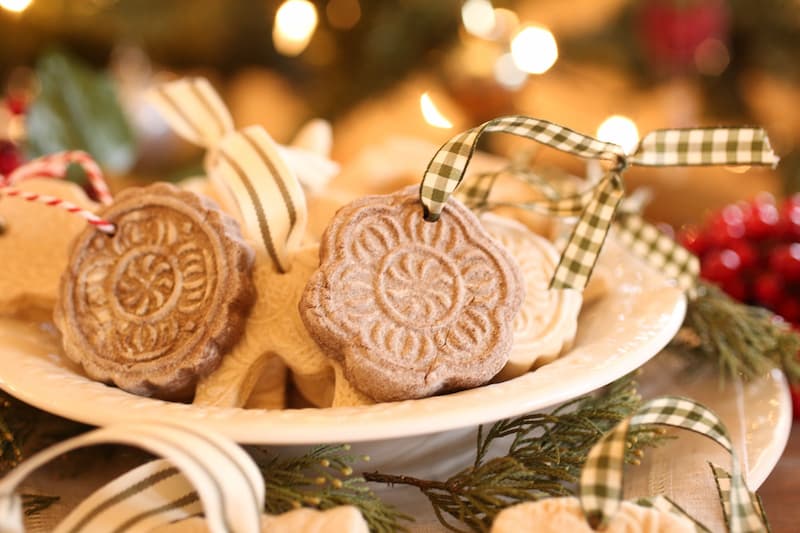
- Cinnamon or other spices
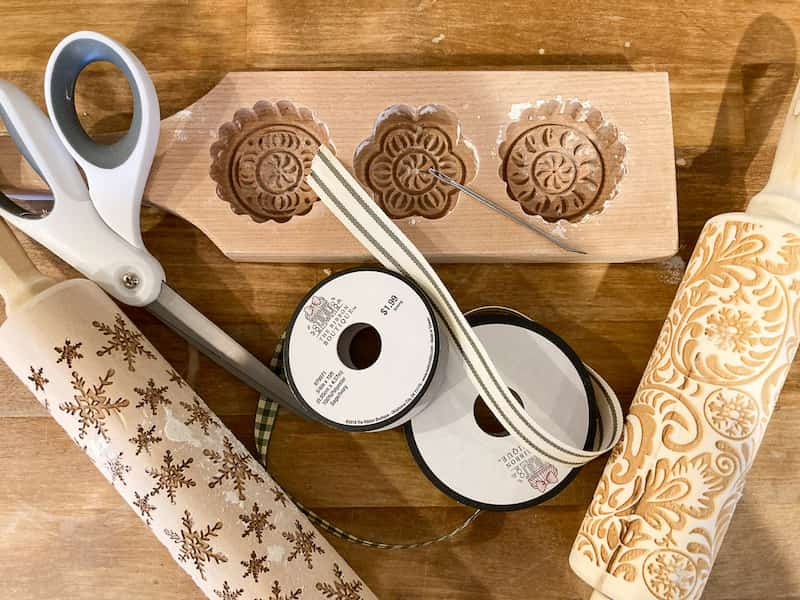
- Embossing Rolling Pin
- Wooden Molds
- Silicone Molds ( I would recommend baking the ornaments in the silicone molds as it is difficult to get them out without squooshing them). My kids loved these shapes though!
- Essential oils
- ribbon
- tapestry needle
- scissors
How to Make Salt Dough Ornaments
The dough comes together super quickly. Simply add 2 cups of flour, 1 cup of salt, and 1 cup of water to your stand mixer. If you don’t have one, you can mix this by hand in a big bowl.
Spread some flour on the counter and work the dough with your hands until it is smooth and easy to work with and not sticky.
If you wish to make the salt dough smell like Christmas you can add a few drops of cinnamon, pine, or orange essential oil to the dough.
Embossed Rolling Pin Method
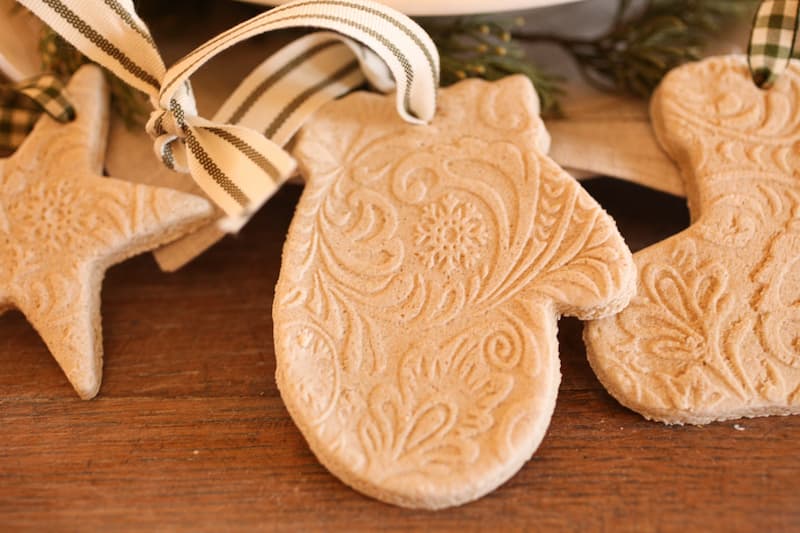
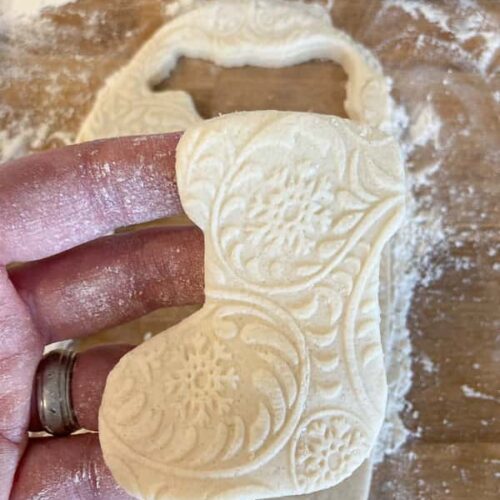
If you are rolling the dough and embossing it, pat the dough until it is about an inch thick and in a rectangular shape. Next, roll it a bit thinner with a regular rolling pin to make it nice and smooth. After it is smooth and about 1/2″ thick take the embossing rolling pin and gently and firmly roll it over the dough. It will leave the imprint and also make it a bit thinner.
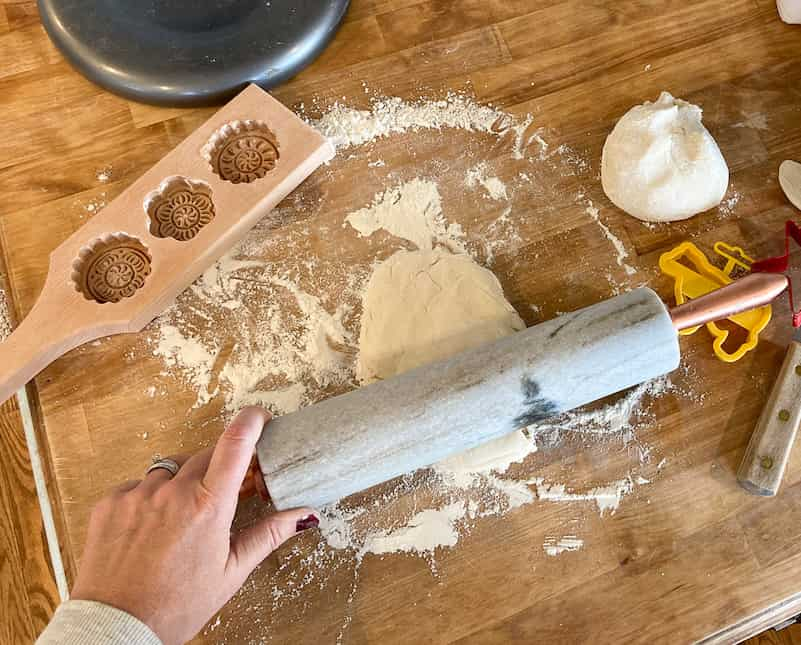
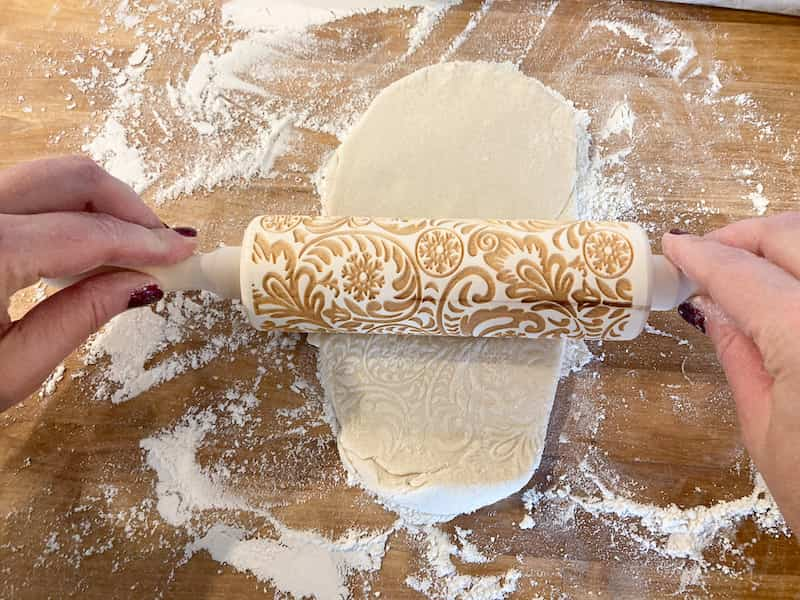
Lastly, take your cookie cutters and cut out the shapes. Place on a parchment-lined cookie sheet and bake at 200 for 2-3 hours.
Wooden Mold Method
If you are using wooden molds, you should first dust the mold with flour so that the dough will come out after you have pressed it.
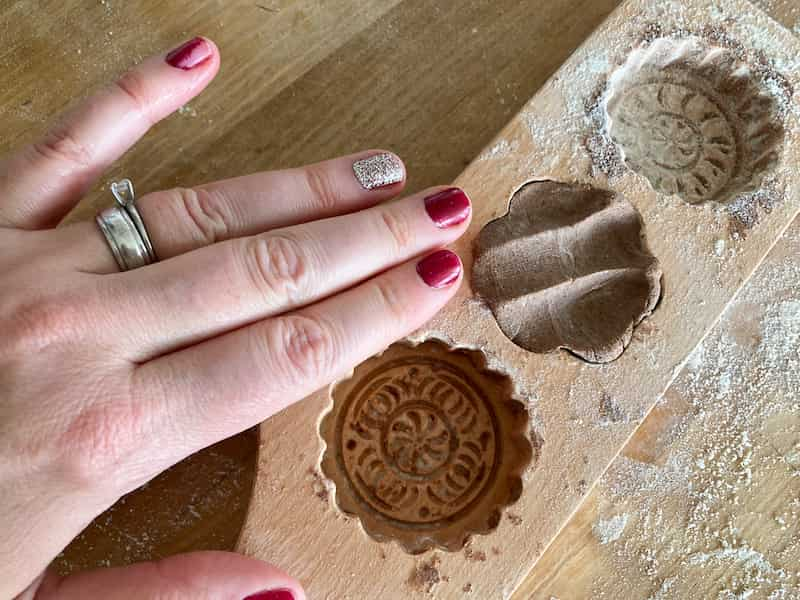
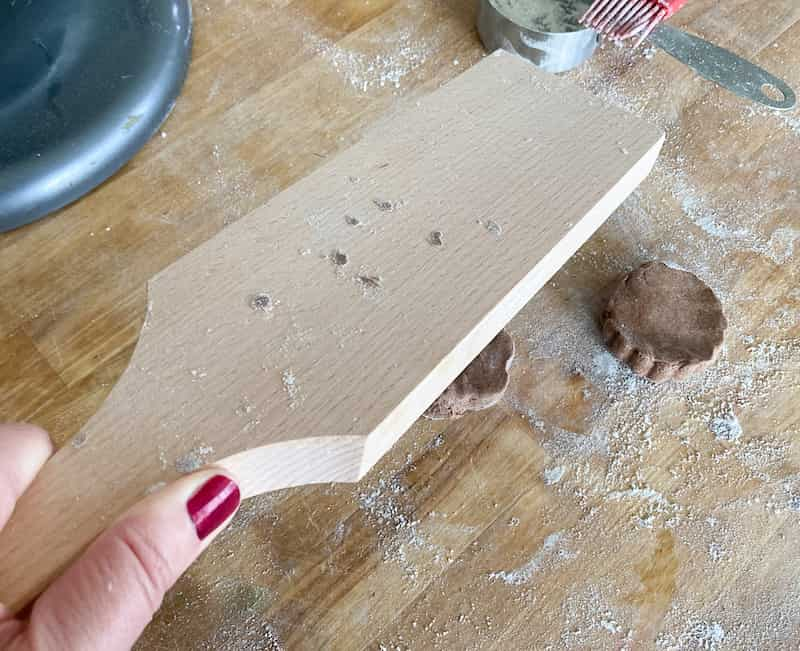
You can use a large lump and then cut off the excess or if you are inclined you can learn exactly how much fits in each mold and then just press it in.
Give the mold a whack on the counter to release the dough.
Poke a Hole
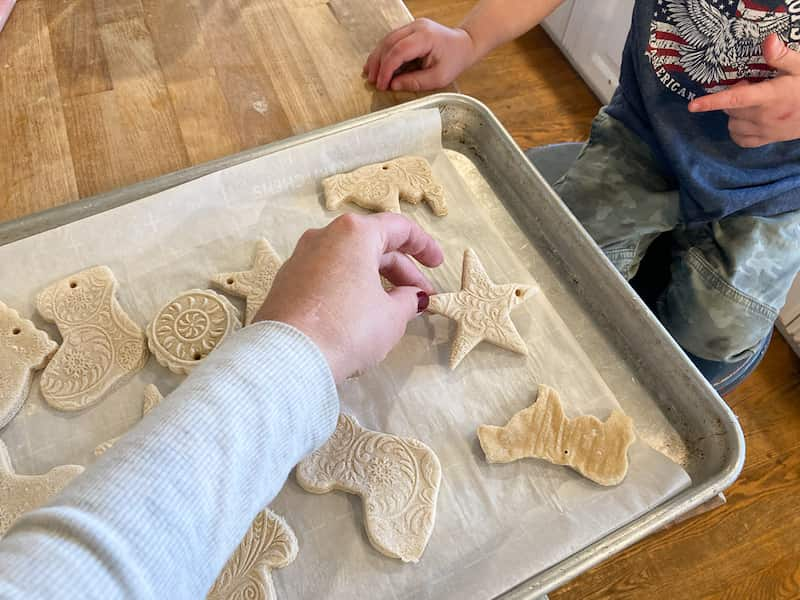
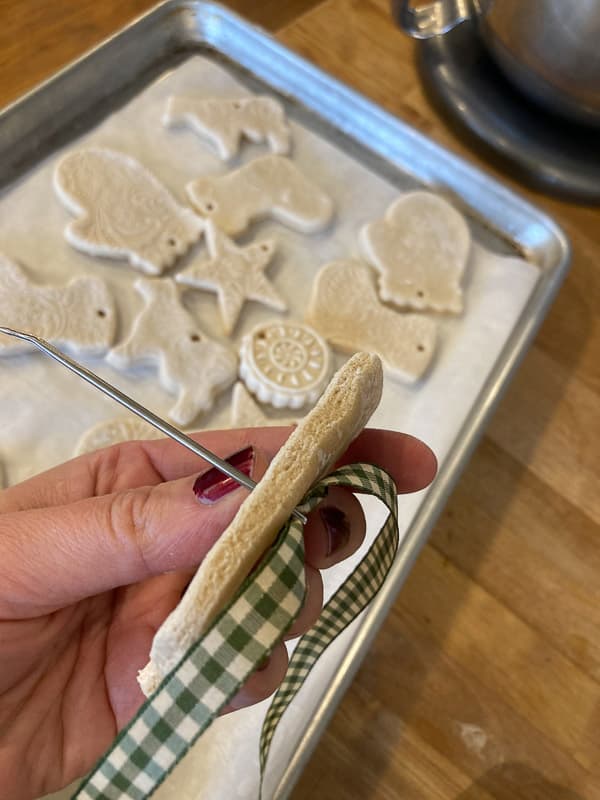
Poke a hole in the top of the ornaments before they are baked. I used a skewer and that size was fine for the thin ribbon. If you want to use a thicker ribbon, use something a bit bigger or poke the hole a few times to make it larger.
Bake the Salt Dough Ornaments
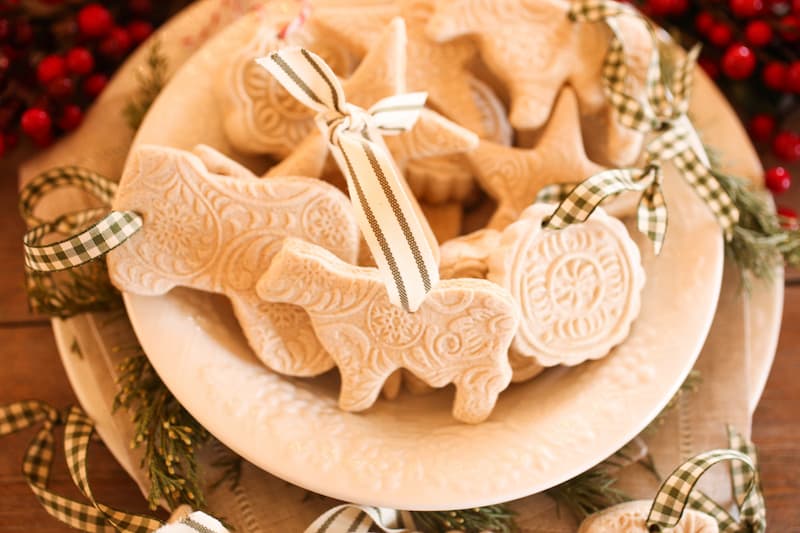
Preheat the oven to 200 degrees. Place the sheet of ornaments in the oven and bake for 2-3 hours turning them over halfway through.
Cinnamon Dough Ornaments
To make the darker salt dough ornaments use the following ingredients. Also, bake them for the first hour with the pretty side down. The salt rises to the top so if you want the top to be dark, bake them with the side you want to see down for the first hour and then flip them over and let the top dry for the second hour or so.
- 1 cup flour
- 1/2 cup salt
- 3/4 cup cinnamon
- 3/4 cup water
Salt Dough Ornaments
Equipment
- Mixer
- Embossed Rolling Pin
- Rolling Pin
- wooden mold
Ingredients
- 2 Cups Flour
- 1 Cup Salt
- 1 Cup Water
Notes
Other Simple Christmas Projects
Homemade Organic Hot Chocolate Mix–A Great Gift
Five Ideas for Old Fashioned Handmade Natural Christmas Decor
Handmade Plaid Flannel Lined Christmas Stocking
7 Wood Burned Gifts You Can Make
