Handmade Plaid Flannel Lined Christmas Stocking
Making a handmade flannel stocking is pretty simple and something that you can make in an evening or an afternoon! Great for gifts or for a family keepsake!
This post was done in collaboration with Fabric Wholesale Direct
I watched this video to learn how to make this type of stocking.

The Handmade Home Challenge
If you remember I am participating in a #thehandmadehomechallenge. I’m following a simple prompt each month so that I can add more handmade items to my home. Really I am doing it to learn or practice new skills. Here are all the projects from the year so far!
January- How to Crochet a Dishcloth for Absolute Beginners
February- DIY All-Purpose Cleaner & Bathroom Spray with Witch Hazel
March- Easy Farmhouse Envelope Pillow Cover Tutorial
April- How to Sew a Simple Tote Bag with Flat Bottom and Lining
May- DIY Reusable Beeswax Wraps Three Ways!
June- Crochet a Rag Rug for Beginners
July- Best Beginner Soapmaking Tutorials and Books
August- Drying Herbs and Making an Herb Rack
September- Make a scarf or article of clothing- I didn’t document this one on the blog, but I did teach my 8 year old to crochet a scarf and she made several for her friends. I may put a tutorial together for that in the future.
October- Fermented Veggie or Bread- I have few fermented veggie recipes on here already, so for this month, even thouh I don’t yet have this documented, I am working on Sourdough bread recipes.
November- Stocking, socks or slippers.
Lined Christmas Stocking Tutorial
- Trace and Cut out the stocking on the flannel for the lining and the outer pieces
- Right sides together stitch the plaid flannel, leaving the top raw and open, do the same with the lining
- Trim closely around the stitching to make it neat. Press anytime you see the need.
- Next, nest the lining inside the plaid stocking
- After that, make the cuff for the top of the stocking
- To do this measure the width of your stocking and add 3/4 of an inch, then cut it 11″ tall, mine was about 11″x15″
- After you have cut this piece, fold it in half, so that the 11″ is the lenghth and the 15″ is what you are folding in half, then stitch a seam along the side. You are making a tube.
- After that fold the tube inside itself so that you have two raw edges and a folded edge.
- Now nestle that inside the lining of the stocking. You will have the raw edge of the lining, the raw edge of the outer stocking and two raw edges of the cuff.
- Cut a strip of ribbon or whatever you want to use for the hanger. I cut a piece of white felt about 9″ long and 1/2″ wide.
- Fold that in half and tuck it looped side down in between the cuff and the lining.
- Now keeping all the layers together with some pins, take your stocking to the sewing machine and stitch all the way around the raw edges of the top.
- Now, pull the cuff up and flip it over the top, your little hanger will pop out as well! That’s it! Your stocking is assembled!
How to Dress Up a Plain Stocking
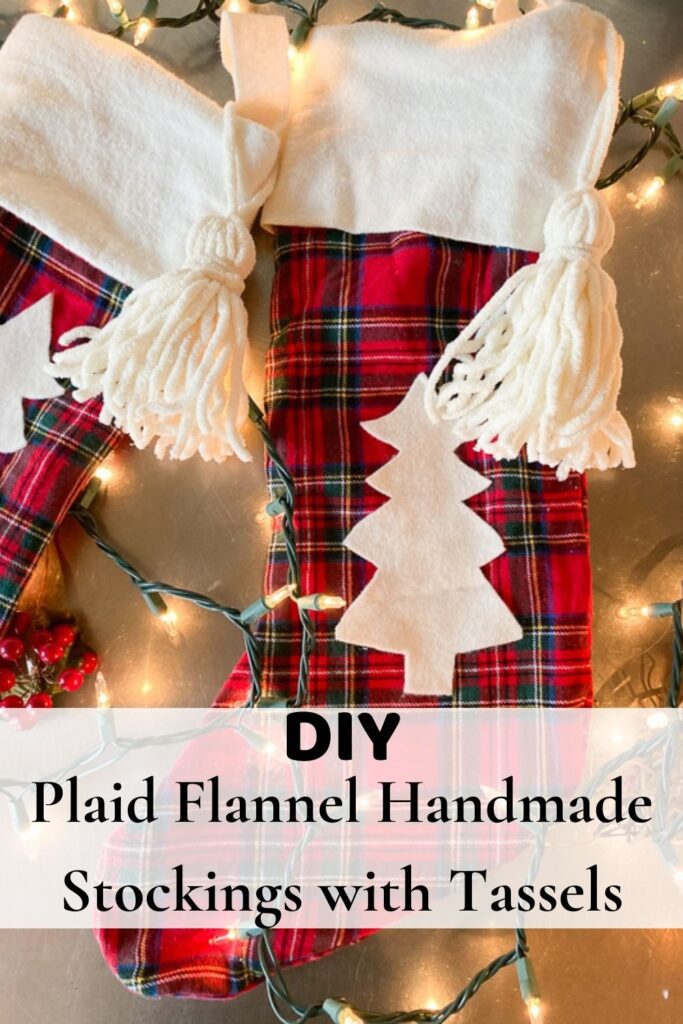
I wanted my handmade flannel stocking to be a little fancier so I cut out some trees from felt and just hot glued them on the outside. However, if you planned ahead you could sew a little applique on the fabric before you assemble it.
This fabric is from Fabric Wholesale Direct and it is so soft! I chose this red plaid flannel because I thought it was just perfect for Christmas! Turns out it was perfect for a handmade flannel stocking!
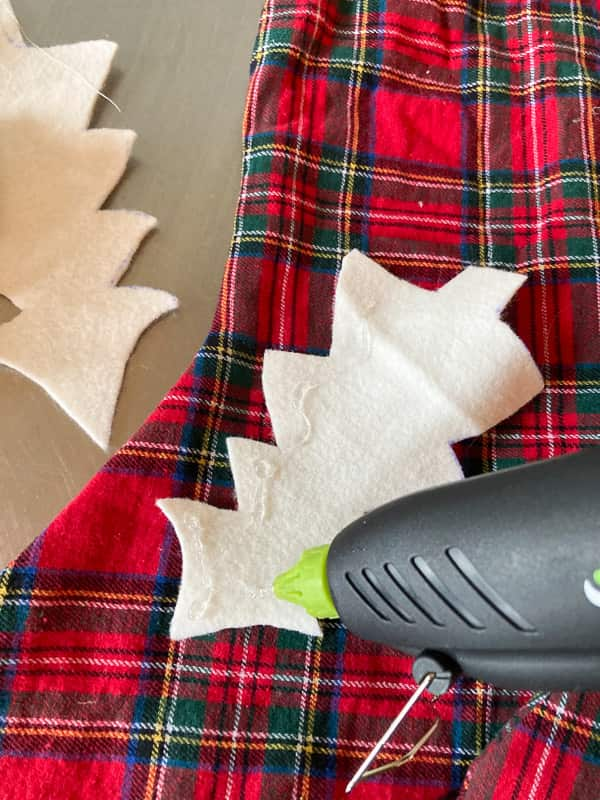
I also made a cute little chenille tassel to go on the stocking. Directions on that are below! Of course, you could embroider a name on the cuff. I had planned on doing a pretty crochet edge around the bottom of the cuff but honestly just ran out of steam!

How to Make a Tassel with No Special Tools
When I decided to put a tassel on this handmade flannel stocking I was tempted to purchase a little tassel-making kit. However, the kits were close to $12! That kind of defeated the purpose of DIYing one to me! So I did a quick search and found a little tutorial on YouTube. You can watch her tutorial here. I will walk you through the steps in pictures though if you don’t want to watch the video.
First, get a DVD case or a book or piece of cardboard. Wrap the yarn around the object. I was using chenille yarn and it is rather thick, I wanted a pretty big tassel so I wrapped it around 25 times. Wrap it less if you want a smaller tassel. Then slide the yarn off of the case.
Next, slip a string through all of the loops…or you could have done this before you slipped it off the case. Either way works. After that, tie a knot and then slide the knot to the inside of the loops to hide it.
Then take a length of yarn and wrap it around the bundle to make the top of the tassel, cut enough to wrap it around about four times. Tie a small knot and then try to conceal it under the wrapped yarn. Lastly, make a little twist and then a knot at the top of the tassel. Then cut the bottom of the loops and trim them so they are even.

Don’t Want to Sew a Stocking, Shop Similar Here!
Are you on Pinterest? Follow me there and Pin this Project!





Thank you for this tutorial! I want to sew our Christmas stockings and this looks easy and fun! (I was surprised at how uninspiring the Christmas stockings in the stores are!). I am visiting from The Painted Hinge Farmhouse Friday! Merry Christmas to you and your family!
They really are simple to make! I hope you make something to suit you and your family! Heirloom stockings!