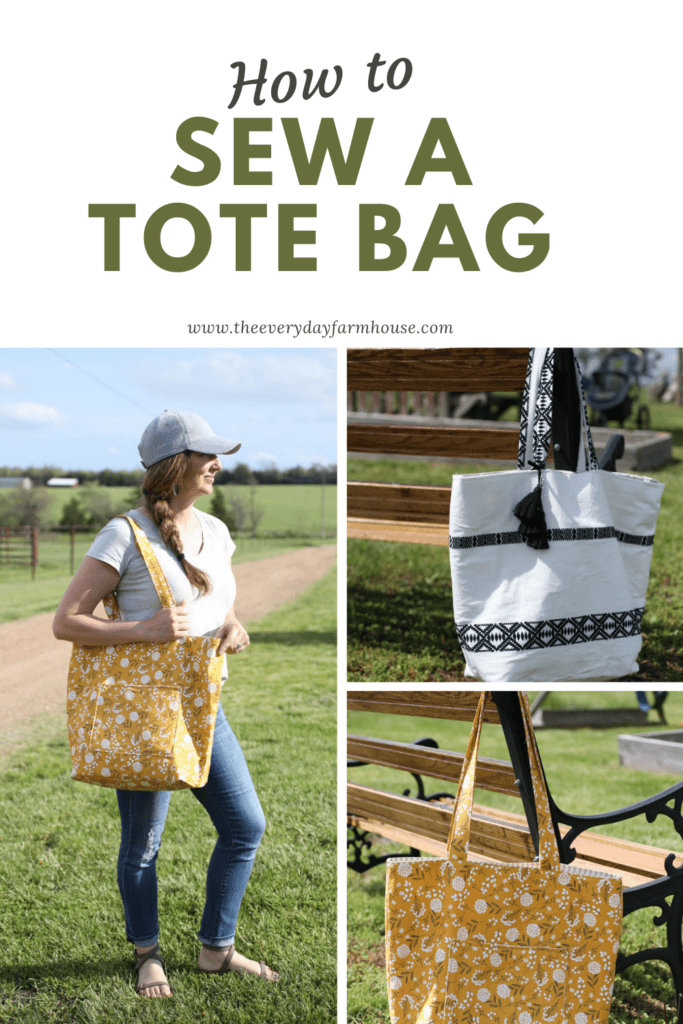
How to Sew a Simple Tote Bag with Flat Bottom and Lining
Sewing a tote bag with flat bottom and lining is quicker and easier than you might think. There are many many tutorials out there on making a tote bag. I found two that I really liked and have modified those a bit to make the perfect sturdy tote bag. Let’s sew a tote bag! This post contains affiliate links.
Is is Difficult to Sew a Tote Bag?
I really thought it was going to be super difficult to sew a tote bag. About a year ago my aunt made the cutest little tote bags for all of my daughters. When they arrived, I couldn’t believe how beautiful and professional they looked. I am not a skilled seamstress, so when I studied them I figured I would never be able to make one.
If you remember I am participating in the #handmadehomechallenge. Tara from She’s Rooted Home started this challenge for 2021. Each month of the year there is a new challenge to make something for your home. You can see the projects for the year below. When I saw the challenge for April was a reusable grocery bag, I felt a little defeated. I really thought it was beyond my skill level. I am posting this a bit late, but better late than never!
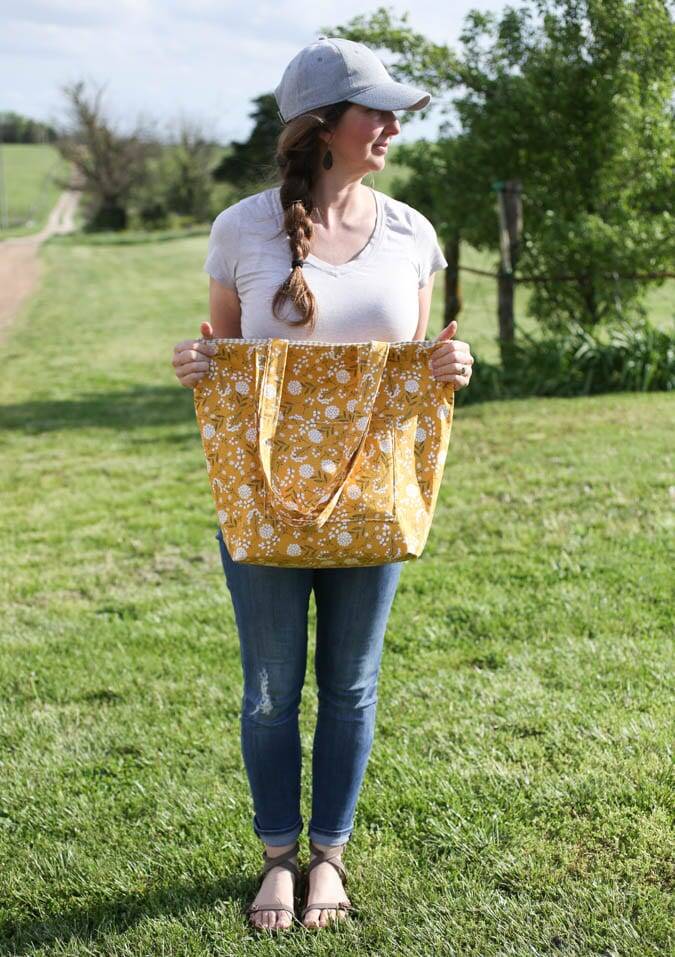
After watching several tutorials I realized that making a tote bag was really not hard, and not something that takes a high level of skill! You really just need to be able to measure, cut, sew a straight line, and follow instructions to sew a tote bag! I made two bags. For the practice one, I used a spare cloth shower curtain so that I wasn’t investing any money in something that I may mess up! I really like the way it turned out too!
This can be made in an afternoon! I was surprised at how quickly it came together!

Past #handmadehomechallenges
- How to Crochet a Dishcloth for Absolute Beginners
- DIY All-Purpose Cleaner & Bathroom Spray with Witch Hazel
- Easy Farmhouse Envelope Pillow Cover Tutorial
You Can Never Have Too Many Bags!
The bag that I made from the pretty shower curtain is now in my van. We have had three instances of kids puking in the car recently. Each time I was so frustrated with myself for not having a bag of extra clothes in there! Now, I have a super cute bag full of extra clothes and blankets, and this will guarantee that no one will puke in the van ever again…right!?!
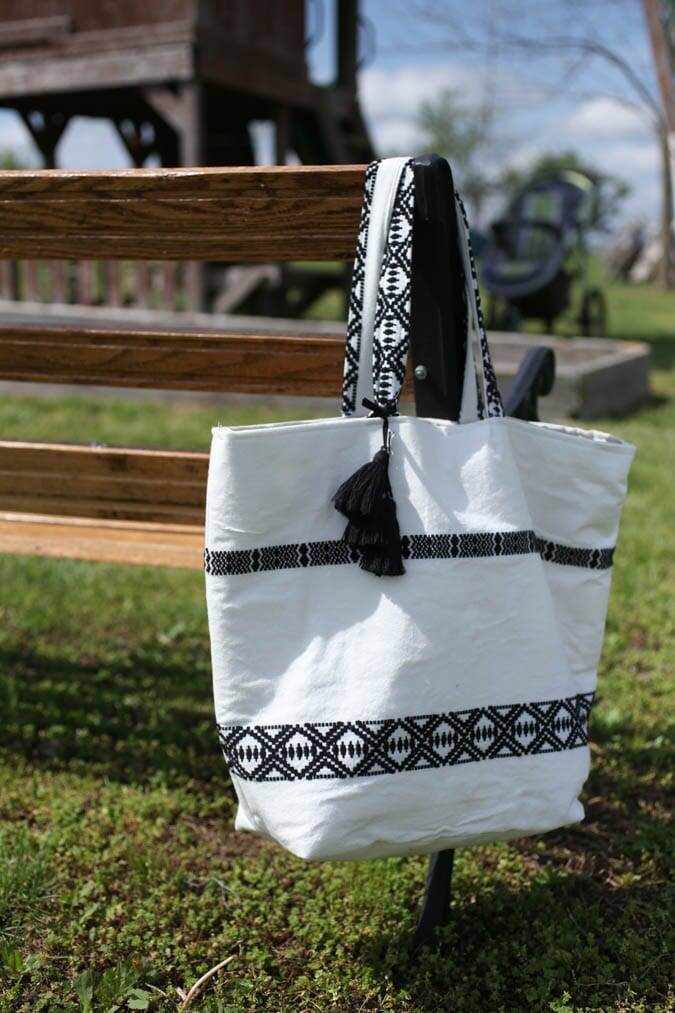
My Two Favorite Tote Bag Tutorials
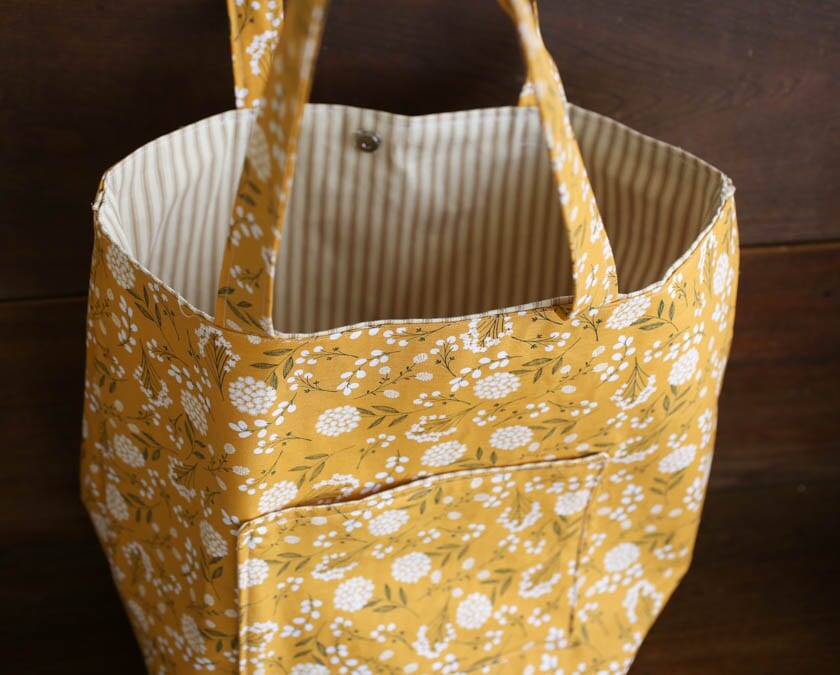
This first tutorial is extremely helpful, this gave me the confidence to try. I modified mine a bit by adding a stabilizing lining and a pocket. I also made my straps slightly longer than the instructions, and I added a magnetic snap. This one is a video, but also has written instructions on the website.
This one gives a similar result, but the corners are made differently, and it is a smaller size.
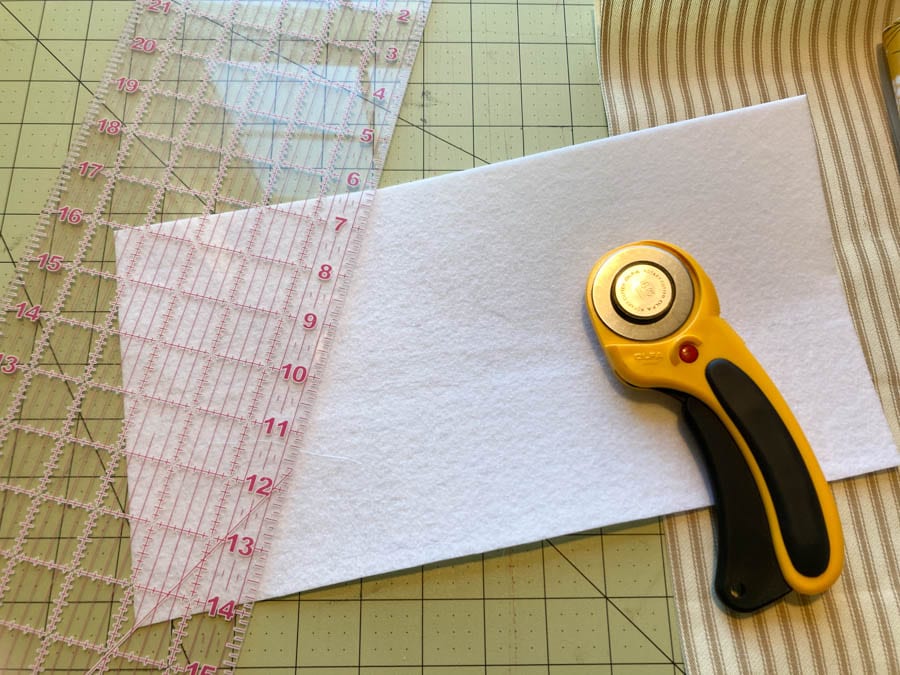
Materials Needed for a Flat Bottom Tote
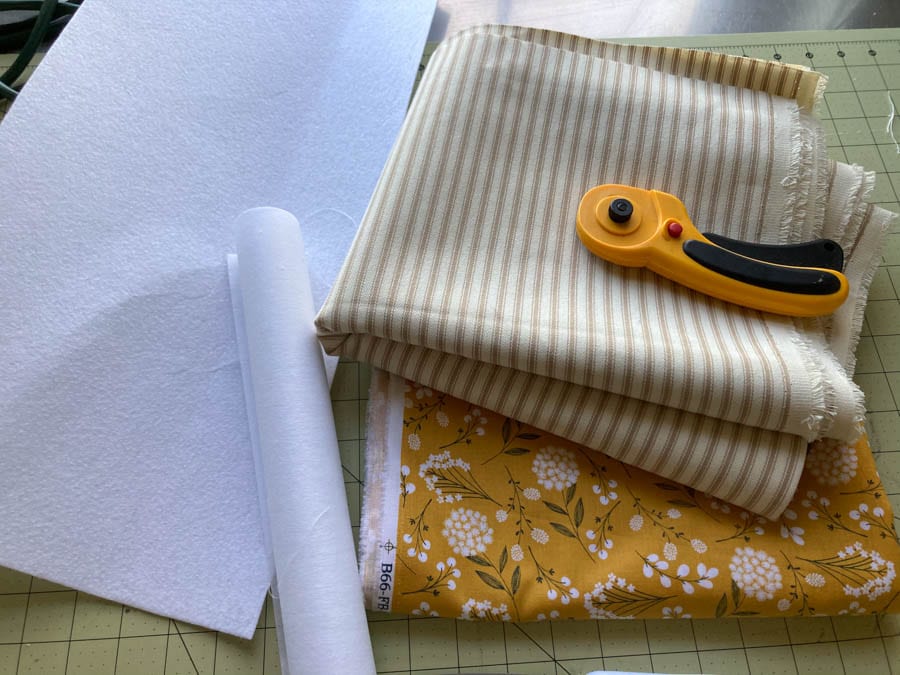
- 1 yard outer fabric Or a Shower Curtain
- 1 yard lining fabric this is a tan ticking stripe from Walmart, I cannot find a link for it.
- 1 yard medium weight stablizer
- 1/4 yard ultra-firm fusible stabilizer
- Scissors (a rotary cutter makes it super easy)
- A cutting mat (Not necessary, but helpful)
- thread
- sewing machine I bought this inexpensive machine about 4 years ago. I cannot say enough good things about it!
- snap
A few notes about choosing your fabric. First of all if you want to use this as a grocery bag, oilcloth may be a really good choice. Then it could be easily wiped off and you don’t need to worry if it gets wet. I like my totes to stand up. To achieve this, you can either select a sturdy fabric like a duck or you can add a fusible stabilizer as I did. Even with the stabilizer, it doesn’t stand up perfectly like it would with oilcloth. Also, you can buy a fusible vinyl that can turn any fabric into an oilcloth. I bought some on clearance, but have not tried it yet!
Step 1: Measure and Cut Your Fabric
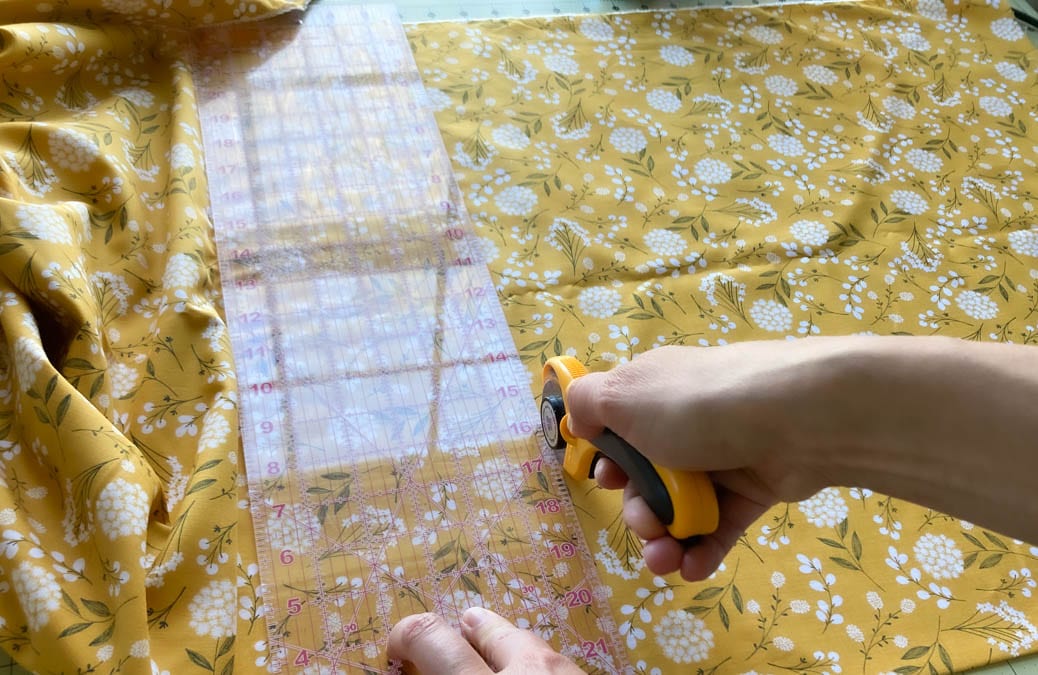
For a large tote bag like mine. You will need to cut two pieces of the lining fabric 20″ wide and 21″ long. Also, two pieces of the outer fabric 20″ wide and 21″ long as well. If you are using a iron-on stabilizer for the outer fabric, cut two pieces of the same dimensions.
For the Straps, you will need to cut two pieces 5″ wide by 24″ long.
For the bottom, cut a piece of ultra firm stabilizer 7″ by 13″
Step 2: Sew the Outside

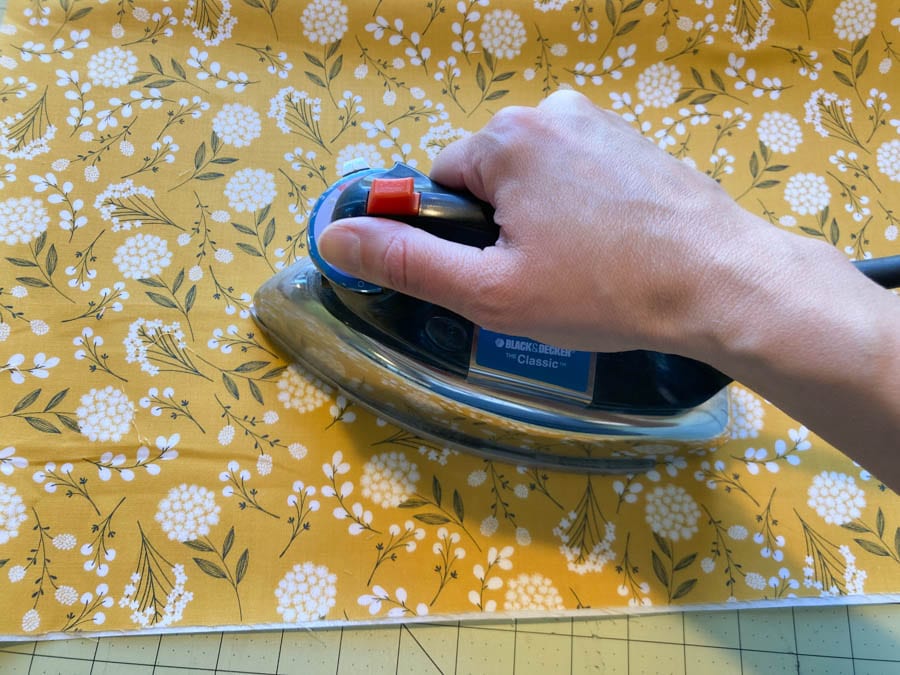
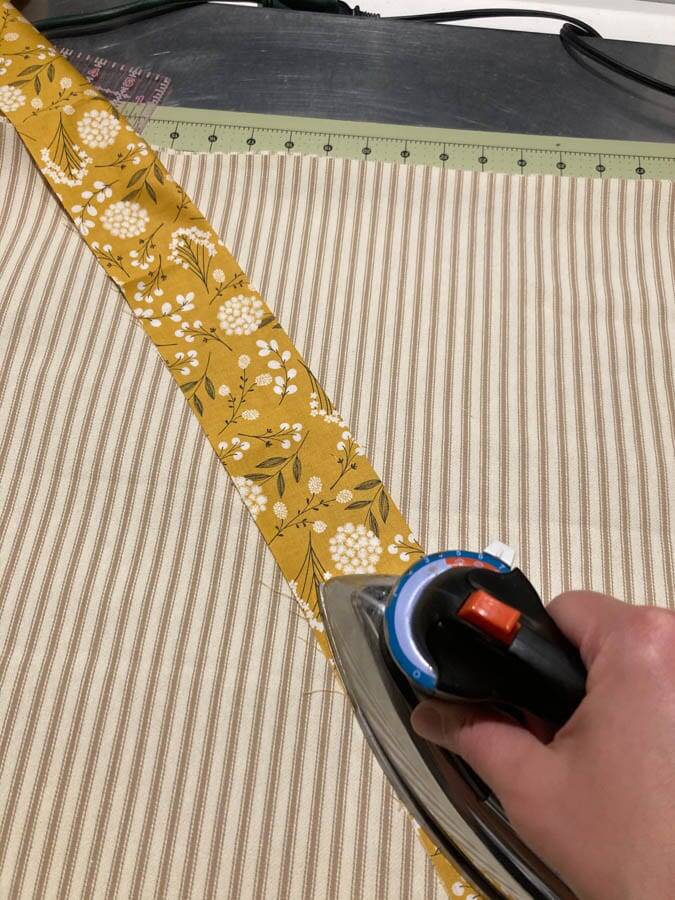
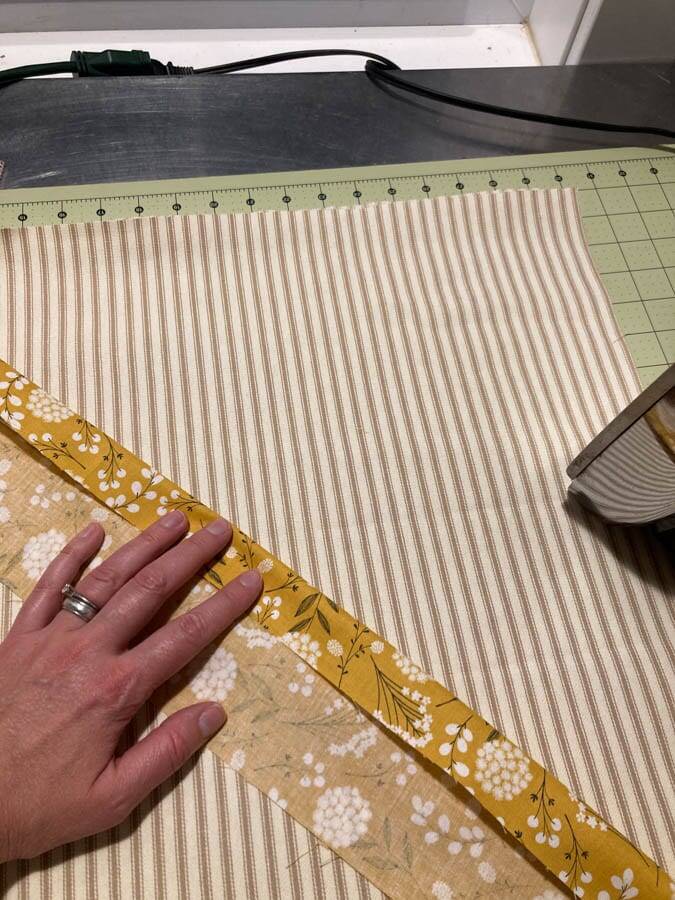
Press the midweight stabilizer on the pieces of fabric. Depending on your yardage, you may need to piece it together. Slowly press all around until it is fused.
Sew along the bottom of the outside with right sides facing. 1/2″ seam allowance
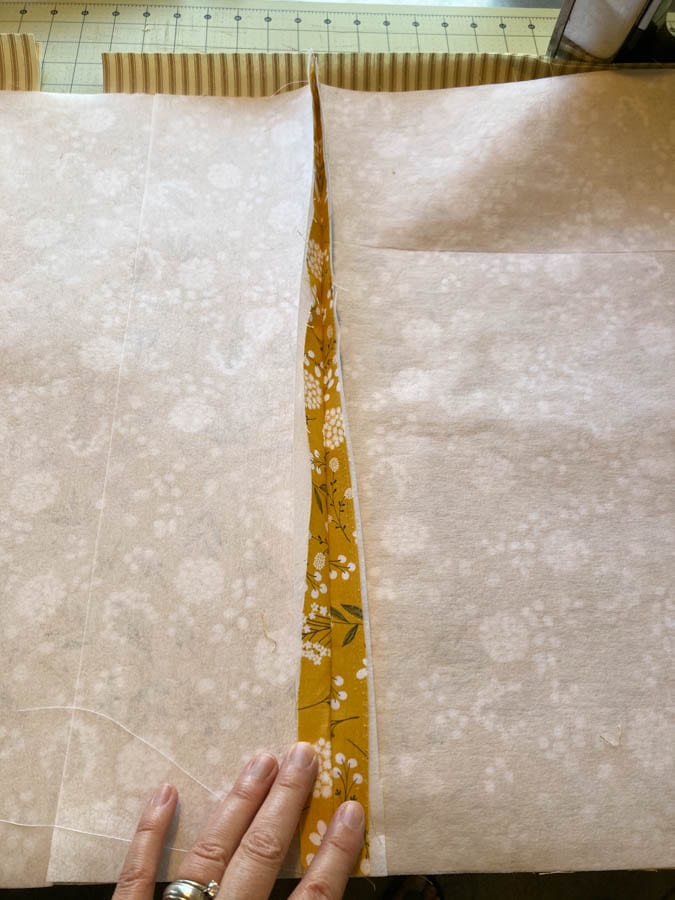
Press the seam open.
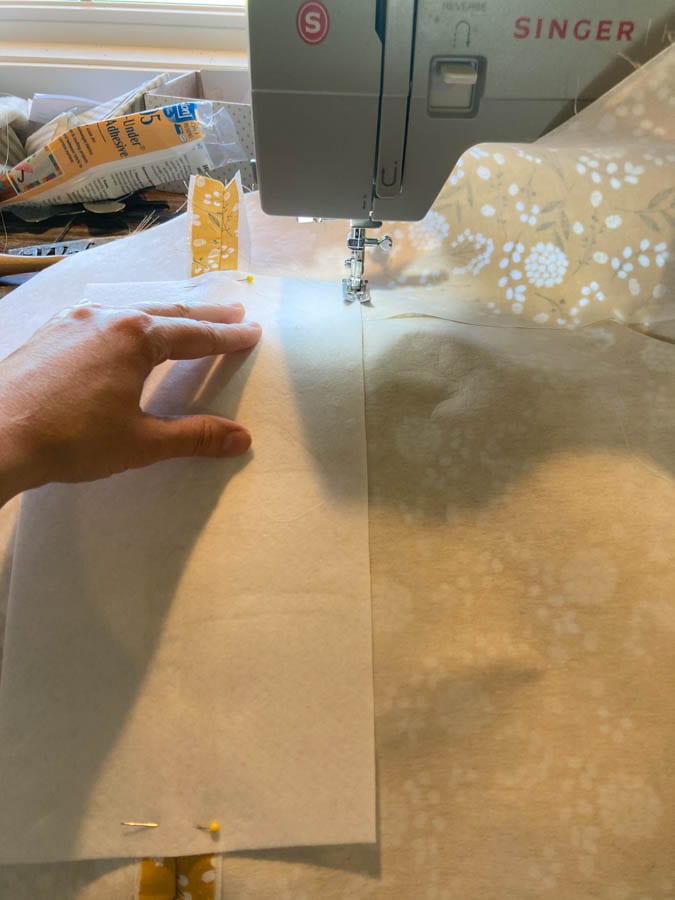
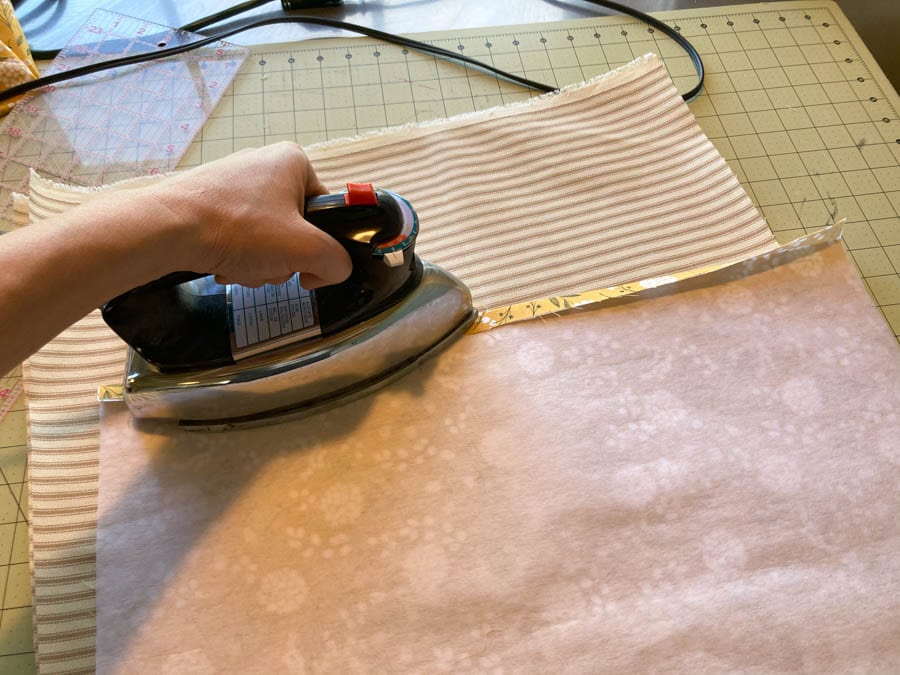
Place the thick stabilizer in the center lining it up. It should be perfectly centered with even space on both sides.
Press the stabilizer in place. I then stitched around the stabilizer to make sure it stayed in place, it does not adhere very well to the lighter stabilizer.
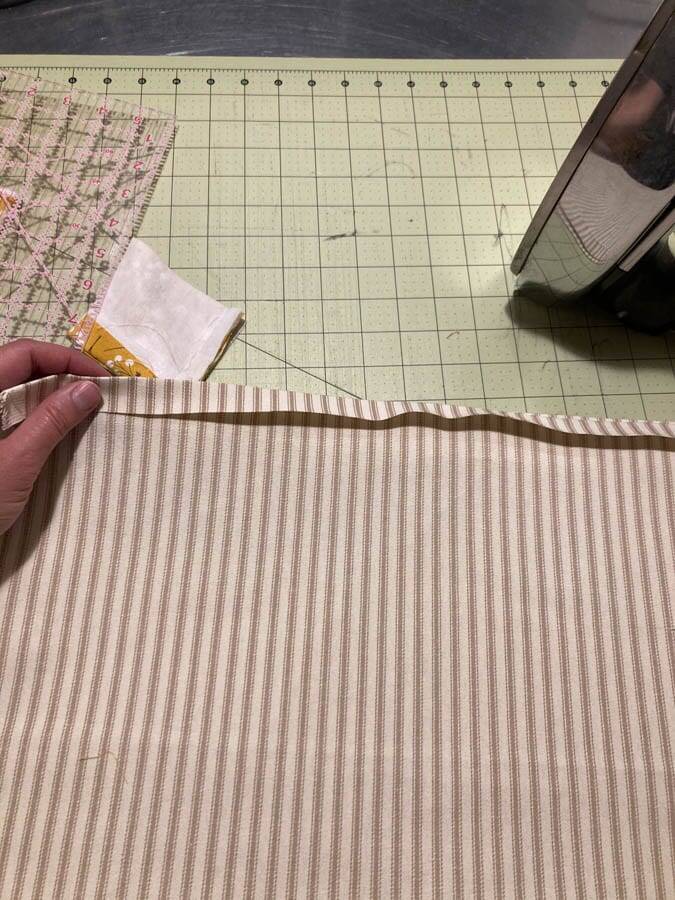
Fold the top edge down 1/2″ and press.
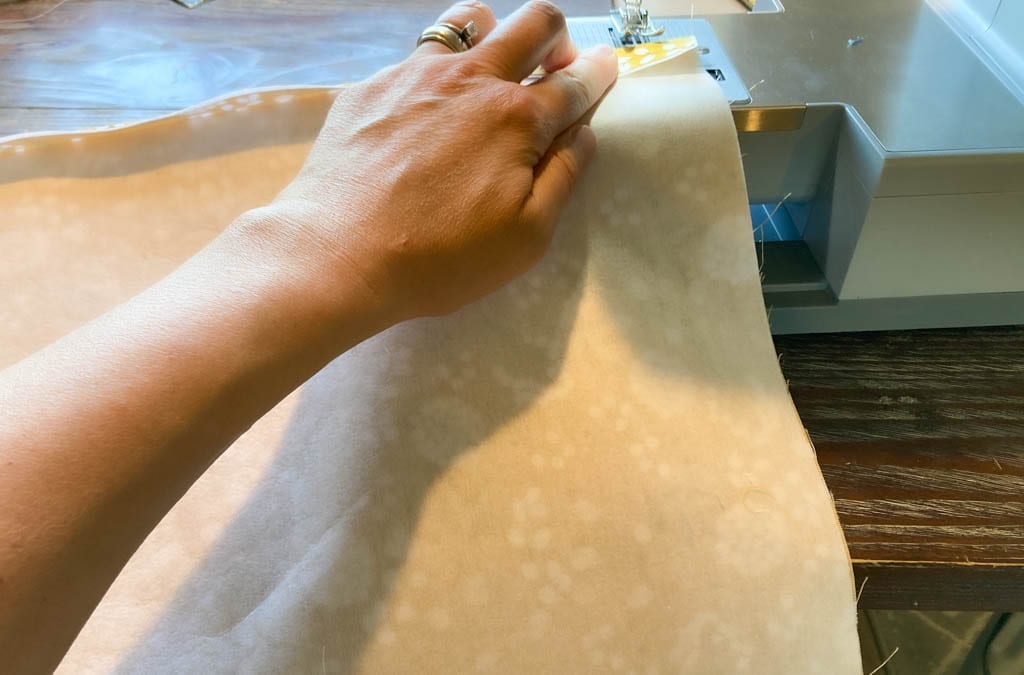
Next, match up the top edges and then stitch down the sides of the bag. Press open the seams
Step 3: Make and Attach the Pocket
The pocket could be added to the front piece of the bag first, however, I didn’t do that because I needed to see exactly where the pocket would sit on the bag. I need to see things in order to visualize it. Either way, I placed the pocket in the center from top to bottom and from left to right. You can place it higher or lower, whatever you want!

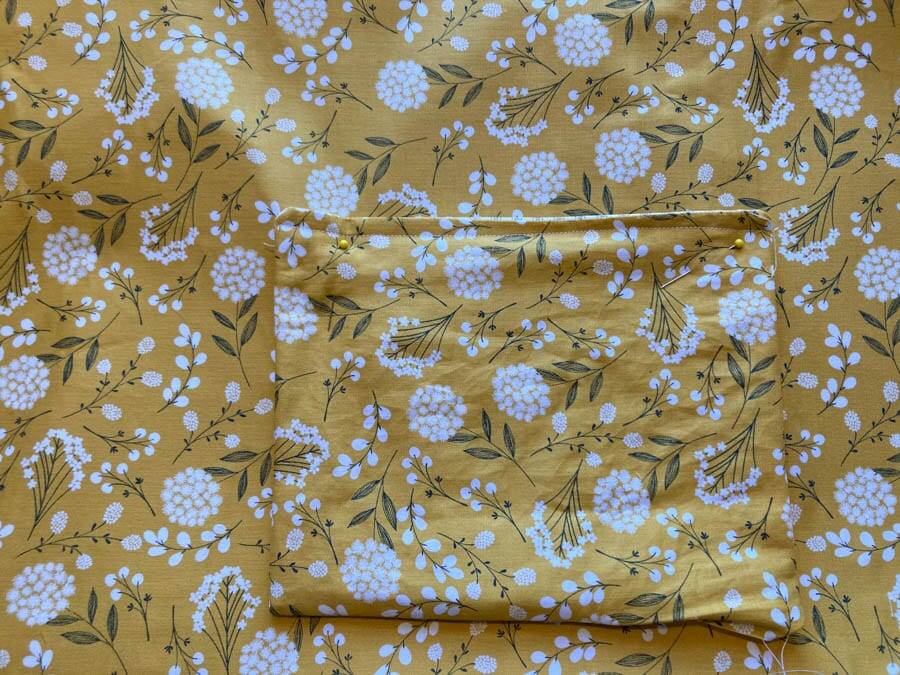
To make the pocket, I stitched two 9X12″ pieces of fabric together, right sides facing. You can use a 1/4″ seam allowance. I left an opening to turn it right side out. I put the opening on the bottom and stitched over it when I attached the pocket. In hindsight, I think it would have been better to just press the edges down and make the pocket that way. Either way, attach the pocket using 1/8″ seam allowance. You can center it between the top and bottom of the bag, or place it wherever you like.
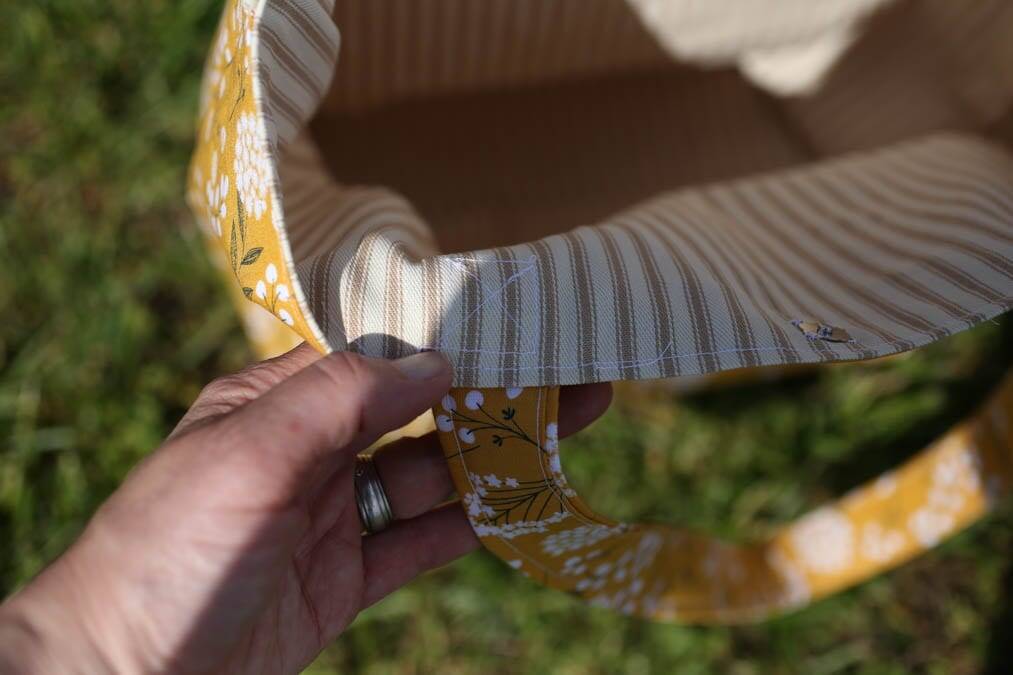
How to Make the Square Corners on the Tote Bag
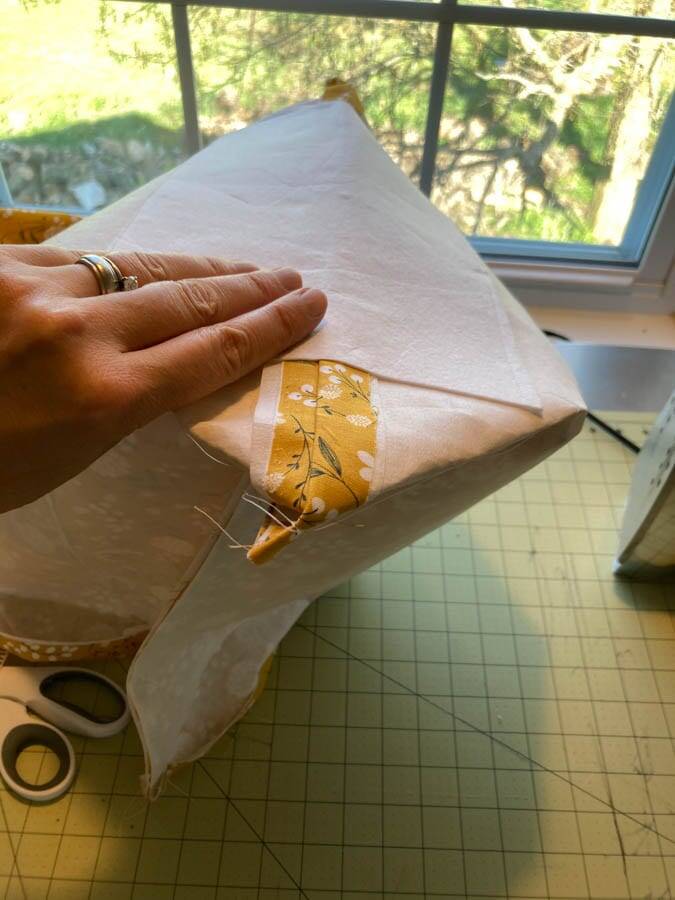

Match up the side seam with the bottom seam. You will make a triangle shape on the corners. Then stitch a straight line approximately 3.5 inches in from the corner. This stitch will run along the edge of the stabilizer.
After you have done that to both sides, cut off the corners.
Turn the bag right side out.
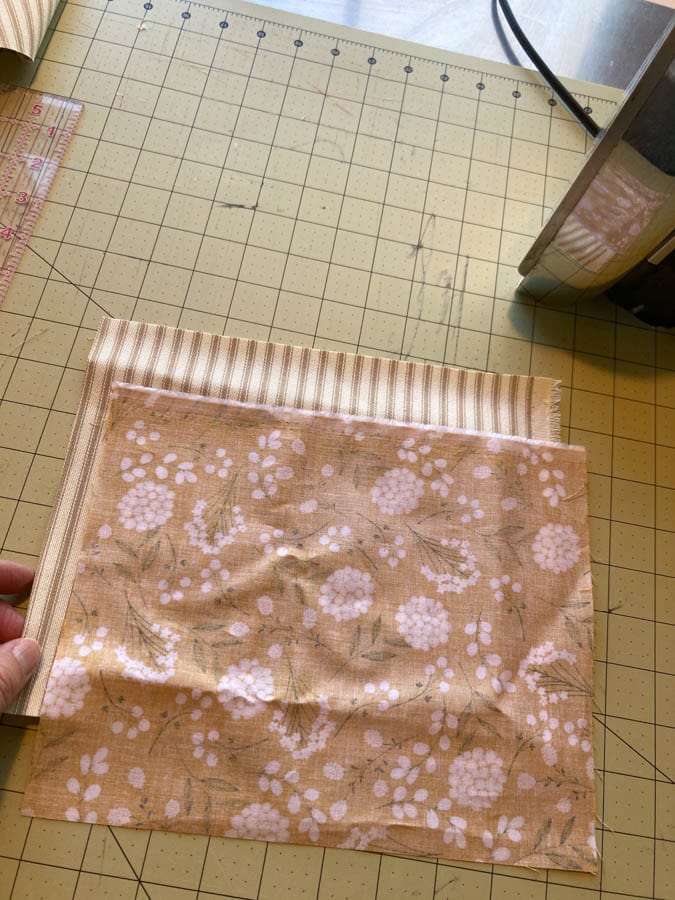
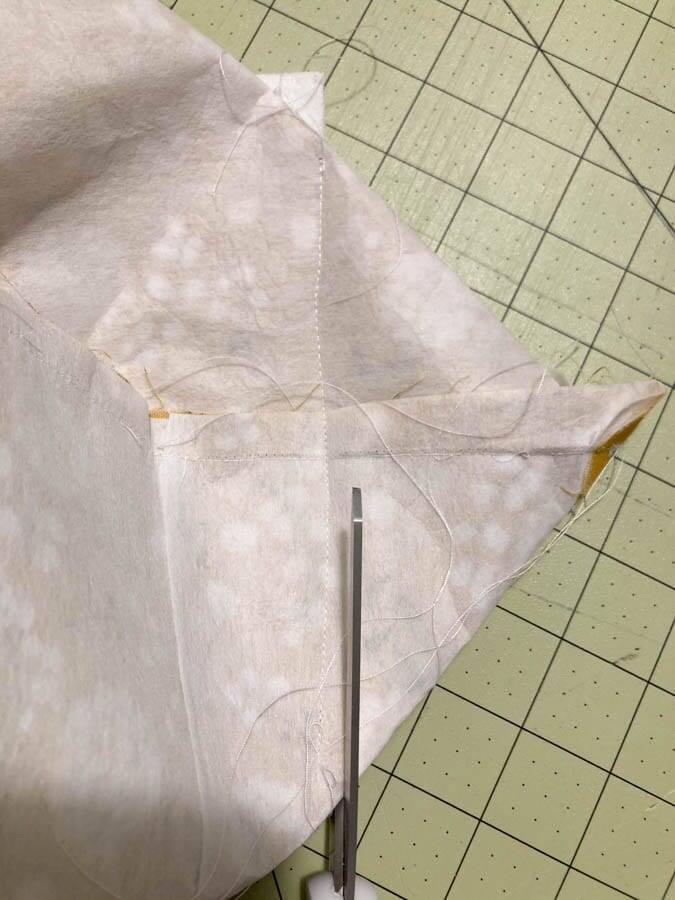
Step 4: Sew the Bag Lining

Place the lining pieces right sides together, double-check your measurements for top and bottom to make sure you have it positioned correctly.
Fold a 1/2 seam along the top edge and press. Next, stitch along the sides and the bottom. Press open the seams and then line them up as you did on the outside. Stitch a straight line 3 1/2″ from the point. It’s best to draw this line with a marker to ensure it is straight. Stitch along the line and then cut off the point.
Step 5: Attach the snap to the bag lining
This should be done before you assemble the bag. I used a magnetic snap that is just hand stitched in place.
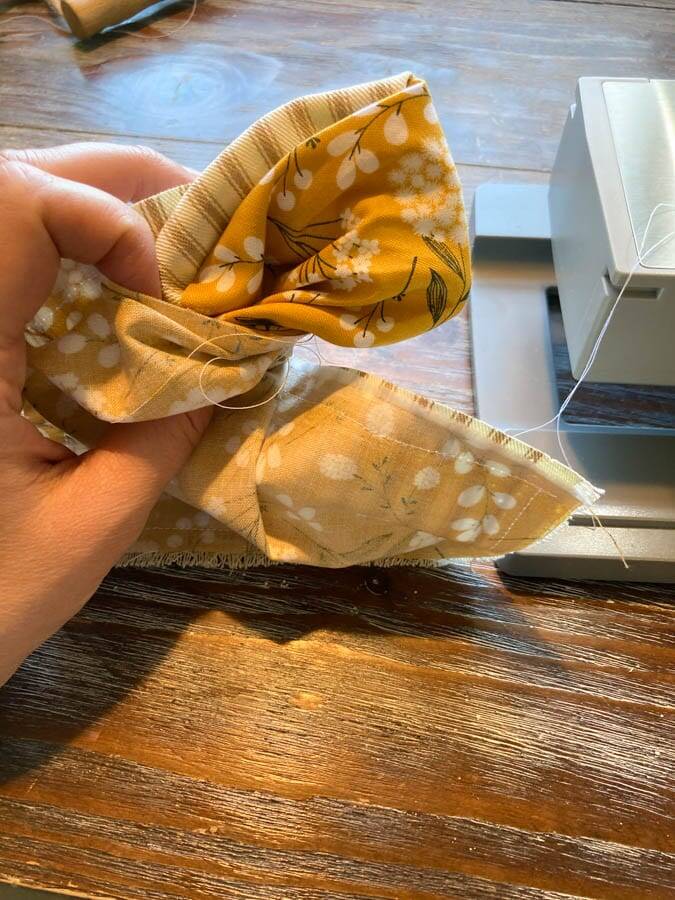
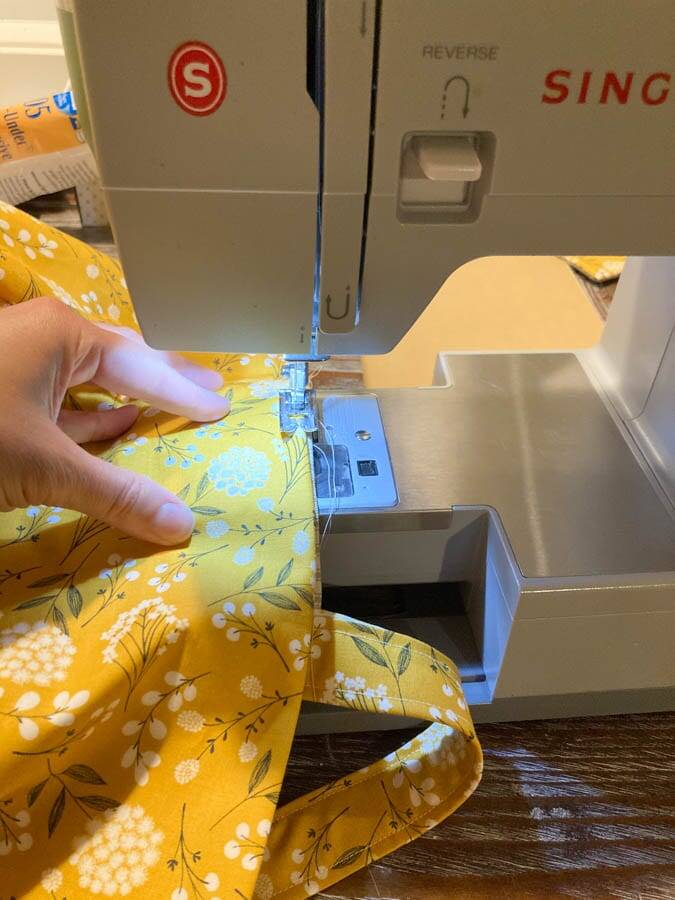
Step 6: Make the Tote Bag Handles

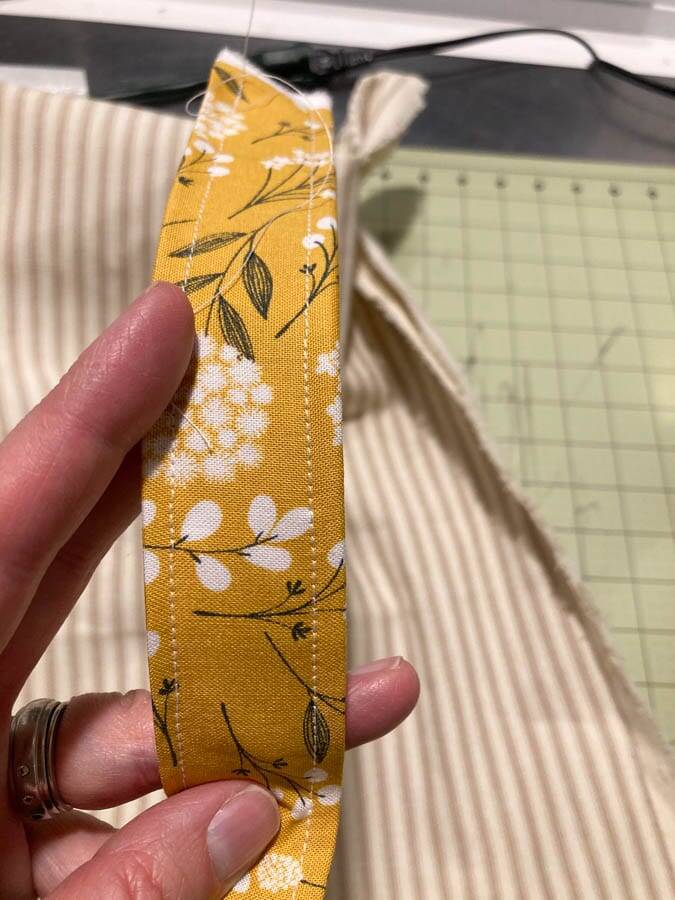
Fold the handle piece in half and press. Open it up and then press the edges into the centerline. I added a strip of the midweight stabilizer, this may not be necessary if you are using a heavier weight fabric. Press again. Then fold the whole thing in half and press. Stitch down both sides with a 1/8″ seam allowance. Do this for both handles.
Attatch the Handles
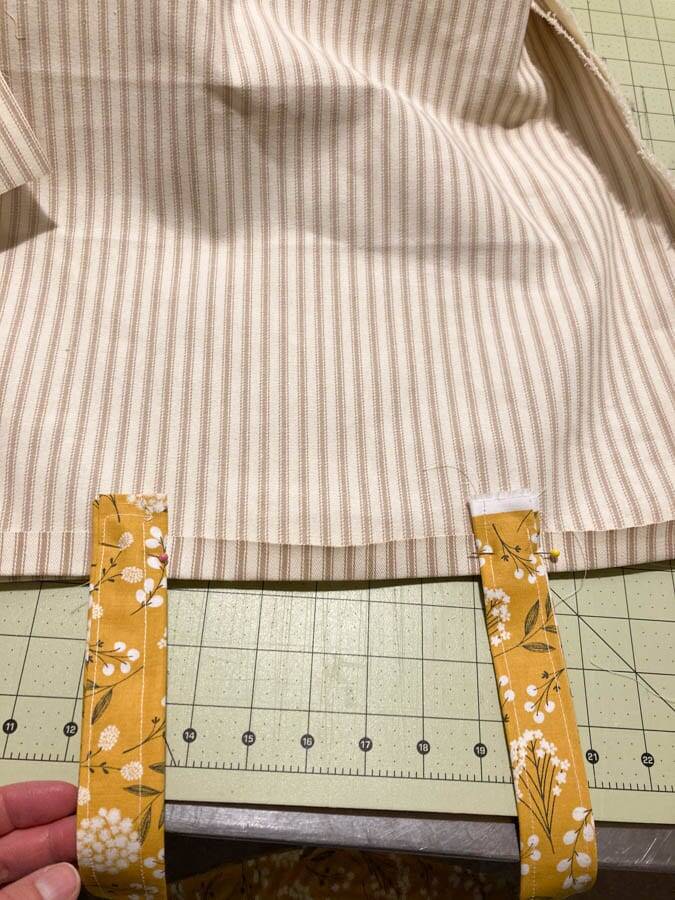
Now you will attach the handles to the lining of the bag. Measure in 6″ from each side and mark. Then pin the handles in place. Stitch the handles in place by going sewing a square with an X in the middle for reinforcement.
Step 7: Assemble the Bag
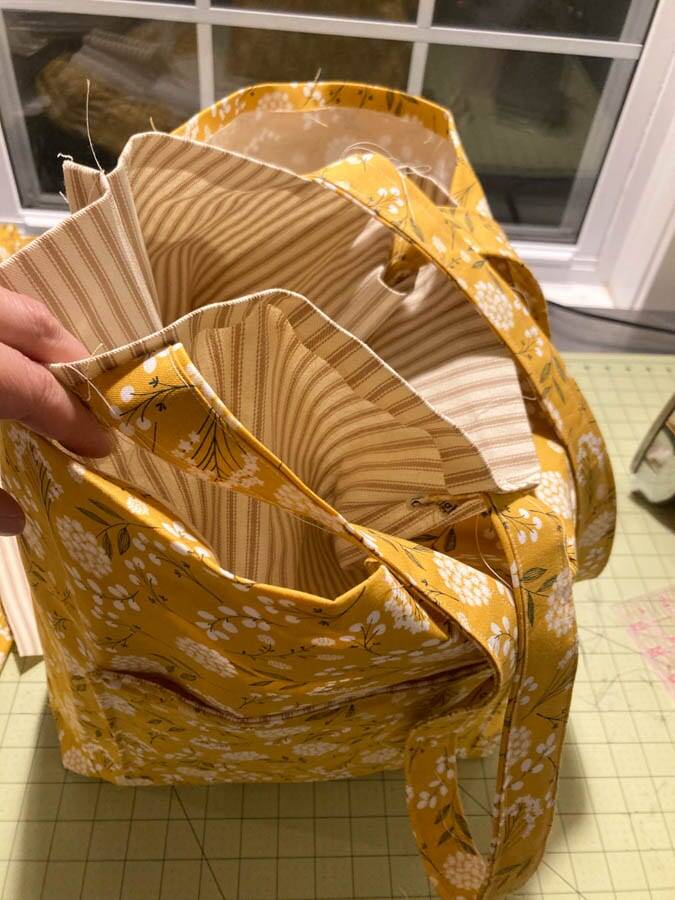

Lastly, tuck the lining inside the outer shell. Pin all along the top making sure the seams line up. Now using an 1/8″ seam allowance stitch all along the top of the bag. Trim the strings and enjoy your amazing new tote!
Below is a Great Place to Get Fabric and Supplies Online

Don’t Want to Sew a Tote Bag? Shop Cute Totes Here!

Please Pin and Share!


You did a great job on this tote bag!! I love that you reinvented a shower curtain! Once, I used a large piece of fabric as a shower curtain, then as a backdrop, then I reupholstered some antique rockers with it! So fun to reuse and repurpose! Pinned!
Thank you Cindy! I love repurposing things too! It’s a good inexpensive way to get a large yardage of fabric too!
Hi Jennifer, your totes are just adorable. I especially love that summery gold floral and ticking stripe! Thanks for sharing your DIY and tips with us. I’m featuring your post on All About Home this evening!
Thank you so much Debra!
Great pattern thanks. I would add the handles under the lining tho as neater. Personal preference though.
Yes, that is how it’s done. The handles are attached between the lining and the top, it looks very neat on the finished bag.
What is the finished size of this bag
Approximately 16″ tall by 18″ wide at the top by 7″ deep. Sorry for the delayed response!
What is the width and length of the handles?
For the Straps, you will need to cut two pieces 5″ wide by 24″ long. Those are then folded in half and sewn and turned rightside out and pressed. When you attach them to the bag you can make them shorter if you wish.
Thanks for the quick response and for sharing your pattern Jenn!
I was wondering when you see the first two initial sides together, are you sewing the 20” sides or 21” sides? Maybe you said it, but I didn’t see it in the directions. Thanks!
Those are the shorter sides the 20″ bottom is sewn first. I hope that is your question?
so I’m not really and expect here, but! You’re missing a few steps and important instructions. first if all, I think it would have be a lot easier to do the pocket BEFORE you sew the sides and press the seams. also, you when sewing the pocket, you didn’t give the seam allowance to put the 2 pieces of 9×22 together. you only gave the allowance to place the pocket. …this is Currently all the further along I am at the moment…
You sure can attach the pocket first. I didn’t find it any trouble to stitch it on after, the bag is plenty big. I am not a professional seamstress and the seam allowance for stitching the two pocket pieces together is missing, I’m not a perfectinist and probably just eyeballed it to be honest. The bag can be custom to your desires, make the pocket whatever size you want. Use a 1/4″ allowance and you should be fine. Sorry the tutorial is lacking to you.
I love this bag and the yellow fabric. It may be easier to sew the right sides of the lining together, leaving an opening in the lining, then turn the whole bag right side out and top stitch the opening. A little more finished looking and also stronger!
Yes, since making this bag, I have learned that method for other projects! Thank you!
I thought I read that there was a video and written instructions, I don’t see where the video is?
At the top of the post I link to a video that I learned from. It is similar to this bag but not identical. I never made a video for this bag but perhaps I should!
I just came across your website today looking for a lined draw string bag to make for my granddaughter to hold her small princess collection . She is 3 and has fallen in love with Cinderella and Elsa ! Is there a way I can print your directions without printing 32 pages . Do you have a book I could purchase with all your patters in them ? I am enjoying looking through all of your ideas and accomplishments and of course your inspiration! Thank you so much . Your new found fan !
Hi there, thank you for the kind words! I don’t have a book but that is a great idea! I suppose you could screen shot the instructions that you want and put them in a powerpoint or word document and then print from there? I hope your bags turn out for your granddaughter! My daughters use their drawstring bags all the time!
Was this it??
https://www.walmart.com/ip/Roc-Lon-44-45-Woven-Stripe-Ticking-Navy-3-Yard-Cut/928175530
I think that is it, just a different color.
Cute bag. I made one years ago and pattern called for a plastic lining for the bottom but covered in fabric. However, the handles were the webbing material. Not sure what it is called right now. Anyway, it was attached like how you did it and they eventually broke/tore. If these will be used for groceries or sort of heavy things I would put straps all the way under and up the sides like a canvas tote. I won’t do the inserted straps again.
Interesting. Perhaps people should try that. The ones we have made have held up remarkably well. One we use for library books and it has carried 30 plus books just fine!