DIY Herb Drying Rack for Hang Drying Herbs and Flowers
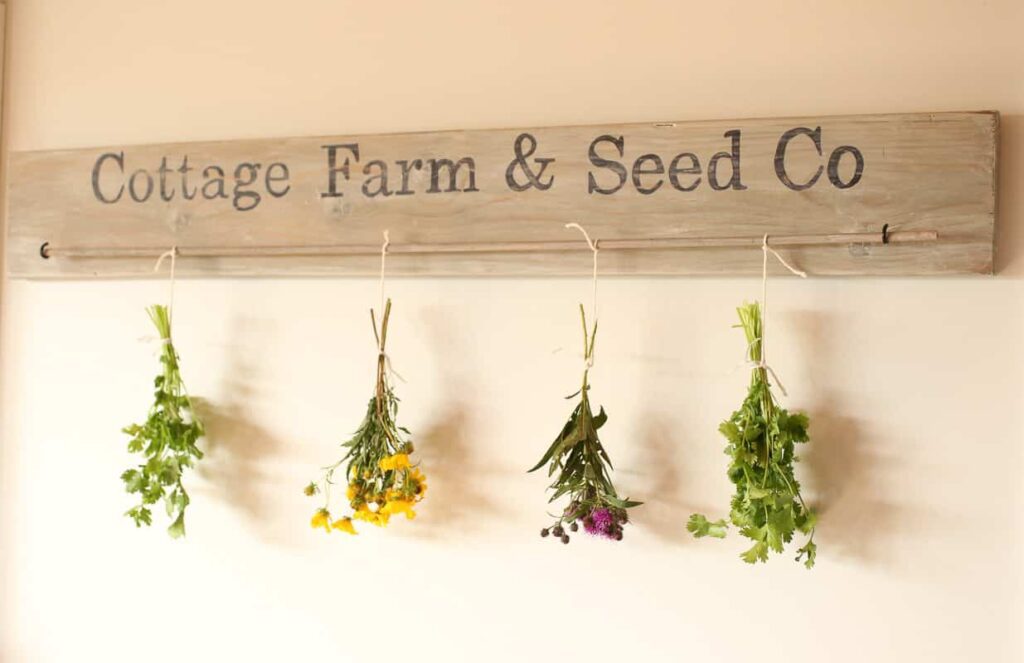
This DIY Herb drying rack is perfect for hang drying herbs and flowers. It is simple to make and looks lovely hanging on the wall. Plus I share an easy transfer method that you can use for many projects!
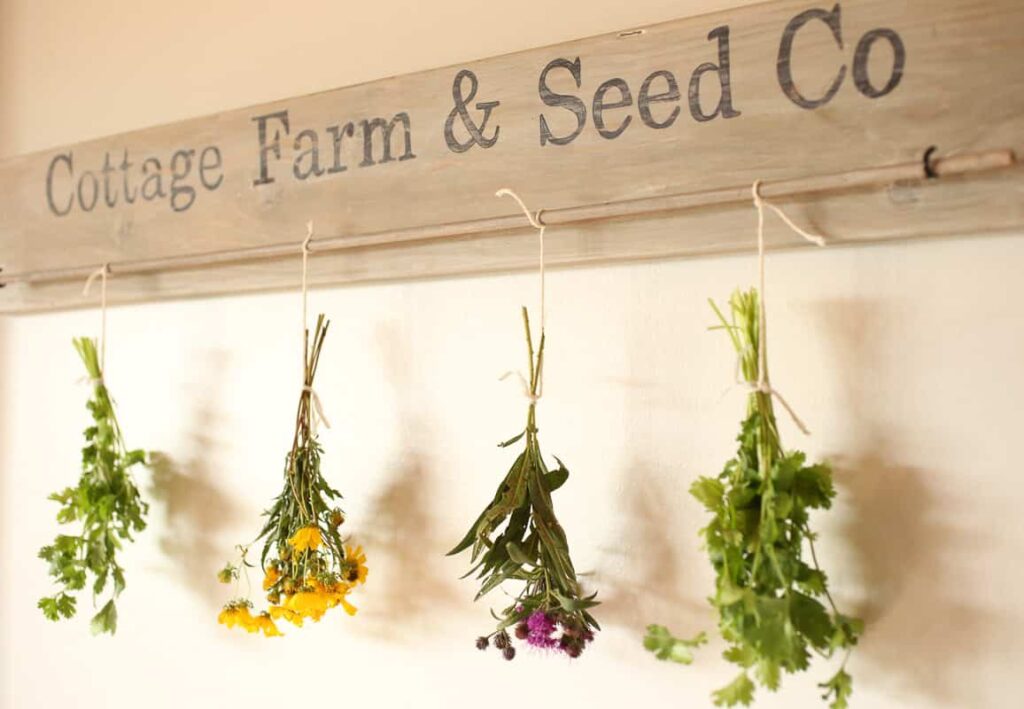
I came up with this herb drying rack by walking around our garage and looking at what we had on hand. Thankfully we are hoarders of scrap wood and hardware! I found everything I needed out in the garage!
Supplies Needed for DIY Herb Drying Rack
- A board
- Stain
- Liming Wax or Glaze
- A Brush
- A Rag
- A Printer
- A Pencil
- A Skinny Sharpie and a Fat Sharpie
- A small dowel I used 1/4″
- Two Hooks
- Picture Mounting Hardware
Step 1 for DIY Herb Drying Rack
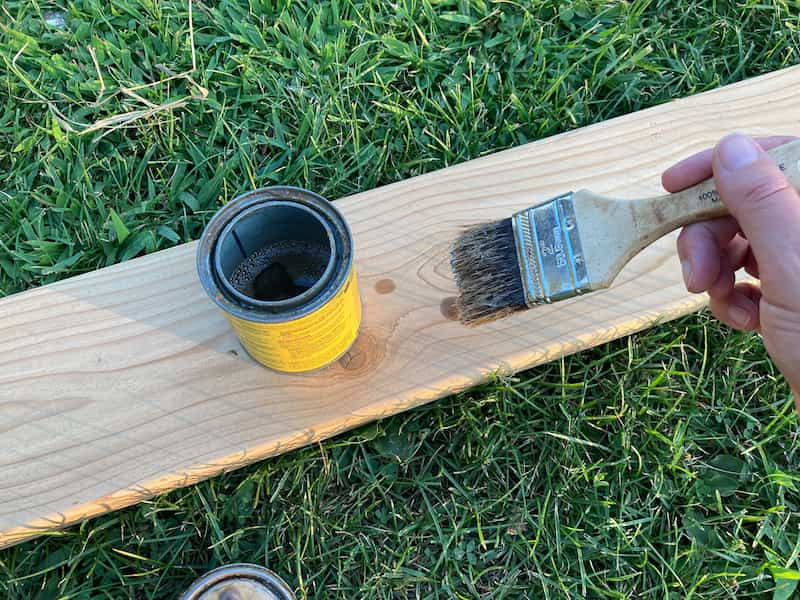
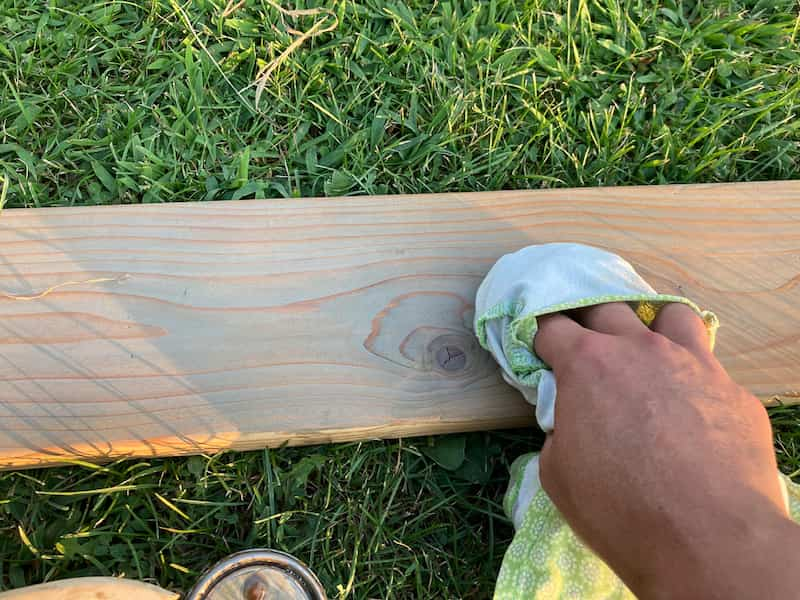
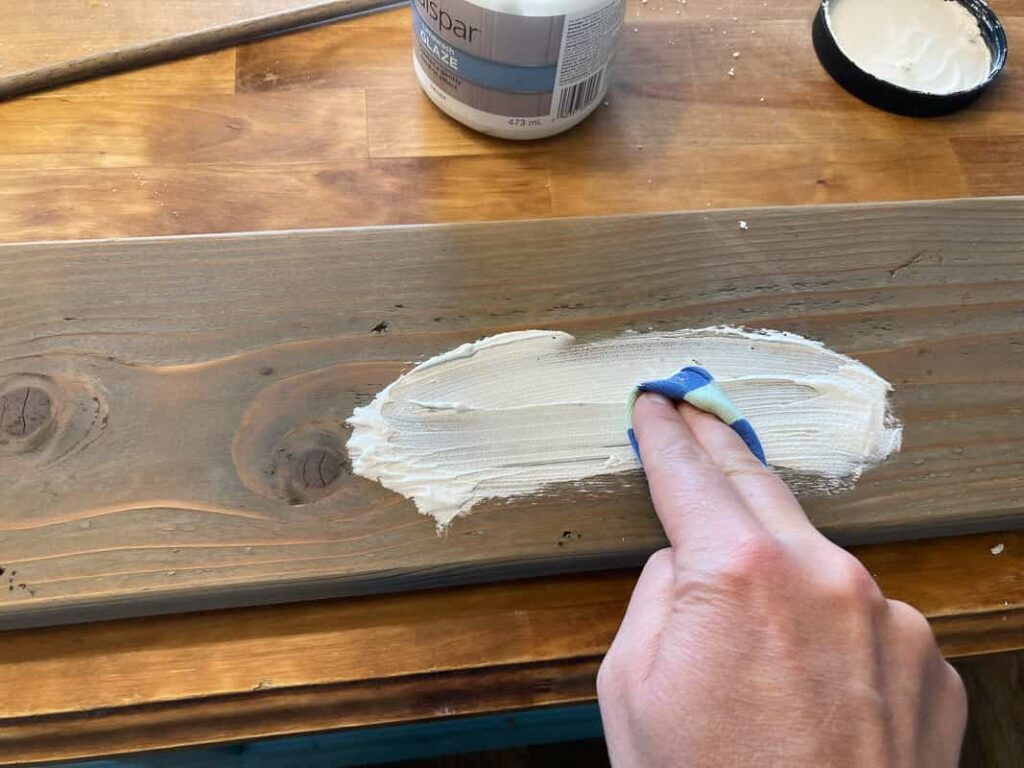
First, you need a piece of wood. I used a 1×6 cut to 40″ long. Next, I sanded it and then I stained it with Minwax Weathered Oak stain. After the stain has dried, use some sort of liming wax or liming glaze to give it a limed look.
Step 2 for DIY Herb Drying Rack
Deciding what you want your herb drying rack to say might be the hardest part. I just threw out a bunch of words and had my kids help me to decide what it should say.
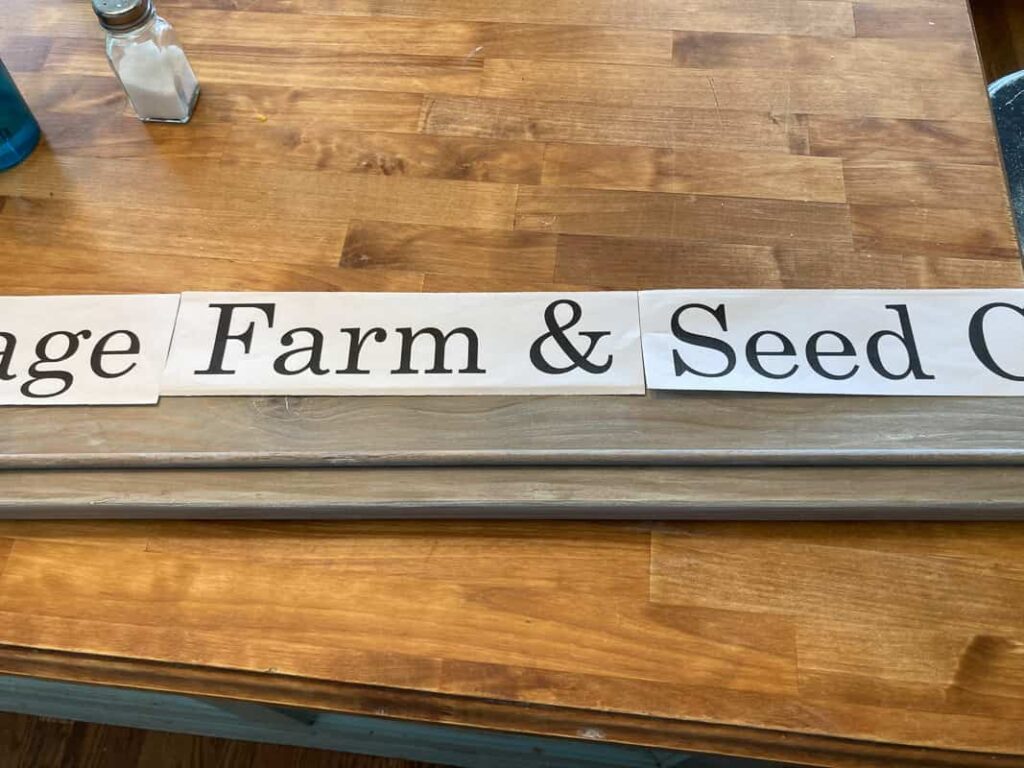
After you have decided what you want on your board, use a program like Word or Powerpoint to choose the font and print your words. If you aren’t sure how to get the size font that you want, you don’t have to select from the font sizes in the little drop-down box. You can actually just type in the size that you want. For this, I had the size at 200 with Century Schoolbook Font. I did this in Powerpoint.
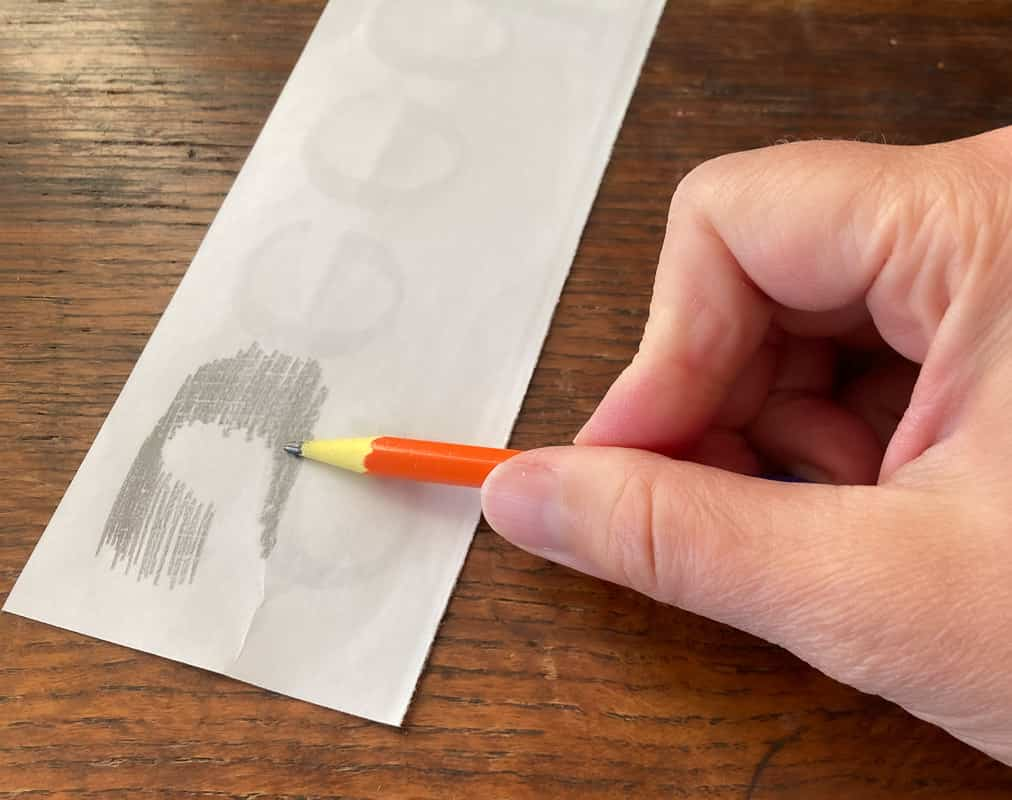
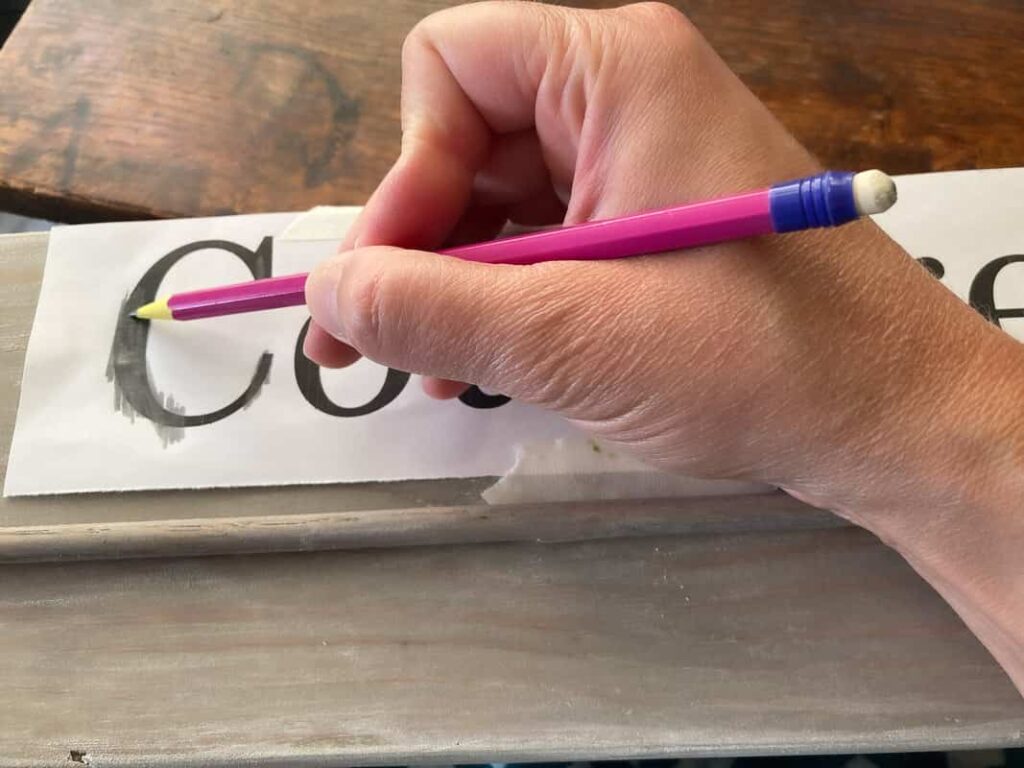
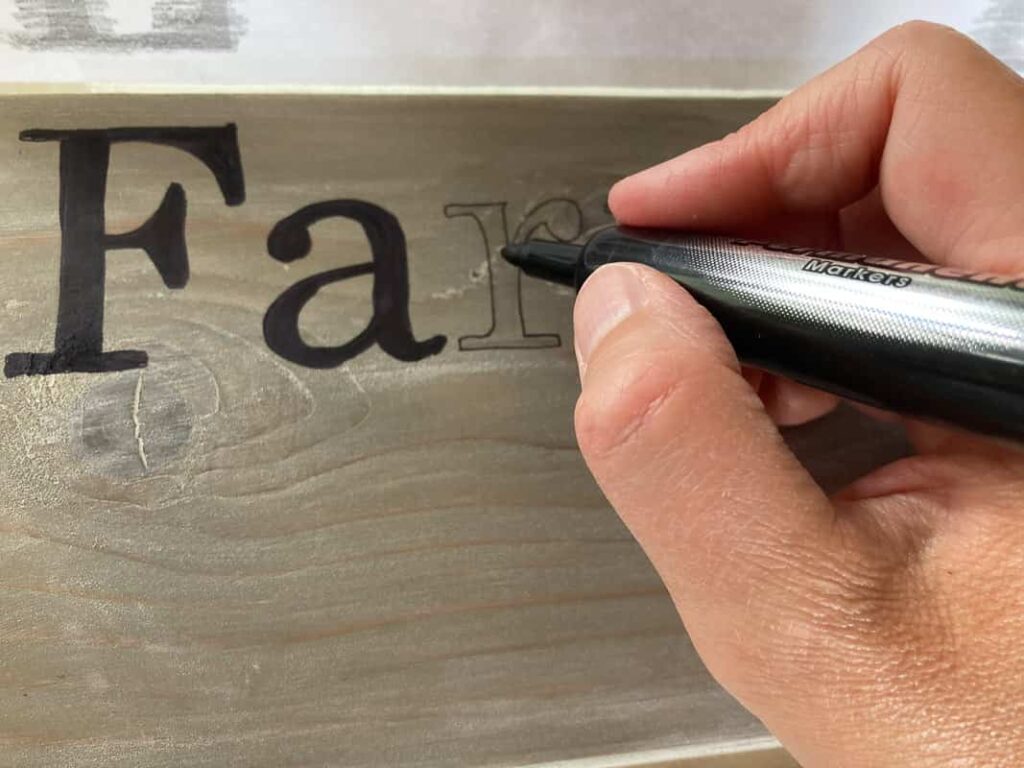
Simply print the text, and cut it into strips. Using a pencil or a charcoal pencil, color over the back side of the letters. Then tape your letters to the board. Neatly trace over the top of the letters and they will transfer to the board. In the photo above it shows me kind of coloring over the letters, that doesn’t work best, it’s best to trace over the top side neatly.
Step 3
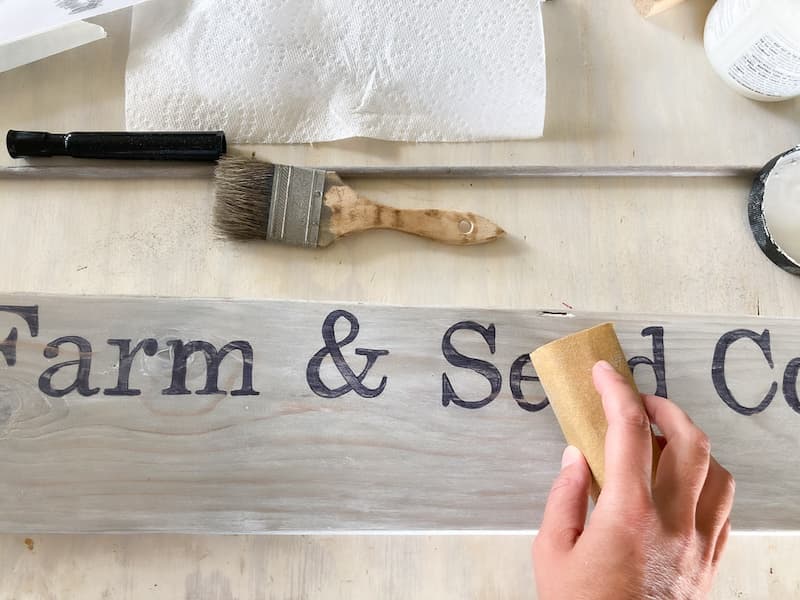
I went over the whole thing with a bit of sandpaper to distress it a bit and make it look old. I didn’t want the letters to be so bold and black. After sanding, go over it again with a bit of liming wax or glaze.
Step 4 Add Hooks to Drying Rack
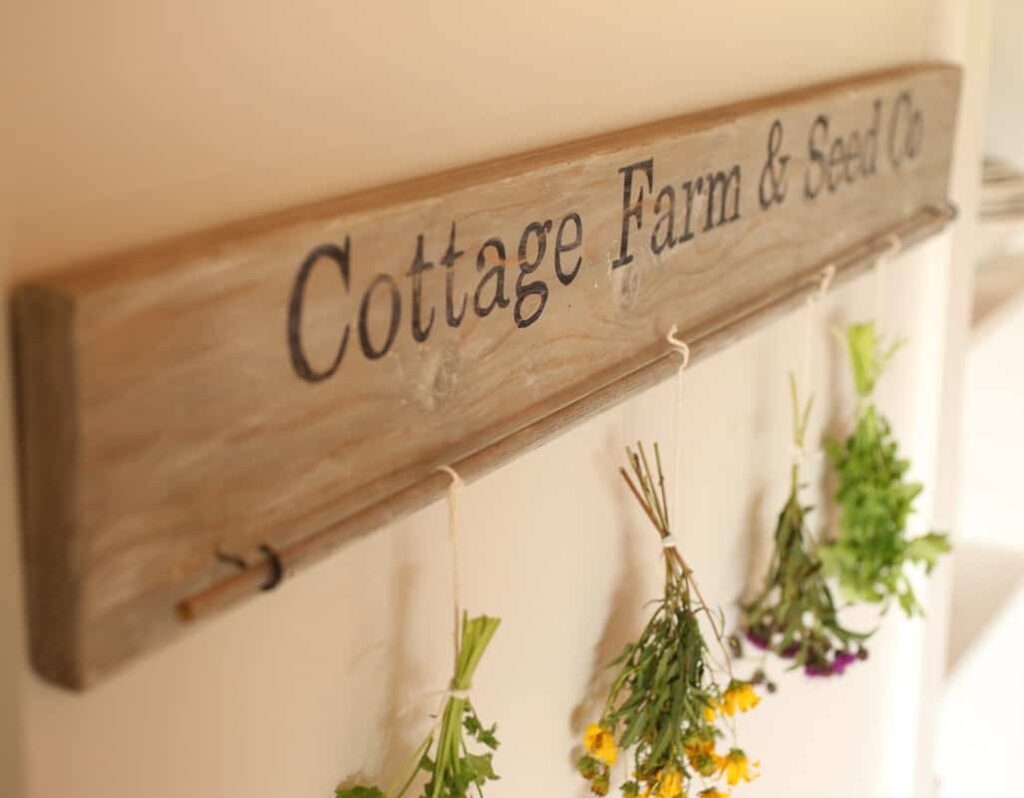
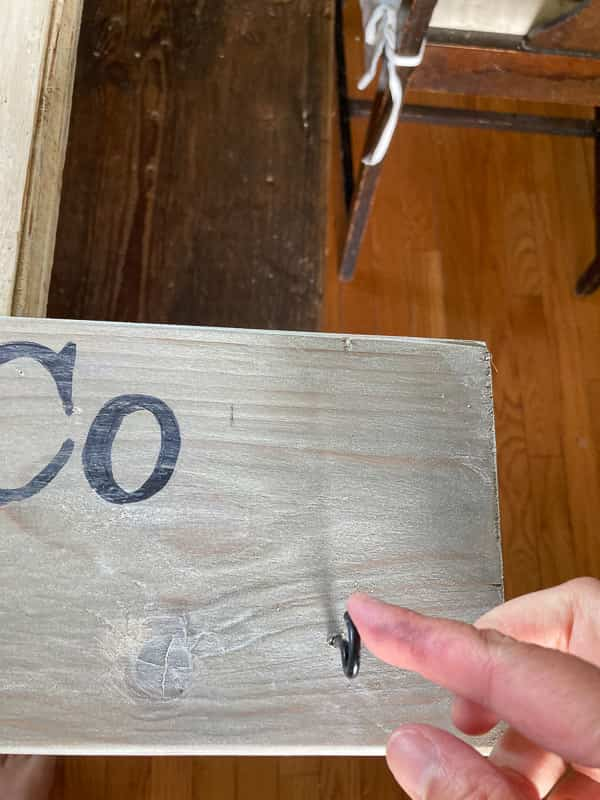
Next, you will pre-drill some holes so that you can easily screw in the hooks. I also painted my hooks with black spray paint prior to using them. I measured in 3.5″ from the sides and 1.5″ up from the bottom and marked where my hooks should go.
Last Step Attach Dowel
Now you just hang the dowel on the hooks and you are ready to go with your DIY Herb Drying Rack!
Choose Your Herbs and Flowers
If you aren’t sure what herbs or flowers to dry, you can check out this post here. That post will help you to know how to properly dry herbs, flowers, and even peppers!
Pin it for Later!



I love this idea and can not wait to do this !! New to your blog, so I’m catching up a bit
Haha
Yay! I still use this! Welcome to the blog!