Handmade Cornucopia Centerpiece for a Thanksgiving Table
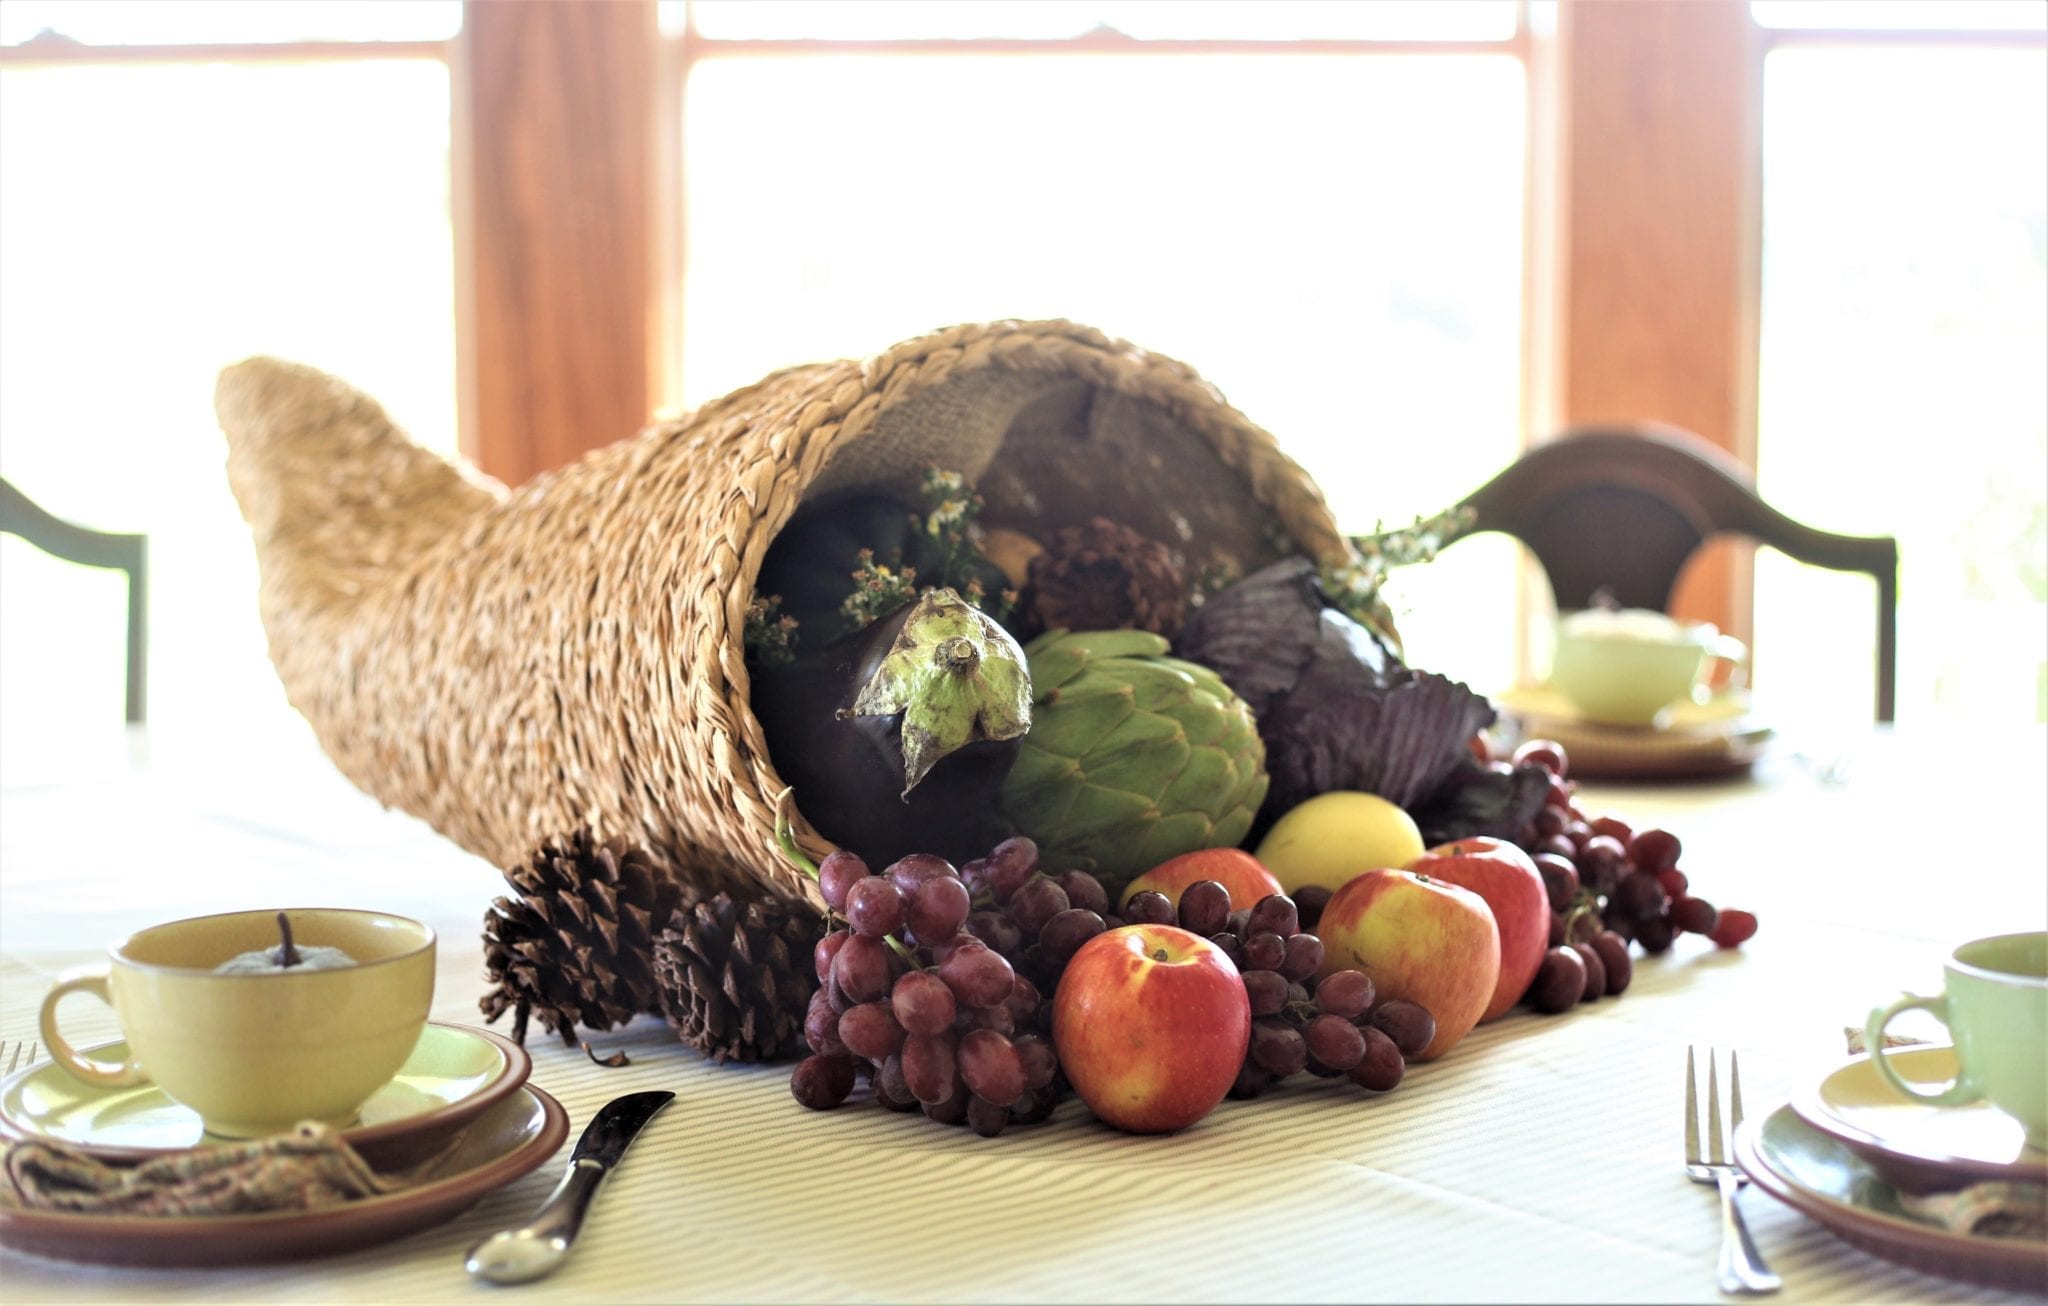
In this post I show you how to make your own handmade cornucopia, for very little money! This post contains affiliate links.
An Idea for a Handmade Cornucopia
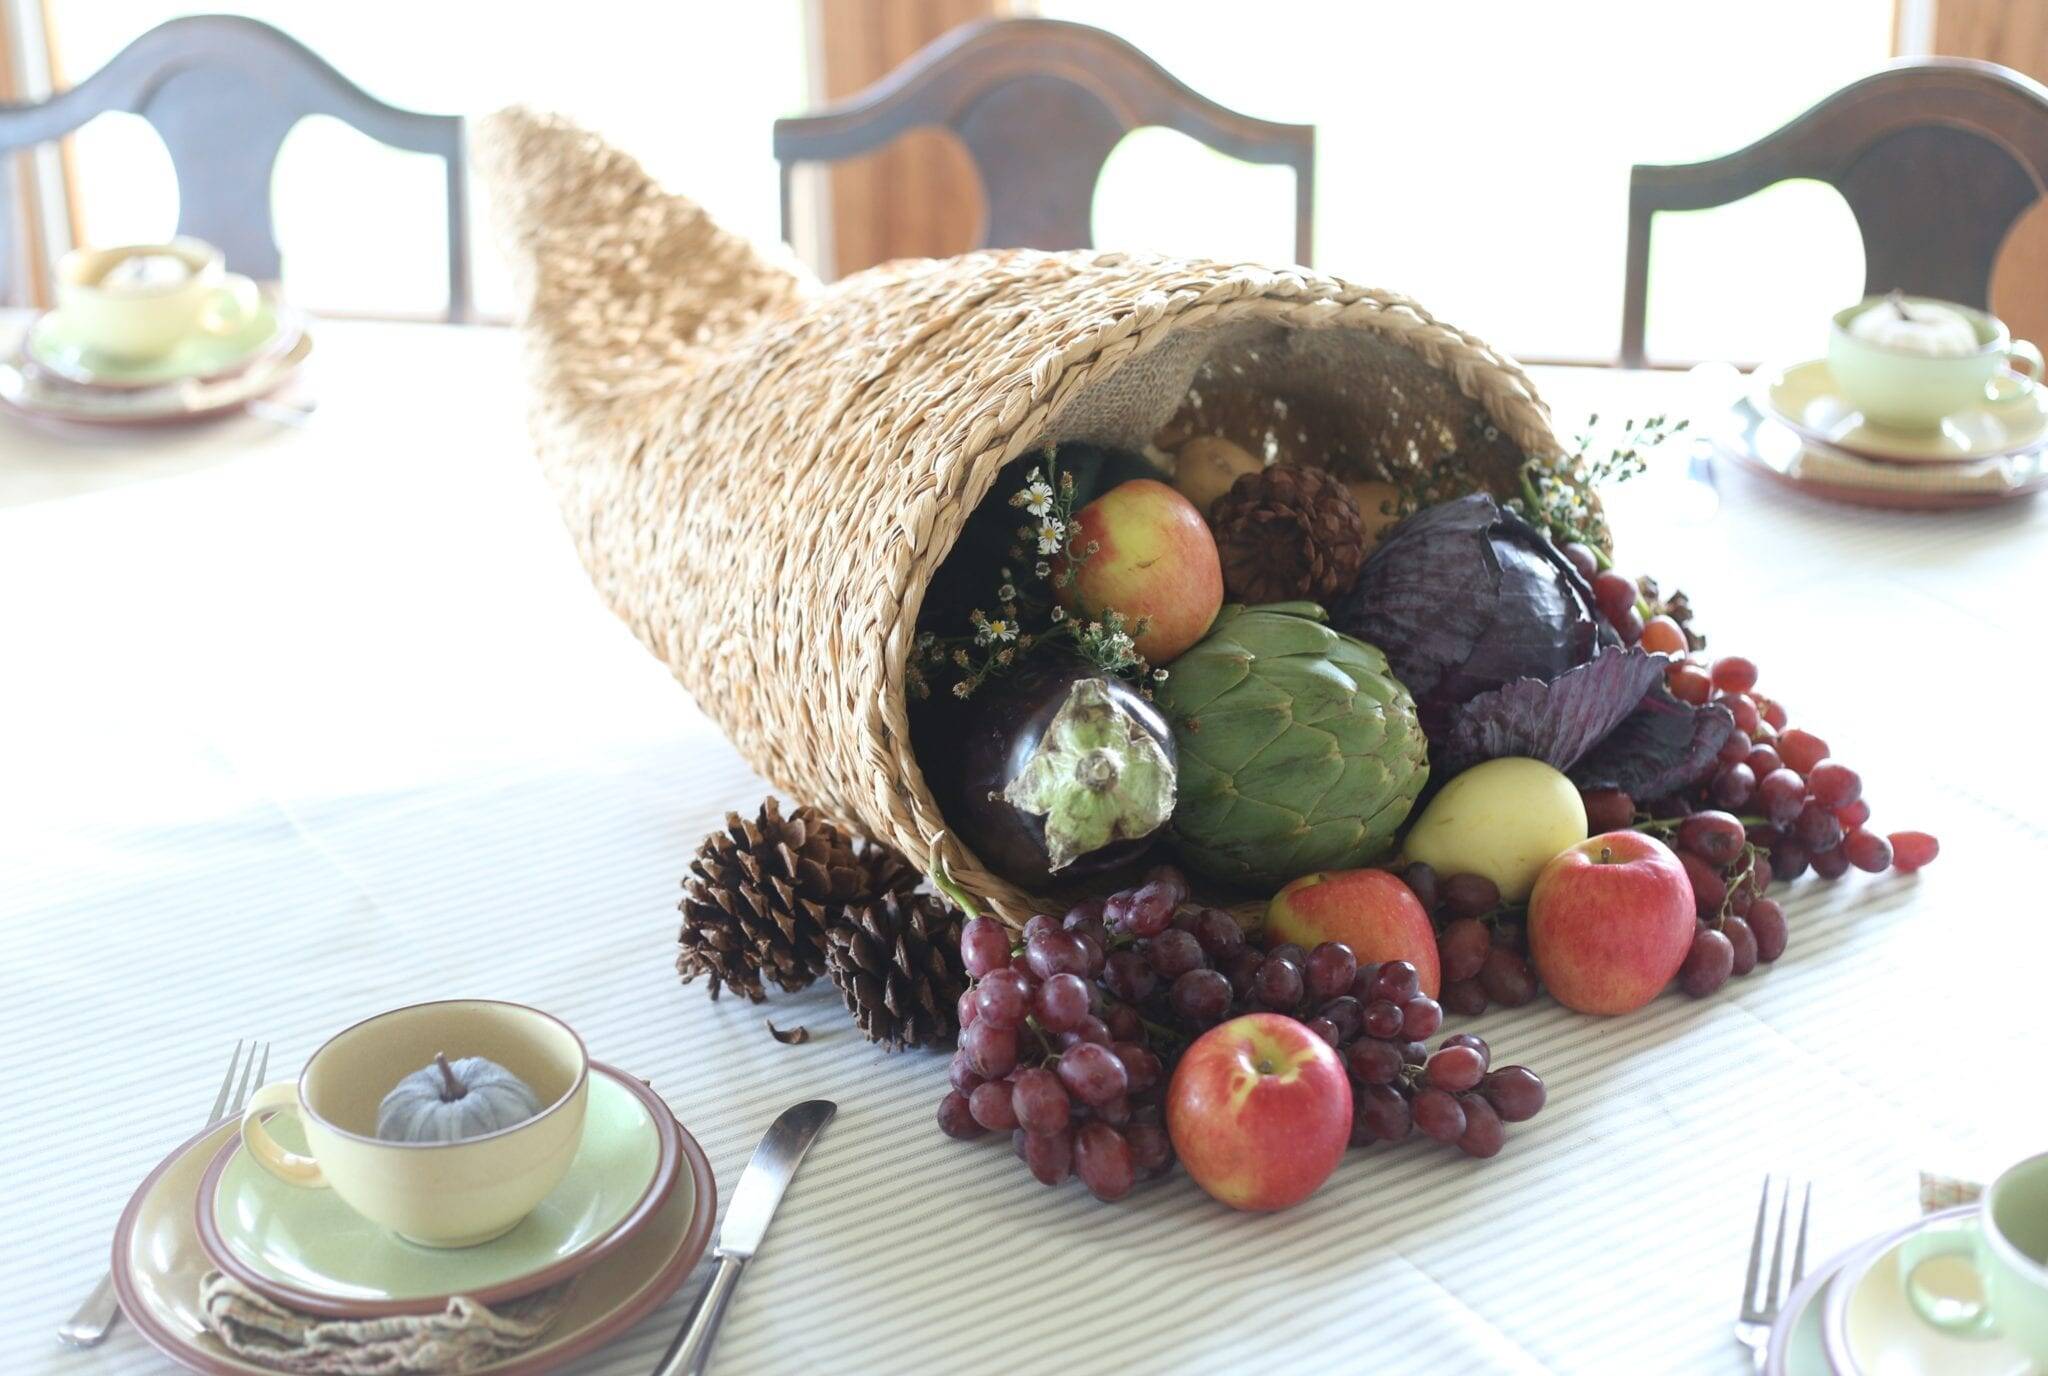
So, I had this idea that I could not get out of my head! I wanted a big, handmade cornucopia for our table. It needed to beautiful, substantial, and inexpensive to make. I looked for some tutorials, and just could not find what I was looking for. So I had to figure it out on my own. Well, I bounced some ideas off my kids.
Making the Chicken Wire Cornucopia Frame–Trial and Error
The frame took a bit of trial and error to get right. I tried making a frame from aluminum foil, and then covering it with paper mache paste….um….huge fail. I also tried making the frame out of chicken wire, and then covering it with regular paper mache. This was closer, but still a huge mess and not that easy. Finally, I made the frame from chicken wire, and then covered it with masking tape. I was worried that it would take a whole roll and turn out being expensive, but I was surprised that it really didn’t take that much tape, and it was so quick and simple to do! Win!!
How to bend the wire
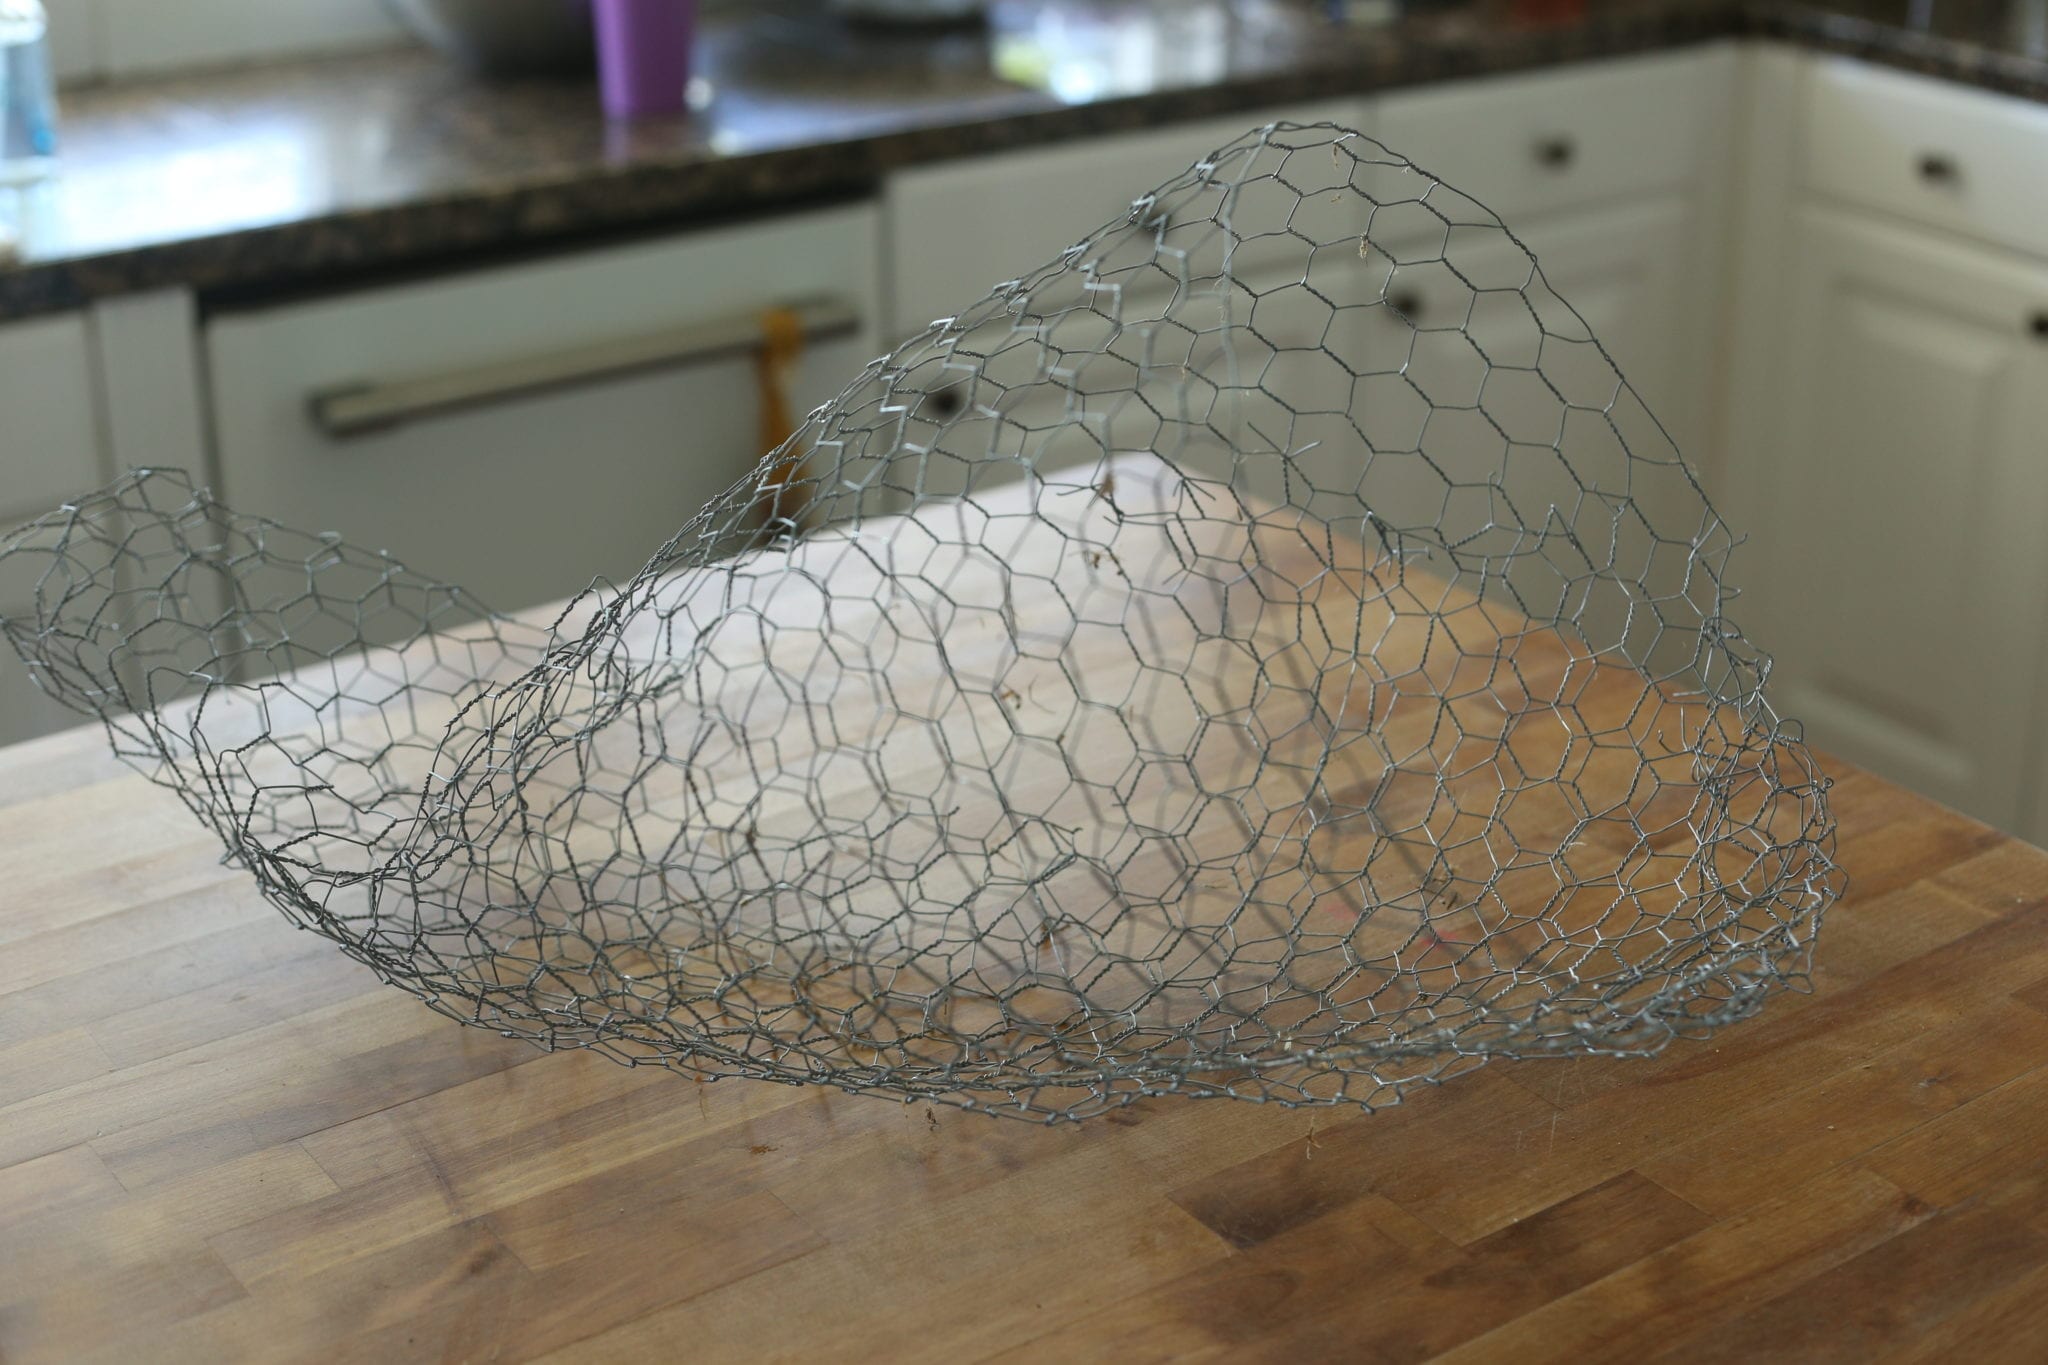
I was a little intimidated by using chicken wire. I have worked with this enough to know that it can be a bit tricky. Now, granted I have always used it for fencing, and chicken house purposes…you know, it’s intended use! However, I had never tried to sculpt with it! Next time, I will probably wear gloves! My fingers were a bit tender by the time I was done.
I started with a big square piece of chicken wire, and just started rolling it into a funnel shape, until I had an opening that was the size I wanted. For the tail end, I just had to cut some of the excess wire, and then reattach it on the very end after I bent it into shape. You can shape and reshape the wire, it is really pretty forgiving.
Choose your horn of plenty size
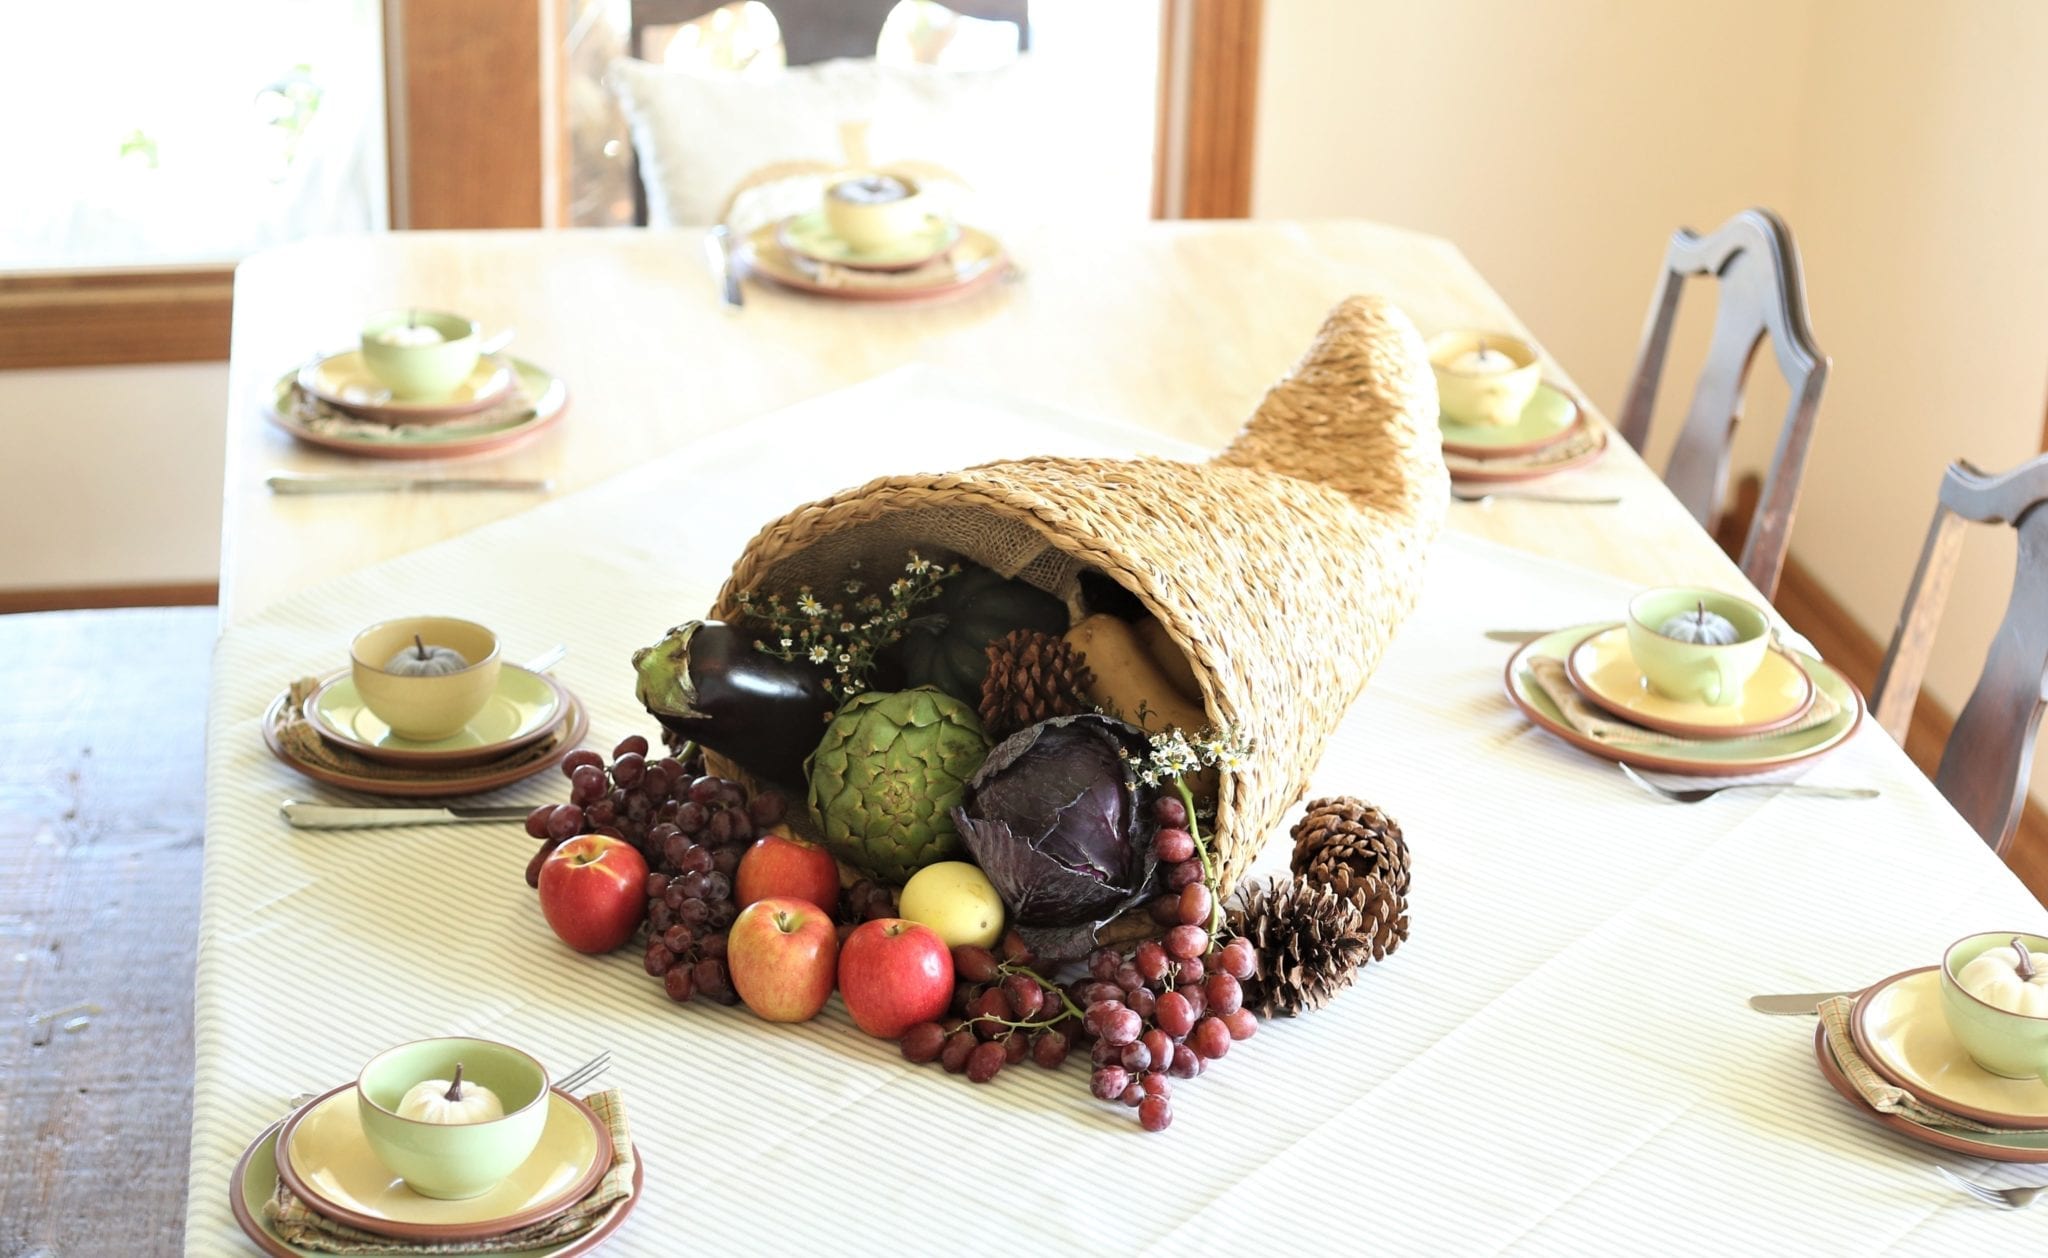
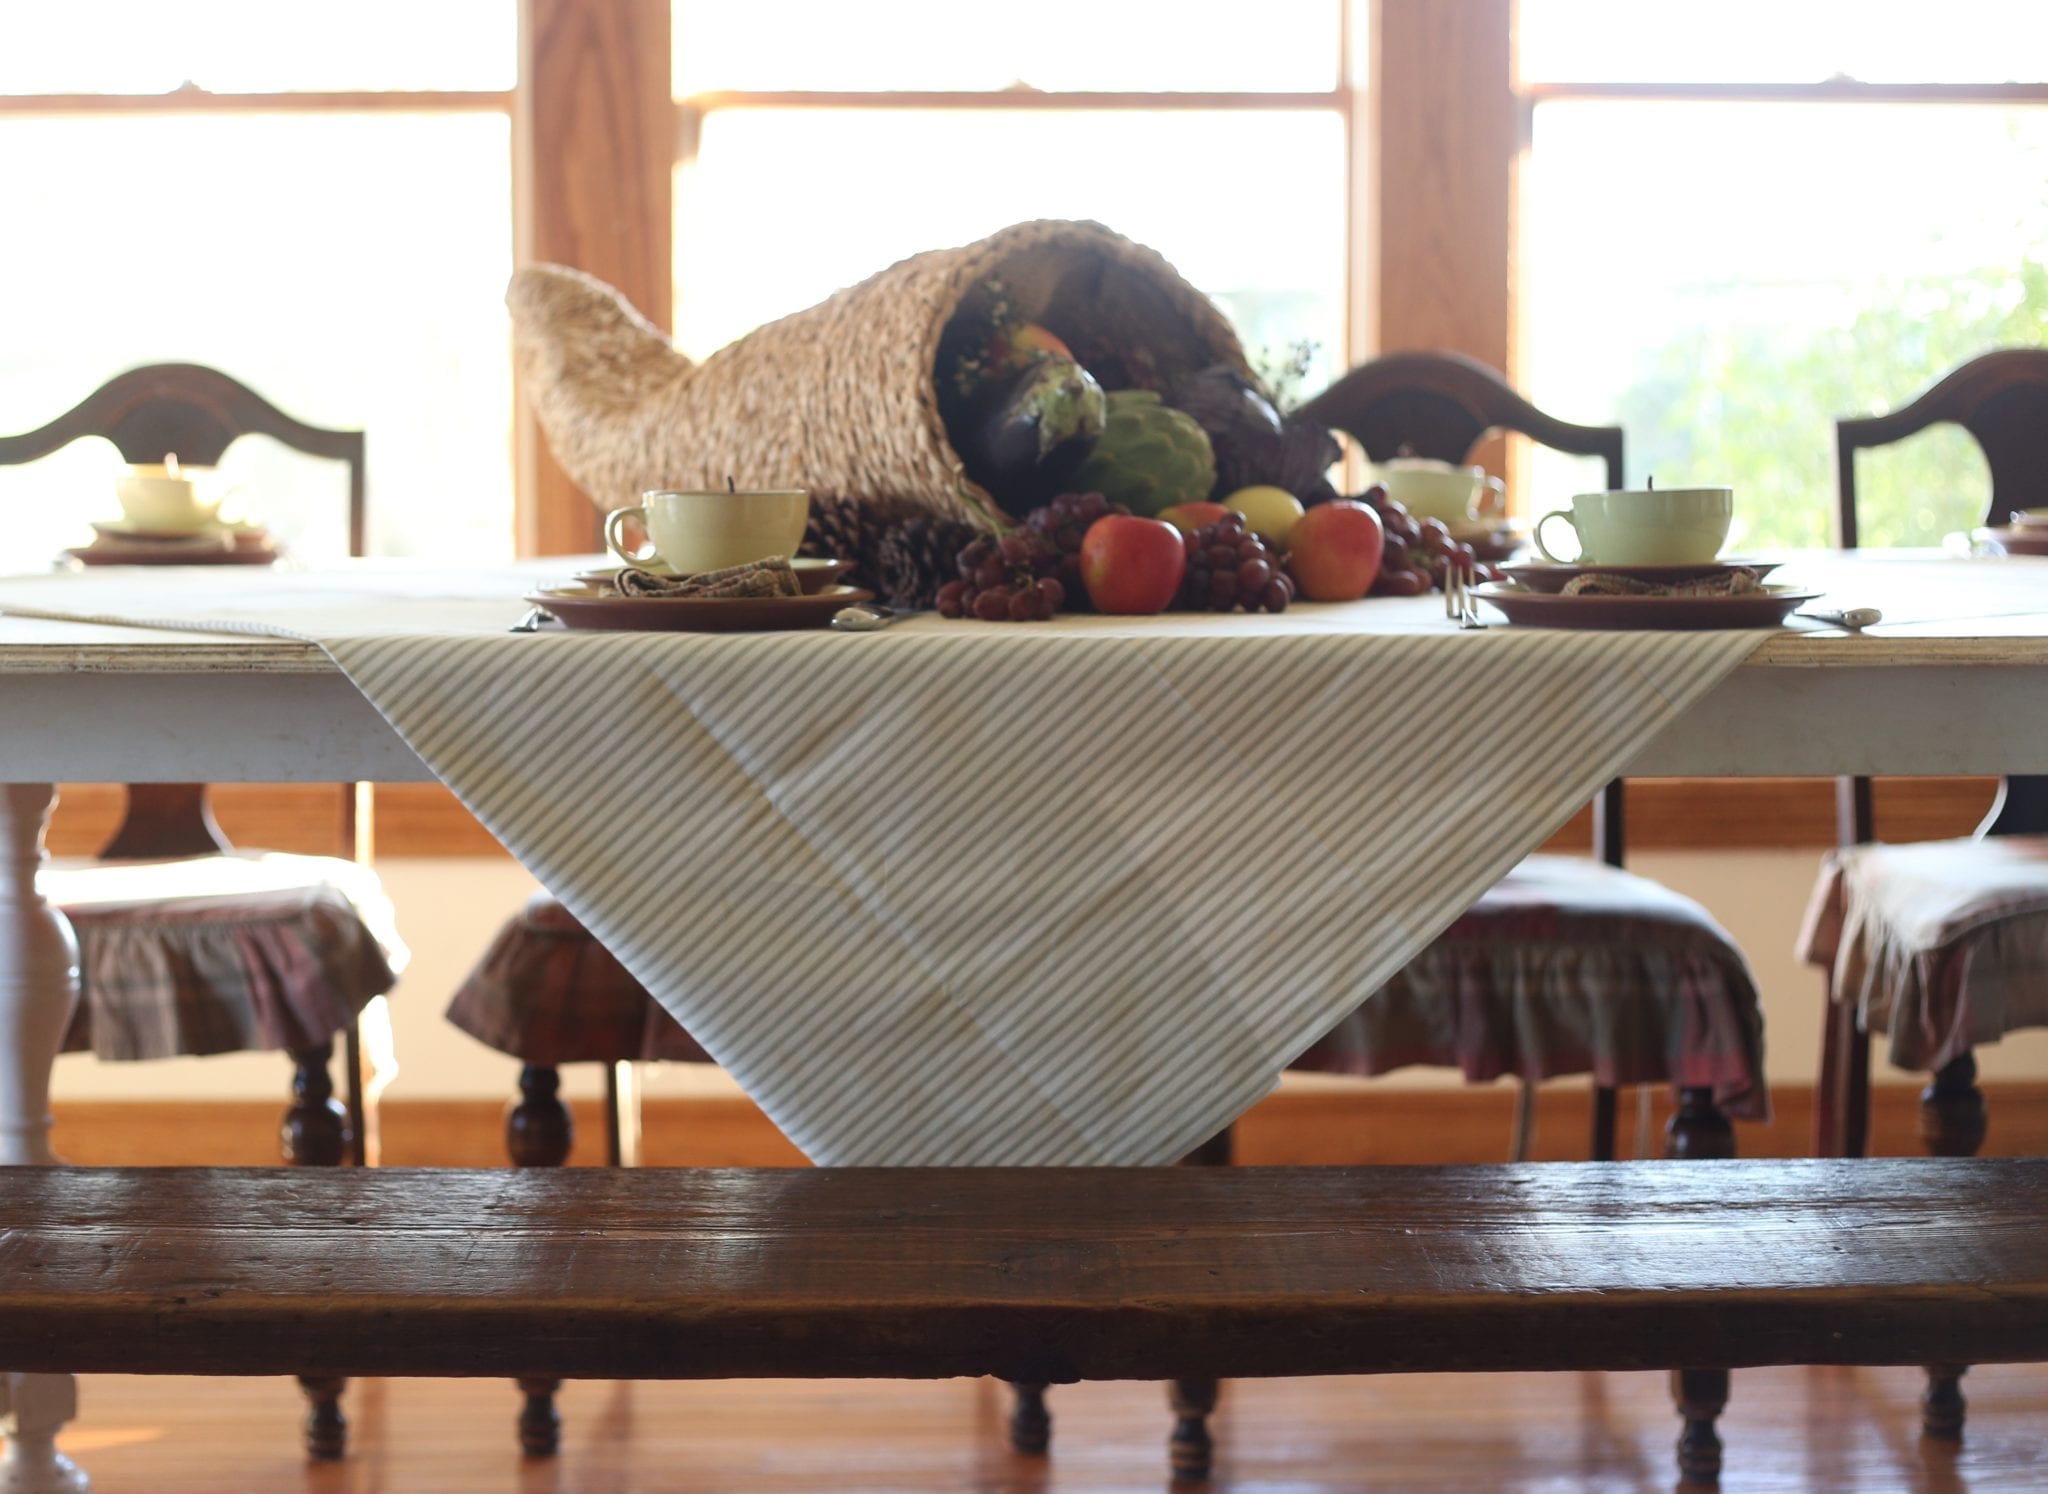
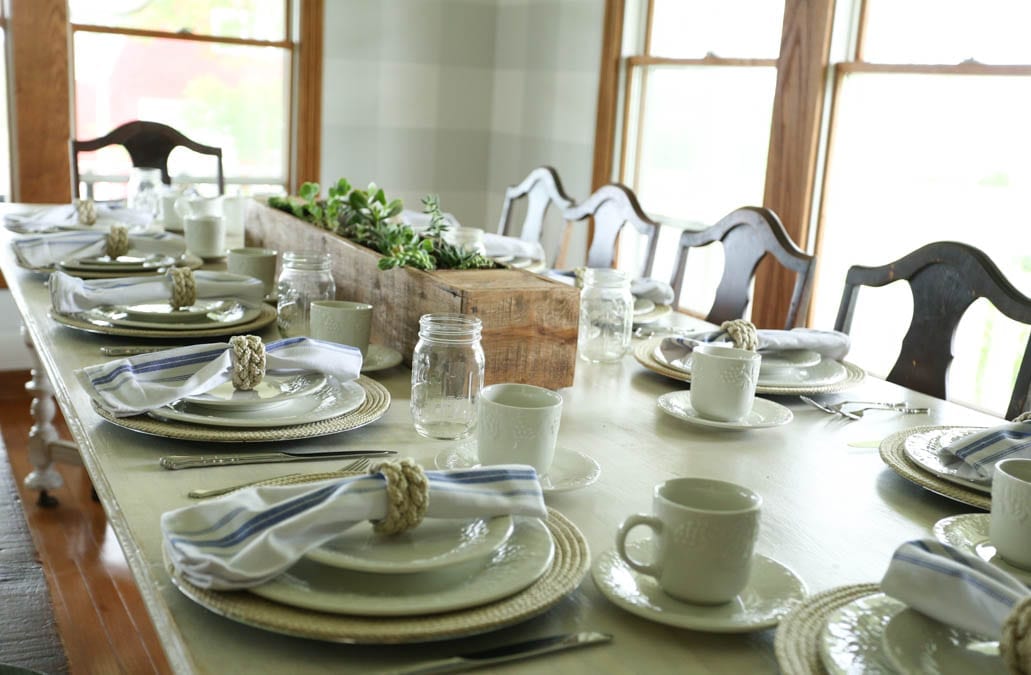
One of the downsides of having a large family is that a person loses all perspective of what big is. Does that make sense? When I cook, I use massive pots, and full sheet pans. So, when I look at a regular sheet pan or a regular size pot it seems laughable, how could you feed anyone with a pot that size? If I see a person at the store buying one box of cereal I am perplexed by how that could ever be enough. Almost everything I buy comes in cases. Our van is absolutely enormous; when we first bought it I felt almost embarrassed by how huge it is. Now however, it really doesn’t seem that big. Our dining room table is over 9 feet long (story on it here) and it gets crowded sometimes! See…my perspective is a bit off!
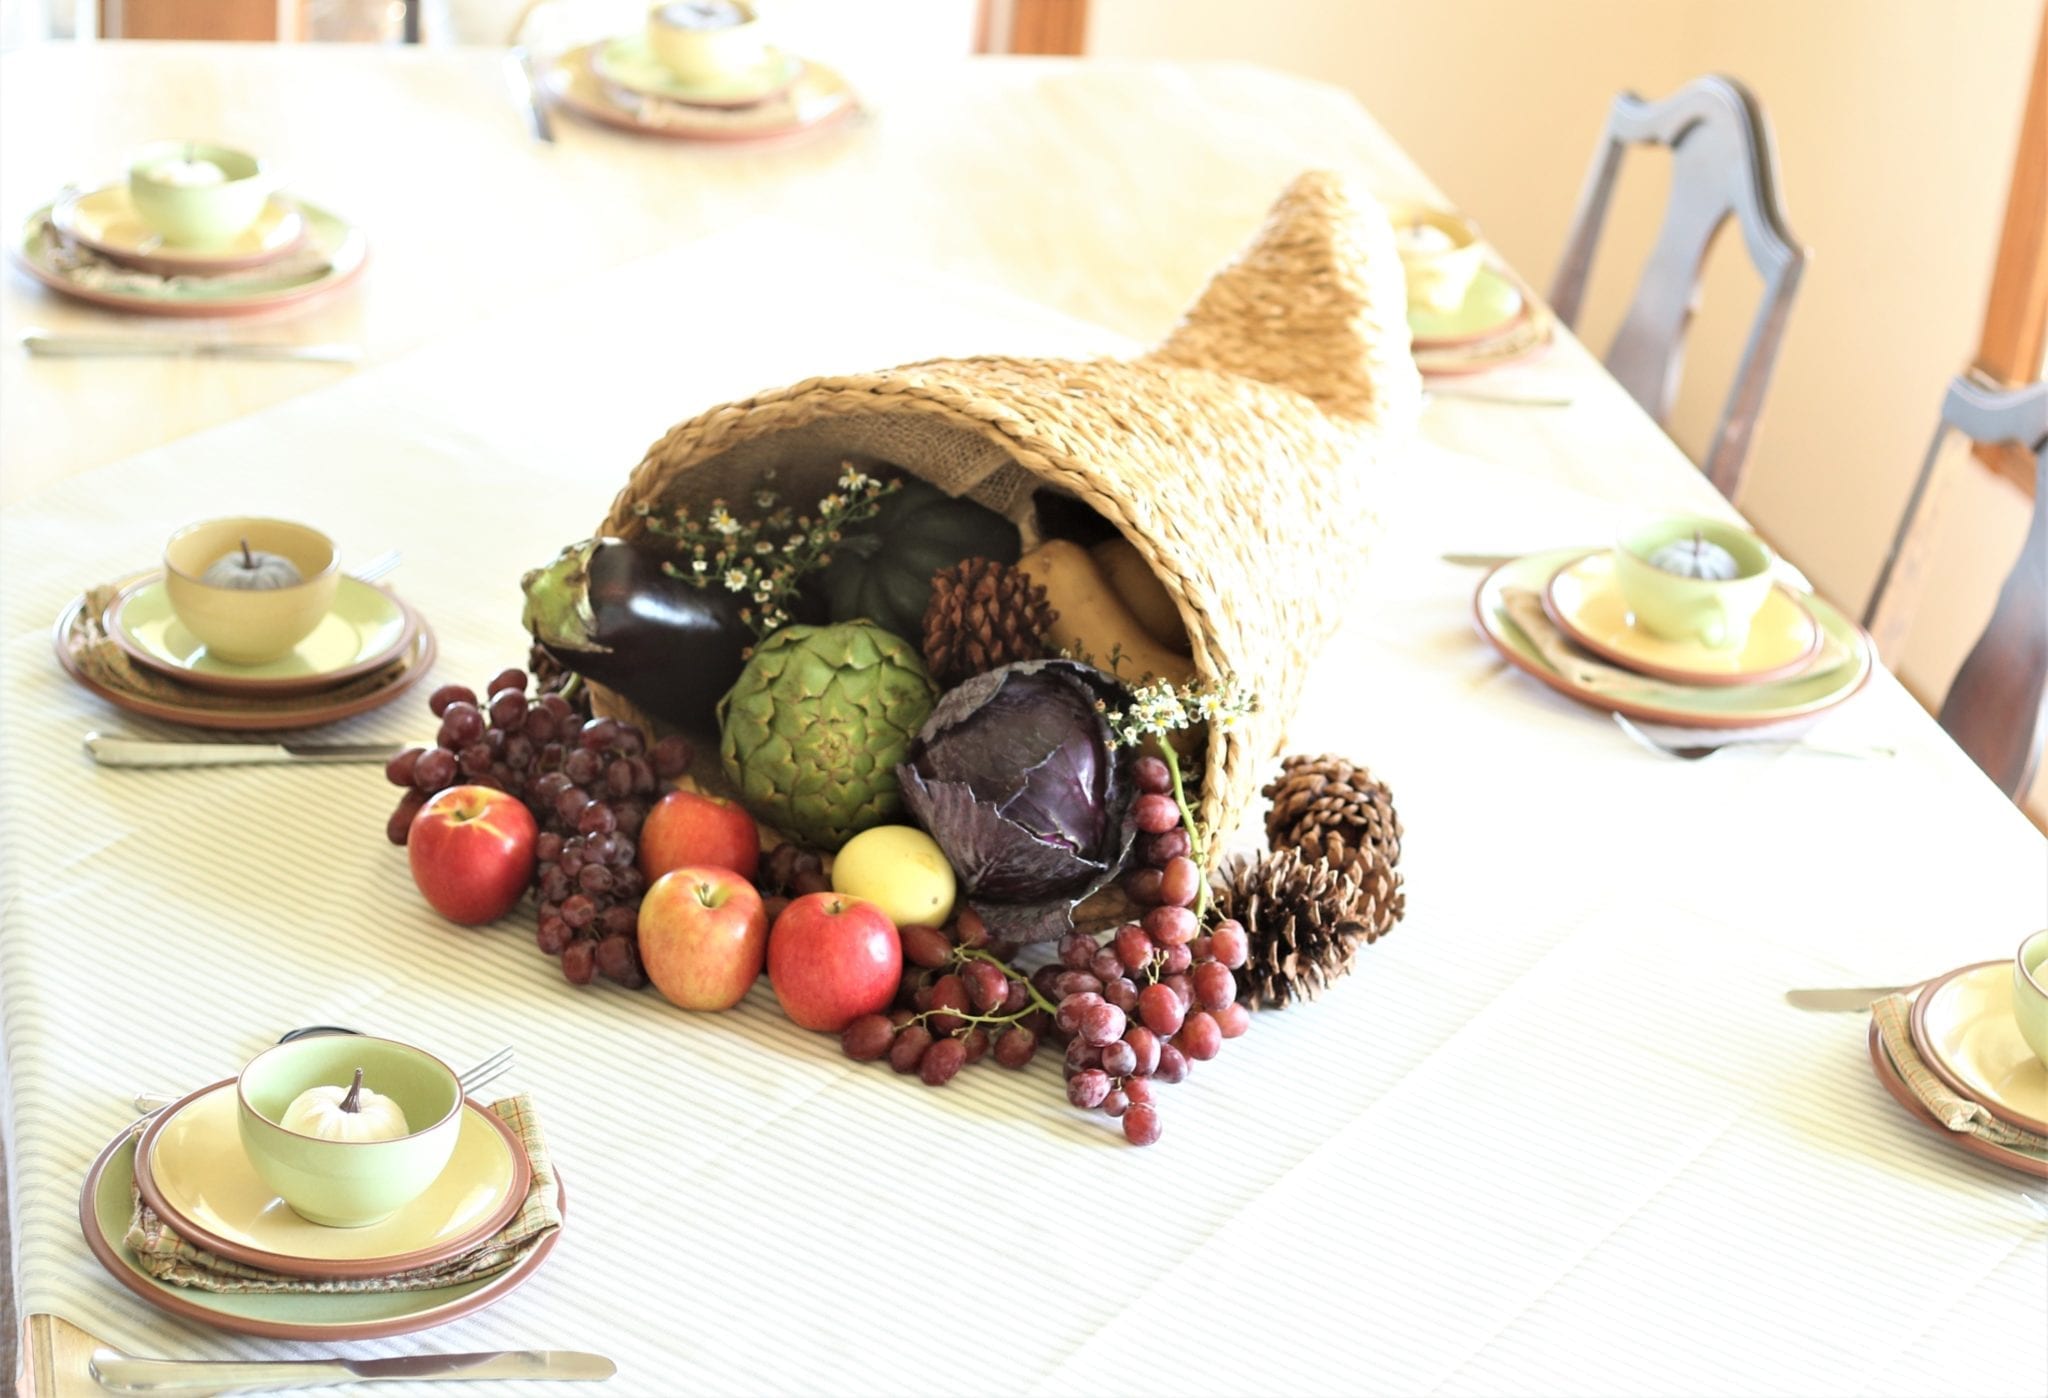
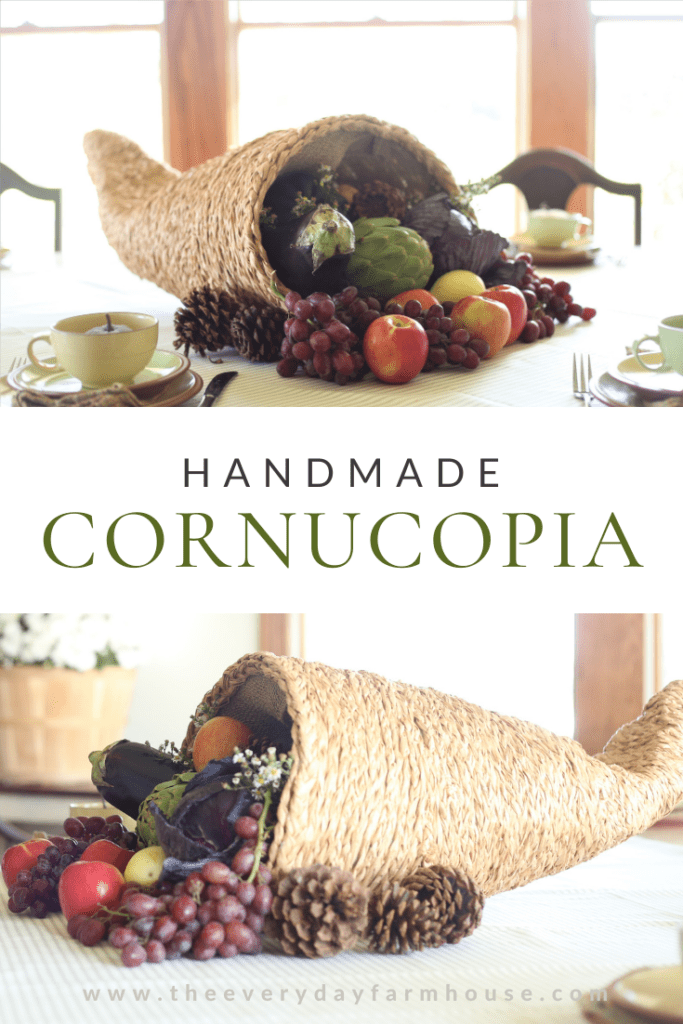
So, when I made this cornucopia, it seemed like a reasonable size. My husband was gone on a business trip when I made it. When he got home and saw it, he said, “that is a really big cornucopia, I had no idea you were working on something that big!” I stepped back and looked at it and realized that yes, maybe this is a bit excessive. The finished size is 26″ long by 17″ wide at the opening and 12″ tall at the opening.
Wrap it up
Next you just wrap it up in masking tape. Easy peasy. If you can find the extra wide tape, it will go even faster.
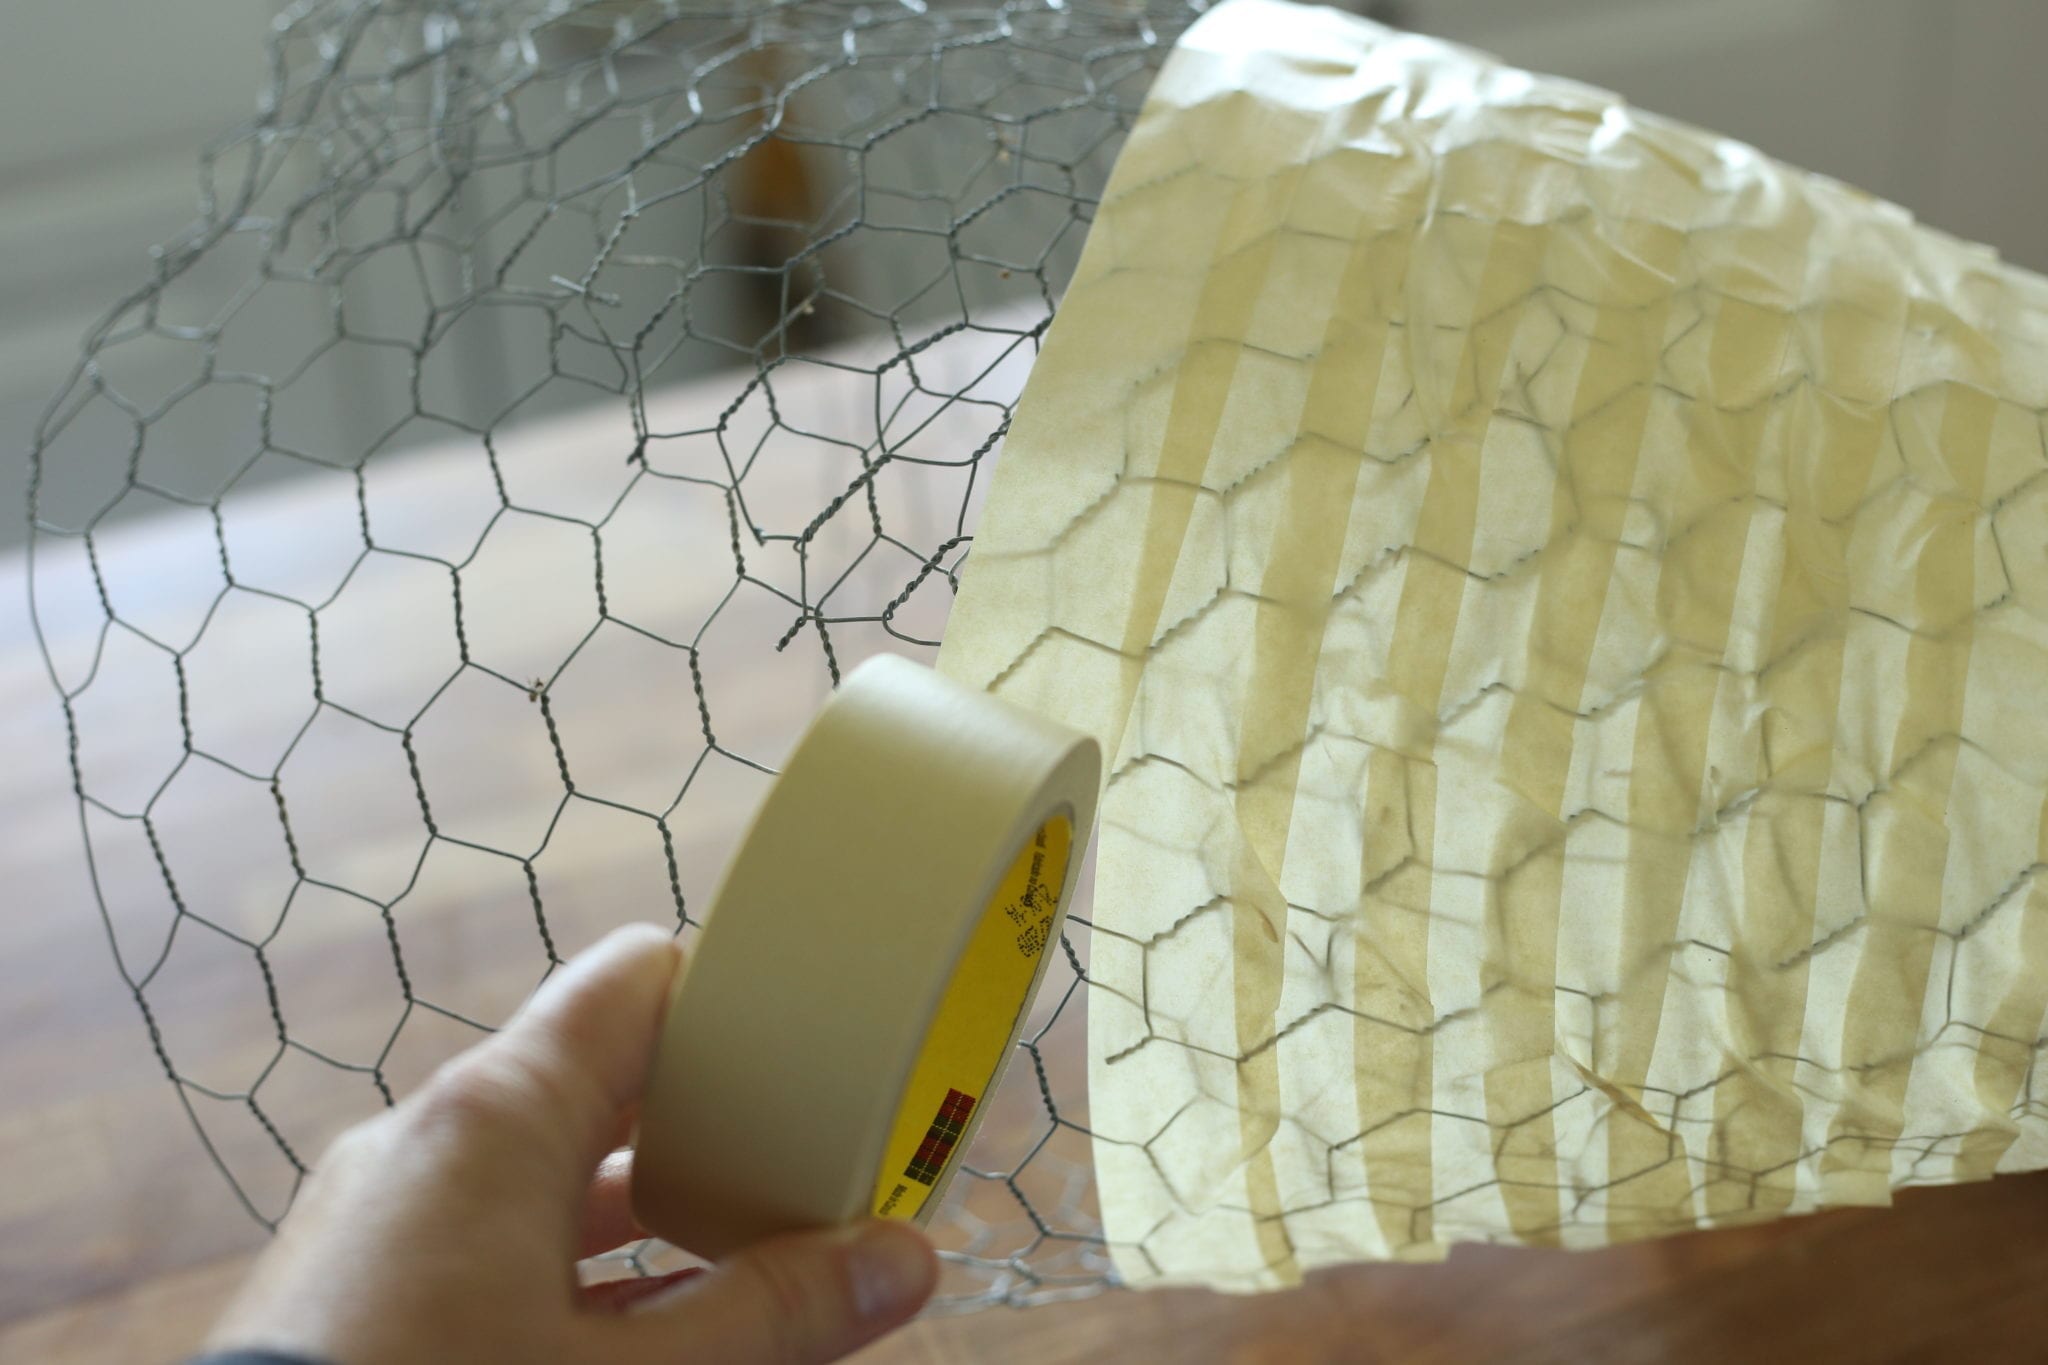
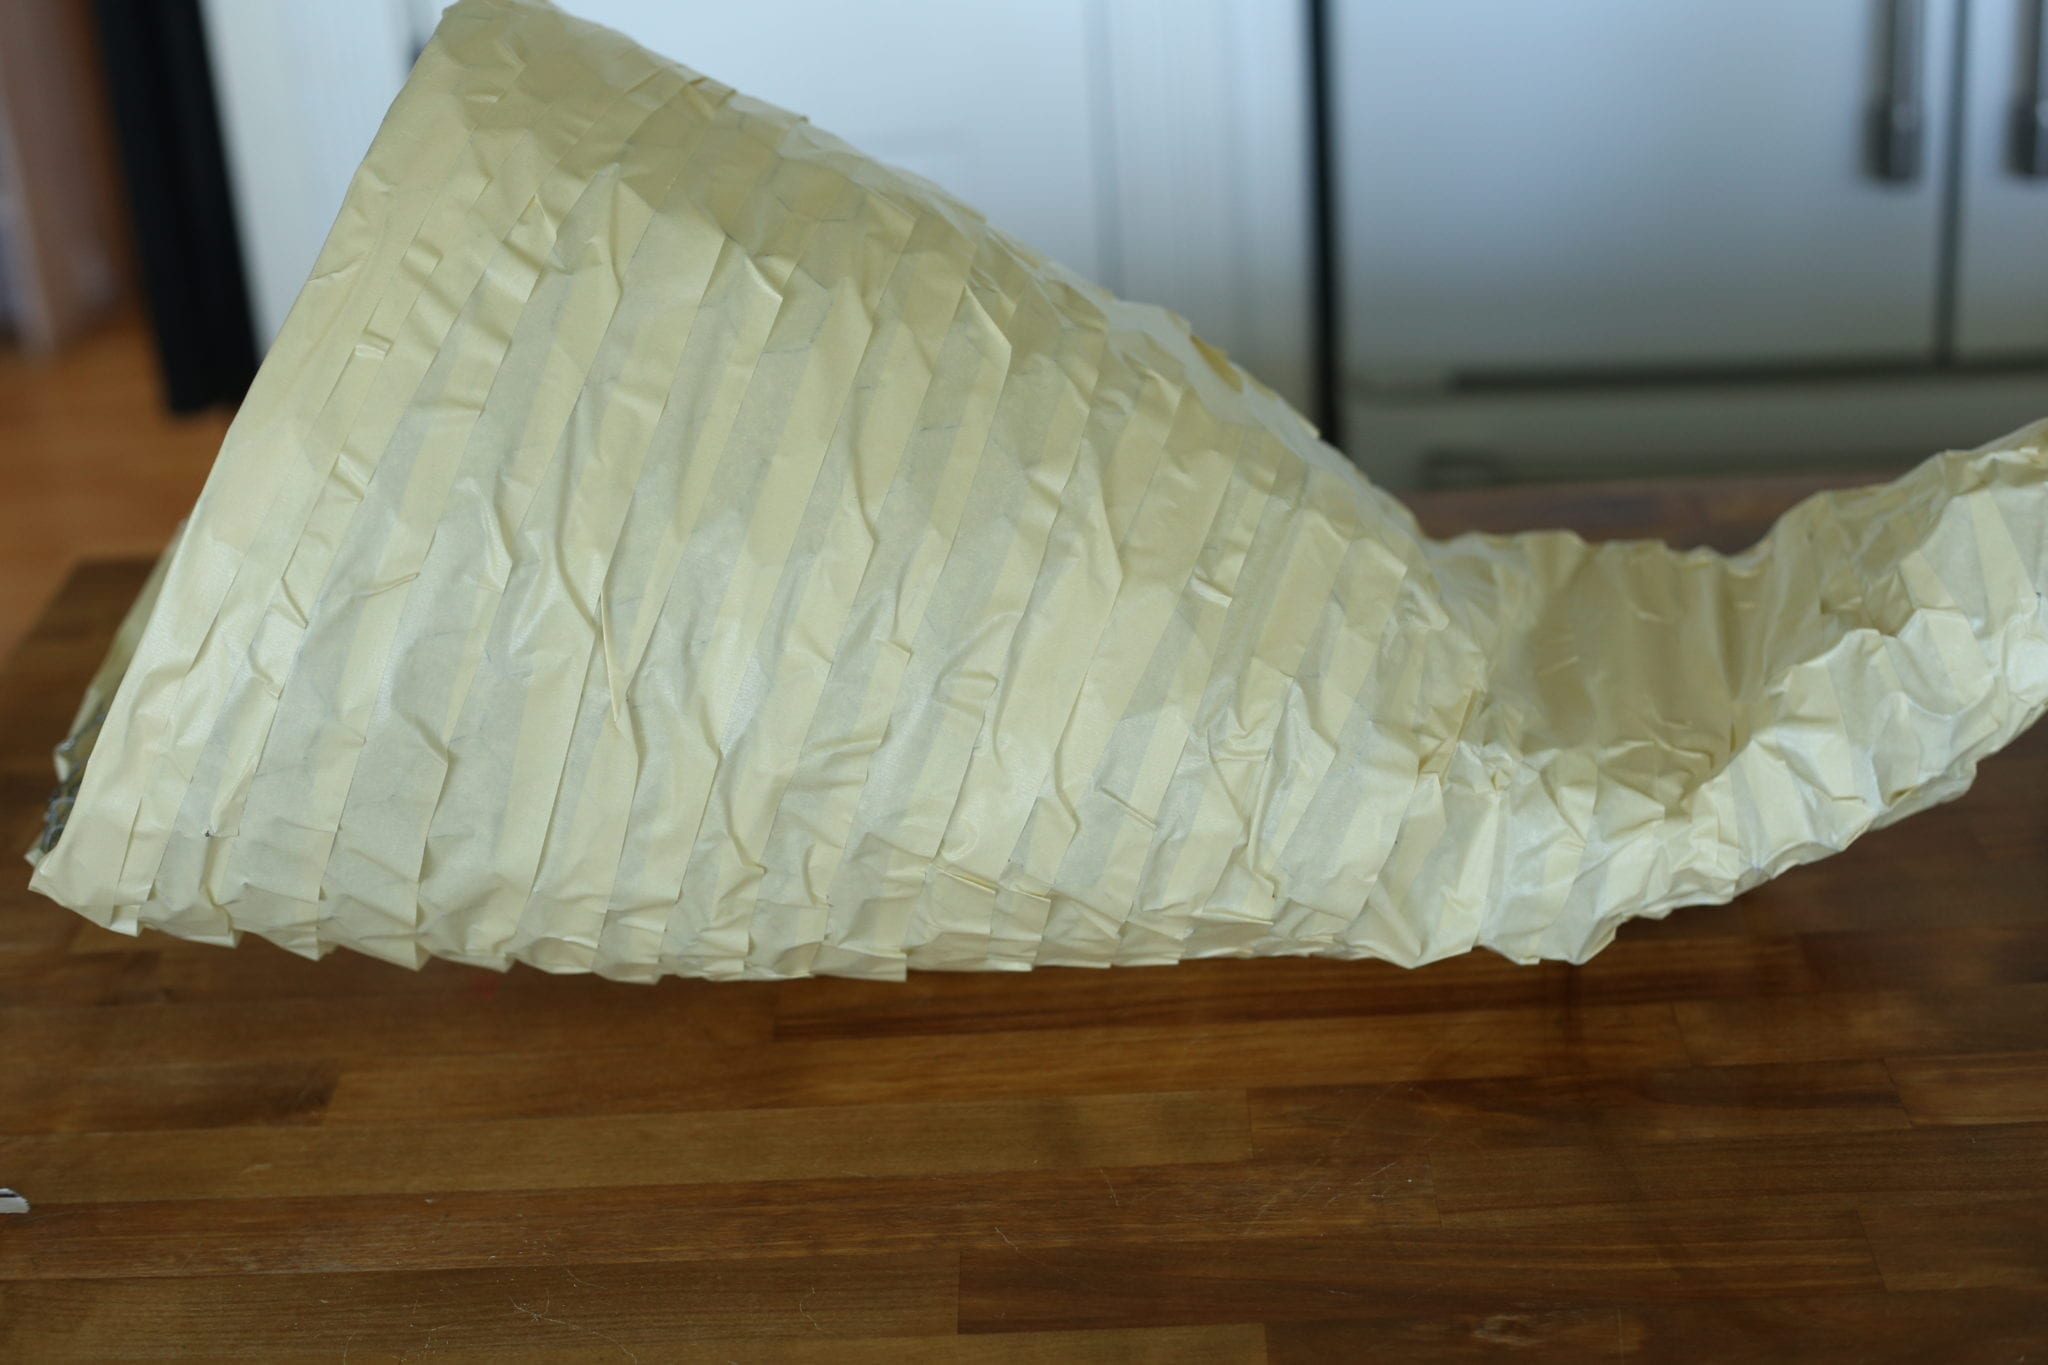
The Pretty Part–Wrapping your Handmade Cornucopia

This is the part that brings this to life. I chose to cover my cornucopia with braided raffia. This is the raffia that I used. I love the way this looks, however, it was a ton of work. Perhaps because of the scale of my cornucopia! I enlisted my kids help and they were beginning to feel like slave labor. It took three strands for each strand of the braid…hope that makes sense. Yet, for the very front opening, I wanted the braid to be bigger, so we used nine strands for each strand of the braid. So for the normal size, we used 9 strands, and for the big braid it was 27 strands.
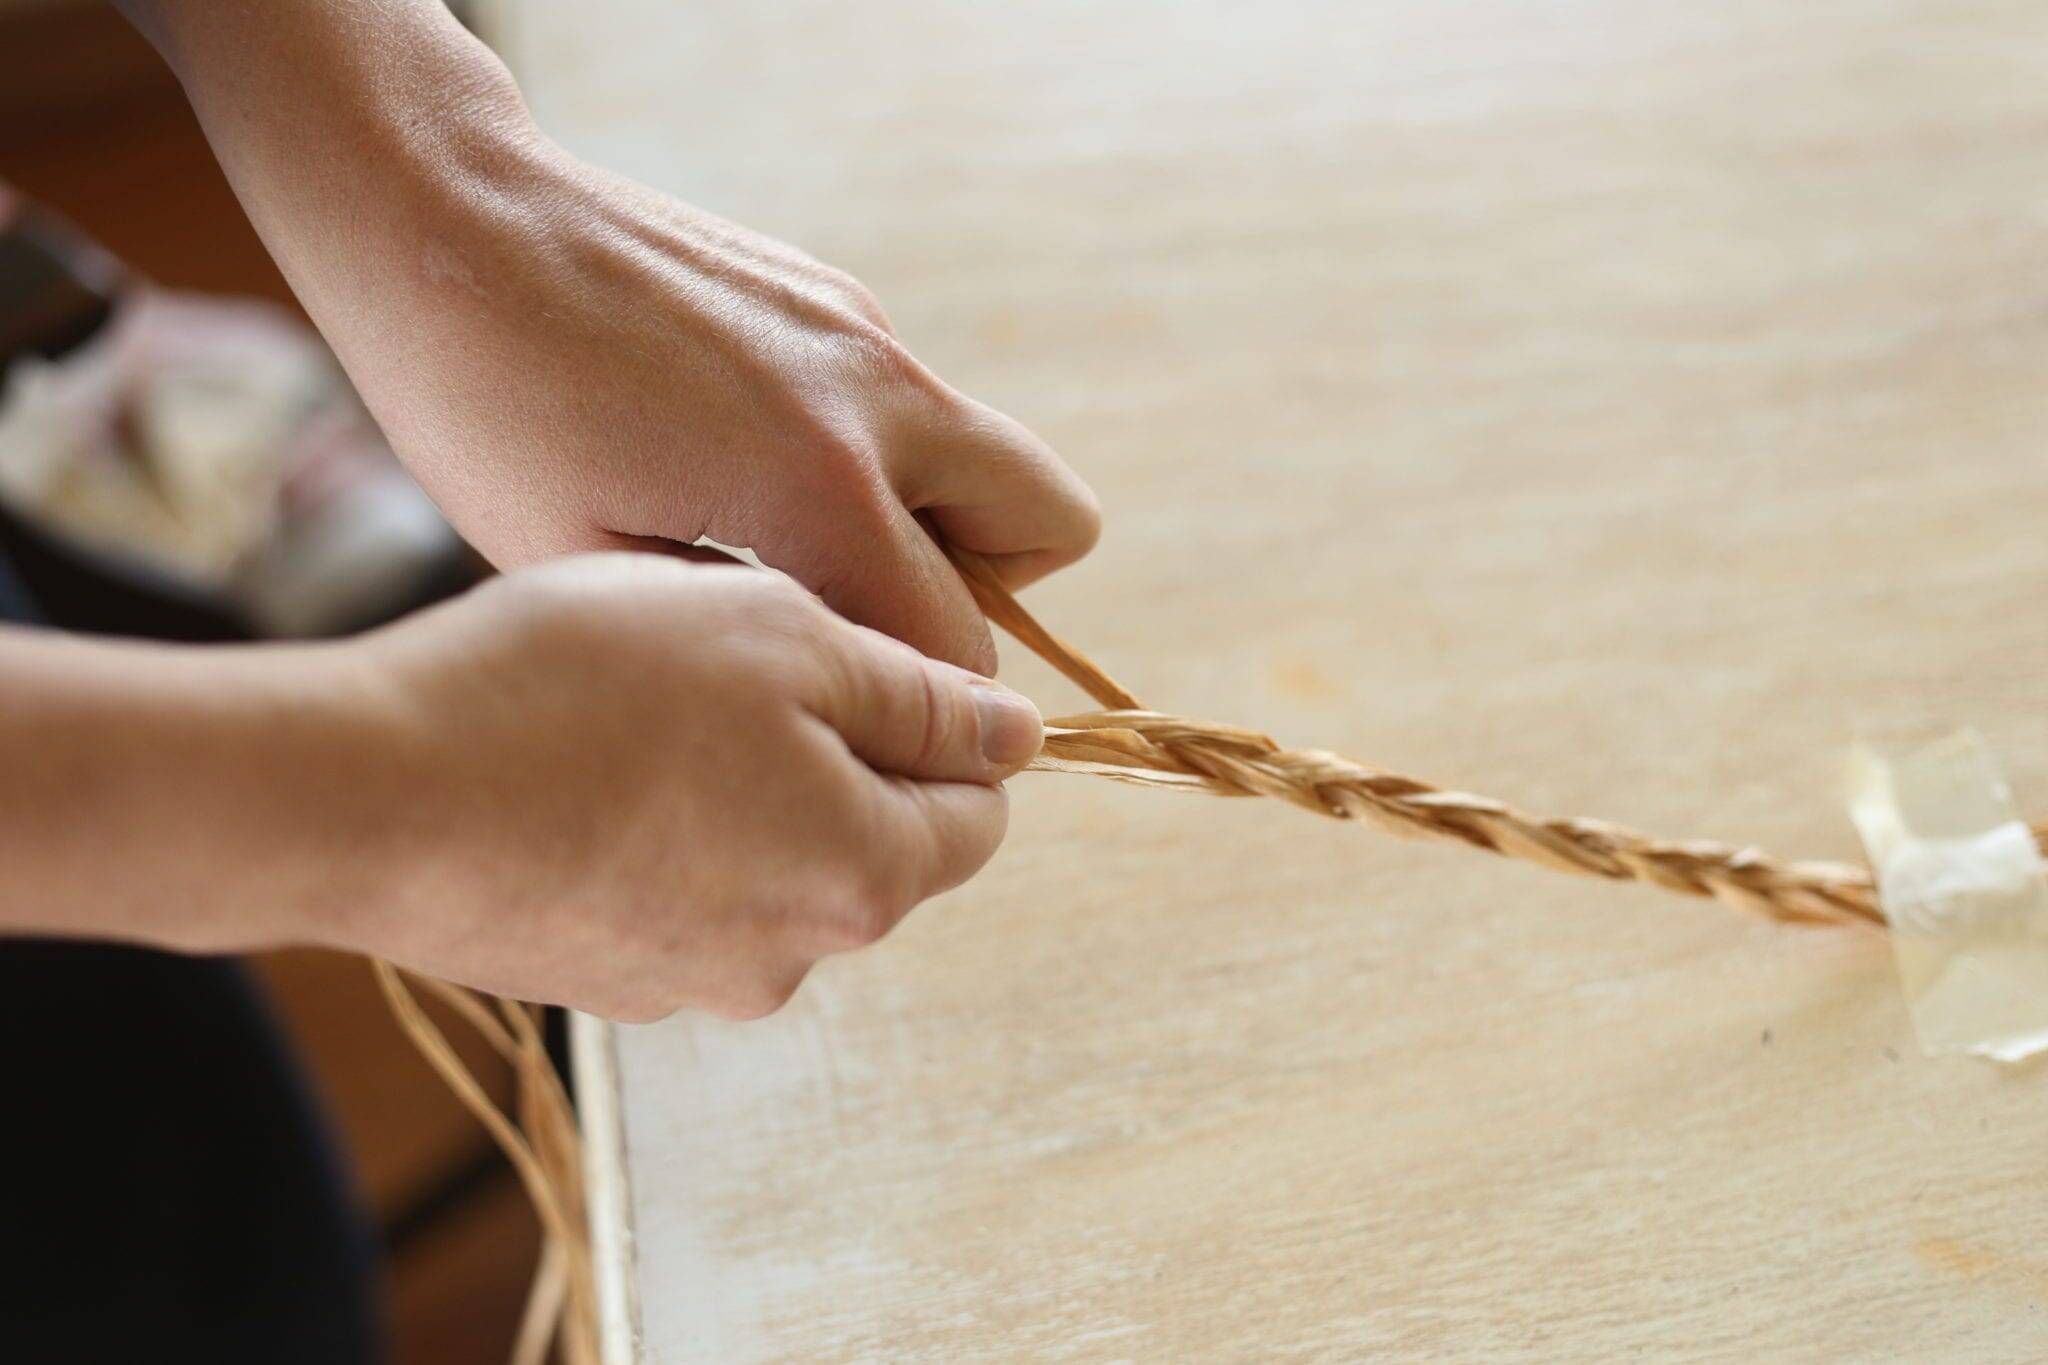
The braiding took over six hours total, spread over a few days. I am telling you this so you know before you start that it will be a time commitment. However, braiding is easy and you could turn on a movie and knock out a good chunk of it without even thinking about it. Of course a smaller cornucopia would take far less raffia! Cut your strands to a manageable size, if you cut them too long, the end will get all tangled.
Alternatives
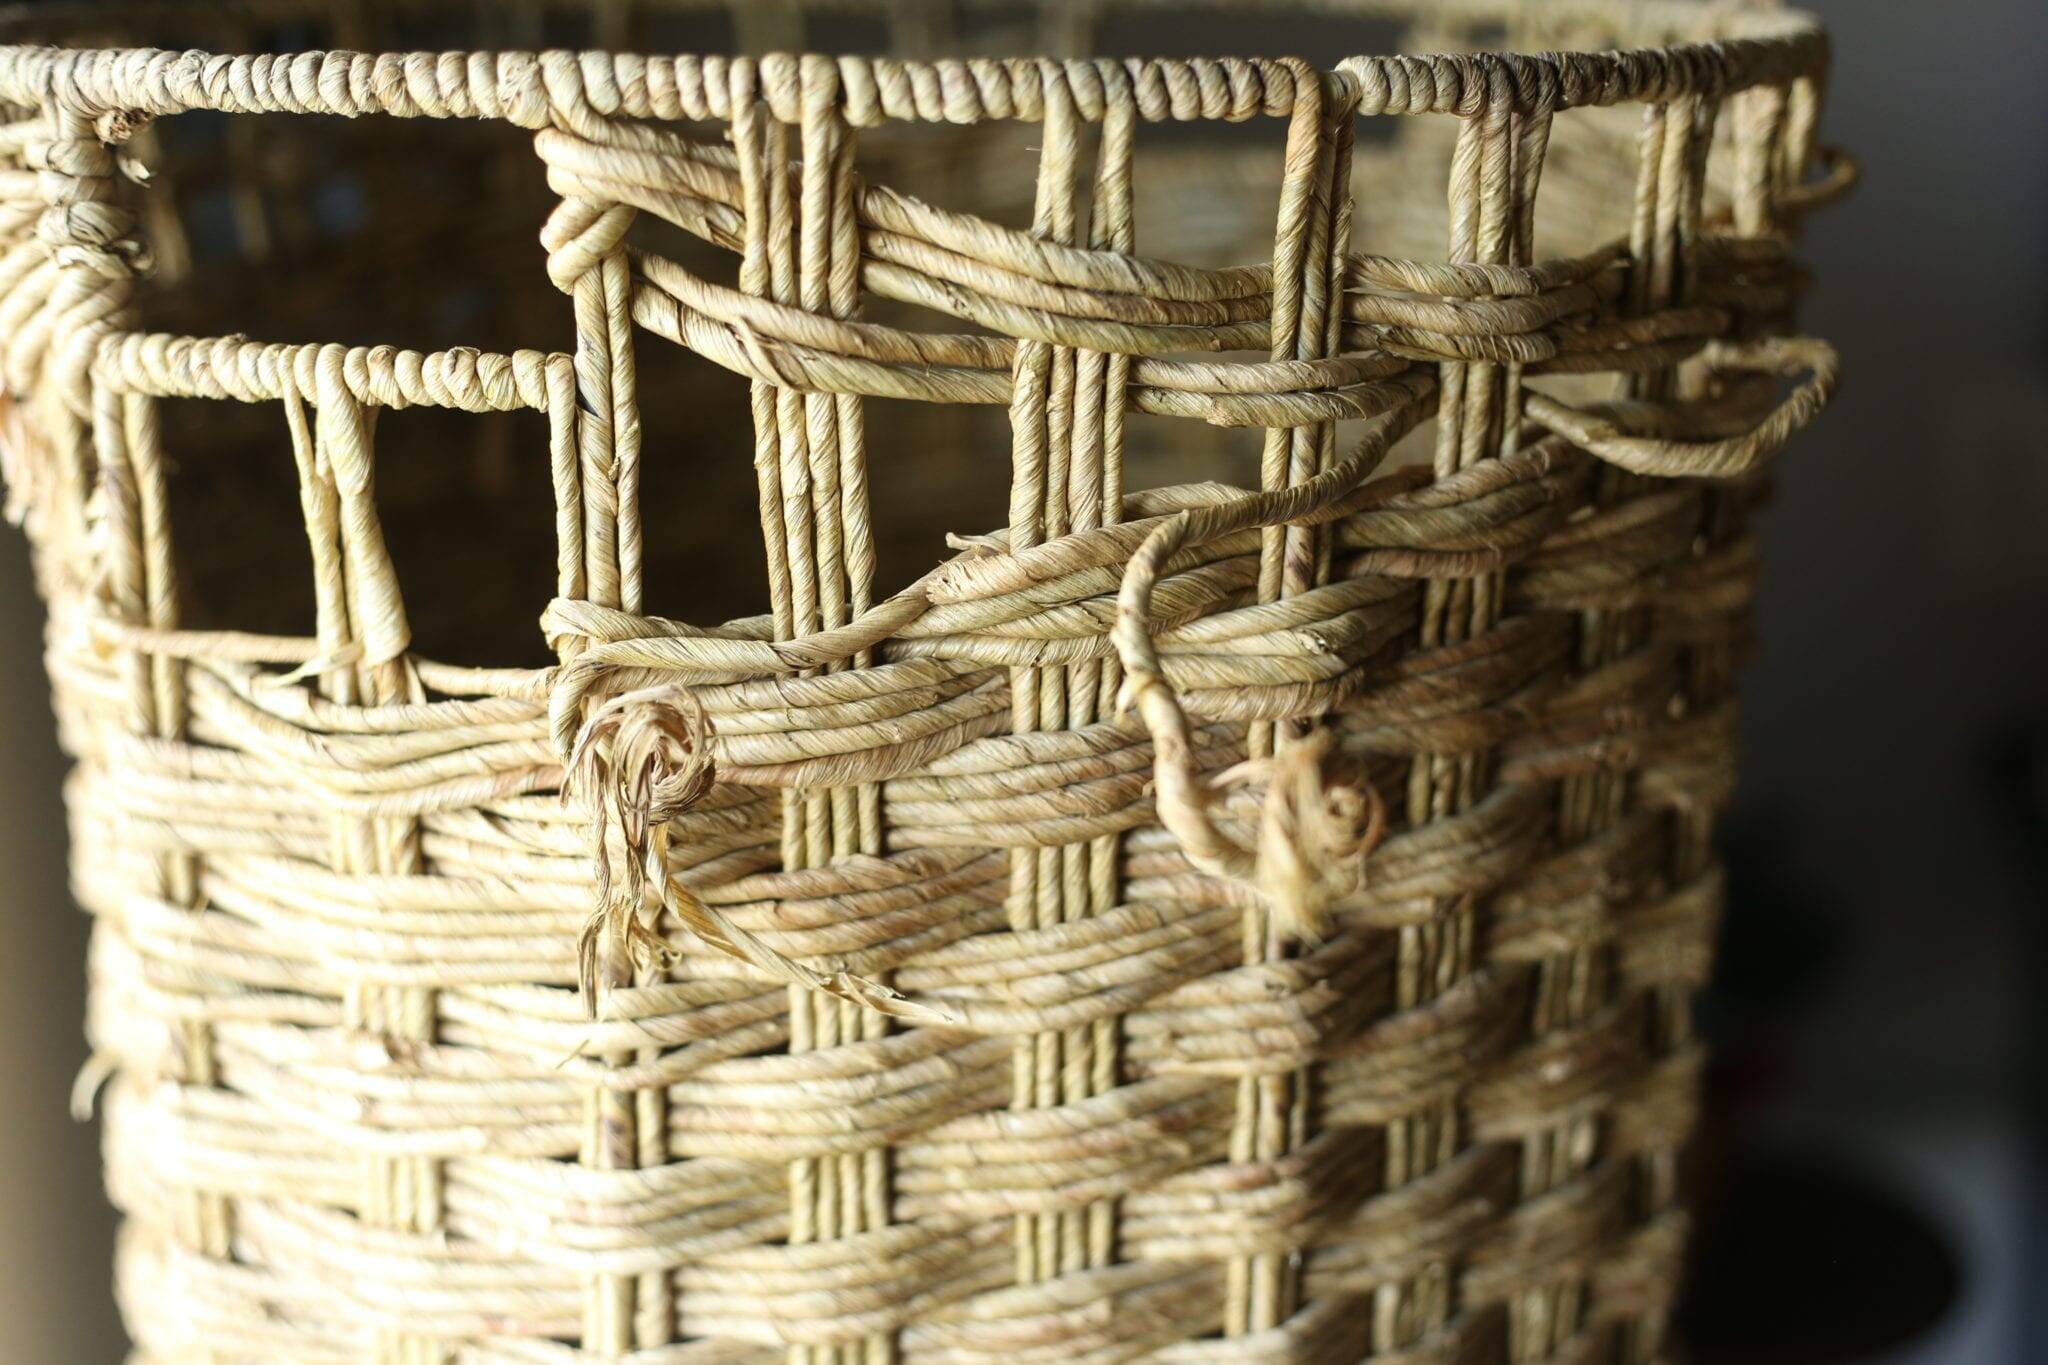
If braiding raffia sounds like it’s for the birds to you, there are plenty of other beautiful options. Twisted raffia bundles could work. Twine would be lovely, braided twine would be pretty too, and a thicker twine would only require one strand. How about a thin rope? I have an old laundry basket that is falling apart, I think a cornucopia would look good wrapped in something like this. Just look around and see what you can find.
Attaching your covering
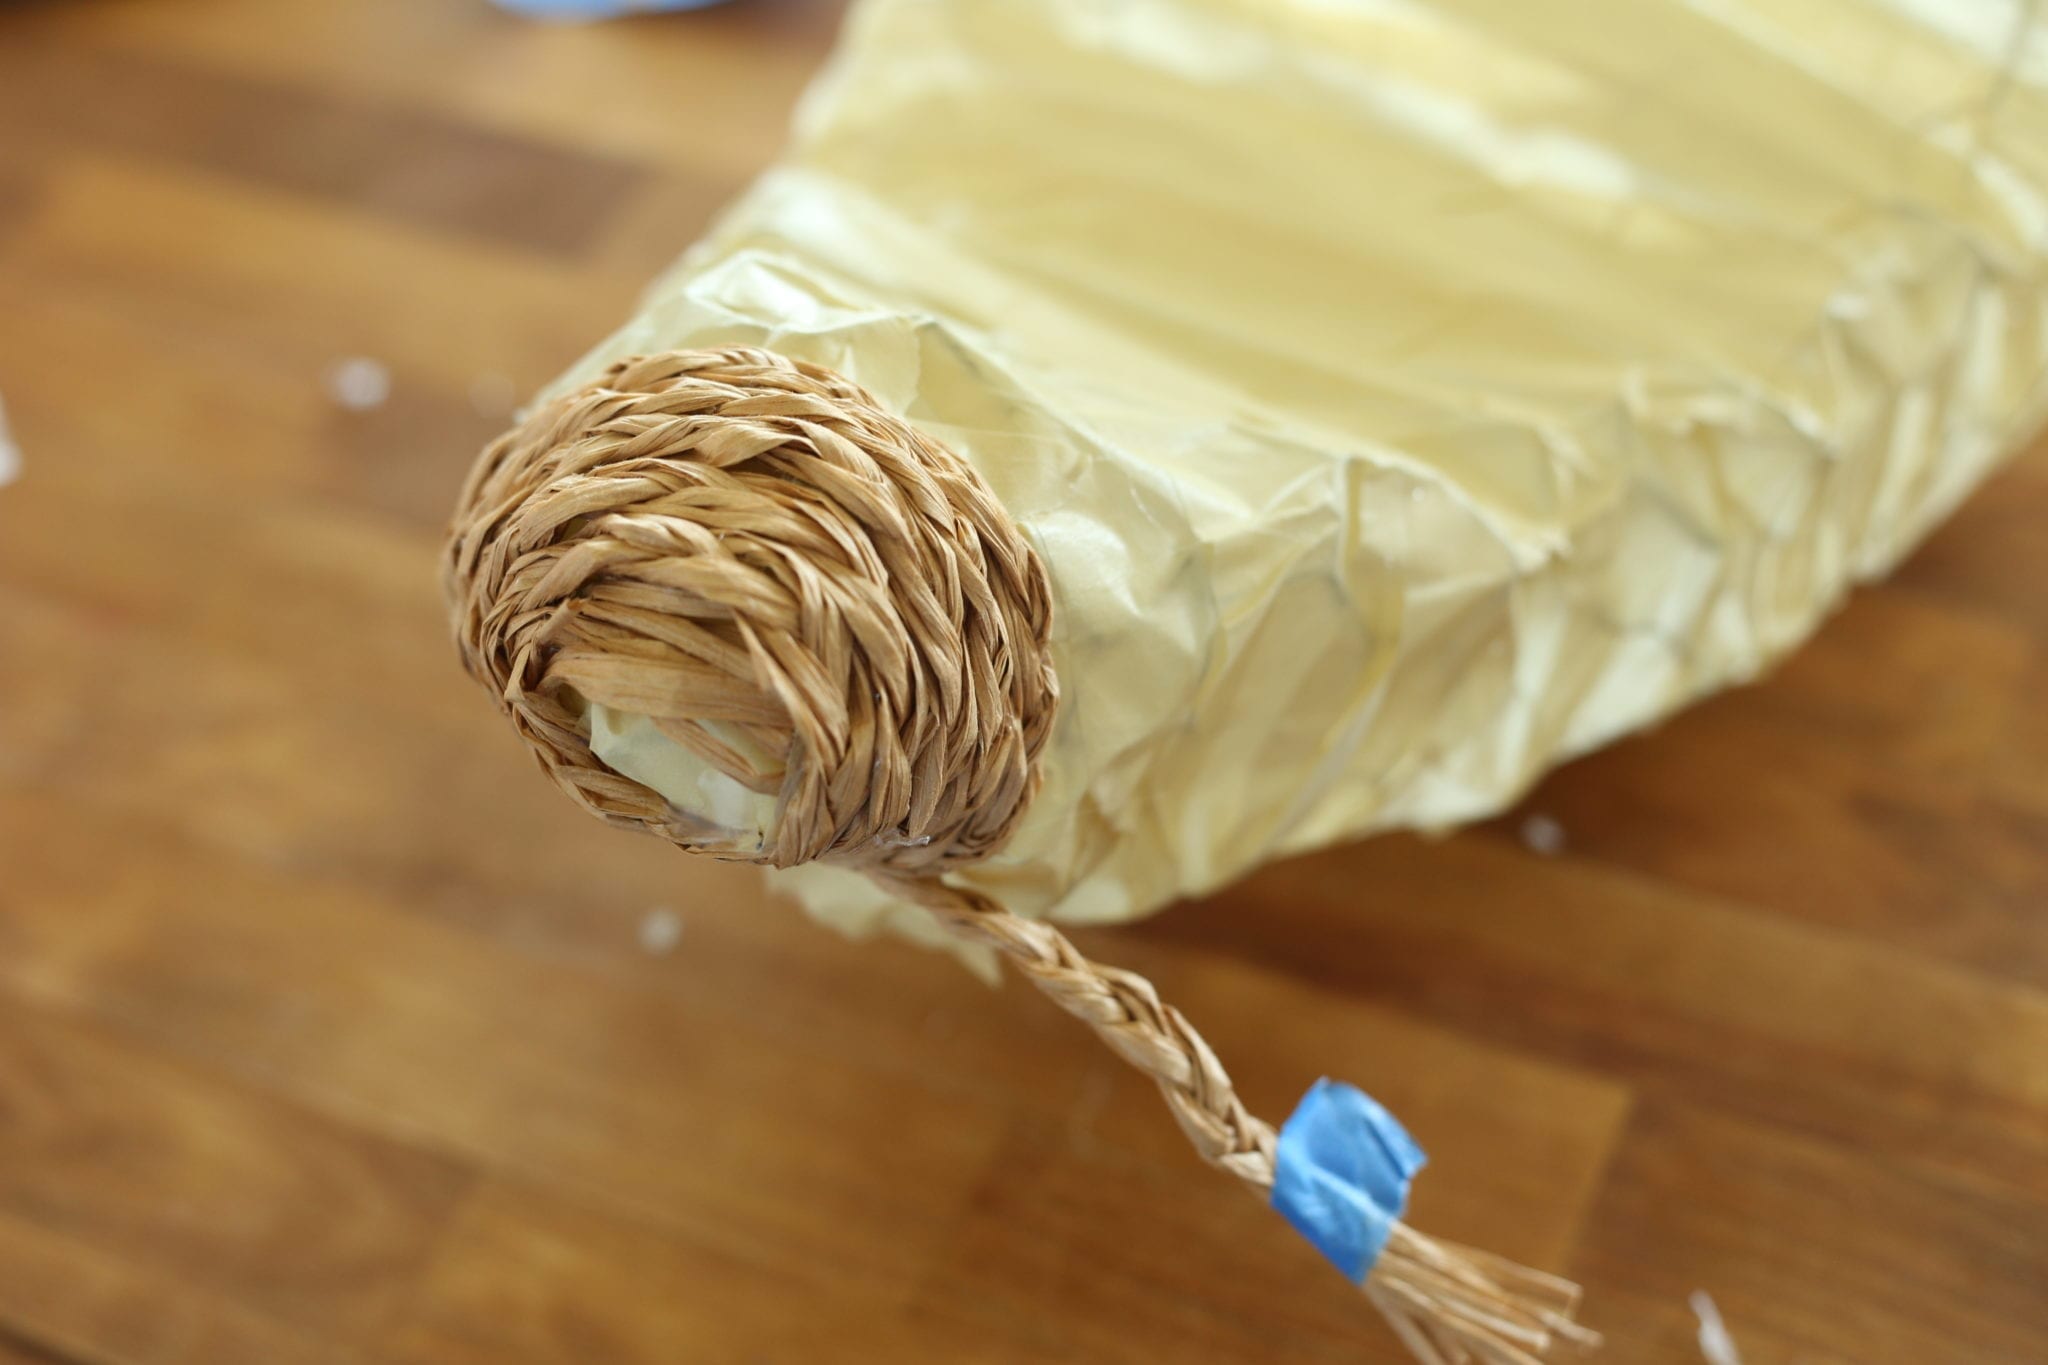
I just used hot glue to attach the raffia. Hot glue dries so quickly that it seemed to be the best option. It worked perfectly. Did you know you can grab your hairdryer and melt away all of those little hot glue strings? It works pretty well. This is the hot glue gun that I have switched to, it is so nice! Way better than the mini glue gun I used to have!
The Inside
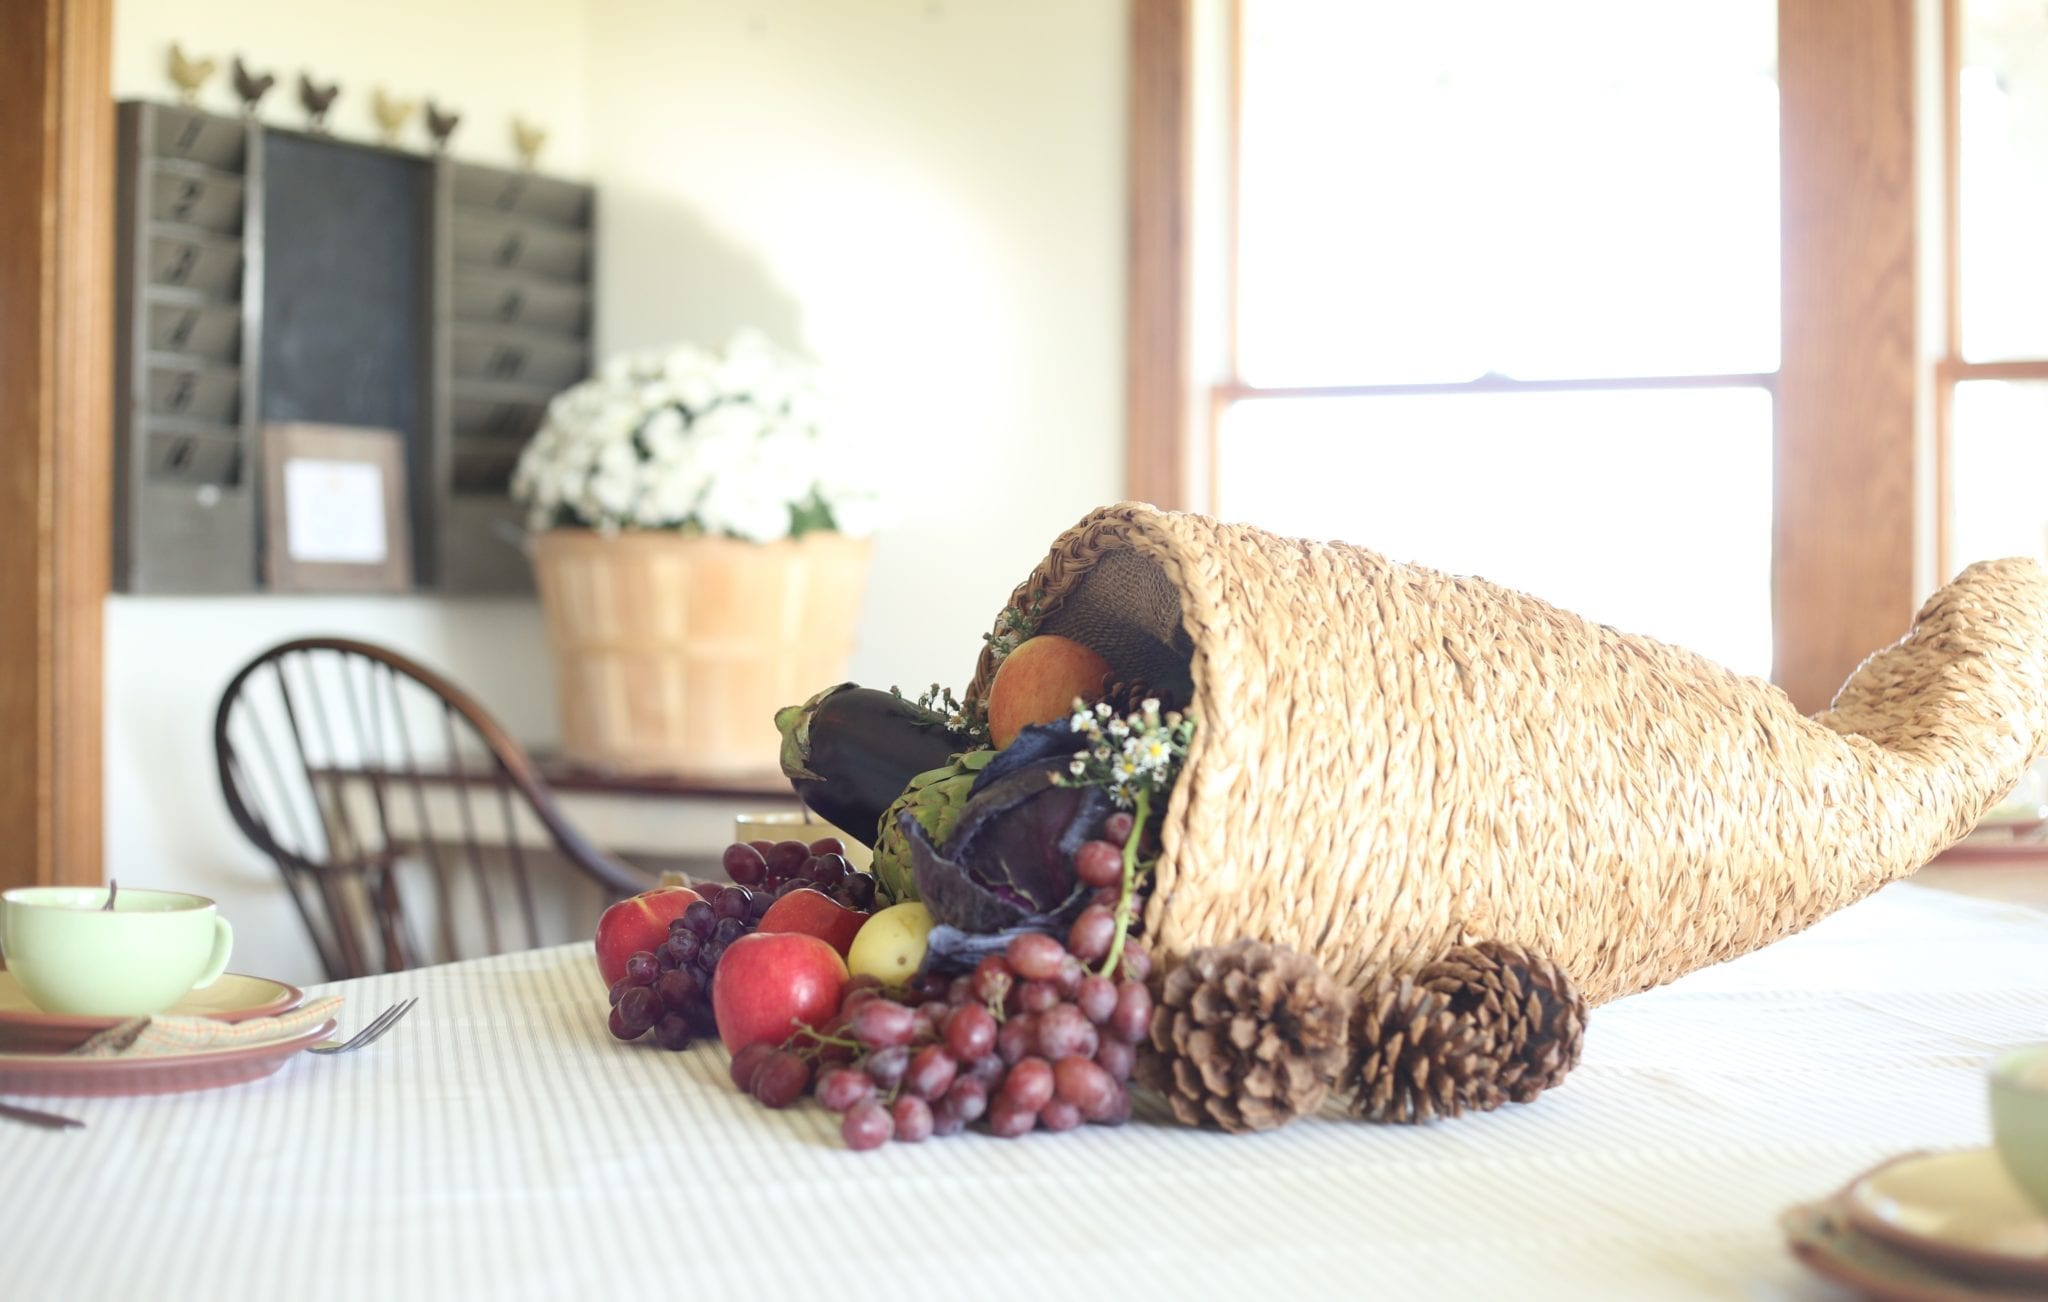
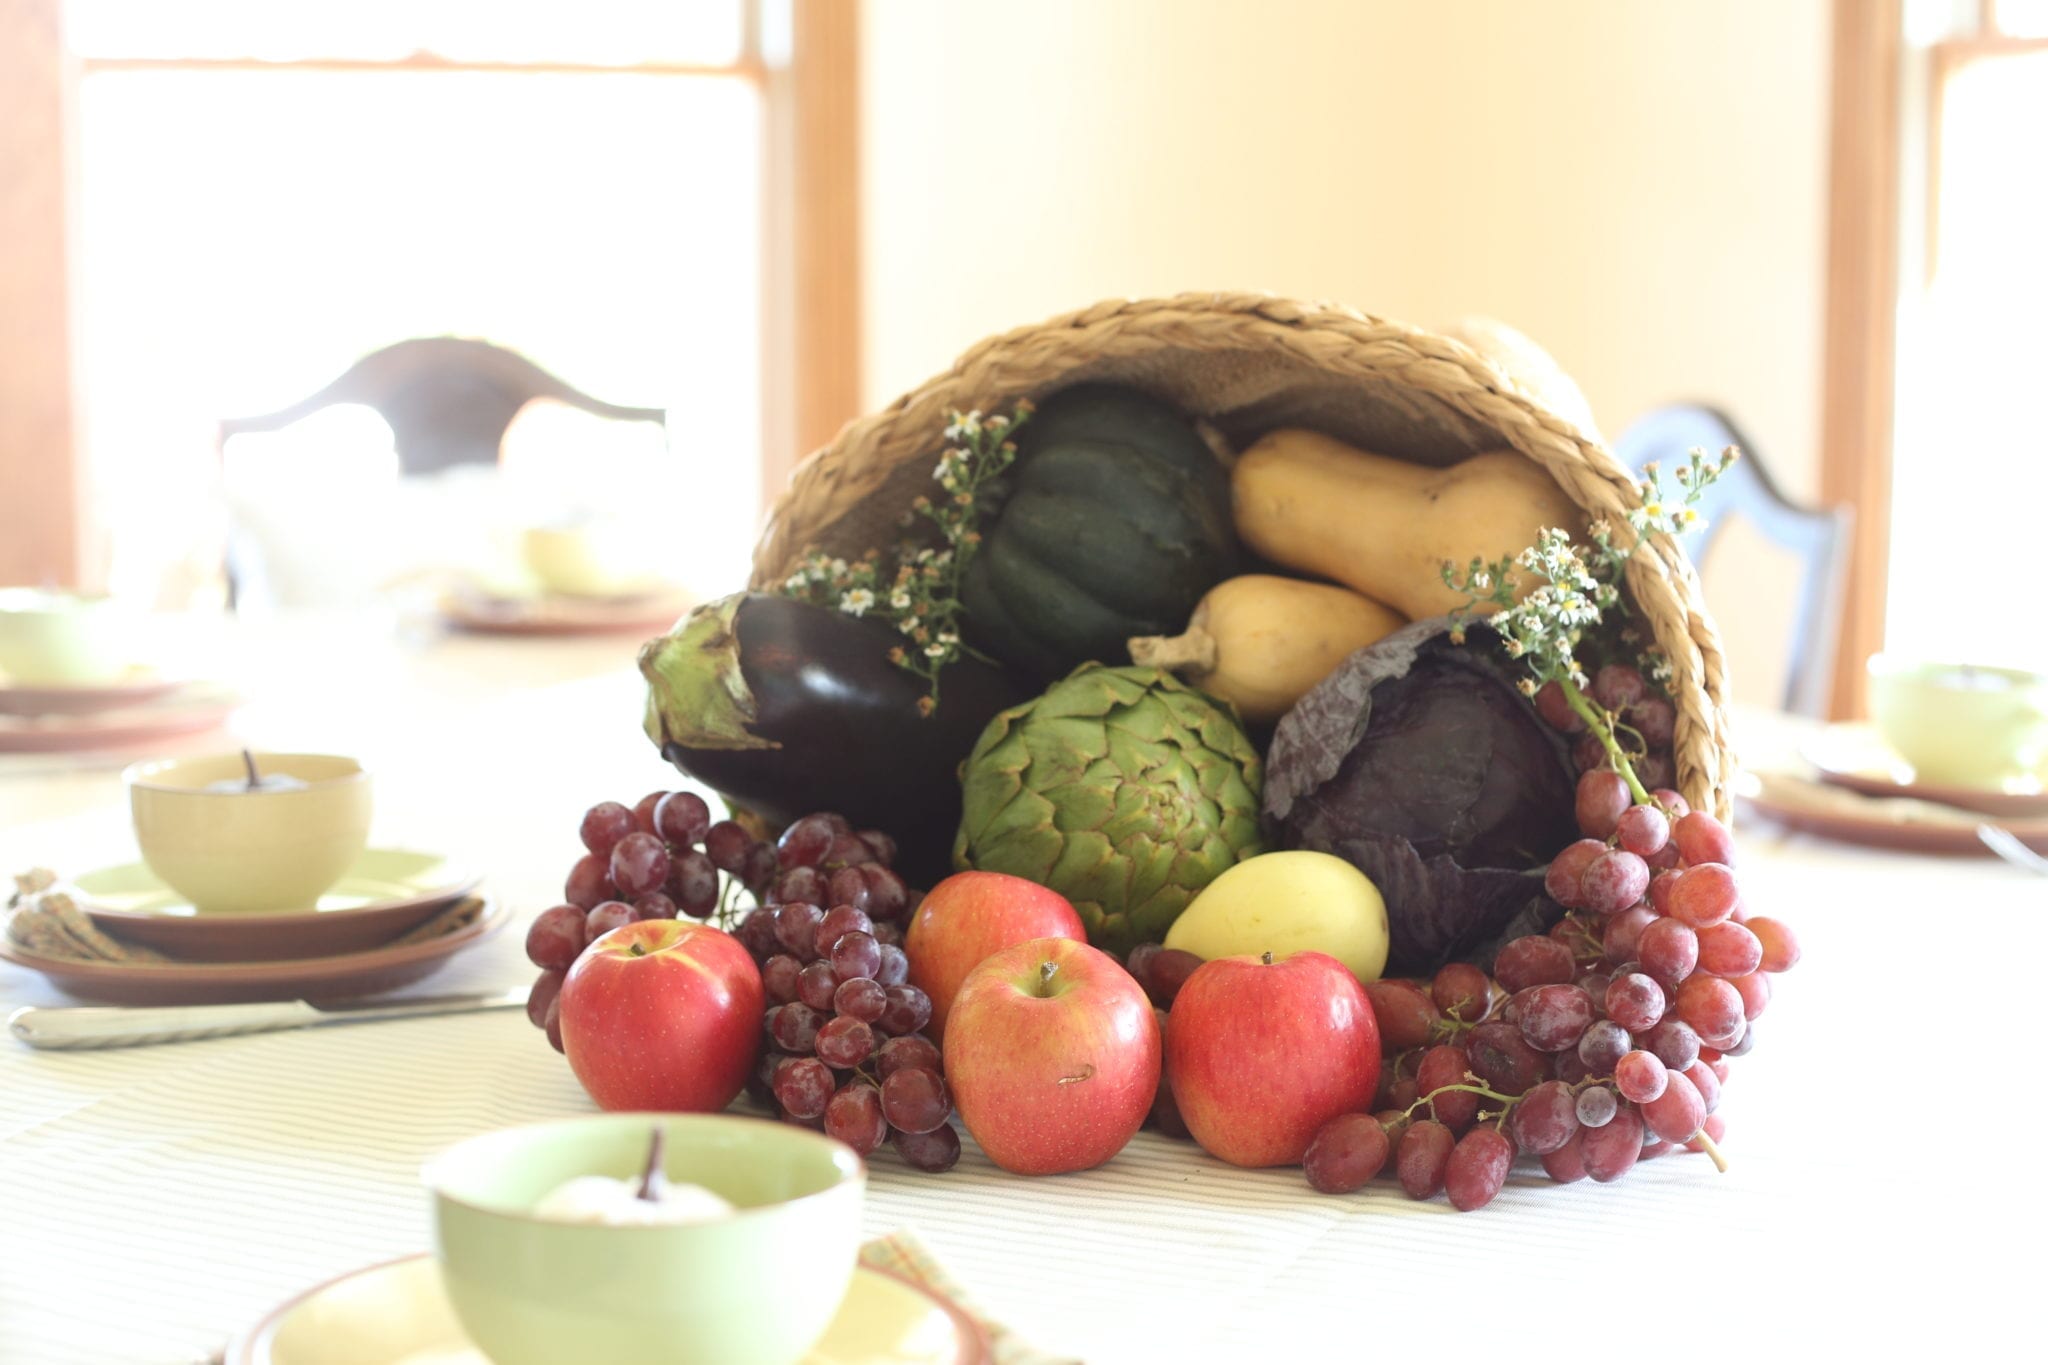
For the lining of the handmade cornucopia, I just used burlap. The cheap kind that comes on a roll at the garden store. I simply cut a square, folded it in half diagonally and hot glued it to the inside. I did glue one of the large braids on the inside to hide the edge of the burlap. Don’t fret if the burlap sags a bit, it is fine once the veggies and fruits are stuffed inside.

Total Cost of Handmade Cornucopia
The raffia comes in 459-yard spools, it was $8.99, and I used every bit of it and then some. The chicken wire was out in our shed, so I don’t know about the cost of that. Masking tape is about $3 a roll, but I didn’t even put a dent in the roll. The burlap was $8 for a huge roll, and I only used a small amount. Hot glue is about 3.99 for a bag, I used an entire bag of hot glue. Time spent bonding with my children over braided raffia…priceless
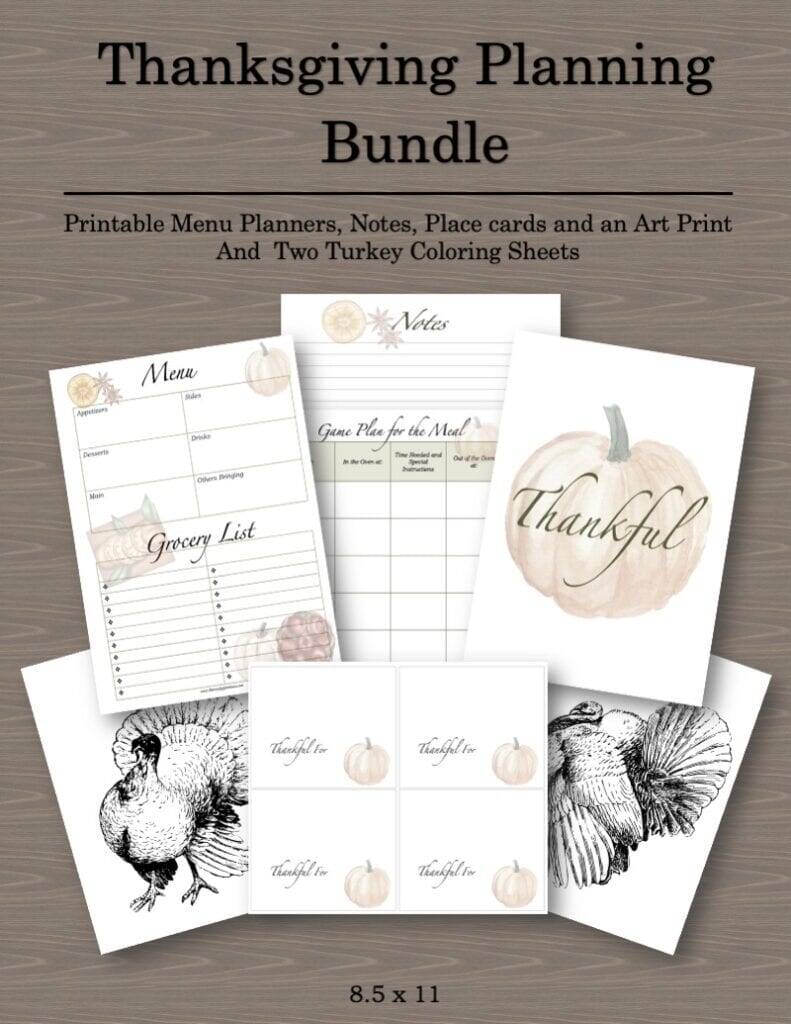
Free Printable Thanksgiving Planning Pack with Placecards
My resource library is full of free printables. I have this super helpful Thanksgiving pack with meal planning sheets, place cards, an art print, and coloring sheets for the kids! If you are not yet a subscriber, just fill out the form below and get on my list! I only email when I have new content to share!
I also have these cute little printable place cards in my printable library. These are also free for my subscribers.

Too Much Work for A Centerpiece? Shop Similar Looks
Thank you for Stopping By! Pin for later if you’d like!


I thought you had used sisal rope on the outside, and I bet it would have been easier. It really is magnificent!
Yes, I could have used a simpler thing, but I just had that braided raffia in my head! Thank you for visiting and for leaving the nice comment!
That’s beautiful! I appreciate all the hours projects take. So amazing! That should last forever! Thanks for sharing!
I think it will last for a long time…but where am I going to store the monstrosity!?! Thanks Jersey!
This turned out absolutely beautiful! I also didn’t know that you could use a hairdryer to melt all those pesky little strings. So gorgeous and I love that you can customize it to fit your own table, big or small.
Thanks Elise! Yes, not everyone would want one this size!
Love it! It is the perfect size for your big table…and family! I totally get the size perspective (and van) though. Bill says he wishes we could buy groceries by the ton like we do everything else on our farm!
Yes, food by the ton! Ha! Thank you for stopping by and commenting!
Jenn, that is beautiful! I like the arrangement of the fruit and veggies. I’m sure the kids had fun helping you.
Thanks Mom! Yes, we had a fun time setting the table and arranging everything!
Jenn,
I LOVE this so much! You have to let me feature it on Thistlekeeping!!!!!!!!
Happy day!
karianne
Wow–what a clever idea! Thanks for sharing at Vintage Charm!
You’re welcome! Thank you for visiting and for hosting!
Now THAT is amazing! Such an impressive and gorgeous piece!
Thank you for linking up w us at Creative Muster! We are pinning this! Many blessings to you. xoxoxo Sharon
Thank you Sharon! I enjoy your link parties!
It may have been a labor intensive project, but it is beautiful! I hope you treasure it forever!
Thank you Chloe! If I hadn’t braided all the raffia, it really wouldn’t have been too bad!
Hi Jenn, I love Thanksgiving and your cornucopia is gorgeous! thanks so much for taking the time to share the DIY. I’m featuring this post this evening on All About Home.
Thank you Debra! I enjoy your link party!
This is so gorgeous! Thank you so much for sharing at All About Home. Pinning!
Thank you Amber! I appreciate you pinning as well!
Wow it’s amazing! I love how you used what you had on hand. I love the idea of a cornucopia and all it represents.
What a smart and lovely cornucopia project! Congrats on your feature at All About Home! We would love to have you link-up each week at Tuesday Turn About… we open on Tuesdays at 5pm CST! Hope to see you there!
Thank you Julie!! I would love to link up at your blog!
Wow Jennifer, I’m so impressed with your beautiful handmade cornucopia. I’m excited to feature your post this week on Tuesday Turn About Link Party. I hope you will continue linking up with us!
Thank you Michelle! I am happy to be featured and will definitely continue linking up!
This is beautiful, Jenn! I love it! Thank you so much for sharing on Farm Fresh Tuesdays! I can’t wait to see what you share this week!
Thank you Lisa! I always appreciate you stopping by!
This is absolutely beautiful! I just love a cornucopia, and I’ve never seen a DIY for one before. What an inspiration! Since I don’t have kids at home to help, I would probably make mine a little smaller, as you’ve suggested, but I’ve pinned this to my Thanksgiving board.
Thanks so much for joining the Grace at Home party at Imparting Grace. I’m featuring you this week!
Thank you Richella! I had fun making this! I hope you give it a try for your table!
Your cornucopia is beautiful. I’m featuring it on this Monday’s Little Cottage Link Party. Braiding all of that raffia string really paid off.
Thank you! I am pleased with it! I appreciate you featuring my post!
I love this, Jennifer! It’s so pretty, and a really impressive centrepiece. Thank you for sharing, and for being a part of the Hearth and Soul Link Party. I’m pinning this post and featuring it at the party this week. Hope to ‘see’ you there! Happy Thanksgiving to your and yours!
April, Thank you for the feature and for pinning! Happy Thanksgiving to you too!
I just found your blog, and I am thrilled! Your creativity is amazing 😊
Lisa, thank you for the encouragement! I am glad you found me too! This was one of my favorite projects!
Love this project. I have always been attracted to cornucopias and I love this homemade version! It’s beautiful and worth all the effort. Thanks for sharing. XO- MaryJo
Thank you MaryJo! How nice to see you here!