Macrame Fringe DIY Step by Step
DIY macrame fringe can be added to pillows, throws, blankets, or table runners. Add it anywhere that you would like a little something extra. This really is so simple to make, with a little time, you can make something plain into something special! This post contains affiliate links.
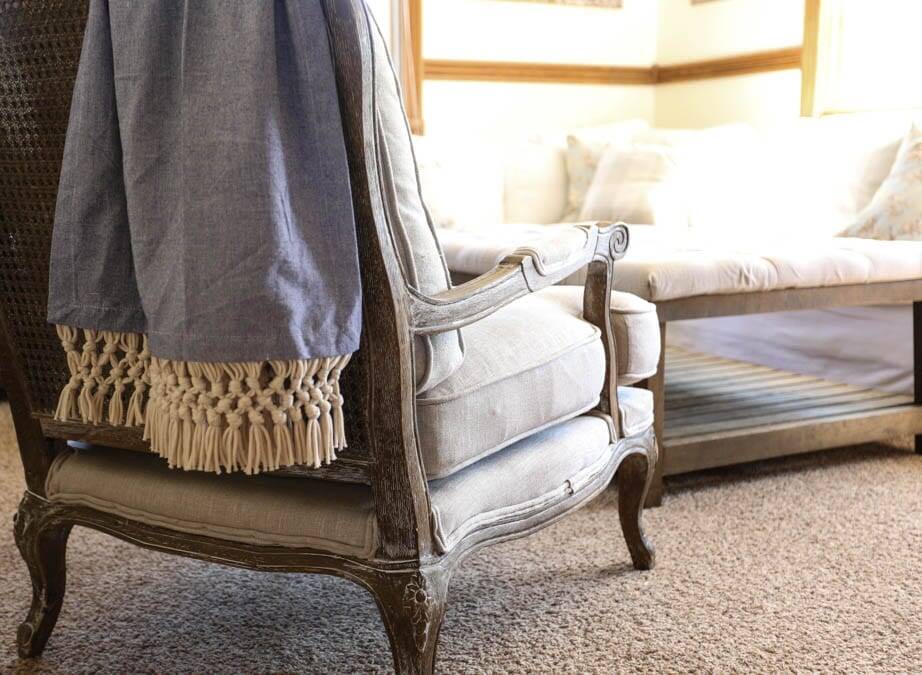
My Inspiration
I think I have told you before about these amazing surplus stores that we have around here. There are at least four within thirty minutes of our home. These stores have scratch and dent, or overstock items for at least 50% off retail, but usually more like 75% off.
Anyway, I have sort of an addiction love for decorative pillows. My husband may think it is bordering on a problem, but I strongly disagree. Usually I make my own pillow covers, then I can just change out the inserts, and my collection doesn’t get too out of hand.
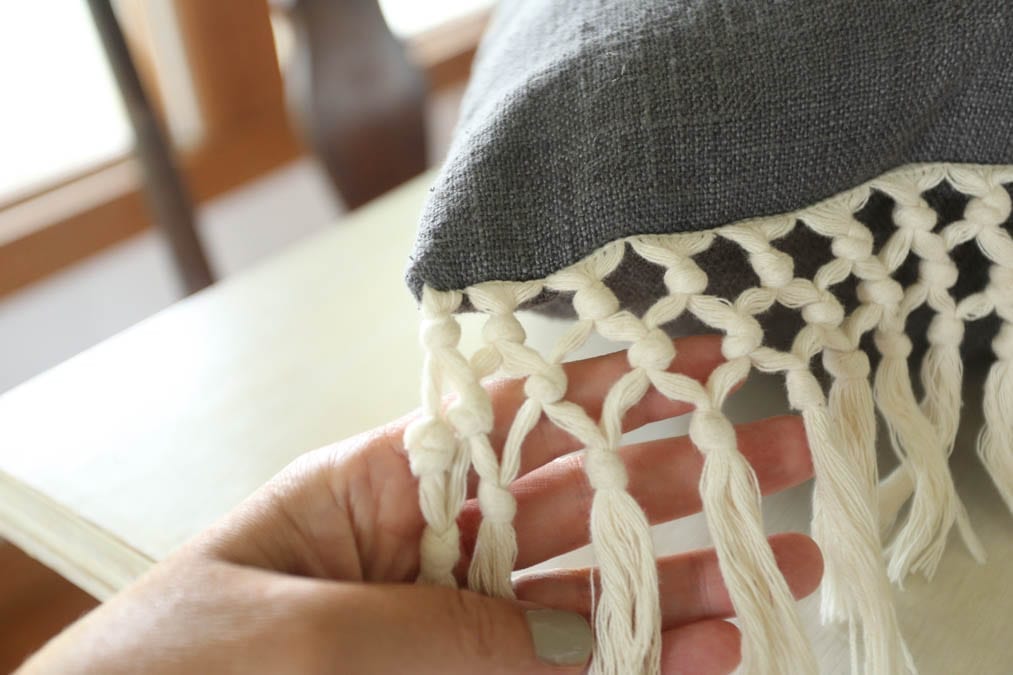
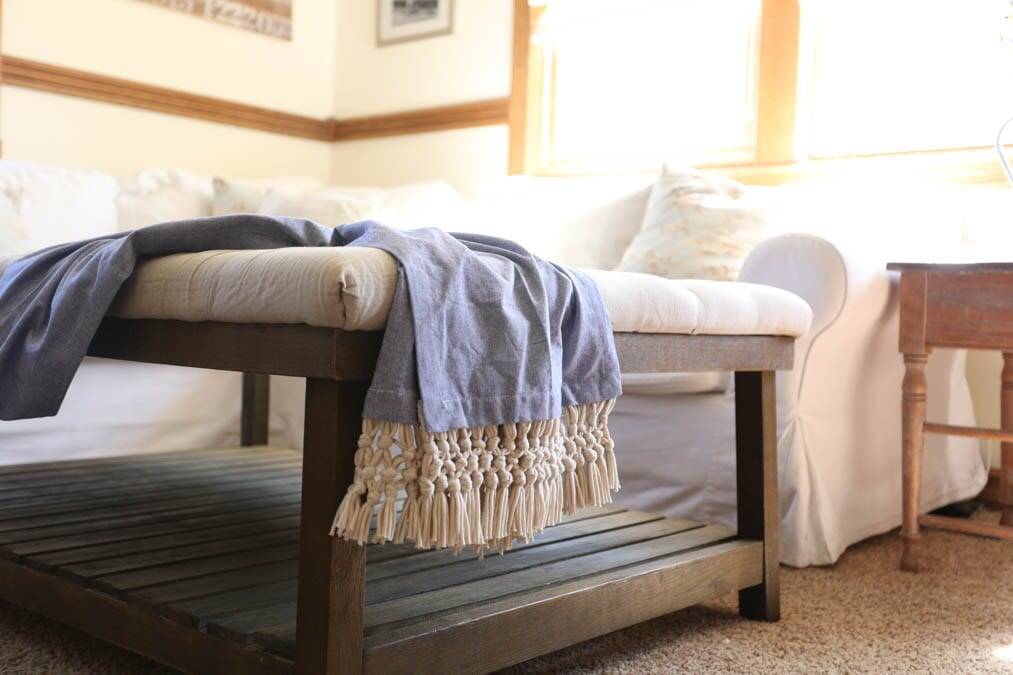
The problem with the surplus stores is their pillow section. Sometimes it is simply irresistible. I got this pillow in the picture above at one of the surplus stores, and it has a down filled insert. I think I only paid around $5 for it! Amazing right? The macrame fringe is what got me!
I started really looking at the fringe one day while I was nursing the baby. As I looked at it, I was trying to figure out exactly how the look was achieved. Turns out, it’s just groups of threads knotted together. You know…macrame! So, I just counted the threads and got it all figured out!
Are You a Fan of Macrame?
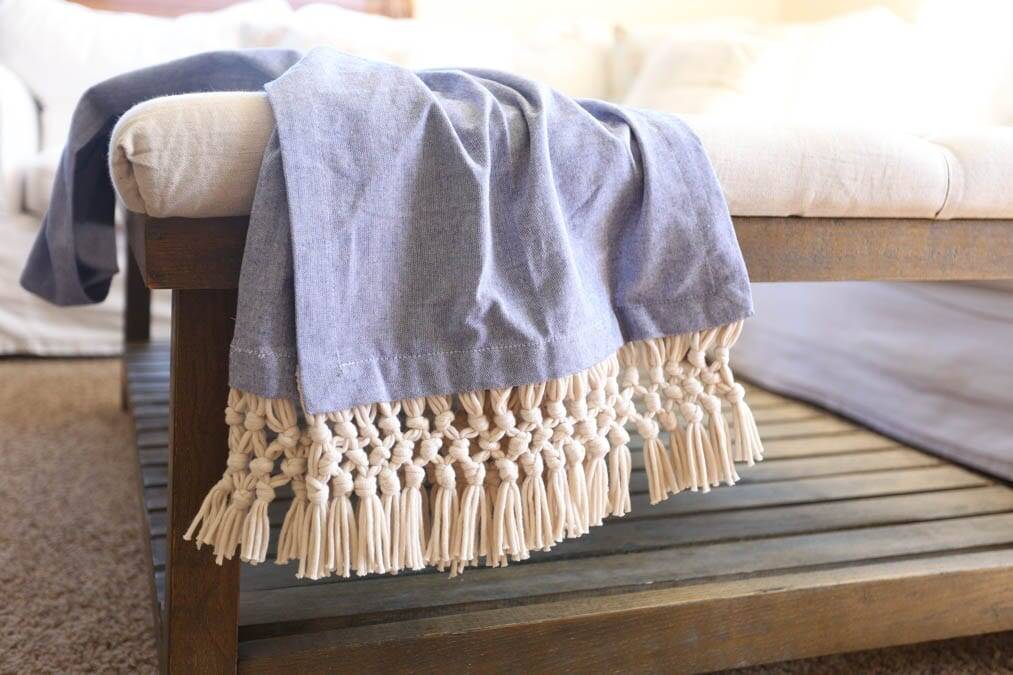
Is macrame your kind of thing? To be honest, it’s not really my thing. I was born in the late 70’s, so my mom had macrame plant hangers while I was growing up. Those were okay. She may still have one around, but I’m not sure. ***EDIT–Verified-She does still have one, she texted me a picture!*** However, one of my aunts had the wall hanging macrame art kind. I’m not a fan. I just always thought they looked dusty and dirty.
I know macrame made a little comeback in the last 5 or so years. Just so you know, I didn’t jump on board! Sorry if you love it, I just can’t get past the thought of it holding a bunch of dust.
Now, a little macrame fringe? That’s another story! To me it looks old fashioned and beautiful. Want to make some? Let’s get started!
Gather Your Materials
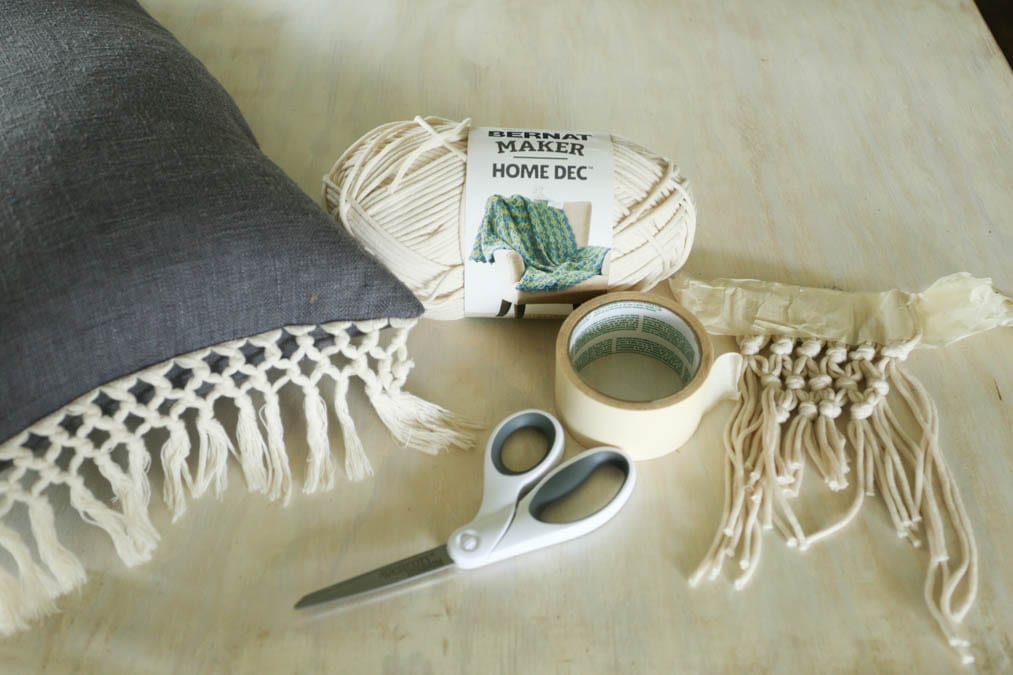
For this, I used some yarn-ish stuff that I had on hand. You could make very thin fringe by using embroidery floss. It’s your fringe and you can use whatever you want or whatever you have on hand. I had some skinny cotton yarn that would have been pretty, but I think I would have needed to use some fray block to keep it from unraveling on the ends.
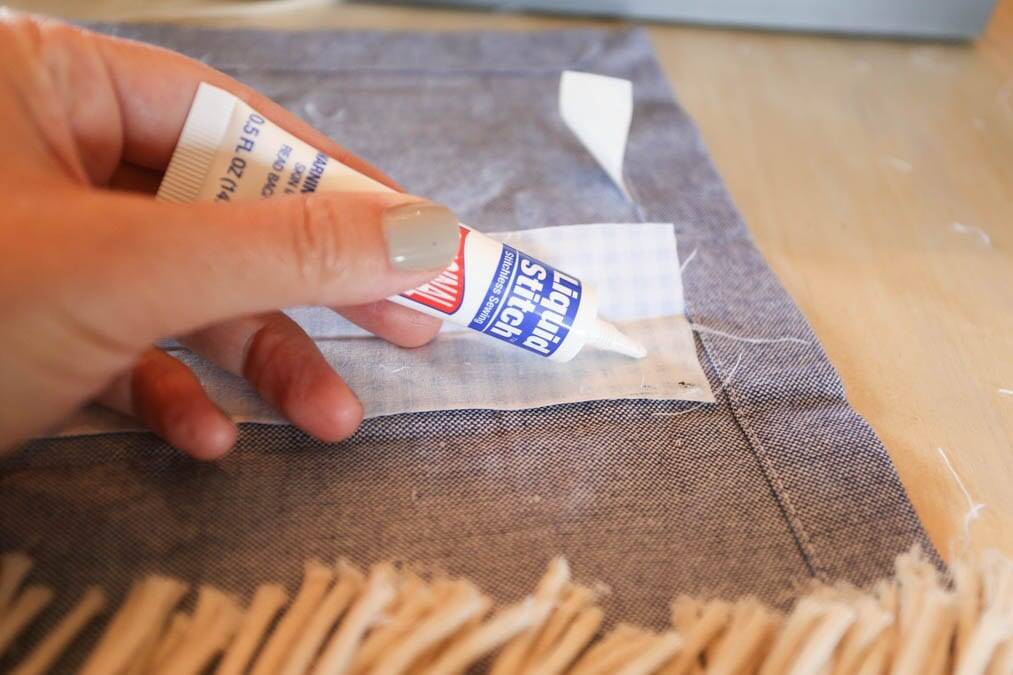
You will need scissors, masking tape or blue tape, and liquid stitch, or hot glue. You could also use a sewing machine.
You will also need something to put the fringe on…obviously.
Lay It Out
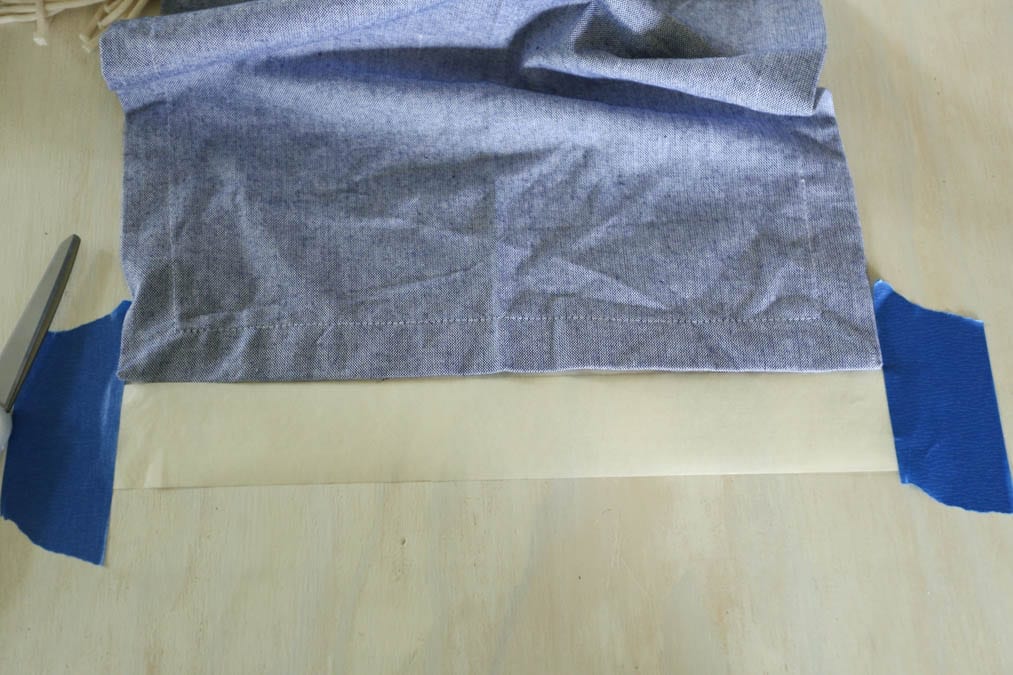
Measure the length of the item to which you are adding the fringe. Next, lay out a piece of masking tape, sticky side up. Tape the ends of that strip down to the table. This will help to keep your work in place.
Count and Cut
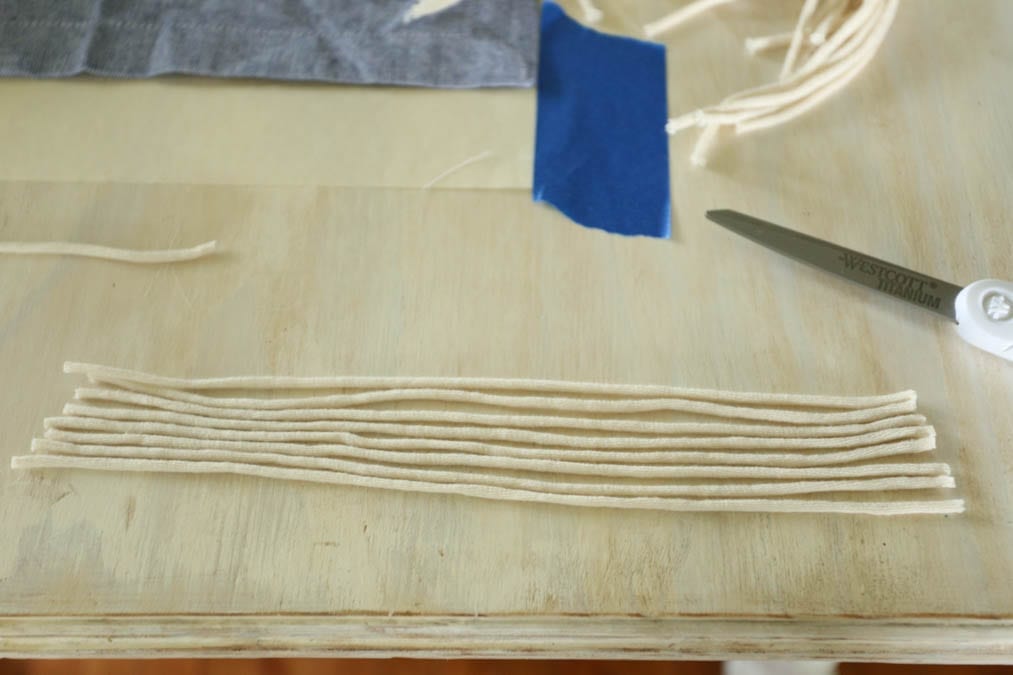
This part takes the longest, although it isn’t difficult at all. If you are a tv or movie watcher, you could totally do this while you watch something.
I cut my lengths about 10 inches long. Each section has eight strands. My table runner that I turned into a throw is 14″. I needed 18 groups of 8 strands which equals 144 strands…for one side. Then the same for the other!
You could either cut up all of your strands first, or do it like me and just cut them as you make each group. I’m sure whatever appeals to you has something to do with your personality type!
Knot Each Group
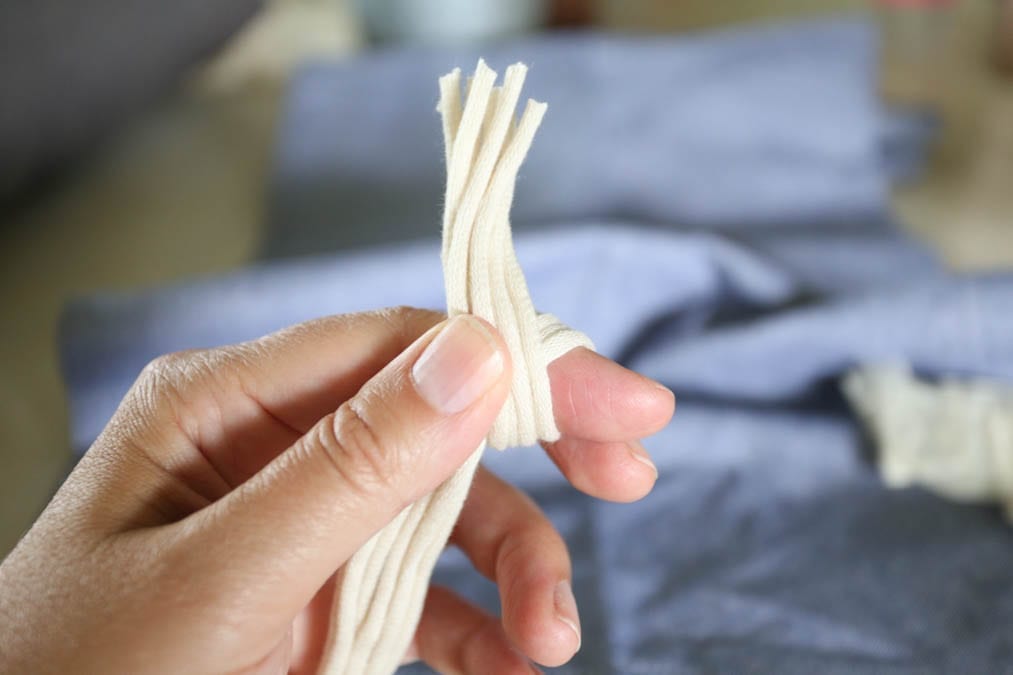
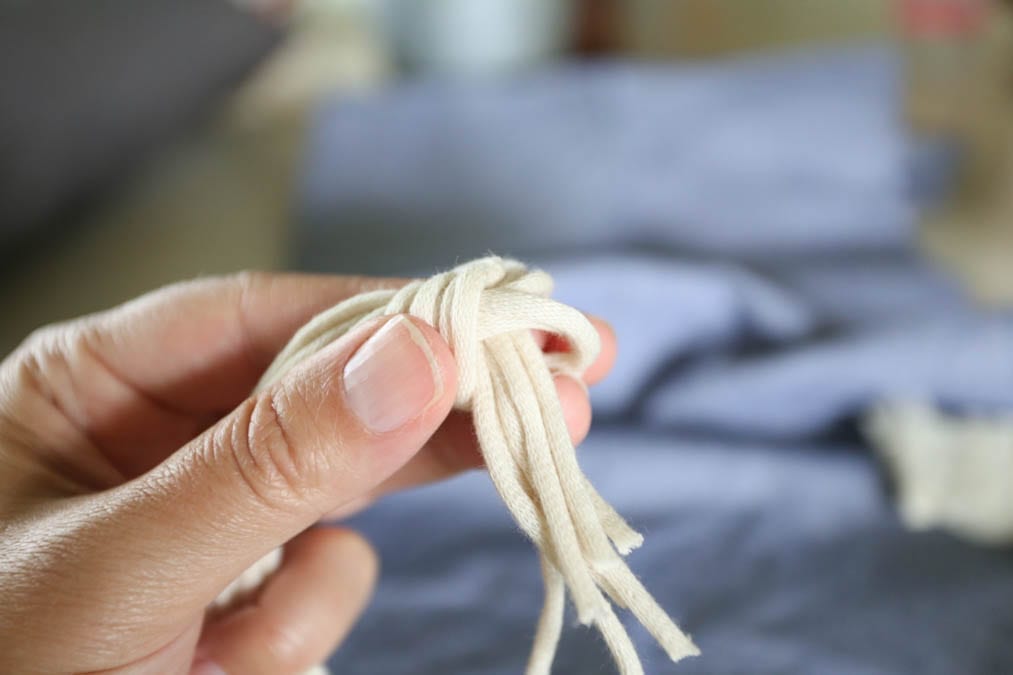
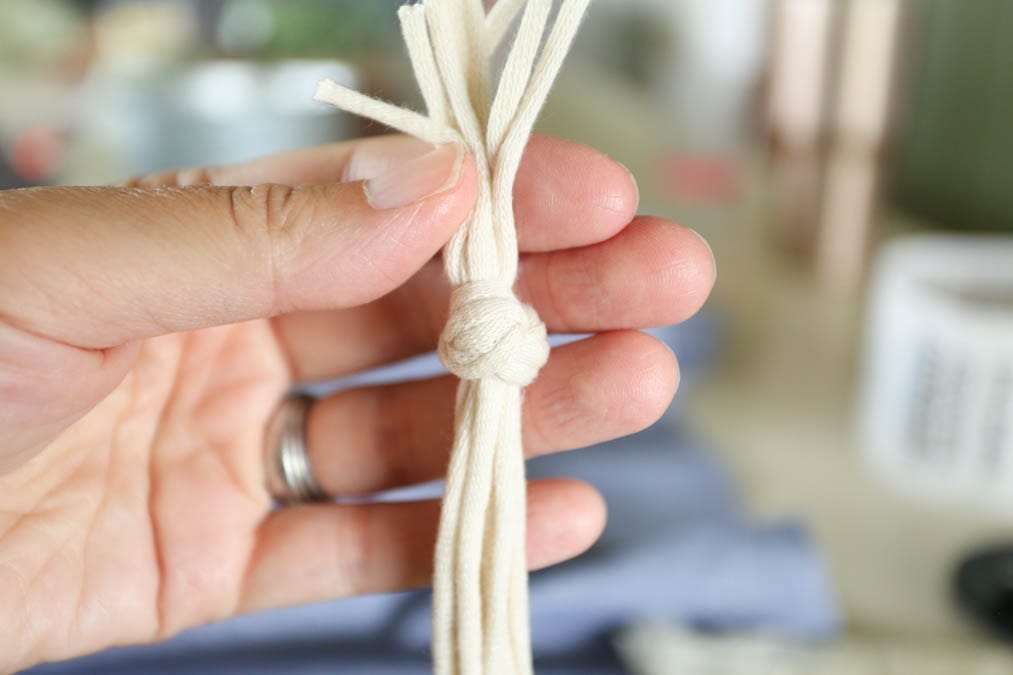
Take all eight strands and knot them together. I wrapped up and around to the left and through the center. I’m not sure it matters, but just do it the same way every time.
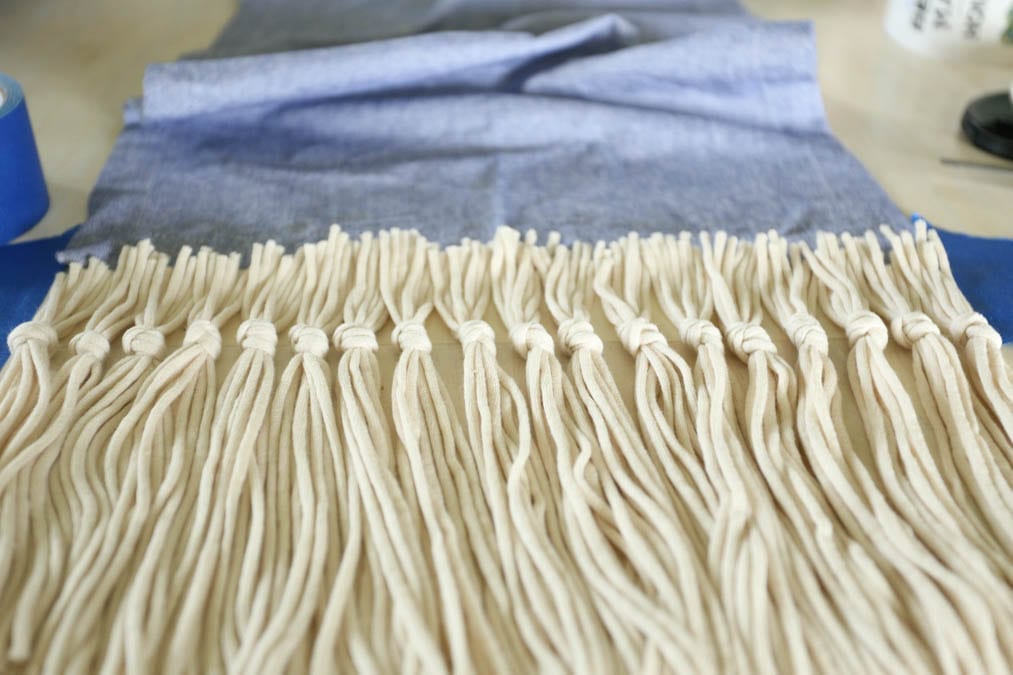
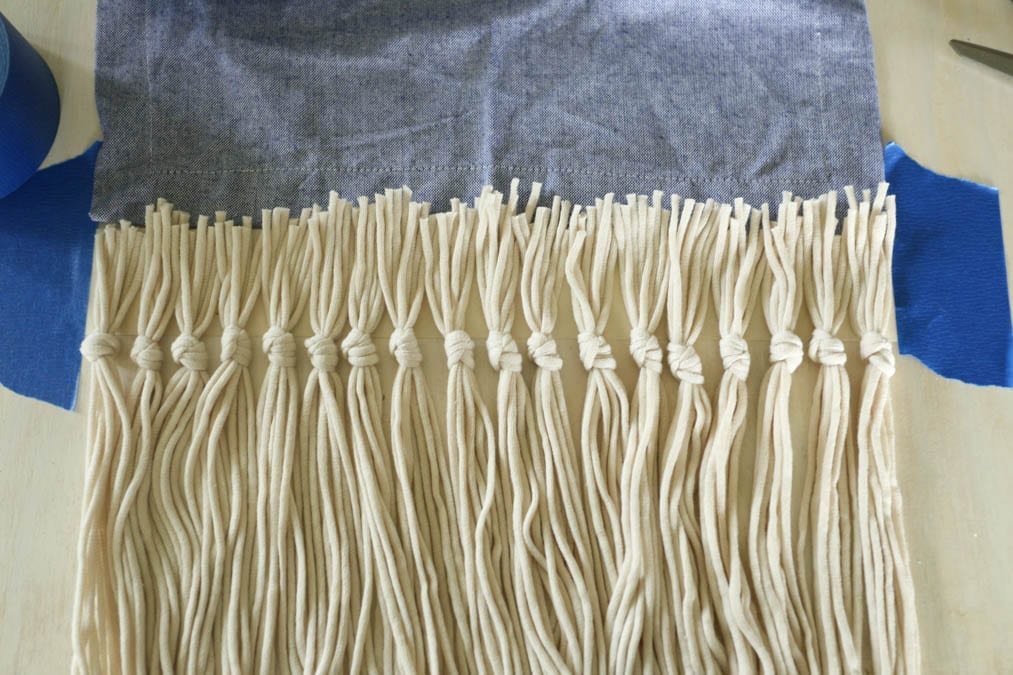
Lay your knotted groups all along the masking tape, touching each other.
Once you have all of your knotted groups laid out, put another piece of masking tape over the top to hold it all in place while you work.
Start Knotting
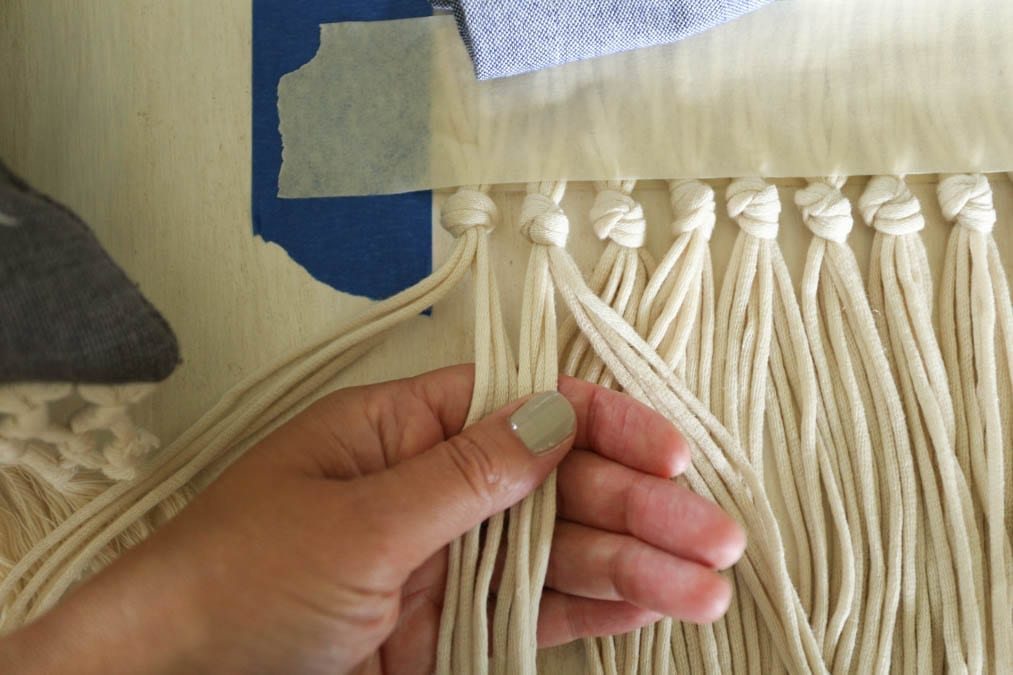
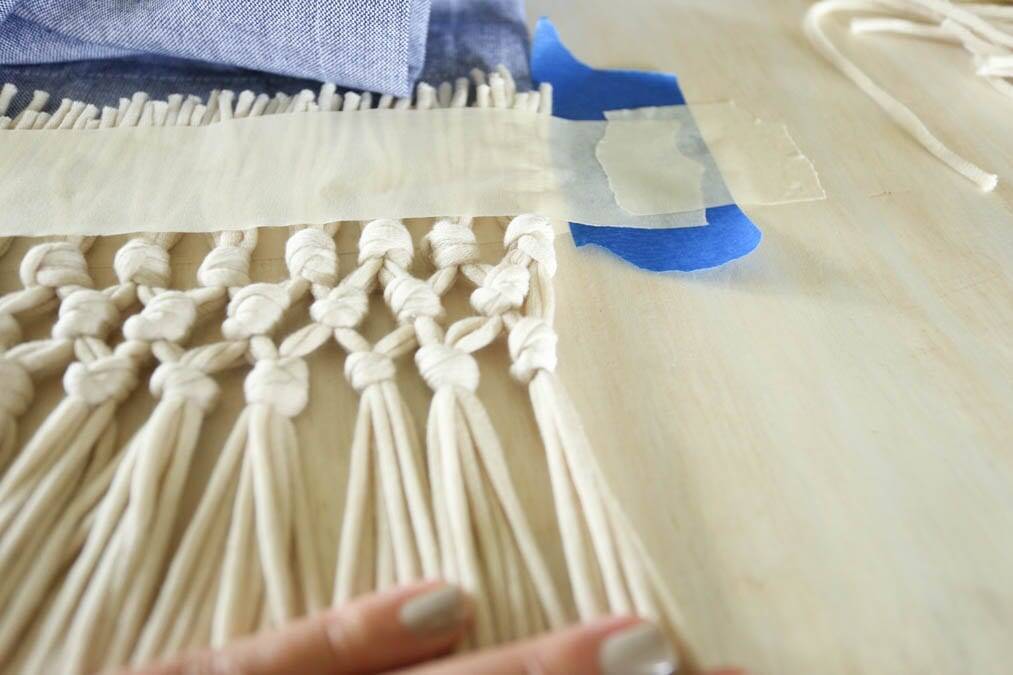
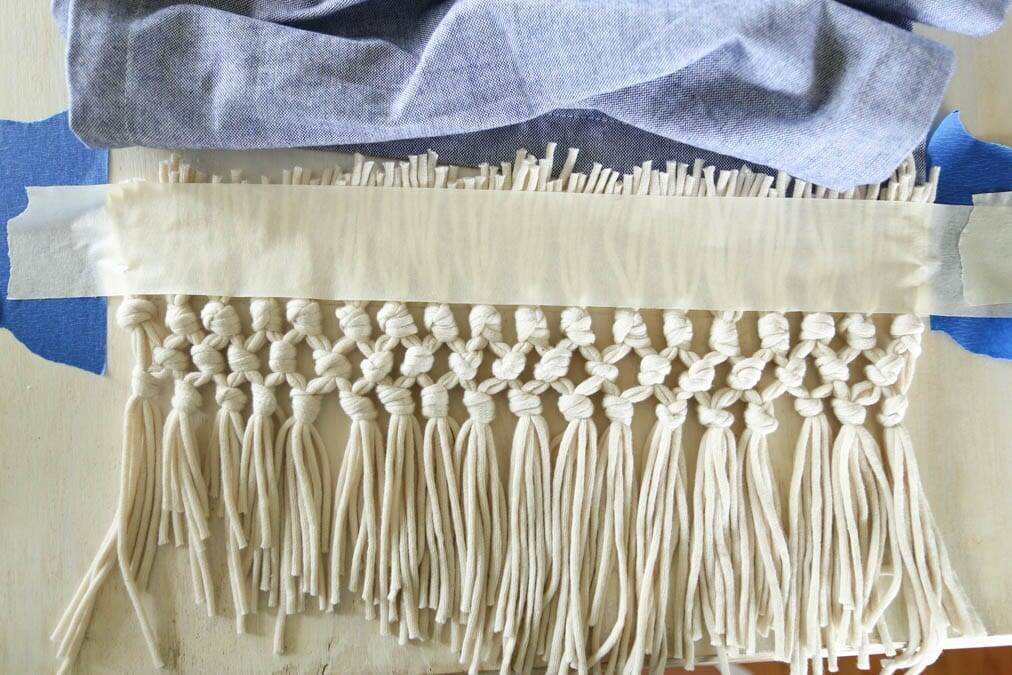
Next, you will start with your first little bundle of eight threads. Separate those threads into two groups of four. Then take four of the strands from the group to the right, put those together, and make a knot. Don’t worry about the first four strands that are just hanging there. You will get those on the next row.
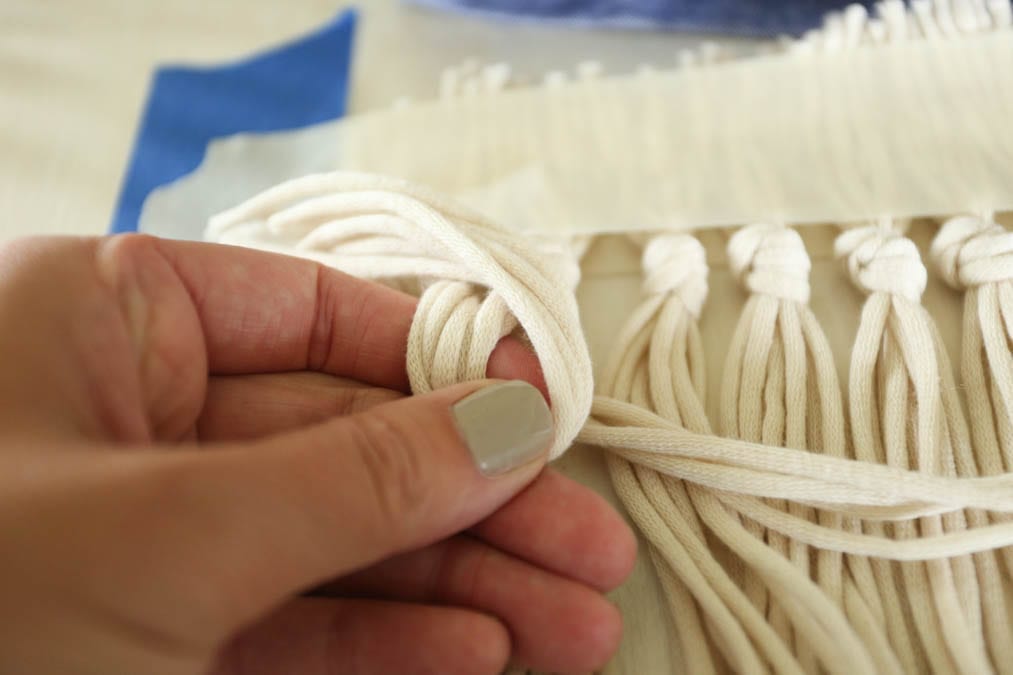
Next, take your four leftover from the second group and knot those four to four from the next group to the right. Knot those together, and keep going until the end of that first row. Just leave the last four strands hanging free.
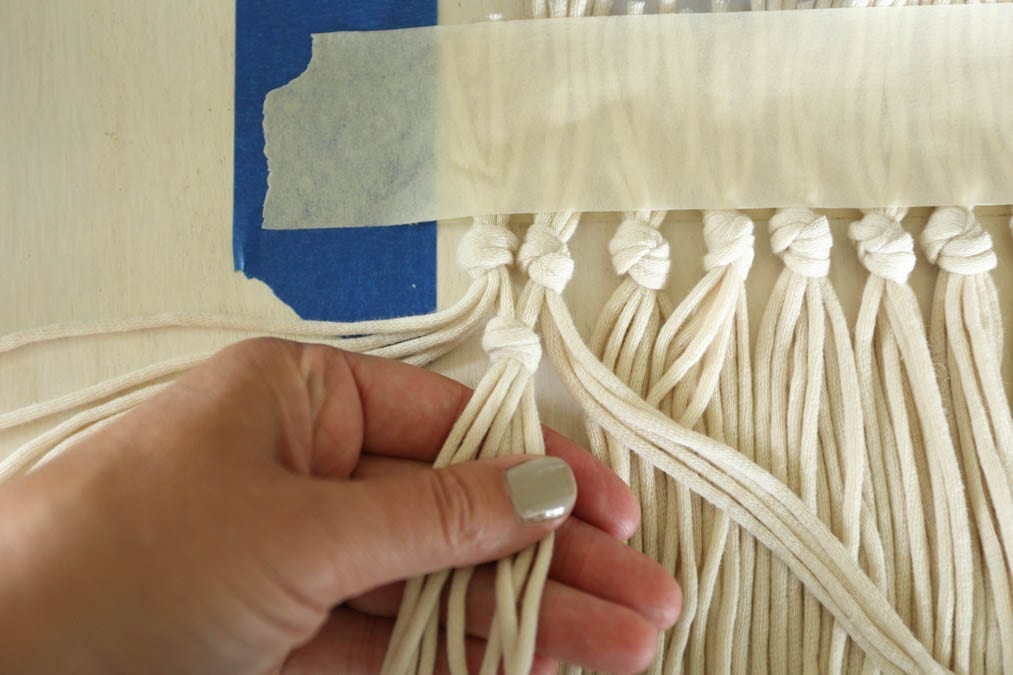
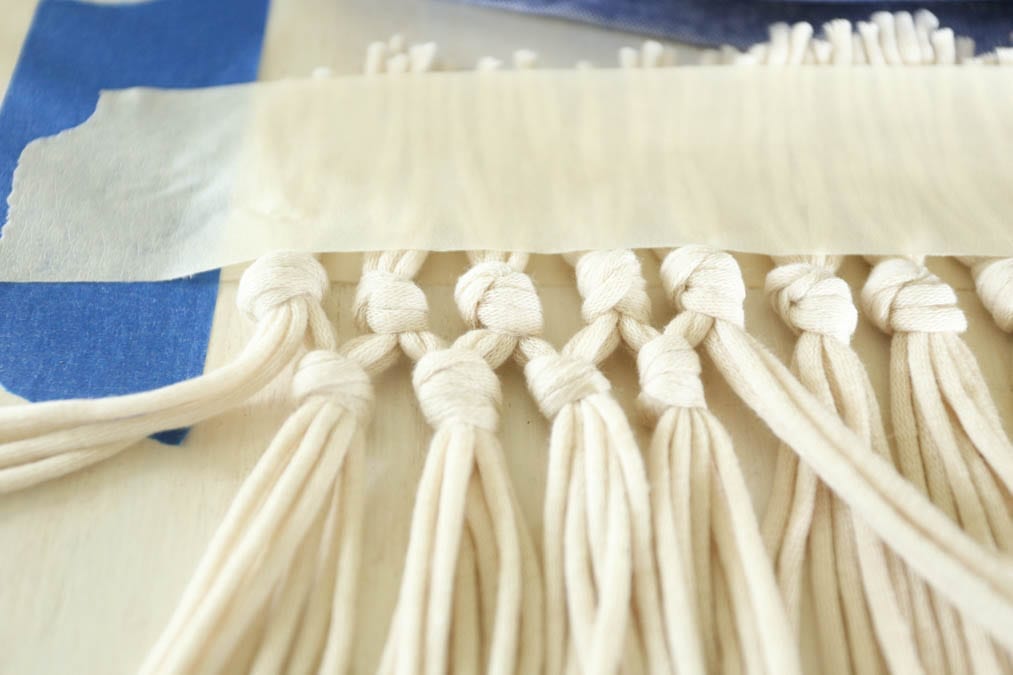
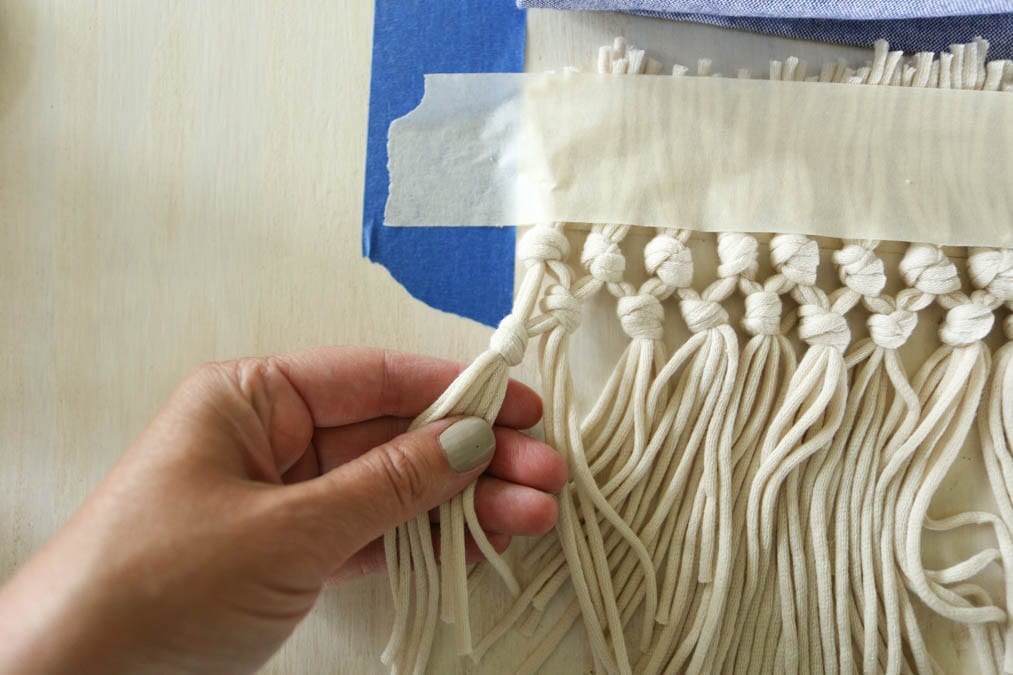
On the next row, take those four strands that are hanging free and knot those together with four strands from the next knot to the right. Continue going to the end of the second row. Knot those last strands to the four left from the previous row.
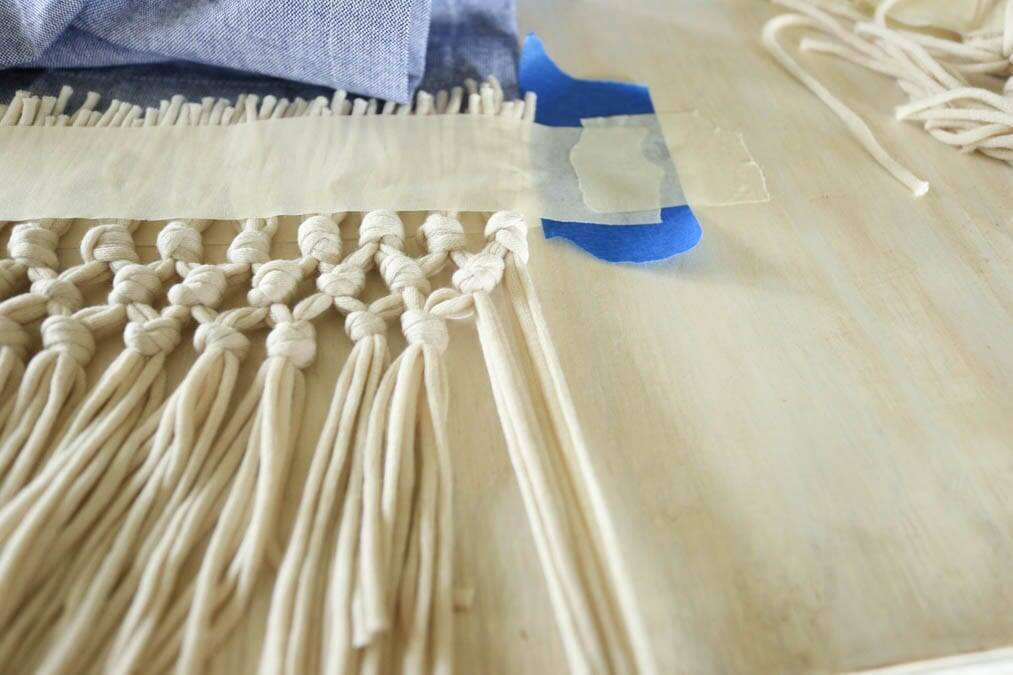
Cut Evenly
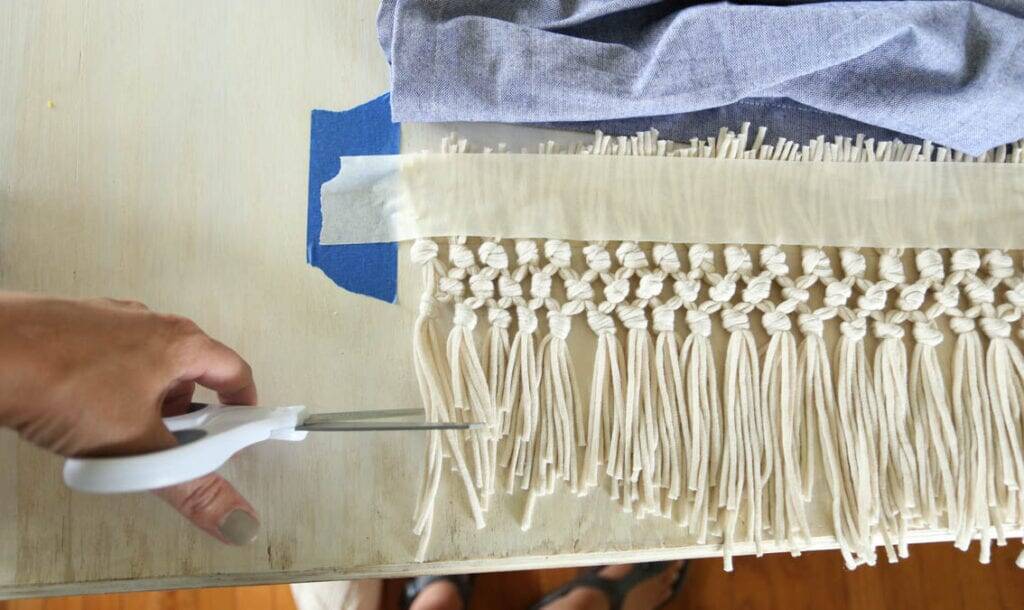
Now, you just have to cut all of the strands evenly. This would be best done with a rotary cutter and a large ruler. I didn’t have mine handy, so I just used scissors. However, it took way longer and I don’t think they are perfect.
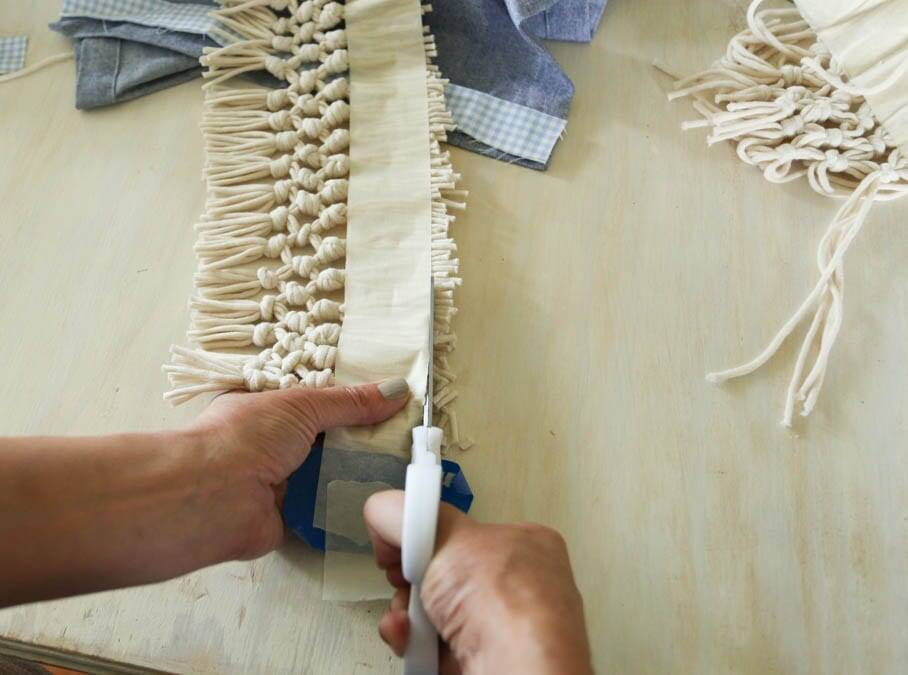
I then cut above the tape as well.
Attach to Binding
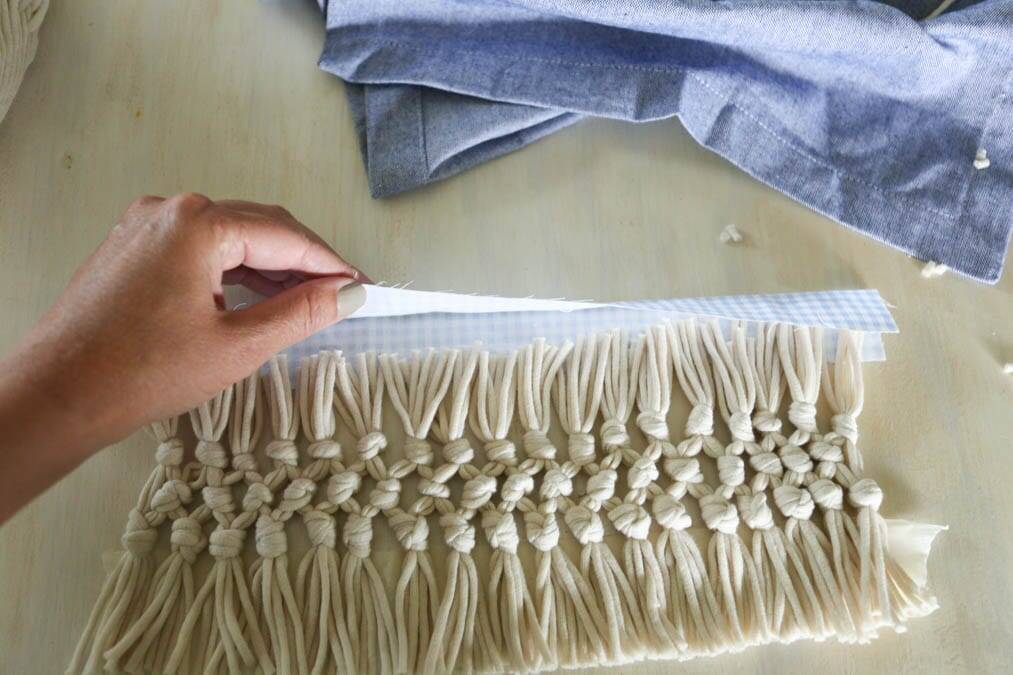
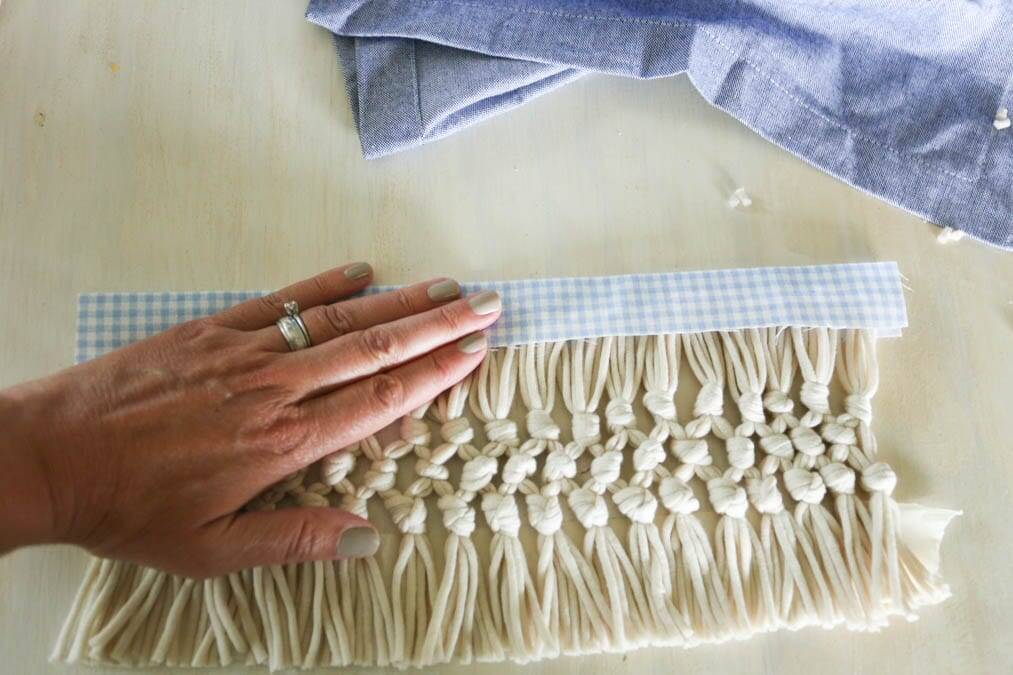
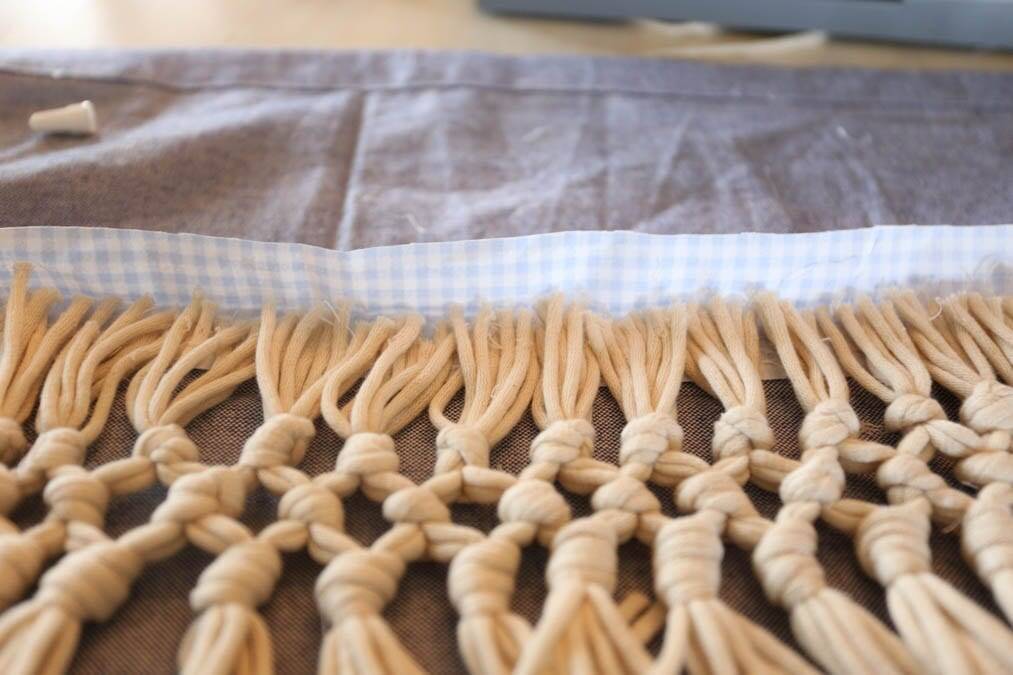
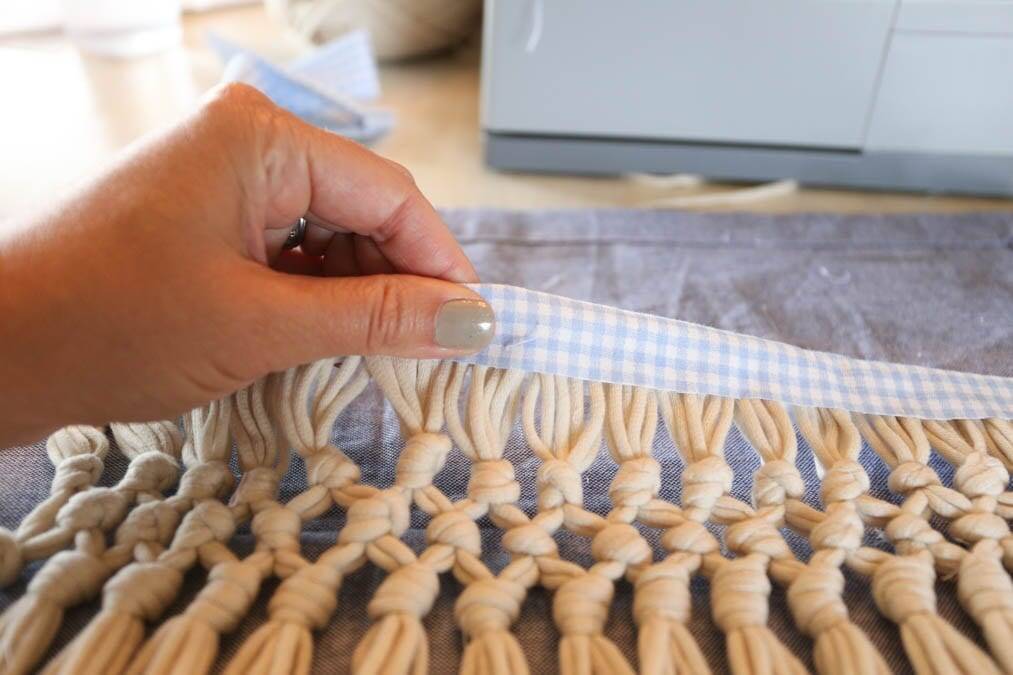
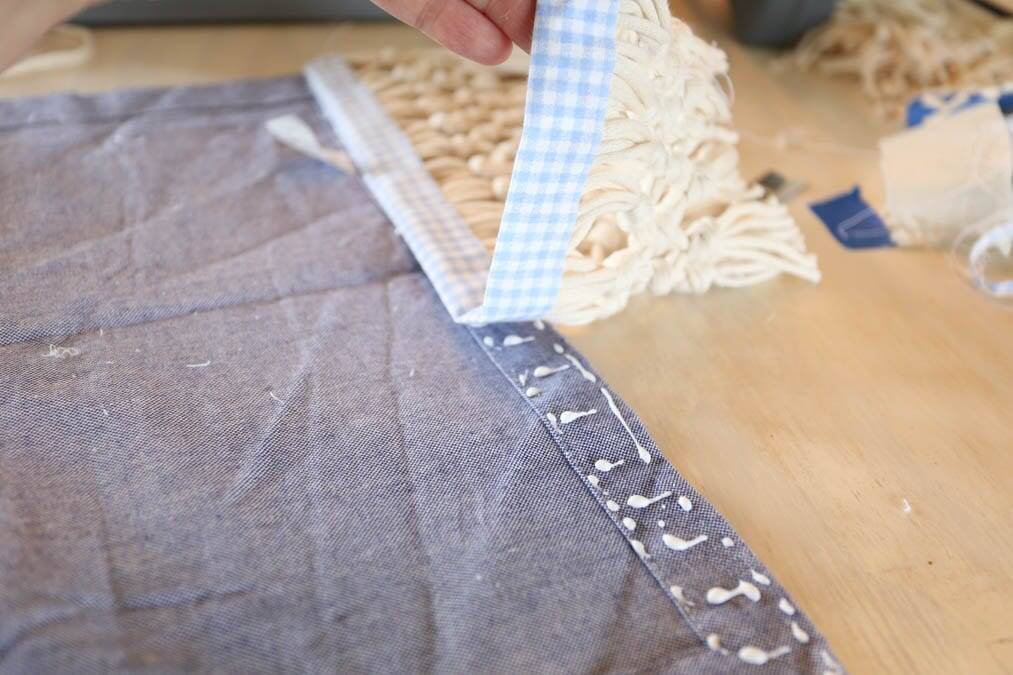
For the binding on this, I just used a 14″ strip of fabric that was ironed in half. A piece of wide bias tape would work very well too. I just didn’t have any.
You could either sew the macrame fringe in place, which I tried on one side, Or you could use fabric glue or hot glue which I also tried. Honestly, I liked using the fabric glue best. It was easier to get it straight and perfect. With the sewing machine, it wanted to wiggle a bit and get off track.
Ever Wonder?
Just in case you ever wonder how a mom of 10 has time to do this type of thing…I multi-task. I promise I don’t somehow have more hours in the day than anyone else. I’m just rarely doing one thing at a time. I can barely sit down to eat without reading at least.
So, while my littler kids are doing table work, I am usually working on some project. My older kids work at a camp during the summer and my 12 year old was working in a different room…you know where it was quiet!
Here is what’s right on the other side of the camera frame.
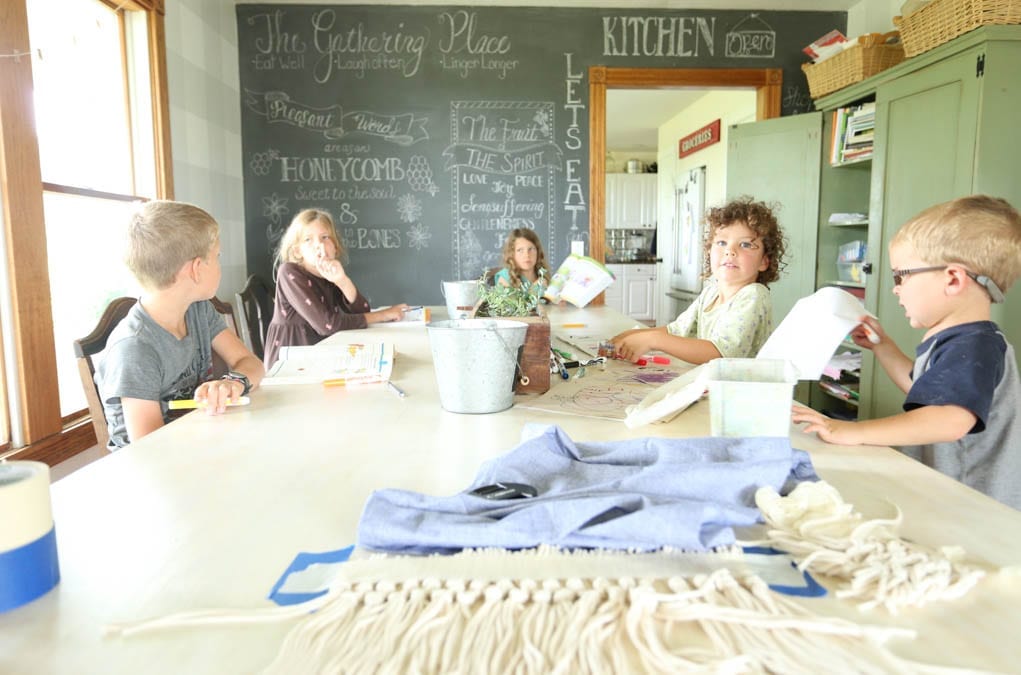
I am still right there with them. Answering questions about borrowing for subtraction, or what color the circles are supposed to be, or what exactly is an adverb again? See, you can homeschool and be present and still feed your own creativity with macrame fringe!
See you Wednesday for part 2 in my series on homemaking! Part 1 Here.
Do you love DIY projects?
Check out these posts!
Woven Wreath
Pumpkin Pillow
Fall Throw
Raffia Cornucopia
No Time to Make It? Shop Similar Looks!


Pin for Later!







This looks amazing. I could use this weaving. It’s time consuming but well worth it. Feels good to check things off our lists? Great information Jenn!
Yes! It would be so pretty on one of your woven items! The knotting itself takes very little time, it’s just the cutting.
Yes, I still have an old macramé plant hanger that I made years ago. I Text a picture of it to you.
It’s so wonderful to see Levi sitting at the table doing his schoolwork too. He is such a big boy now 🥰
Yes, he is a big boy! Thanks Mama!
This post had beautiful pictures and great steps to make the macrame fringe. Your home and pillows look great with the new fringe. We have something in common with homeschooling, and I might try this during our independent work time.
Oh great! I will have to check out your blog! Thank you for visiting and taking the time to comment!
Jenn, I think I feel the same way as you about macrame… just a few touches are okay and I do love the texture it offers to decor too. Love this project though and I’m desperately looking around for what I can add it too in my own home – lol.
Thank you for sharing your DIY macrame fringe tutorial at Create, Bake, Grow & Gather this week. I’m delighted to be featuring it at tomorrow’s party and pinning too.
Hugs,
Kerryanne
Kerryanne, Thank you so much for the feature! Yes to the texture!
Very nice! I’m keeping this one in mind for when I’v finished my crocheted throw. I think this will look fabulous!
That would look so pretty! Thanks for stopping by!
Jenn,
Thanks so much for this tutorial! It’s exactly what I’ve been looking for. I have a fall project and wanted to added a fringe like this. Look for your feature next Wednesday in Charming Homes and Gardens Link Party!
I’m so glad it helped! Thank you, I will look forward to the feature!!
WOW. First off – $5 for a feather pillow is amazing. Secondly – the fact you figured it out so perfectly then shared the tutorial with us – amazing. But learning you have 10 children????? AMAZING.
I am going to follow you know. I am enchanted. Thanks, Jenn. Nice to meet you – coming over from Karianne’s Thistlekeeping post about you.
Stay safe, well and SANE!
Ha ha! Well thank you for your encouragement! I know it sounds crazy…10 children…would you believe me if I said it really isn’t as crazy as it sounds?
This is so gorgeous and inspiring! Thank you for sharing at Charming Homes & Gardens!
I am in love! Thank you for sharing with Charming Homes and Gardens!
Thank you so much! I’m glad you like it!
WOW! This is a great macrame tutorial, but wow you do all that and you have four tiny ones? You must be one amazing and organized person. I’m happy to find your blog and looking forward to seeing some of your other projects. Your chalk board wall looks so cute too.
Andrea, Thank you for your kind words. I am not terribly organized…I mean I try, but really I have plenty of room for improvement! I do stay busy! I am thinking about doing a post on the chalkboard wall!
Jenn, I don’t often do this, but this week I couldn’t resist. I’m featuring TWO of your posts at the Grace at Home party. This macrame fringe is just too good not to share! 🙂
You are so sweet! Thank you very much!
Gorgeous trim! I am so happy you have 10 kids. I wanted to have 10. It turns out the good Lord had other plans so after years of fertility drugs I have 2. My cup runneth over so I guess it worked out as it was supposed to be. However, I told my 2 that I wanted 10 grandchildren!
Have you tried to sew through the trim?
Have a beautiful day,
Kippi
Hey there Kippi! Thank you for your sweet comment! Ten grandchildren is a MUST! So funny! Yes, I tried sewing it, but I am not a great seamstress. I think it would be easier with the proper presser foot perhaps. Mine wanted to kind of shift and slide around. If you are more experienced at sewing, it would probably work out!
Macrame was all the rage when I was a teenager, we even had a macrame class in high school! I’m guilty of having the macrame plant hangers, wall hangings, and curtains back in the day so I’ve been there-done that-wore the t-shirt! However, I could embrace a pretty macrame fringe like this on some throws and it would be fun to see if I remember the knots. Wow, I didn’t know you had 10 kids! I’m the eldest of 7 so I totally get how busy your household is.
Yes! Isn’t it funny how all of those things come back around? Oh wow! The eldest of 7! Yes busy, but super fun!
Your DIY Macrame Fringe is gorgeous and looks quick and easy to complete! I’d love for you to share over at our Creative Crafts Linky Party https://creativelybeth.com/creative-crafts-linky-party-1-join-in-the-fun/
Have a great weekend!
Creatively, Beth
Thank you! I’ll head over there!
I must confess that I am not a fan of most macrame, but I do love the fringe trim. Great tutorial–thanks for sharing at Vintage Charm. Pinned!
Thank you Cecilia!
I love this macrame fringe! How brilliant you are to figure it out and thank you for the great tutorial, you are truly amazing!
I don’t know about brilliant, some days I think I don’t even have my head on straight at all! Thank you for the kind words!