Pumpkin Pillow–Linen, Burlap and Cable Knit
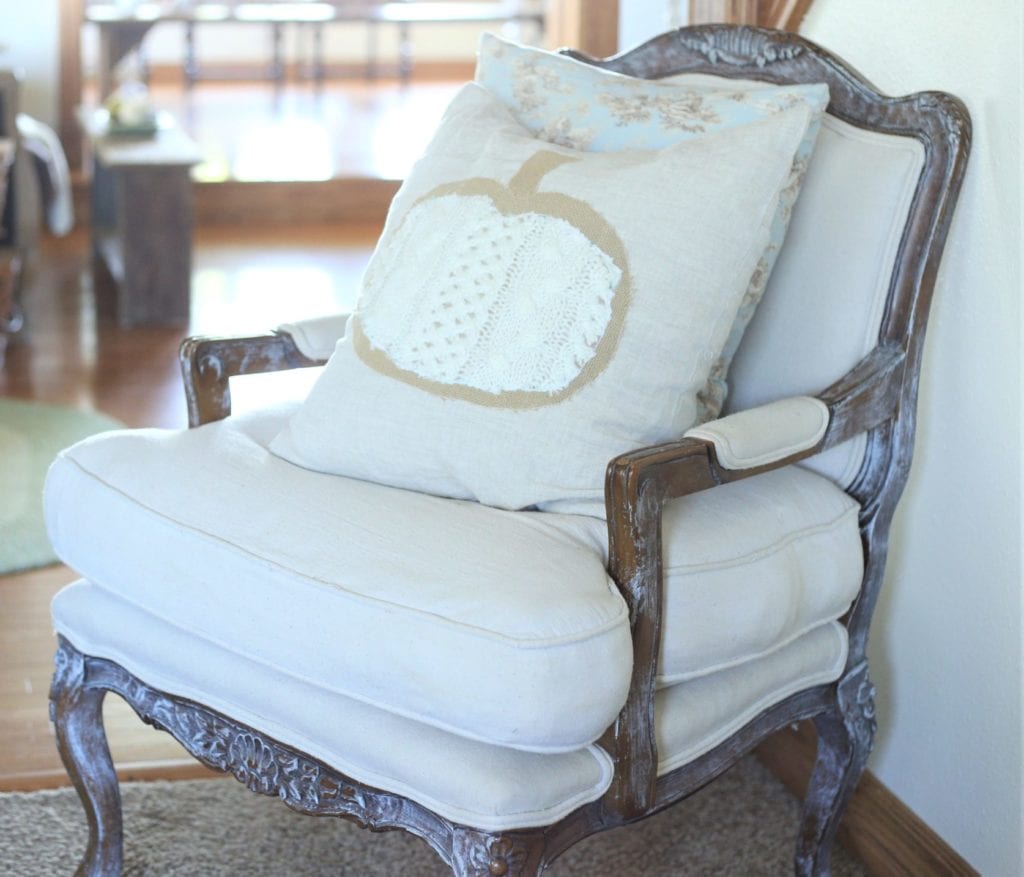
In this post I show you how to make your own pillow from scrap fabric you may have around. It doesn’t have to be out of these exact materials either, just be creative with what you have, and make your own custom pumpkin pillow!
Inspiration
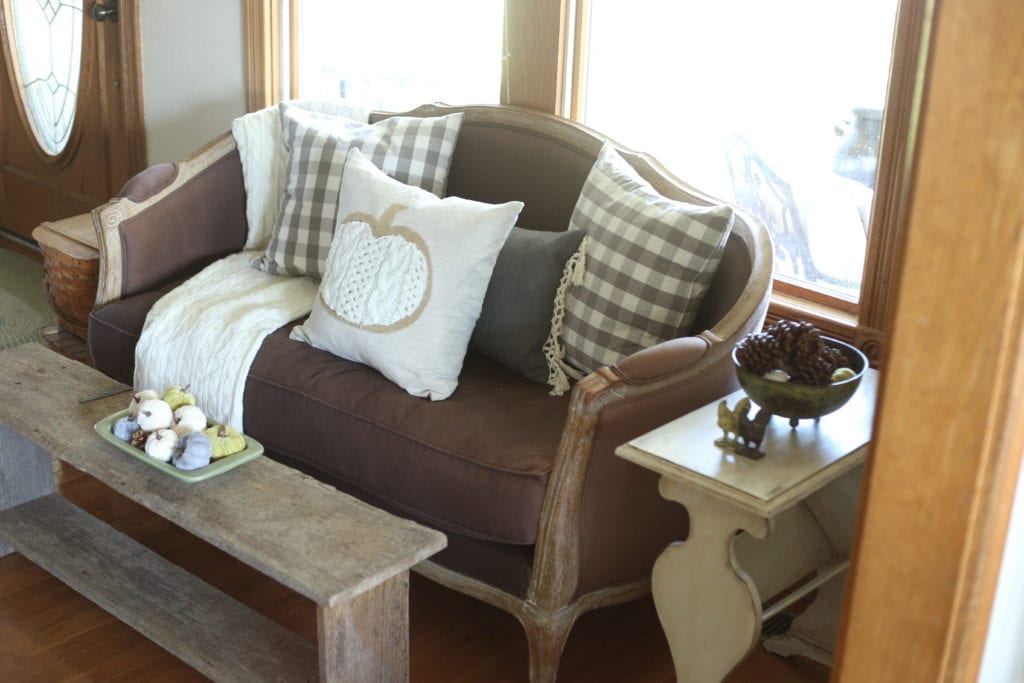
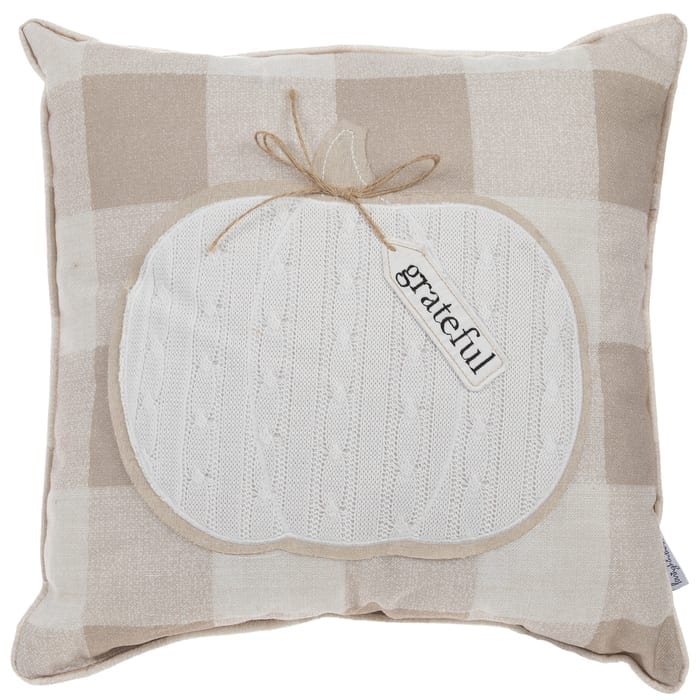
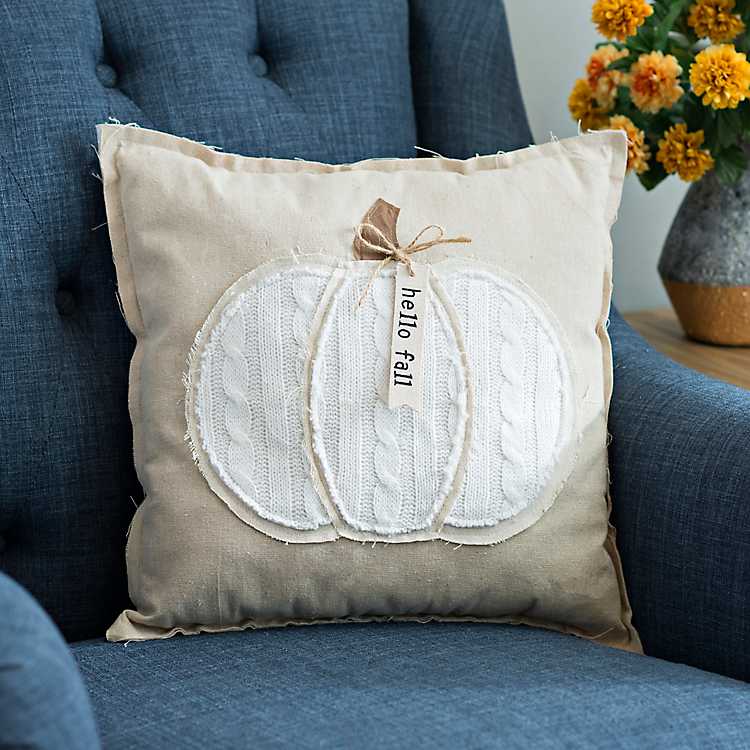
Tell me I’m not the only one that walks through Hobby Lobby nodding and saying, “Oh, I could make that” or “I bet (enter husband’s name) could build that for me!” Then you snap a picture with your phone and organize it in the file titled “projects my husband would be delighted to do” Ha! Just kidding about the file part…I don’t organize pictures! I do snap pictures and share the ideas with my husband though! This pillow was inspired by one I saw at Hobby Lobby, Kirkland’s has a similar one as well.
Check your Stash
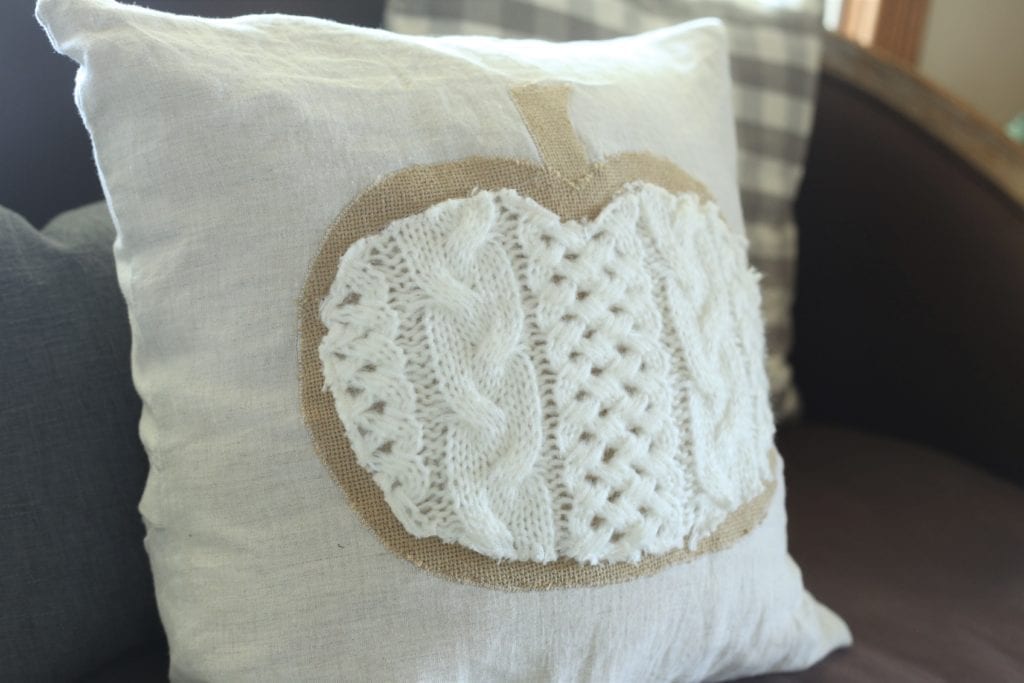
Before you start, check your stash of fabric. These pillows are not very expensive to buy, so if you are doing this to save a few bucks, your best bet is to make due with fabric you have on hand. Think outside the box, look for old sweaters, kitchen towels or bedding. You may have just the perfect fabric in an unlikely place!
Here’s what I had
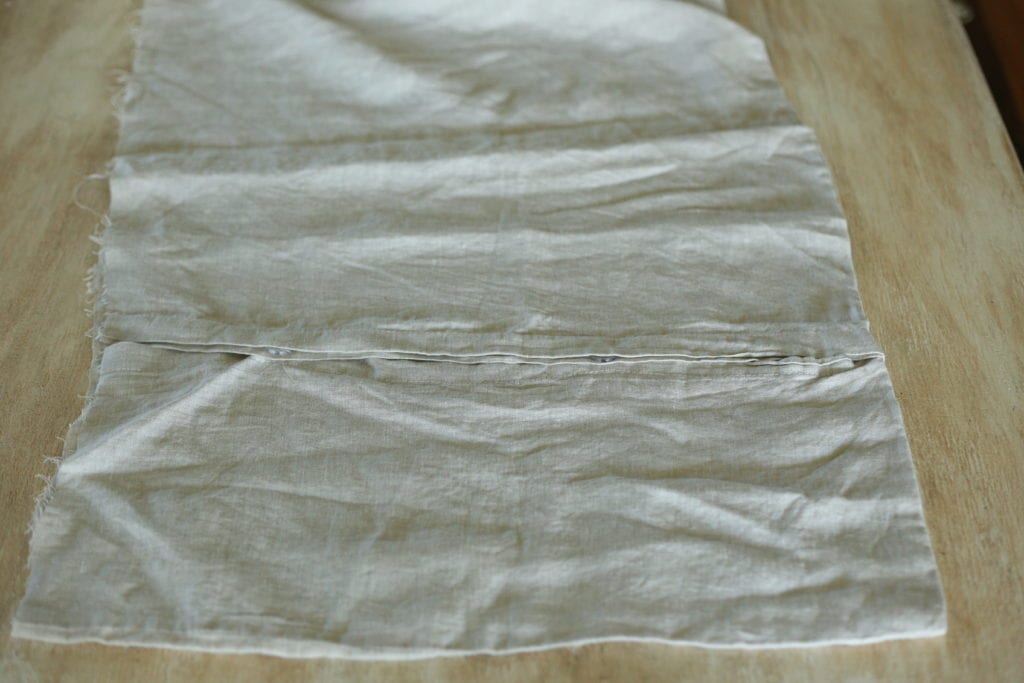
I had some linen leftover from a duvet cover that I had purchased. The price was AMAZING, but it was king size, and our bed is queen. This was an easy fix. I cut the excess off the side, stitched it back up, and have made a table runner and two of these pumpkin pillows. I still have some to work with as well! So, remember that when you are shopping, if you have some sewing skills, you can always modify something if it’s the wrong size. What was super amazing, was this scrap I had worked out to be the exact width I needed, and I was able to use the buttons from the duvet.
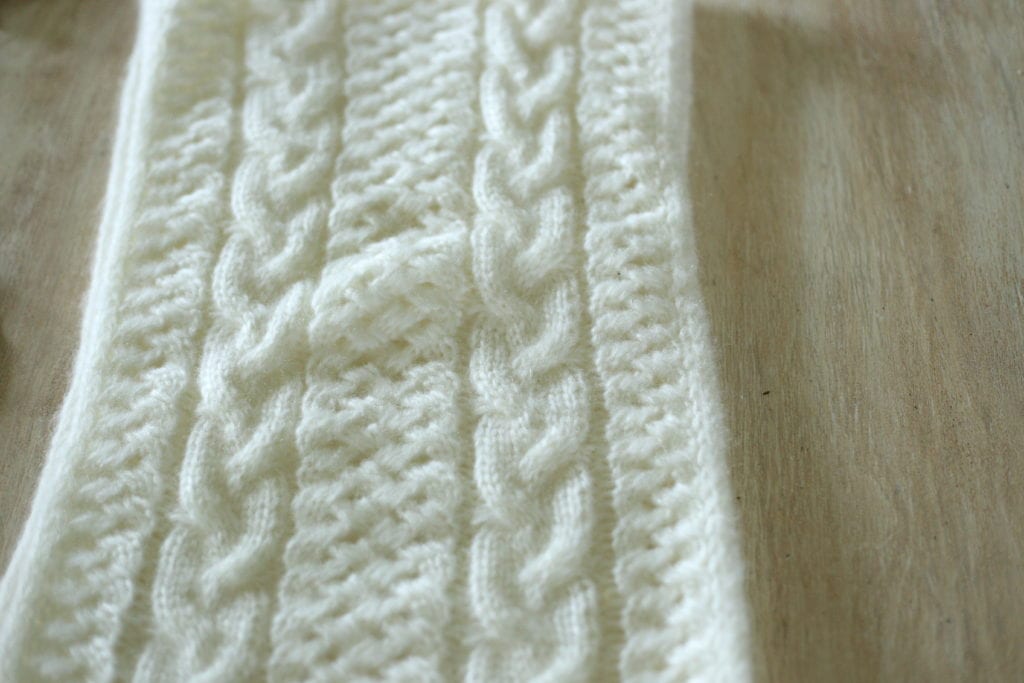
I also had a cable knit infinity scarf that I got for $1. It was acrylic and you know that isn’t the most comfortable fabric. My intention was to just stitch the sides together and make a pillow out of it….because, well I make everything into pillows.
I also had some leftover burlap from another project. This is the soft burlap that is easier to work with than the true rough burlap.
To start
Sketch a rough pumpkin shape, don’t get all wrapped up in perfection. For mine, I simply folded a piece of paper in half and just like you did when you were little, when you made hearts. Instead of sketching half of a heart shape, make a half pumpkin. Then when you open it, both sides are even. Cut this out for your template.
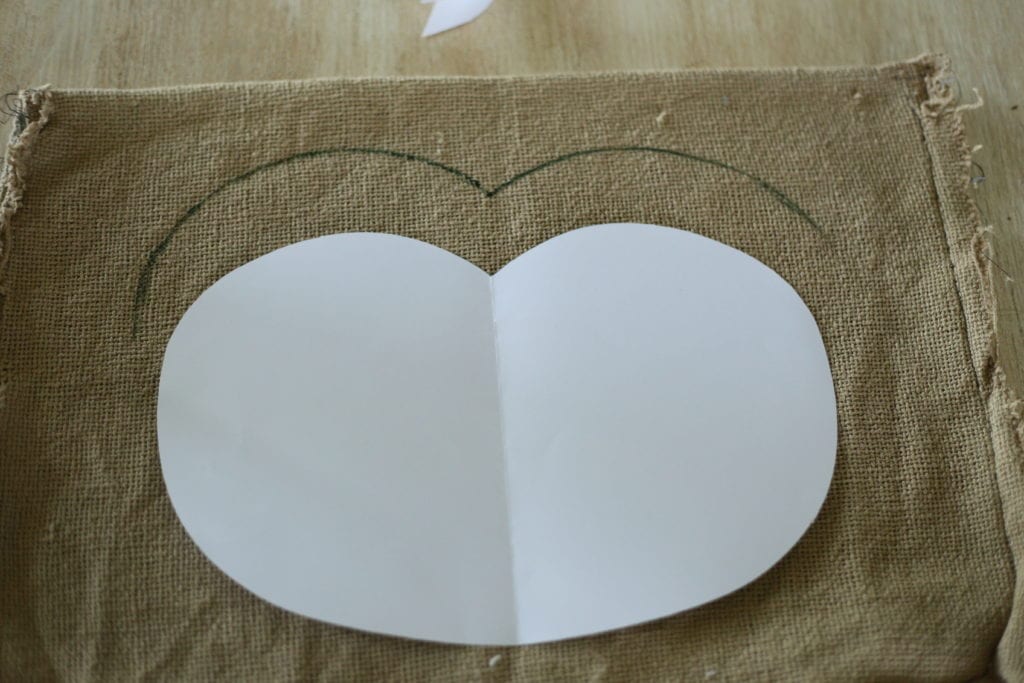
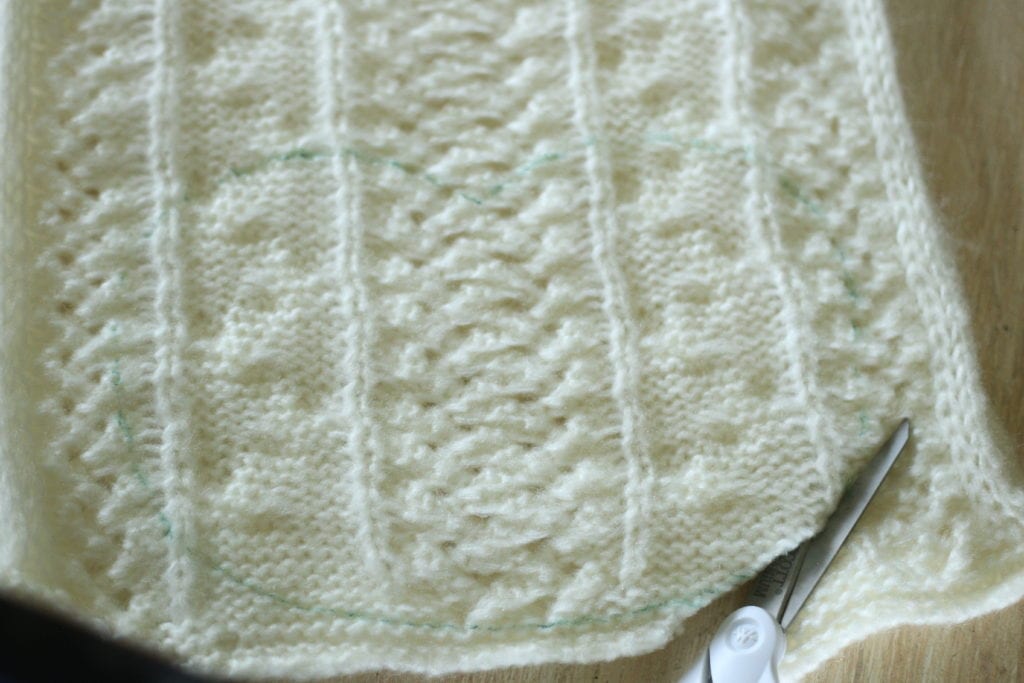
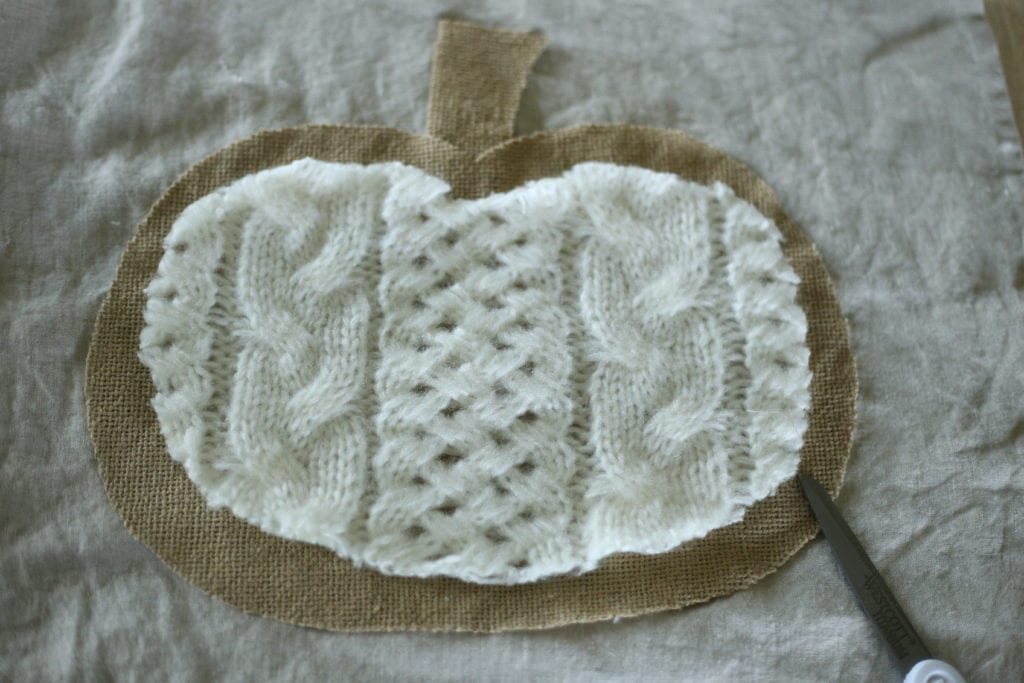
First trace this onto your burlap or whatever fabric you are using. Make your line about an inch or so larger than your actual template. Next, trace it onto your cable knit…or whatever you are using. This time trace right next to the pumpkin.
Cut your fabric shapes
For the burlap pumpkin, you can just cut it out.
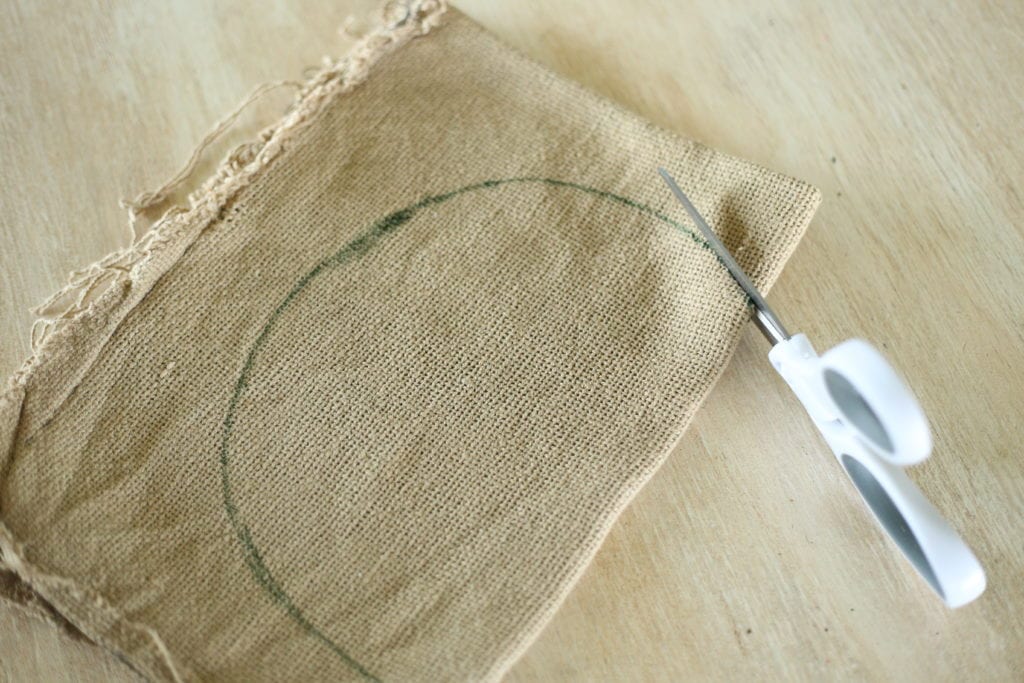
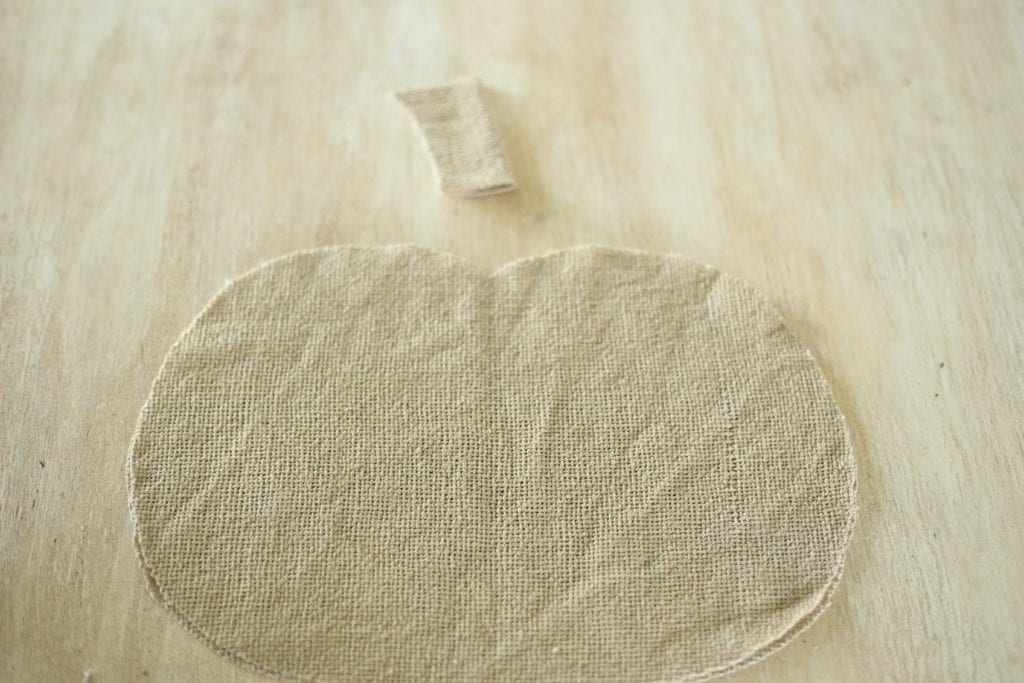
However, for the cable knit you will want to try a different approach. I tried just cutting the pumpkin out…this made for a bit of a mess. I was still able to use it, but I had a lot of stray yarn falling off everywhere. For my second pillow, I sewed a zig-zag stitch all around the line to keep it from falling apart when I cut it. This worked much better. Then you just cut outside of the line you stitched.
Applique your Pumpkin to the Pillow Cover
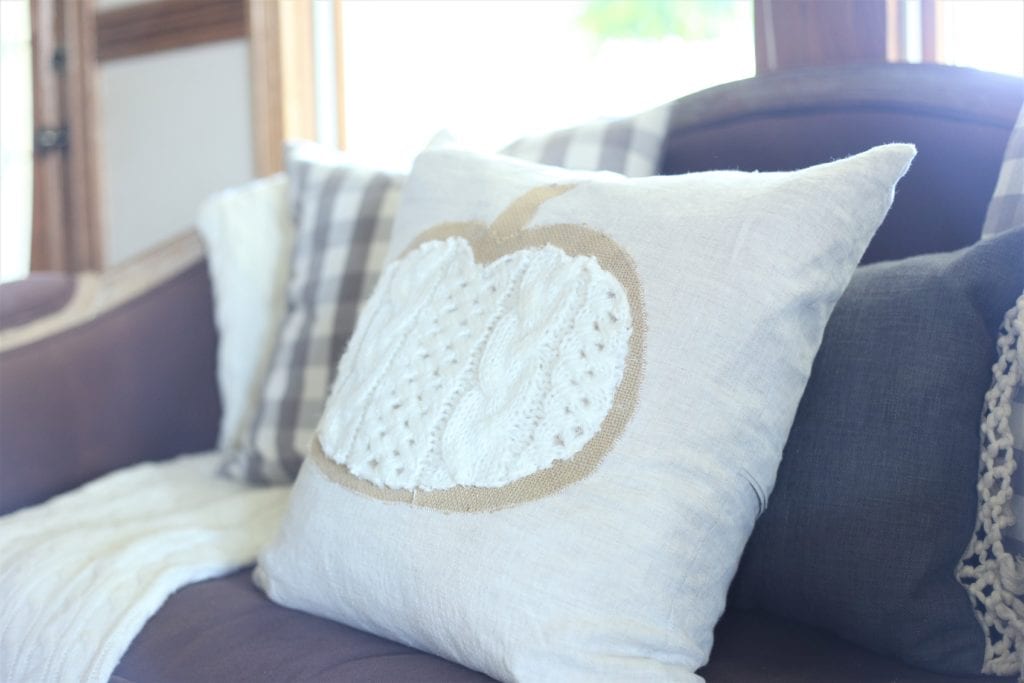
So, this will be much easier to do if you put it on before you sew the pillow together, however, read the next section and have your pillow cut to size, so you know where to place the pumpkin on the fabric.
For the burlap part of the pumpkin, I used wonder-under. I have a complete tutorial of my applique method in this post. Wonder-under essentially turns any fabric into an iron-on. It is simple to use and makes it much easier to sew around a shape. If you like your fabric to fray around the edges, you don’t have to sew around the shape. I personally like it to look a bit more finished, so I do a tight zig-zag stitch around the pumpkin.
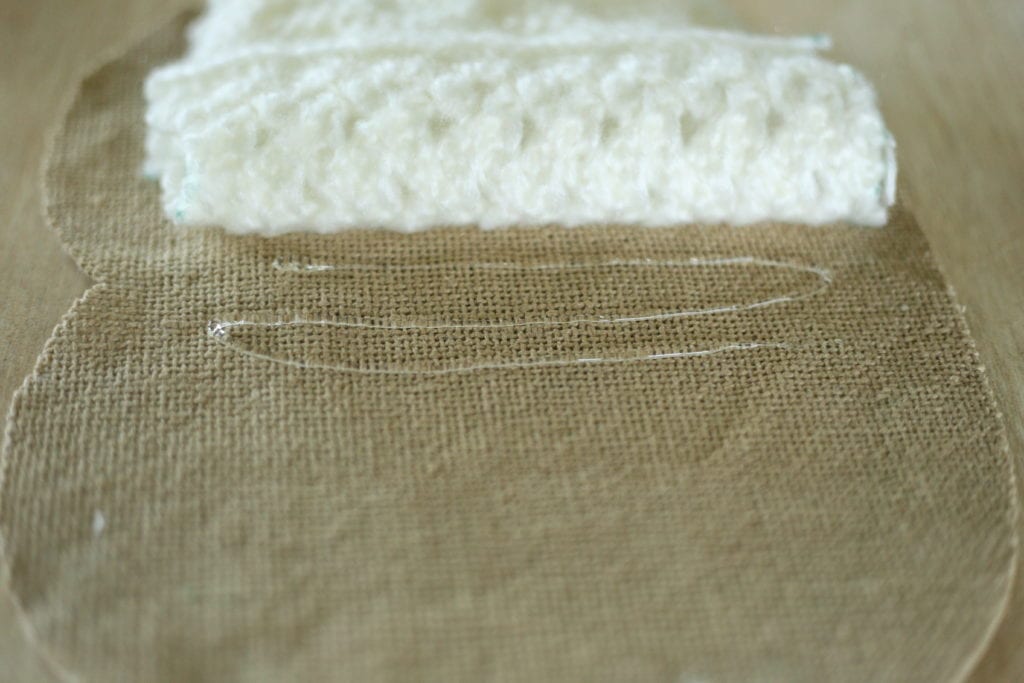
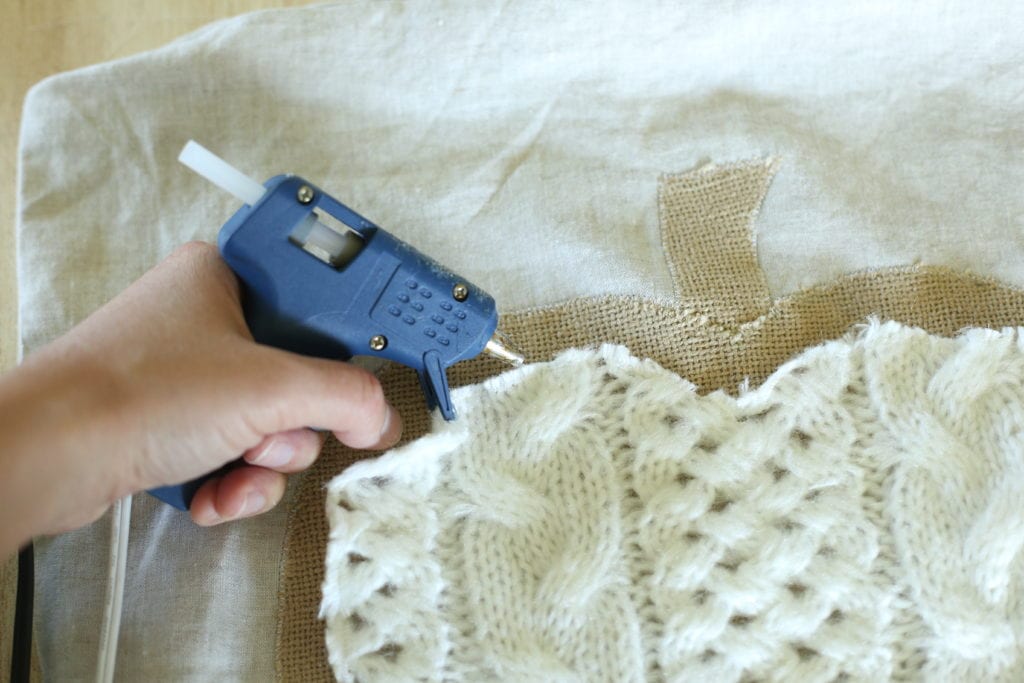
For the cable-knit part, I just hot-glued it onto the burlap. On the first one I made, I told you I just cut around the pumpkin, and it frayed a lot, I then hot-glued it on and tried to stitch around it. My machine did not like the combination of fuzzy fabric and hot glue! So, for the second one, I just hot glued it on.
Make your pillow
I almost always make envelope pillows. I reuse down pillow inserts from IKEA. There are lots of tutorials out there on how to make envelope pillow covers. Essentially what you are doing is cutting a strip of fabric a bit wider than your pillow form, and more than two times as long. Some tutorials have you cut several pieces, I don’t do mine that way. Here is a tutorial for the way I make mine, it is so very simple. Envelope Pillow Tutorial.
Another option would be a plain pillow cover, you can get those at Hobby Lobby or Ikea for around $6.
Recap
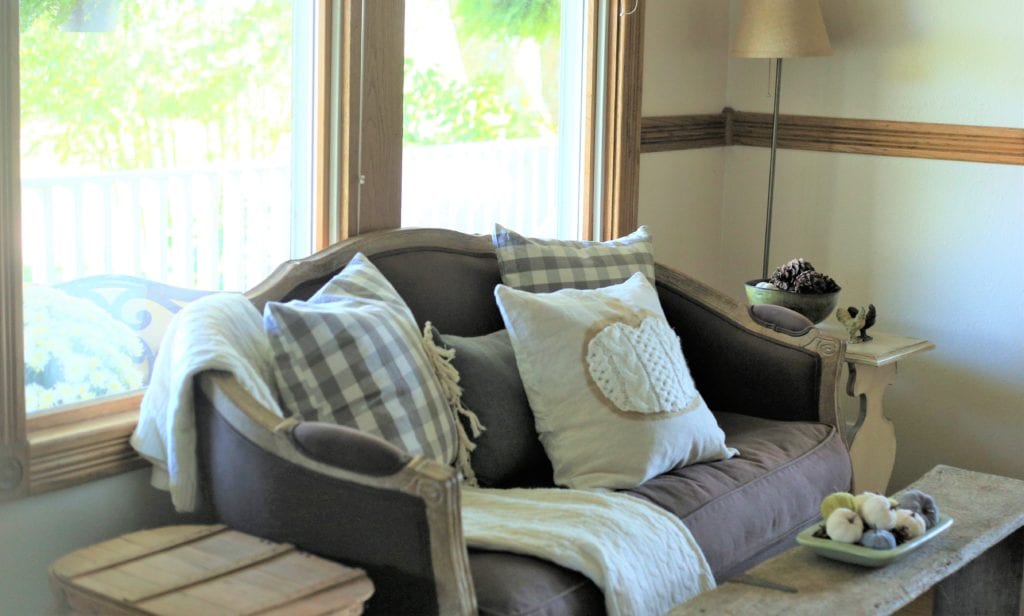
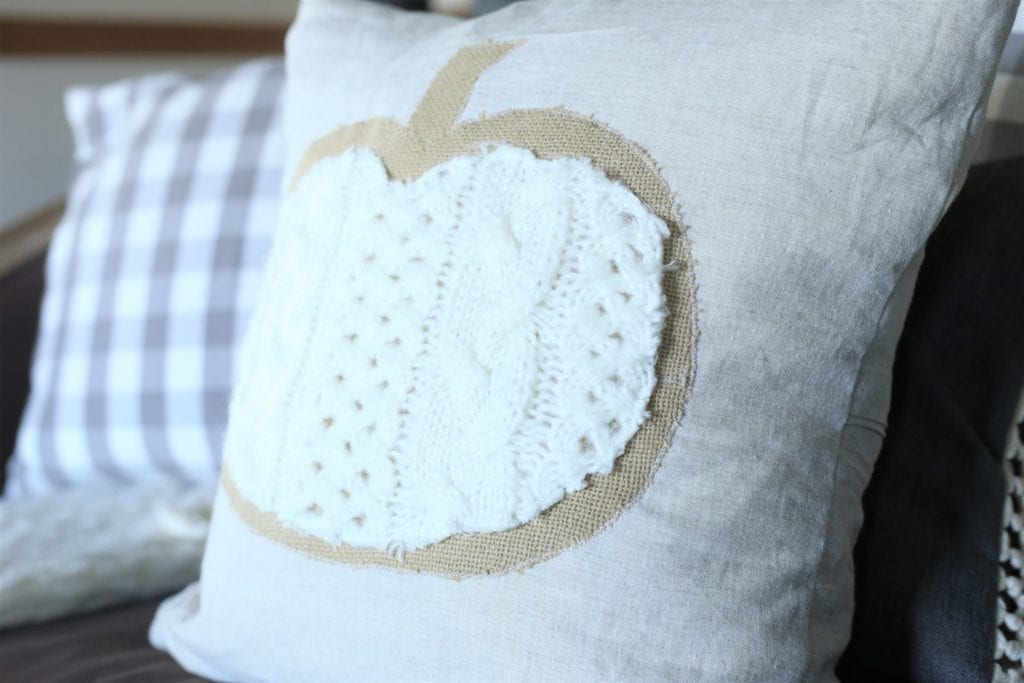
Here’s a quick cliff notes version. Cut out your pumpkin shapes, applique the burlap one onto your fabric for the pillow cover. Hot glue the cable knit pumpkin onto the burlap one. Sew your pillow’s sides together. Trim your strings and enjoy your pillow.
Thank You for Stopping By!
Shared on Inspire Me Monday and The Pin Junkie
Pin for Later
Such a cute idea. I love how it turned out!
Jen, Thank you that means a lot!
How cute!!! You’ve inspired me to try something similar!
Oh good! That is my hope!
This is so adorable!!!! Now I wish I could sew! Haha
Thank you for stopping by Tracey! I cannot believe you don’t sew…you strike me as someone who does! You could certainly glue yourself a nice pillow!
You are brilliant!!!! This looks so so good! Love how you found an acrylic cable knit scarf and used it for the pumpkin! Looks amazing!!
Such a cute fall project! I’m going to be watching for a cute cable sweater at the thrift shop! Thanks for sharing.
Yes, a sweater would be perfect!
So cute! And I love that it is a fall motif without actually being orange! The reuse of all the materials you already had is also great.
Kristen, Thank you for stopping by and for the encouragement!
Love this! Pinned so I don’t forget to make myself one…ok, maybe two 🙂
So glad you like it and that it inspired you! Thanks for pinning!
I love this idea for making pretty and cozy Fall pillow covers! Thanks for the zigzag tip too. Pinned 🙂
Marie, thank you for pinning my project! I’m glad you liked it!
This turned out so cute! I love your fun project!
Thank you Linda! I appreciate you stopping by!
I saw that same pillow in Hobby Lobby, and I actually did take a photo and say to myself that I could make it. And now, with a little help from you, I think I will! Great minds think alike!!
So funny! Great minds indeed!
I’m so glad this is a “no-sew” project because I’m terrible at sewing! Thank you for linking up with us at #OMHGWW.
I always do that at Hobby Lobby! Super cute pillow, Jennifer! Thanks for sharing at Vintage Charm!
Yes! We are the same kind of people! Ha!
Just love your DIY pillow! It turned out perfect.
Thank you Pamela!
Yes!! Especially cake!
This is so pretty! I wish I knew how to sew.
You could easily learn! I am not great at it, but I can do simple projects, nothing that requires too much precision! HA!
Hi Jenn!
This is such a pretty fall pillow project! I love the different textures your added sweater piece adds. Thanks for sharing at my Homestyle Gathering link party. It’s great to have you join everyone!
>>> Kim
You’re welcome! Thank you for inviting me!
I so love this pillow idea!!!! I just pinned it on Pinterest! I love how versatile it is. Awesome! Keep those ideas coming Jenn!
Hi Shelia! Thank you for the kind comment and for pinning!
This turned out really pretty and I like that you used scraps to make it. It looks very easy to make too. Pinned.
Thank you Donna!