How to Applique–Simple Valentine Projects
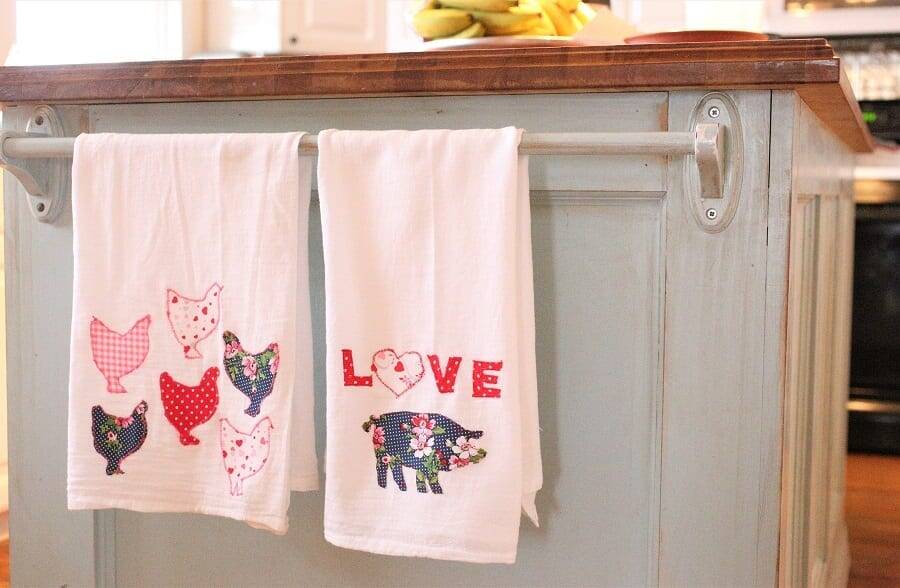
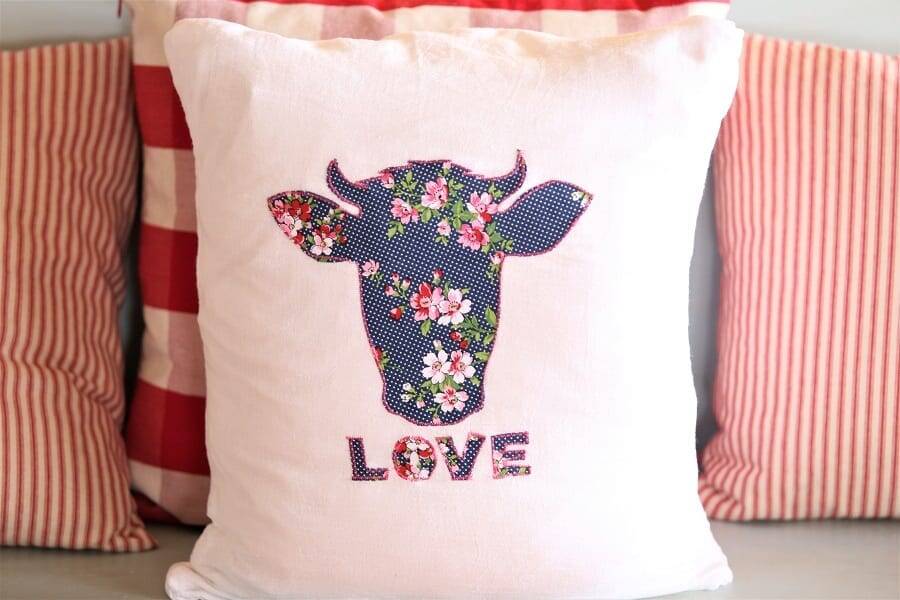
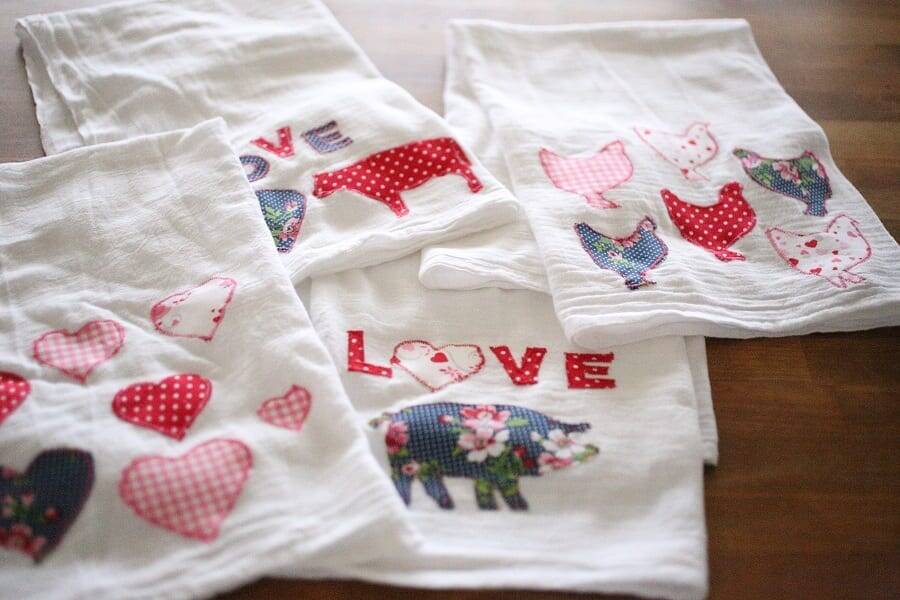
Do you love doing seasonal projects? I like to add a bit of seasonal decor to my home, but who has the time or resources to invest in lots of new items? That’s why I like to switch out my pillows and kitchen towels every couple of months. In this post I will show you a simple applique technique for adding a little Valentine love to some kitchen towels, a shirt and a pillow cover.
This is easy enough for a beginning sewer. What I love is this is a project that you can do with your kids as well. Which is nice because if you are a mom your kiddos want to be involved.
This Post contains affiliate links
What is Applique?
Applique is the technique of attaching smaller pieces of fabric to a larger project. Usually this is decorative, like an embellishment onto a shirt or in this case a pillow or tea towels. The fabric is usually cut into geometric shapes or in this case silhouettes shapes.
Materials Needed for Applique
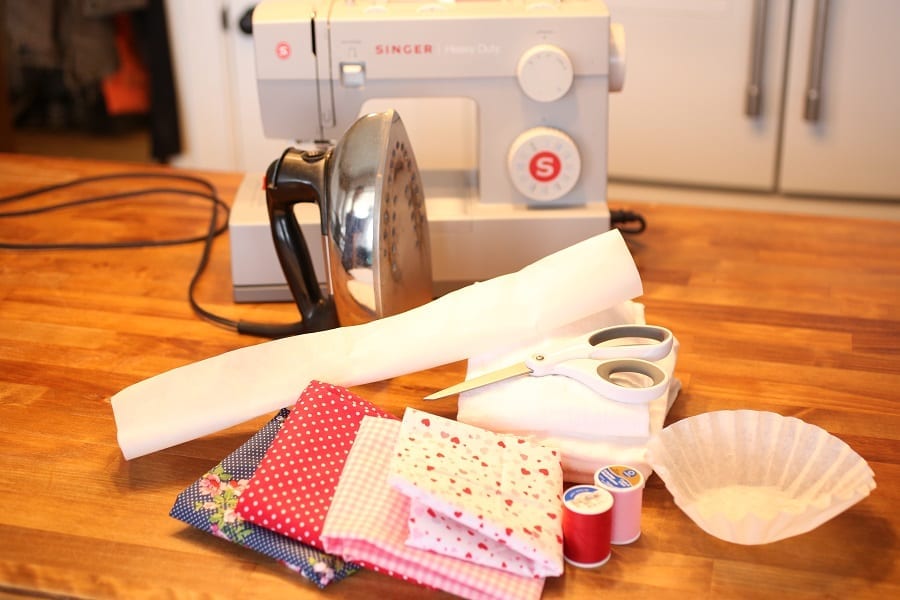
For this project you will need fabric, flour sack towels, a plain pillow cover (bought or make your own) Wonder-Under, some card stock, a marker, coffee filters, an iron and a sewing machine. All of my fabrics and the towels were purchased at Walmart. Of course these items could be found anywhere.
The little fat quarters are great for these types of projects. I always love looking at those and this gives me an excuse to buy a few.
Find some shapes that you like. Since this is for Valentines Day, I chose hearts and the word love. These can be as simple as a clip art graphic printed on card stock and cut out.
Secondly, Cut your applique fabric into smaller manageable strips or squares
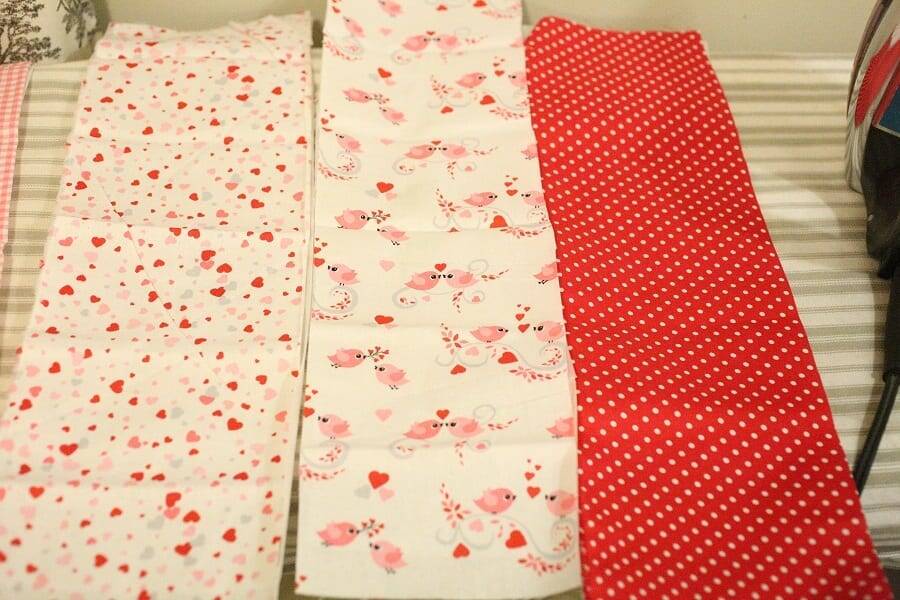
This just makes it easier to maneuver and also you only use the amount of fusible webbing that you need
Applique with Fusible Webbing
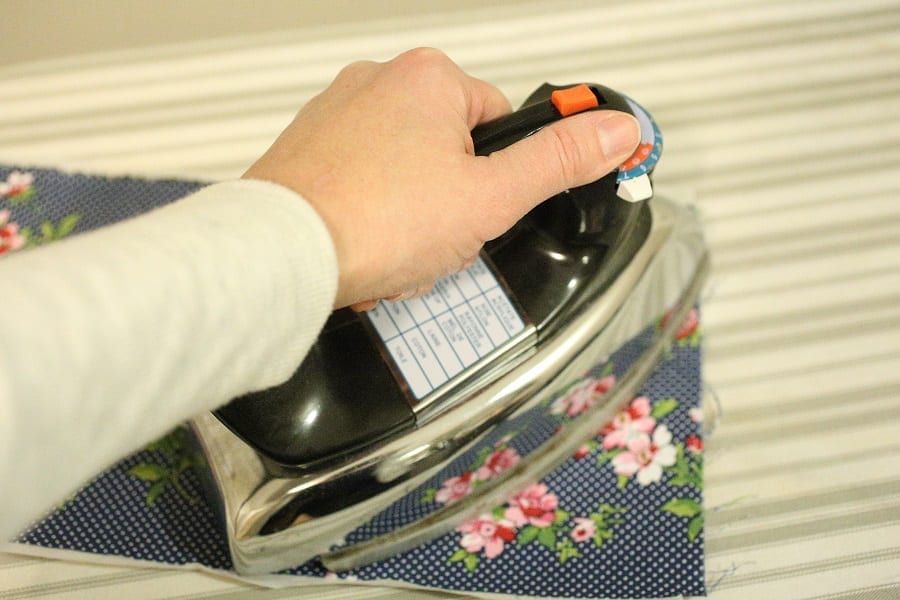
The Wonder Under has a rough side and a smooth side. The rough side is what sticks to your fabric. Therefore iron it to the wrong side of your fabric. This is done by holding the iron firmly on top of the fabric with the steam off. Don’t use a sweeping ironing motion. Instead, use more of a pick it up and set it down type deal.
Turn and Trace Your Applique Shape
Now get your little shapes and trace them onto the smooth paper side of your fabric.
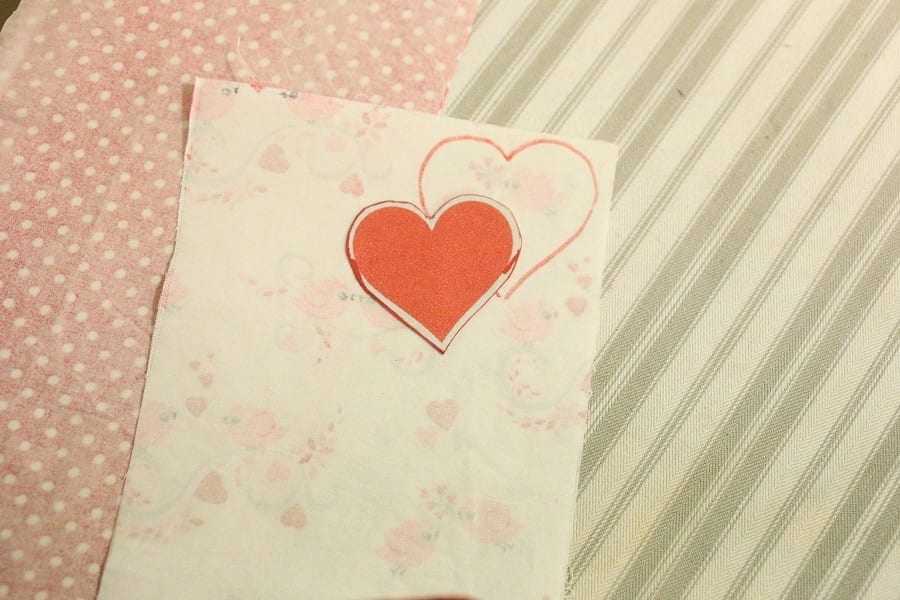
Fifth cut out your cute little shapes
Easy enough! Just cut along the lines and admire your sweet little shapes!
Sixth: peel and iron again
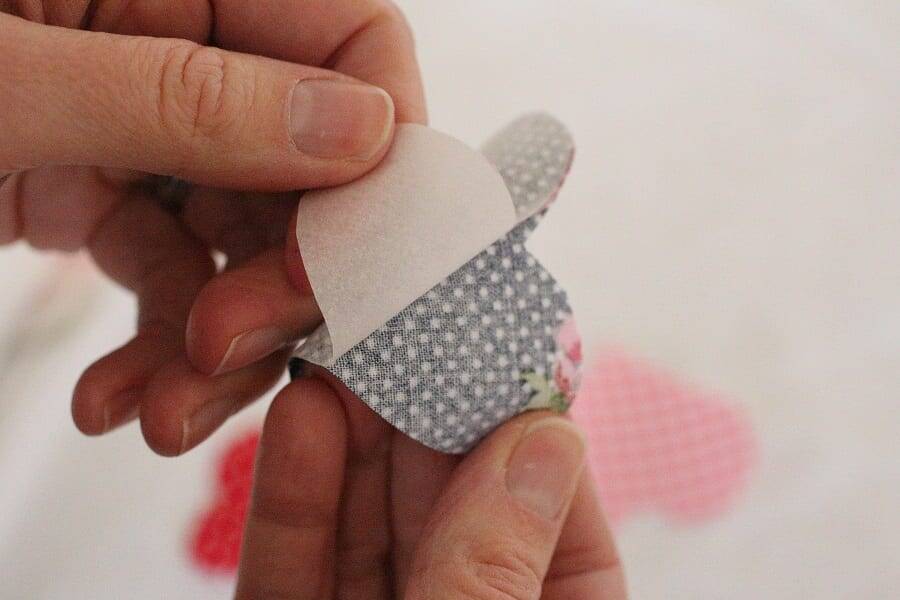
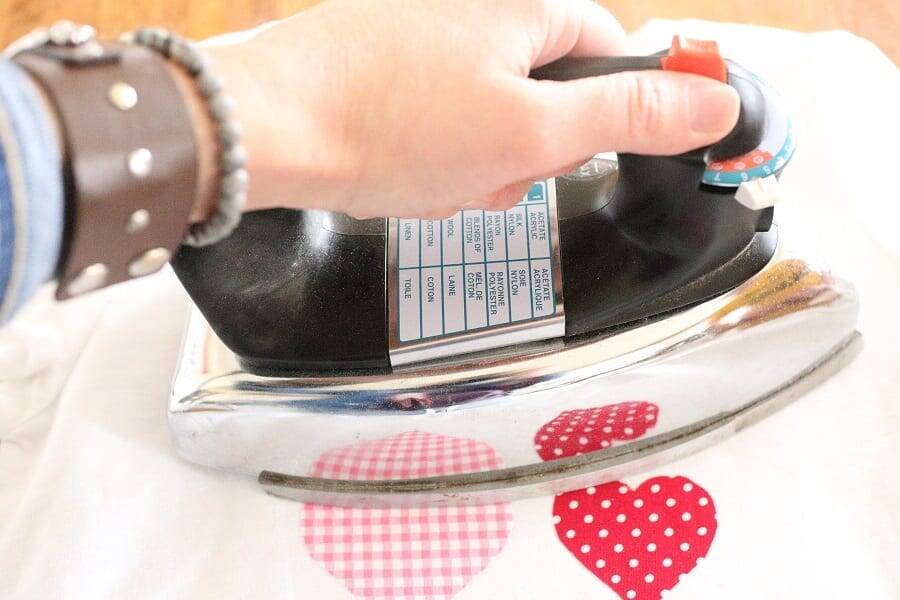
Now peel off the paper backing and you have an iron on! Spend a few moments to arrange your shapes where you would like them. With the steam off, press the iron firmly onto your shape and iron them onto your towel, pillow cover or shirt.
Seventh: stitch around the shape
This step is necessary if you would like the fabric to stay put and not fray. Plus it adds a more professional look to your project. I like to use a zig-zag stitch. You can play around to see what you prefer, but my settings are 3 for width and 1 for length. I like to keep the center of the foot lined up with the edge of the shape. That way the zig-zag is on the fabric and the towel.
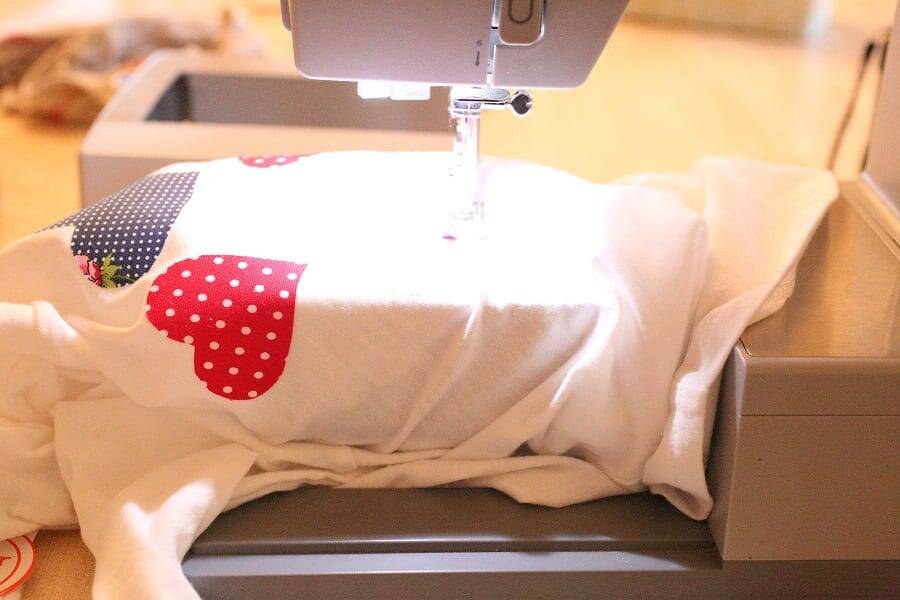
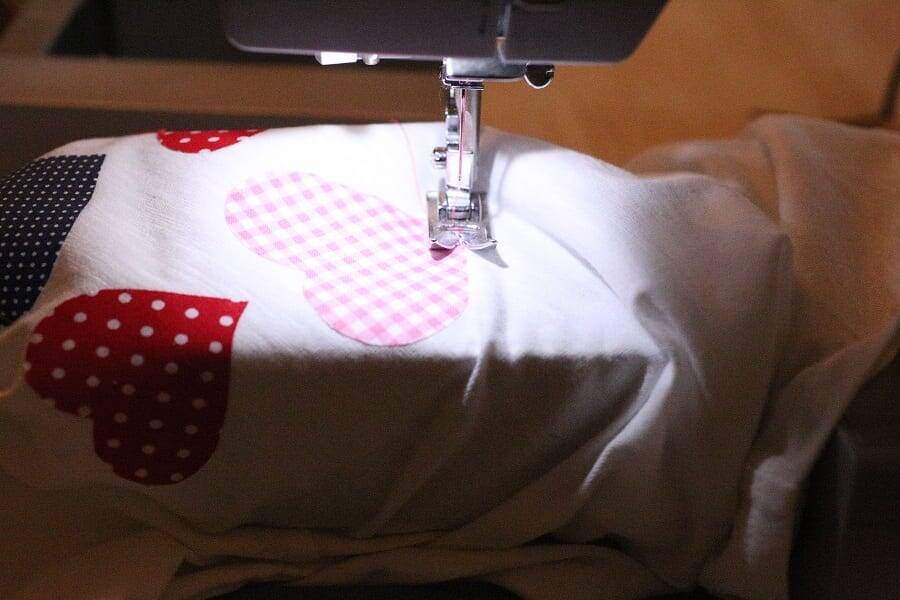
A few notes and tips for applique
If you are appliqueing onto a stretchy fabric like a t-shirt or a baby onesie (so cute for this project) then a coffee filter placed behind the shirt gives it some structure and makes it easier to stitch around it. I used a coffee filter on the towels as well—it helped keep the needle from pulling at the fabric. Then afterwards, you can just peel the filter off.
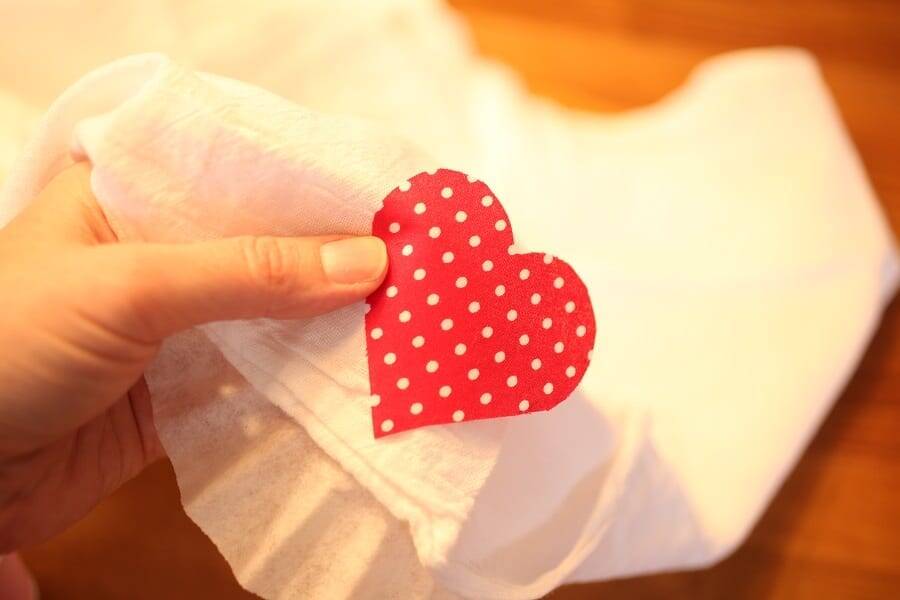
Applique Video
Lastly, stand back and enjoy your Applique project!
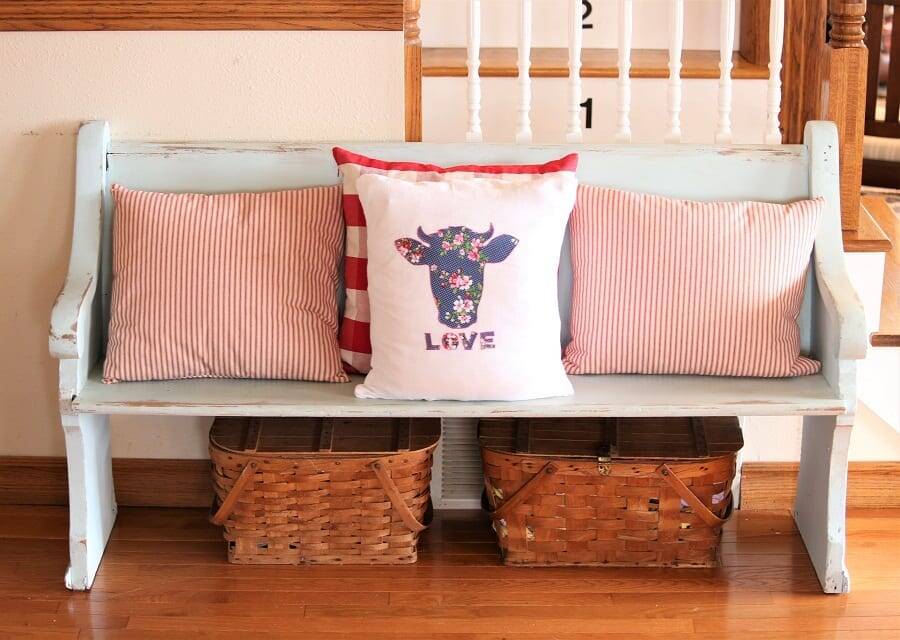
These make the sweetest gifts for Teachers, Mothers, Grandmothers or anyone that you would like to make smile this Valentines Day!
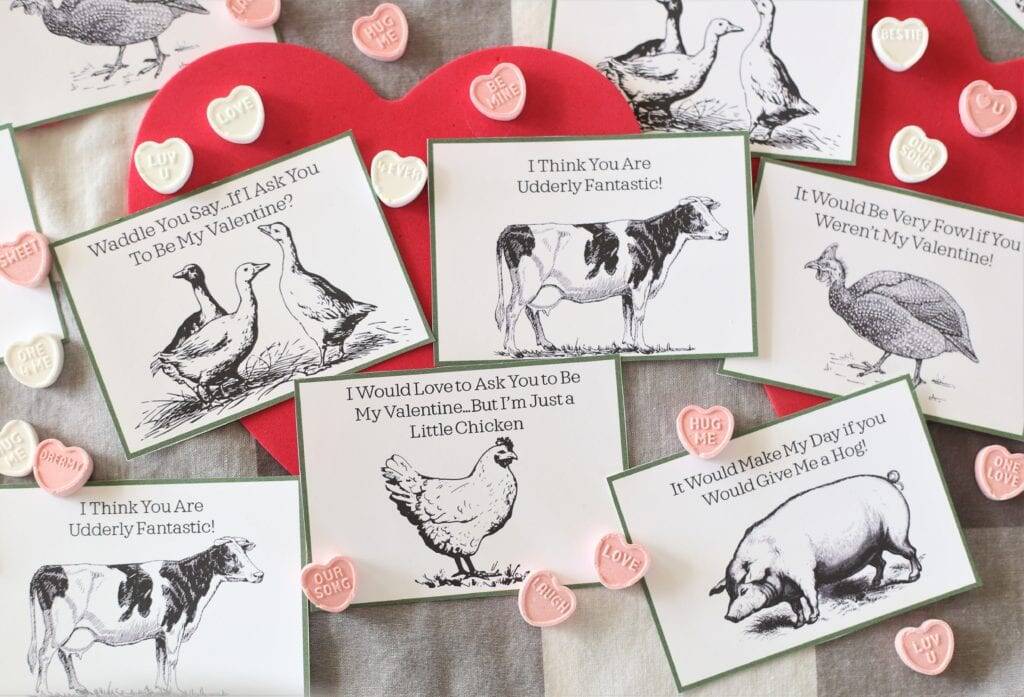
How about some cute Farm Valentines to include with your gift? You can get these for free in my subscriber’s resource library. Not a subscriber? Fix that here!
Pin for later!
Amazon links for materials used




These are so adorable!! So easy to make I might make some before the holiday 😃
Thank you, yes, I was hoping to get this up sooner, but…well you know, it’s a fair bit of work!
These are so cute!!!! Love them so much! And they seem easy enough that a beginner sewer like me could do it! Thanks for sharing!
These look like a project I could actually accomplish without crying. The fabrics you chose are perfect.
Thank you! I hope you try it!
I love this! So stinking cute! Makes we want to get out my iron and sewing machine!
Thanks Kym!
what a fun and simple project!
So cute and simple!!! Love them.
This looks like a project I could manage! Maybe just without the sewing haha! Thanks for sharing!
Thanks for stopping by!
I love this so much Jenn! Absolutely adorable. I would love to share on my weekly blog post tomorrow.
Thank you Kim! I am so excited to have you share my post!