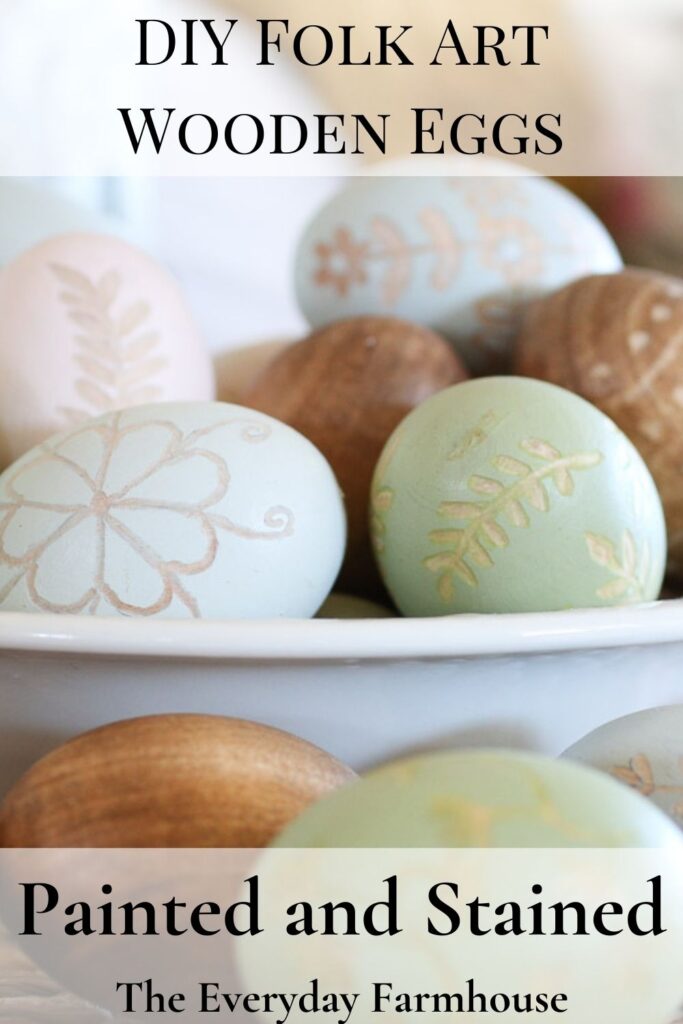
Wooden Craft Eggs DIY | Stained, Painted, and Carved Wooden Eggs
This wooden craft eggs DIY is simple, fun, and gives such a lovely result! Using a rotary tool, you can carve pretty designs into wooden eggs!
This post contains affiliate links
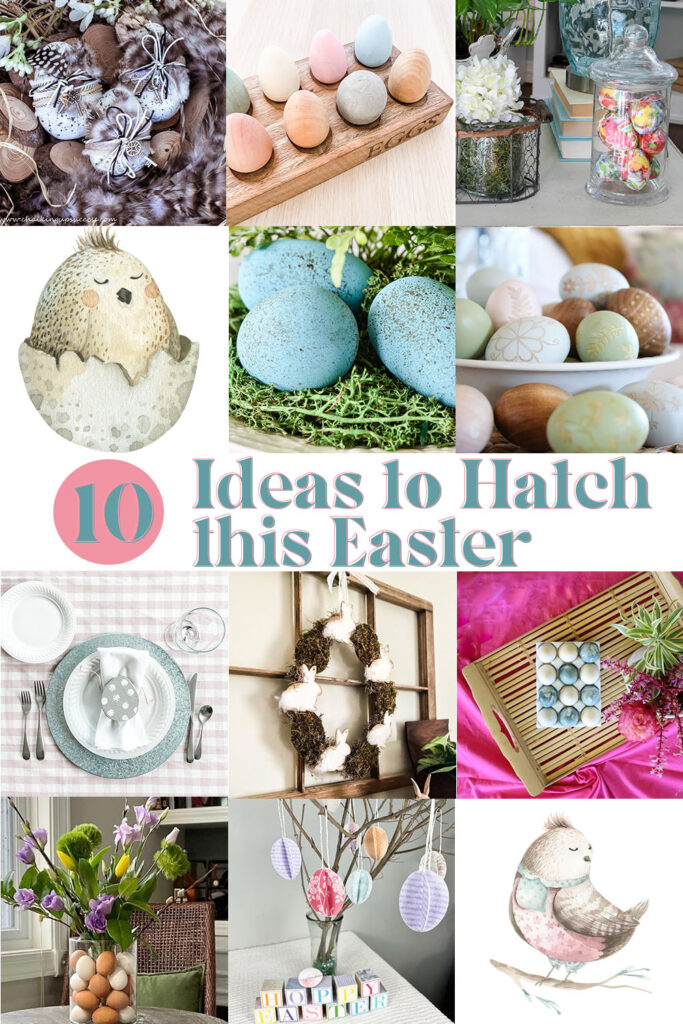
Also, this post is part of a blog hop! This hop is all about eggs and there are some super cute ideas, so make sure you hop around and check out all of the fun ideas!

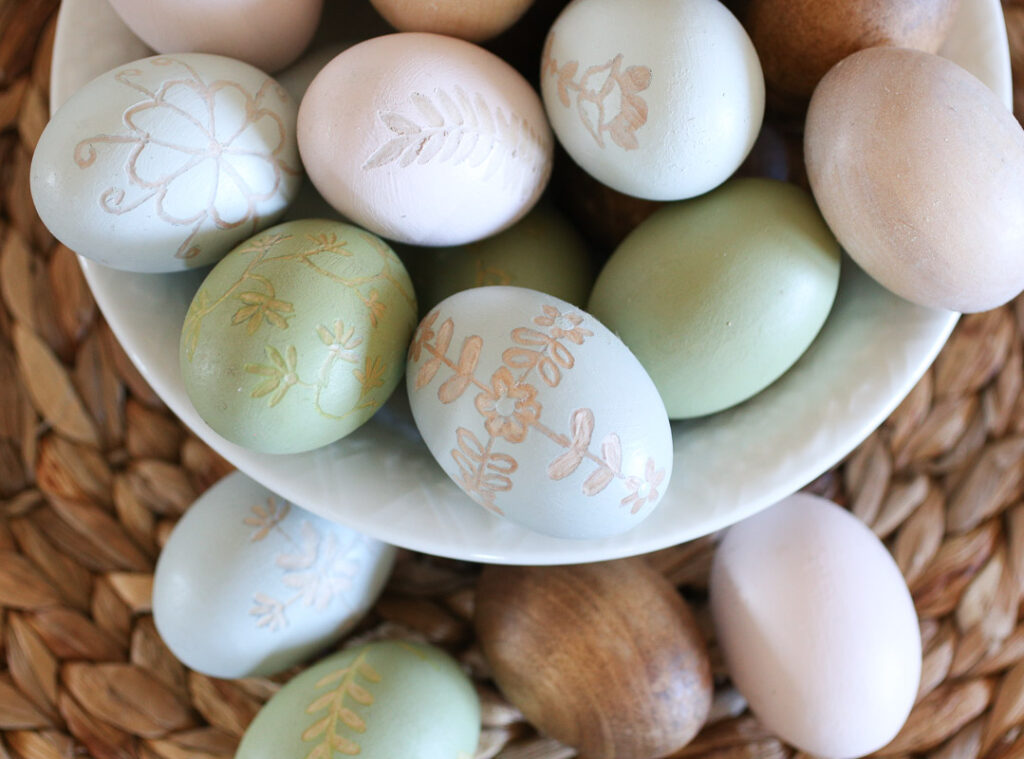
We live on a little farm with cows and chickens and pigs. Not to sound prideful, but our chickens lay the prettiest eggs. I have purposely chosen all different varieties of chickens so that our eggs are all different colors. We have green, blue, all shades of brown, and brownish pink. Did you know that the outside color of an egg has nothing to do with the nutrition of the egg inside? Brown eggs are no more nutritious than white eggs! It only matters what the chicken eats! The color of the outside of the egg is determined by the breed of the hen. Free education here today! Ha!
All of that to say, when I was challenged by some blogging friends to join in an egg blog hop, I knew I wanted to create eggs that looked similar to the beautiful eggs that our chickens lay! I am delighted to say, that I think I came pretty close! Of course, our chickens don’t lay eggs with pretty folk designs carved in them, but I had to take my eggs one step further.
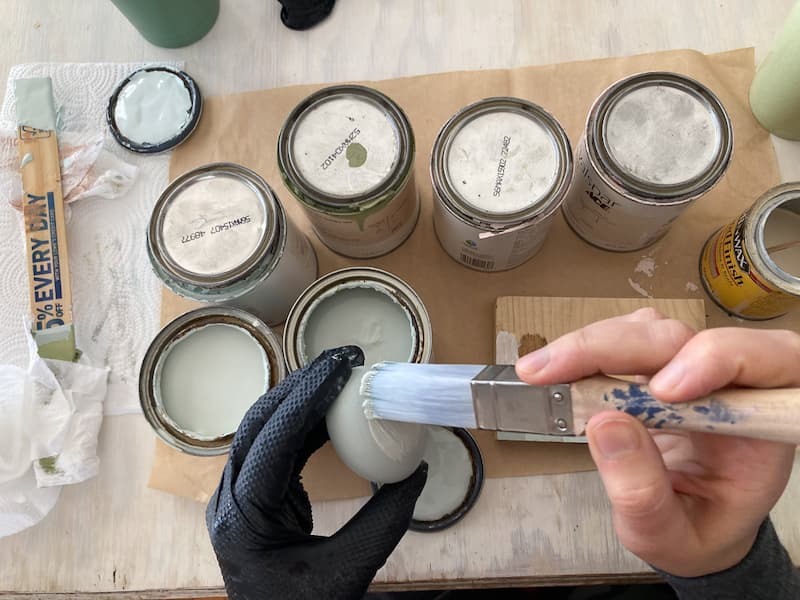
Step 1: Select Paint and Stain for Your Wooden Eggs
I purchased these wooden eggs here. Of course, you could check your local hobby store to see if they have wooden craft eggs.

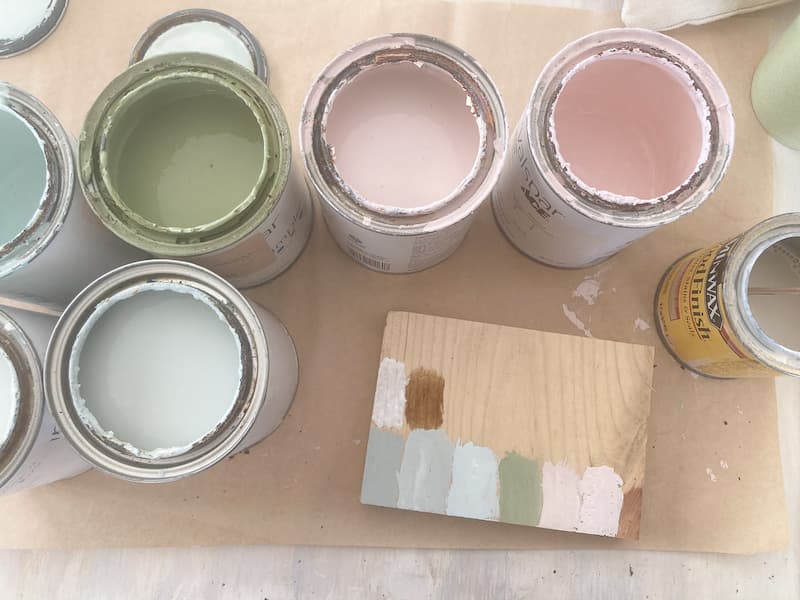
I used paint that I had on hand, thankfully I had loads of sample pots from Ace Hardware. Most of these were from the Magnolia Paint line, the colors were mixed using Valspar paint. I will tell you the colors that I know for sure. The green I used was by Valspar.
- Emmies Room
- Americana Egg
- Ella Rose
- Olive Grove or Magnolia Green
- Summer Valley by Valspar
I also used golden oak stain and pickled oak stain which gave a whitewashed look.
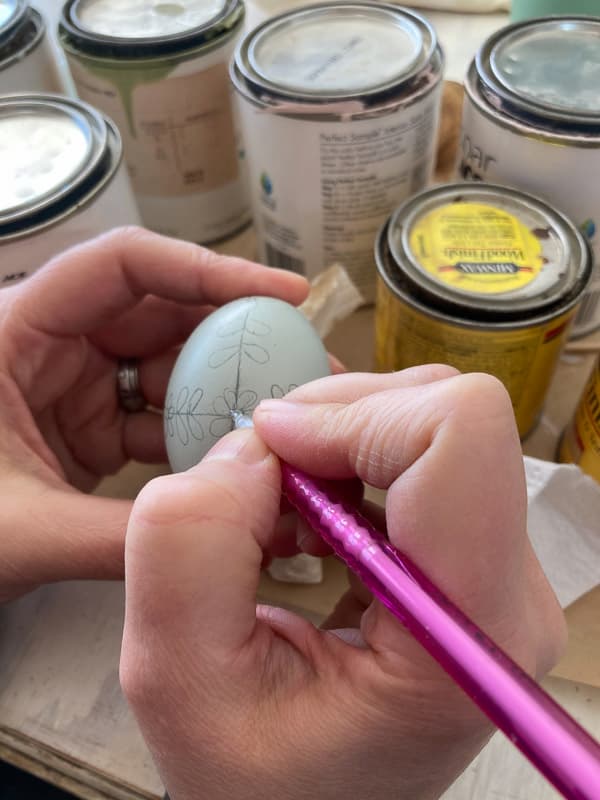
Step 2: Sketch or Stencil Designs on Your Wooden Eggs
I just sketched some designs on a 3×5 card and looked at it while I drew on the eggs. You could use stencils or you could just freehand with the rotary tool if you are super talented!
I went with some kind of folky-looking designs. I just looked on the internet for inspiration.
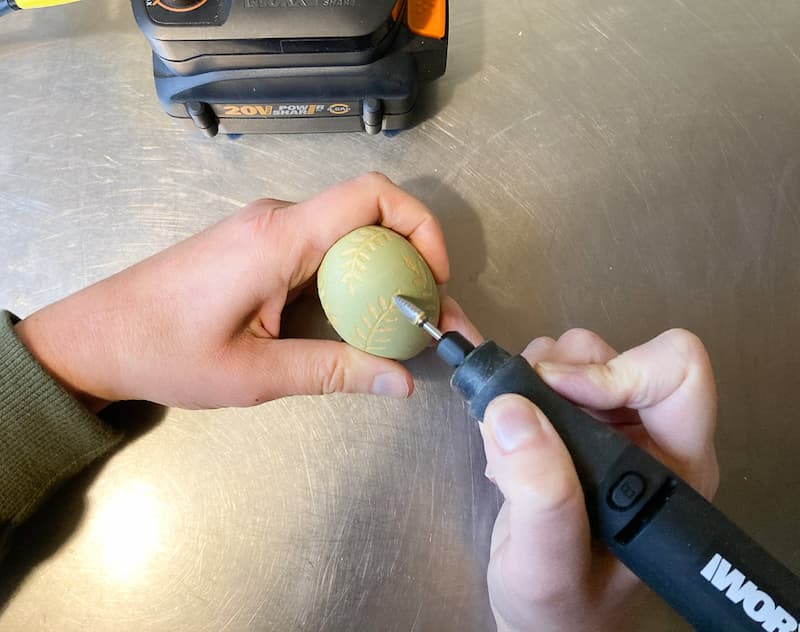
Step 3: Carve the Design into the Wood
Using a Dremel tool or a Worx Rotary tool, on a medium-fast setting with a medium-sized tip, trace over your design with the tool. Keep your hand as steady as you can, and don’t worry if you get off the lines a bit, you can always erase the pencil marks. The designs do not need to be perfect, they will be just as pretty with a few imperfections!
The wooden stained eggs were so pretty that I only carved a design into one of them, the natural wood grain showing through was lovely on its own!

Final Steps
To finish the eggs, you could add a wax, a spray-on clear coat, or a non-yellowing polyurethane. You can also leave them as is.
Also, you can go in with paint and add more detail if you would like, on a few of my designs I went in with the end of a small paintbrush and added dots to the center of some of the flowers.
Another thing you can do is use a stain to go over the painted eggs to darken the wood underneath and to give the eggs an aged look. Let your creativity guide you, the sky is the limit!
Here’s a 2 Minute Video Showing the Whole Process
Easter Egg Blog Tour
More Amazing Easter Egg Inspiration
Click the links below the images to go straight to their posts. ENJOY!

Chalking Up Success // My Uncommon Slice of Suburbia // Bluesky at Home

The Everyday Farmhouse // Saved from Salvage // Zucchini Sisters // Cottage on Bunker Hill

This Dear Casa // A Life Unfolding // A Life of Balance
Love Spring Crafts? Check These Out!
Woven Wreath–Dressed for Spring
Hello Spring–Super Easy Handmade Sign
A Fun Spring Mod Podge Craft–Plus a Blog Hop
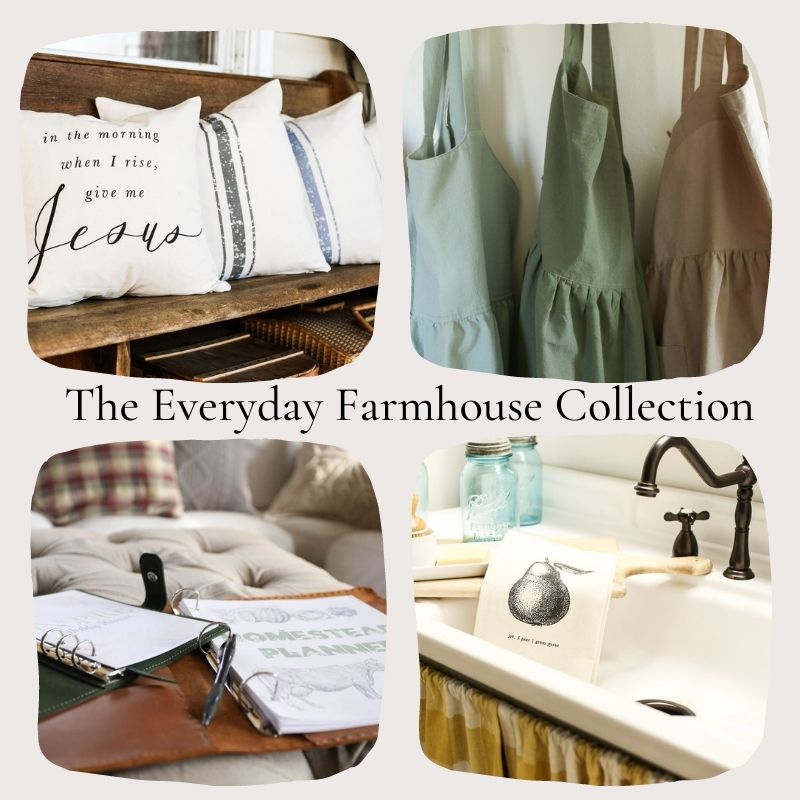
Did You Know We Have A Shop?
Printables planners, aprons, kitchen towels, and pillow covers! I hope you check it out!

Oh my, these are just gorgeous! I love all the pretty details and the pretty soft colors you’ve chosen.
I am also envious of all the colored eggs your chickens share with you. They sound lovely!
Happy Weekend,
Libbie
Thank you for the sweet comments! The blog hop is so fun! I love seeing everyone’s creativity!
These eggs are fabulous. I’m going to see what my dollar store has on hand.
Good! I hope you can find some! Send me some pictures of your take on the project if you do!
Jenn, these are gorgeous!!! Also, I forgot that I have the Worx tool too. How is the Magnolia paint? I’ve never tried it before.
When I first saw the designs on your eggs I wondered how you did it- I wouldn’t have guessed a Dremel! Very charming patterns and colors. Happy to hop with you!
These wooden eggs are gorgeous! I’m definitely pinned this idea for when I get some wooden eggs because I really need to try this engraving craft – love the colours too, so pretty!
Thank you Jayne! I loved your project as well! So fun Hopping with you!
Jenn, I love this idea. You are so talented. I’ve used styrofoam eggs, but not wooden ones so I’m ordering some. Your chickens lay the prettiest eggs and your painted ones are perfect for spring. The designs are so sweet. I’m impressed that you could use a Dremel in such a small area. Beautiful project.
Thank you Carol! The Worx tool is pretty easy to use, once you hold your hand steady.
Jen, these eggs are beautiful! I love the pretty designs you created and the contrast between the pastel and wood stained eggs. Now I want to get a Dremel! Pinned 🙂
Thank you Rebecca! You should get one, they are so fun! The Worx tool has wood or leather burning tips too!
These are amazing. My son has a rotary tool but I’ve never used it. You’ve inspired me to give it a try. Thanks for joining the hop.
These are my absolute favorite. I love them. I need to dig out my dremel, I only used them doing wood carving years ago. They are so delicate and simple. I’m so happy to have discovered your blog. I love your story.
I didn’t know that the colour of the eggs are based on the chicken’s diet, fascinating!
I just corrected my wording on that paragraph, I could see how you got that impression. The color of the eggshell is determined by the breed of the chicken. The nutrition of the egg is determined by their diet! Thank you for visiting!
These sure are beautiful. I was carving some eggs too, but planned on staining after. But you have me rethinking that plan. I love the softness of the color this way. Thanks for inspiring and linking up at Fabulous Friday!
Thank you for hosting! It’s a great party!
These are beautiful and definitely keepers to use every year!
I would love it if you would share this at my Friday with Friends link party. It started today and here is the link: https://myhubbardhome.com/friday-with-friends-party-finishing-out-february/
have a blessed weekend
RR
Thank you Rachelle! I would love to!
This is the best idea, Jenn! I would love to feature this on my weekly blog wrap-up.
Thank you Kim!
These wooden Easter eggs are just lovely, Jennifer! And the carving is such a great idea! What a great tutorial, too! I’m happy to be featuring at Tuesday Turn About tomorrow! Pinned!
Thank you so much Julie!
LOVE these! You are so talented and creative. Thanks for sharing this fantastic idea at Farmhouse Friday! pinned