A Fun Spring Mod Podge Craft–Plus a Blog Hop
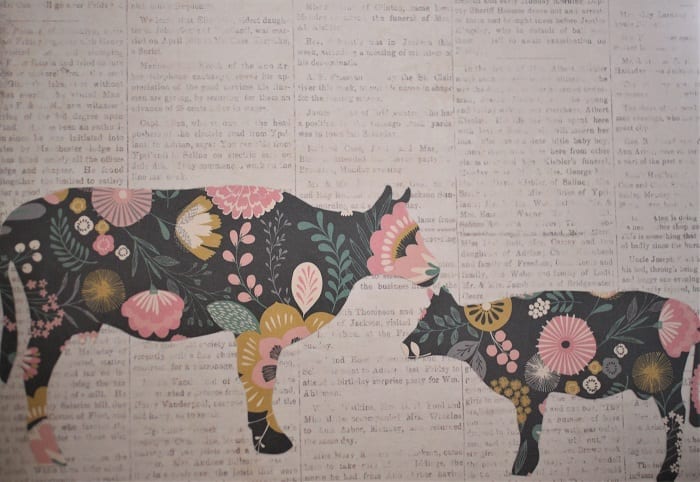
“I have five daughters!”–that is a line from Fiddler on the Roof, but also a true statement about my life. I should also say I have five creative daughters. Every one of them is an artist, from the 12 year old down to the three year old. My two littlest would draw all day long. They cannot get enough of drawing and telling a story about their pictures. All that to say, the best way to spend time with my girls is to get some craft on. The best projects are ones that are simple, inexpensive and yield impressive results. That way it holds their attention and they are pleased with the outcome. This project fits the bill. Join me while we do a fun spring craft–plus a blog hop at the end!
What you need
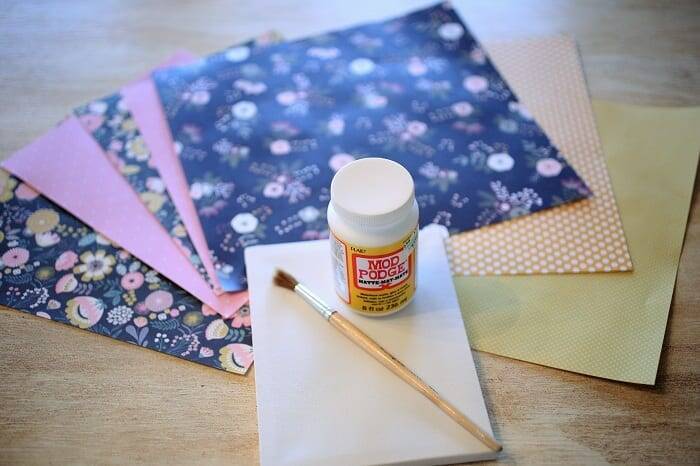
To start you will need some inexpensive canvases. I actually picked these up at the Dollar Tree, but you could find them at Hobby Lobby too. We also got some canvas panels. We actually liked the results from those better. The canvas was 5×7 and the panels are 8×10. You will also need some pretty paper and some Mod Podge, I chose matte finish. For the paper I picked up some scrapbook paper. Lastly you will want some basic shapes to trace. I collected my favorite free silhouette shapes from around the internet and put them all together for you. If you would like to download them, just subscribe to receive my weekly posts and you will receive the password to my printable library. However, you can easily find your own as well!
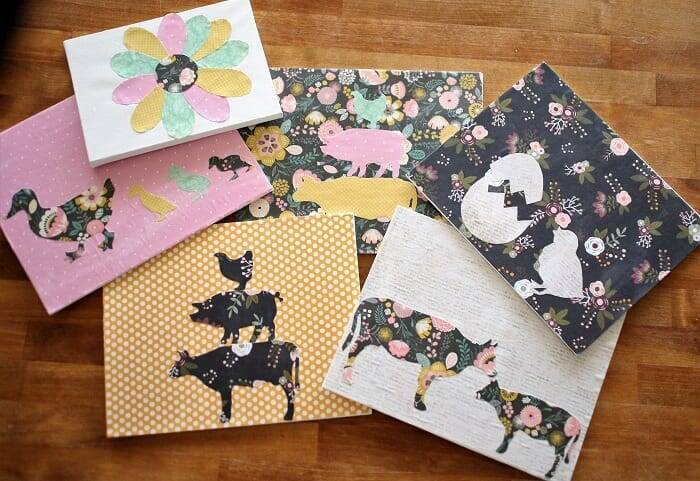
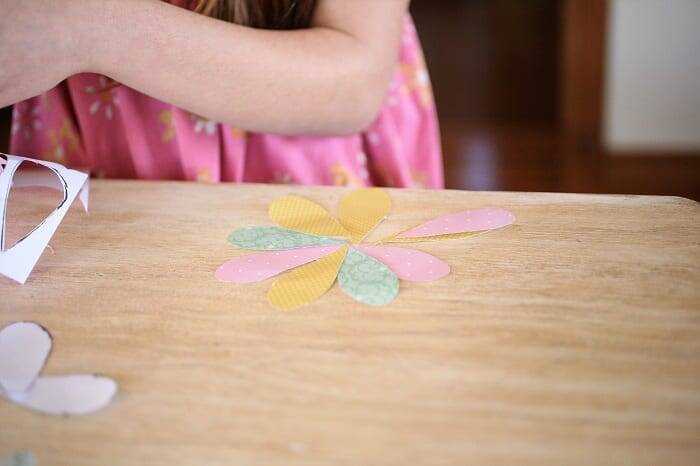
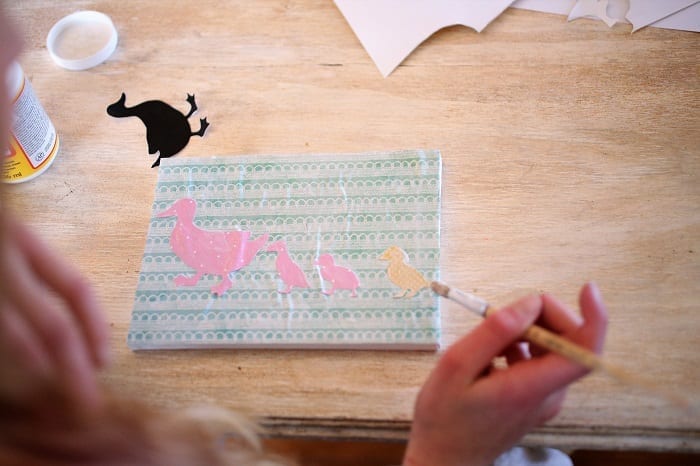
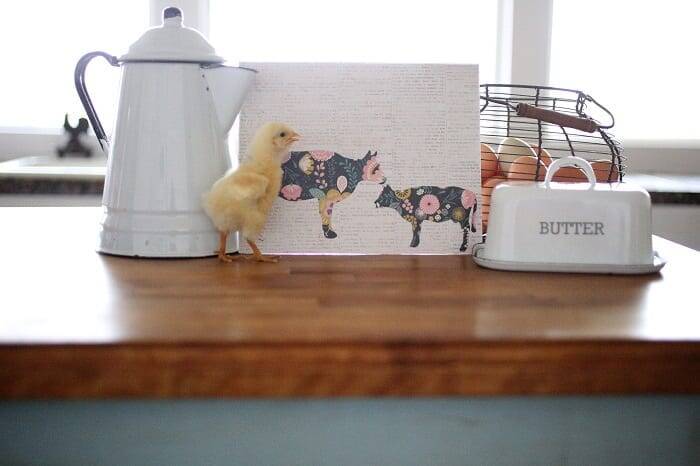
For my silhouettes I went with farm animals… naturally. My oldest daughter chose to do a flower which I think looks so cute! One of my other daughters did the sweet little duckies, which are just adorable!!
Step 1
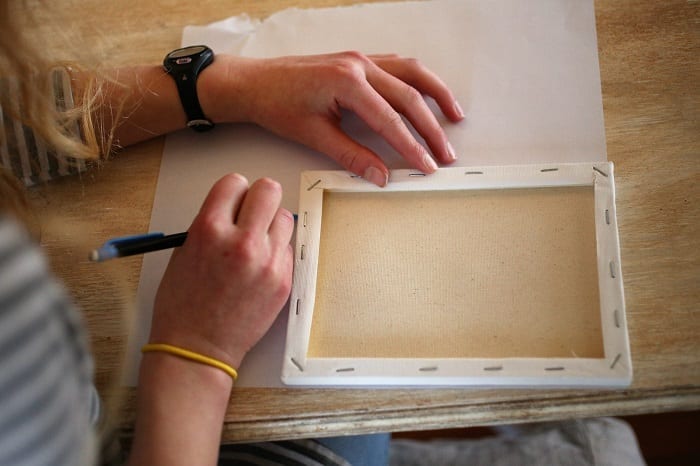
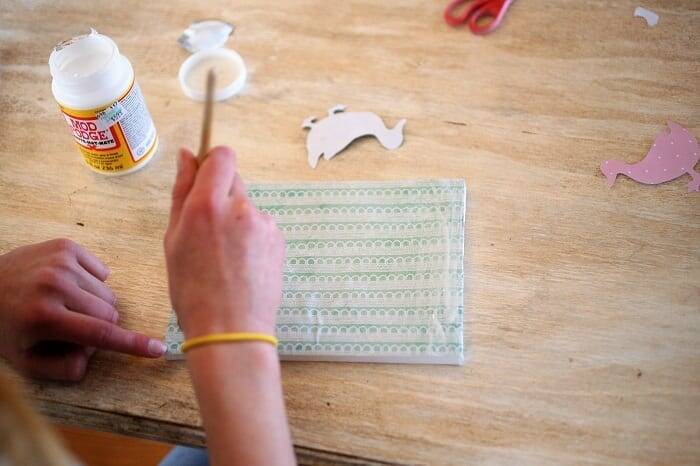
Measure or trace your canvas onto some pretty paper. After printing your silhouette on card stock, cut them out. Use your shapes to trace your figure onto a contrasting or coordinating piece of paper. Then cut your shape out. Take a few minutes to lay out your design, decide where you want your shape on the canvas and if you want more than one thing on there.
Step 2
Next, you want the paper to cover the face of your canvas. Use the Mod Podge to glue the paper onto the canvas. I use a thinner layer rather than a gloppy layer, this seems to help prevent too many bubbles. After that, paint a layer on your little shape and place it where you like it. I like to let this dry before I cover it with the final coat of Mod Podge. Once it’s dry paint the Mod podge all over the whole canvas.
A few tips
Work the bubbles out gently as you see them, a credit card or scraper can help with that. We started this project using stretched canvases, but found we liked the results of the canvas panels better. There was too much give in the canvases, and maybe it’s because we bought cheap ones.
Admire your Work
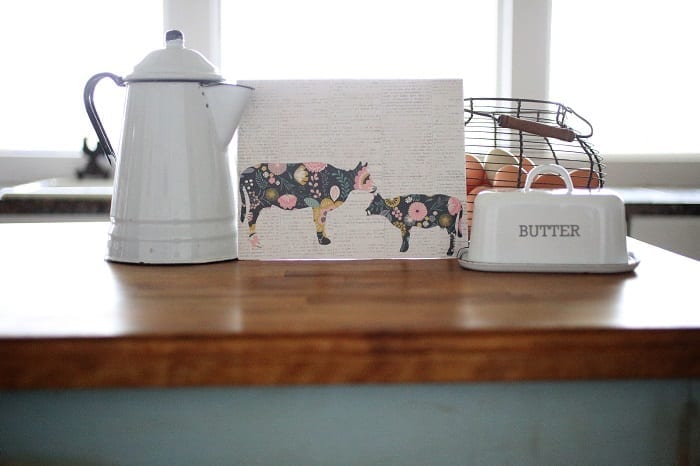
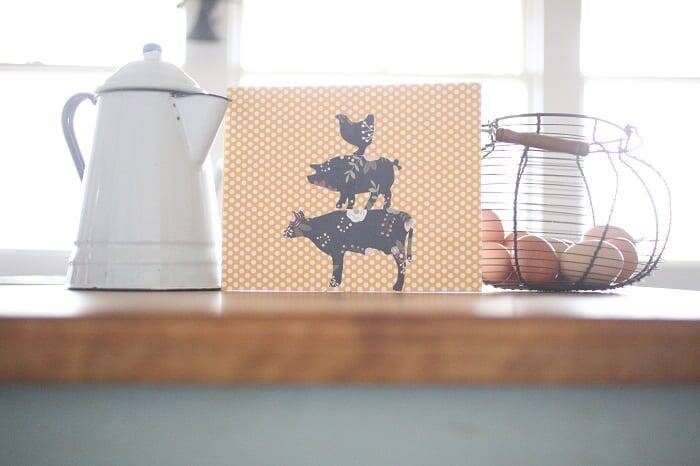
Isn’t that a great result for not an awful lot of effort? These are perfect for a girls room as well. The photo below, shows an alternative, even easier than this. I made these for my girls room a year or so ago. For these I simply used double sided tape to place the silhouette on a piece of paper and put it in a frame with a pretty matte. Easy peasy!
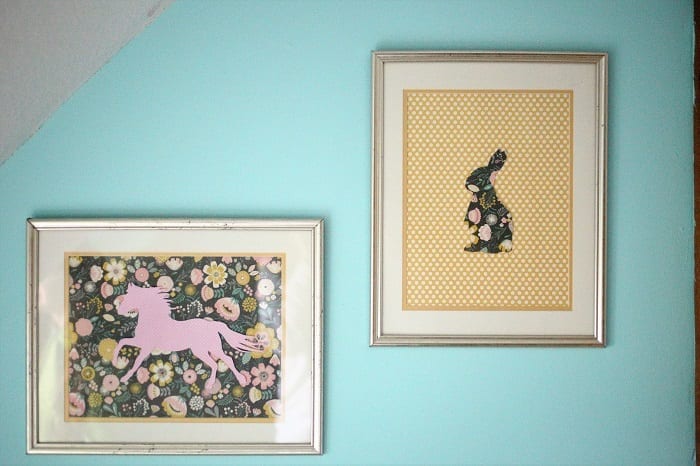
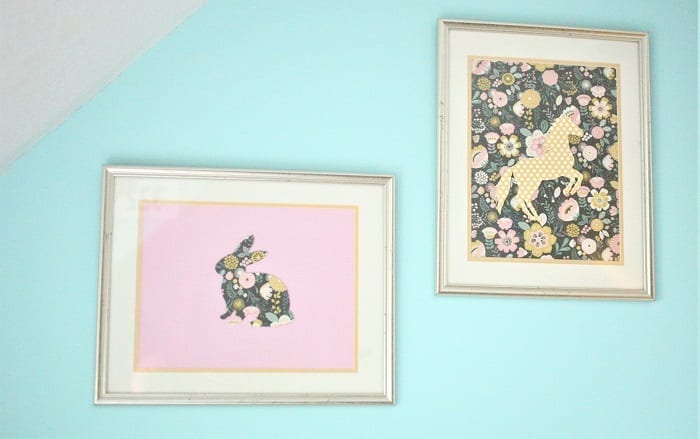
The canvas panels are light enough that you could just stick them to the wall with some command strips or even blue painters tape. An easy and inexpensive way to add some Spring cheer!
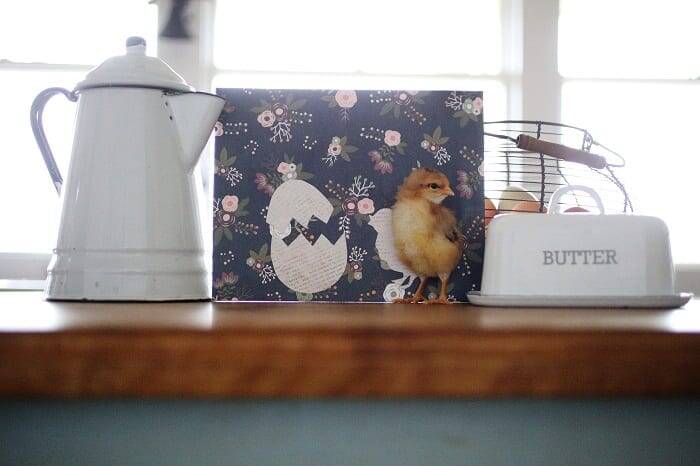
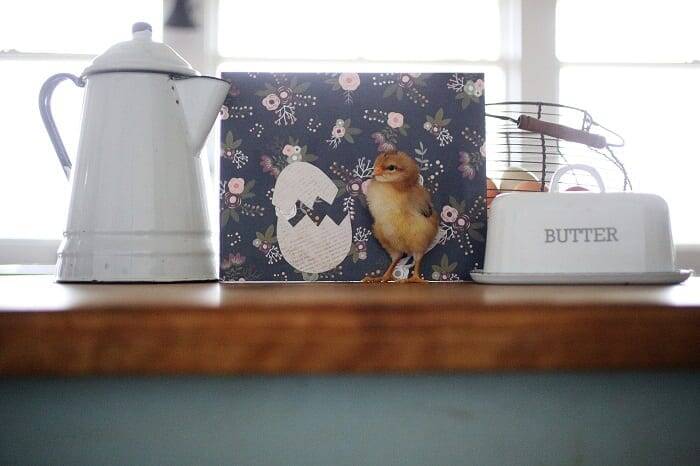
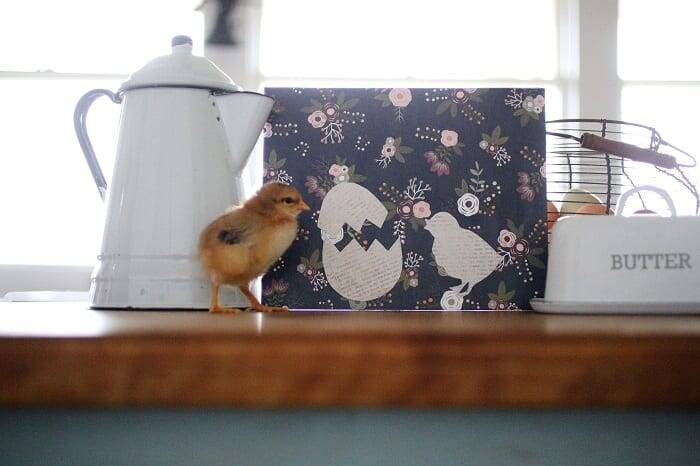
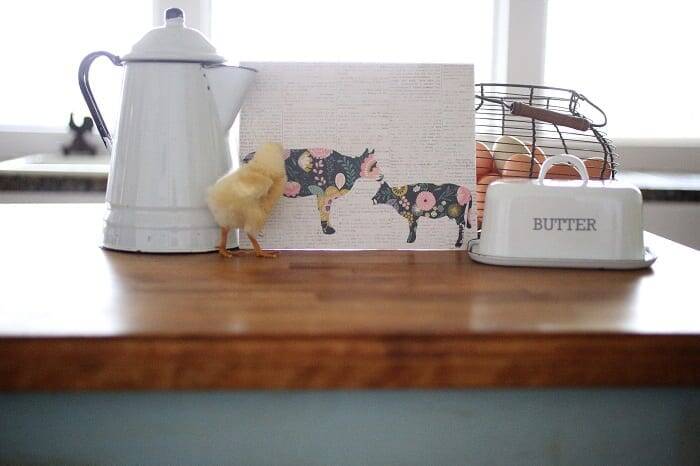
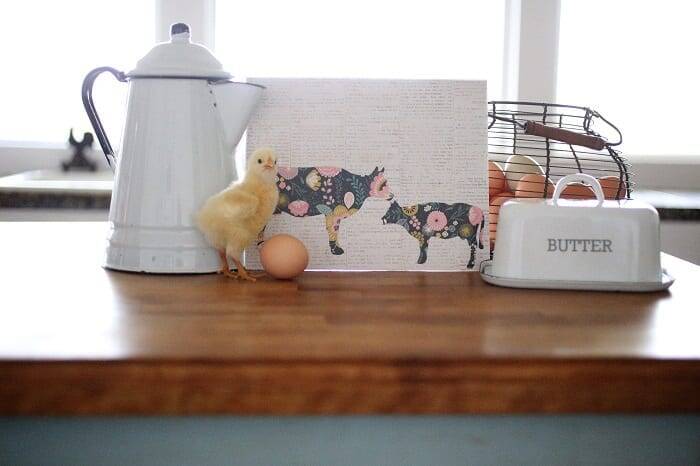
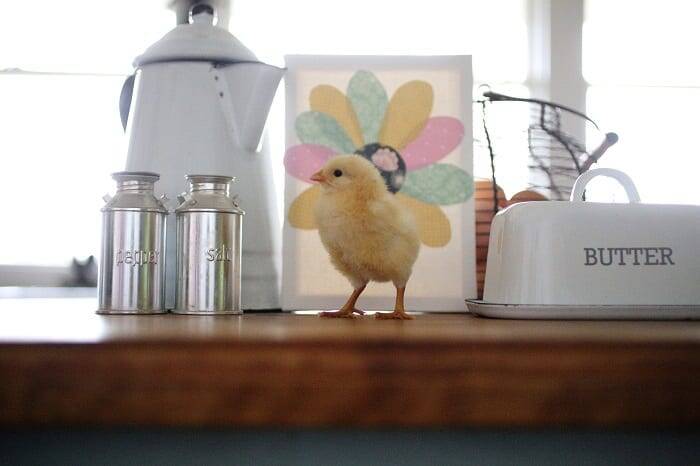
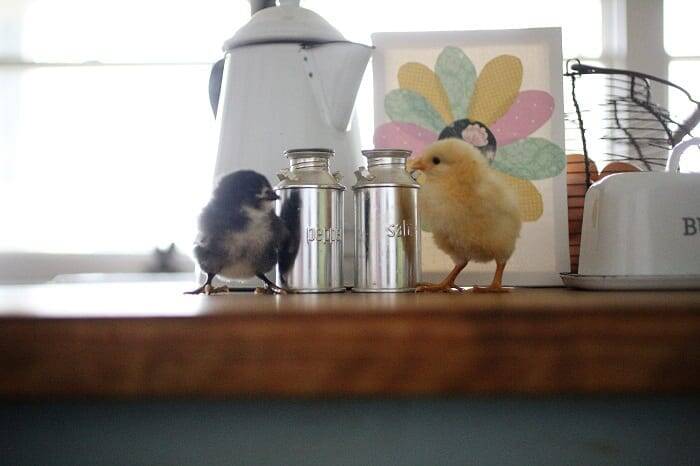
Here, we were just having lots of fun photographing these with our baby chicks!
Check out my friends’ blogs for more Springtime inspiration!
Kelin at Hydrangea Treehouse is decorating her entry table for Spring and has a bird printable garland!
Julie at This Beautiful Farm Life will show you how to decorate your mantel for Spring with a garden theme vignette!
Morgan at The Cheeky Homemaker has an experiment with color changing flowers and a free printable to show the kids How Plants Drink!
Brianne at Homemade on Our Homestead has a printable pattern for a carryall market tote!
Jenny at Yellow Rose Jenny has two Spring Cleaning Checklists to share with you!
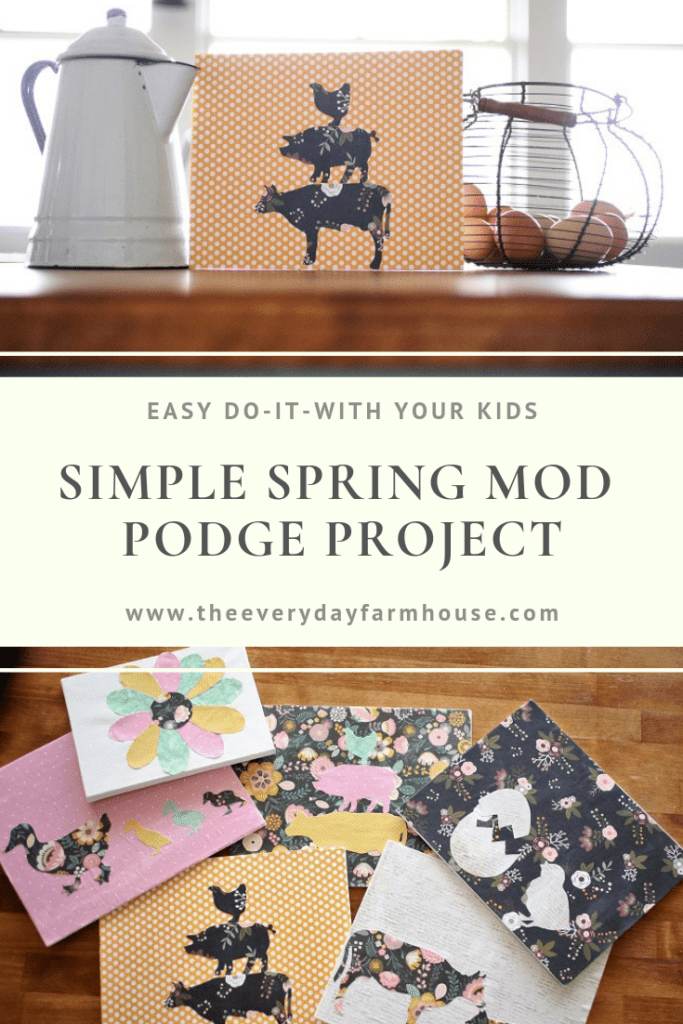
Pin For Later!
Amazon Links




Very cute Jennifer! I have 3 daughters and 2 are very artsy and creative. In fact one is at a graphic design school in Australia right now. My other is 9 and she is always looking for new creative ideas. I will be being those canvas panels and trying this. I think I have a couple boys that would love this as well. Thanks for inspiring us!
That is amazing about your daughter, how exciting! I think I would love graphic design.
How cute! The cows one is my fav!
Thanks Kelin! Thanks for participating in the hop too!
Wow. SO cute. I never would have thought of this, but I love it! I love the designs you chose, and your baby chicks make my heart smile.
Thanks Morgan, The hop was fun too! Glad the chickies made you smile!
These are adorable!! I love them so much!! You’ve got my creative wheels turning!!
Too cute, Jenn! I love how you posed the chicks with your artwork. Made me smile. Thanks!
That was my daughters doing, she loves her baby chicks!
I love these! I have a silhouette that I need to dust off and try this.
That would sure make it easier!
These are so cute!
Thanks Angela!
This is such a cute project! Would you mind if I used a couple of photos of your baby chicks with your projects and linked to you on Thistlekeeping?
Thanks friend!
karianne
KariAnne, Yes that would be a blessing! Thank you!