Wood Burned Charcuterie Board With Maker X
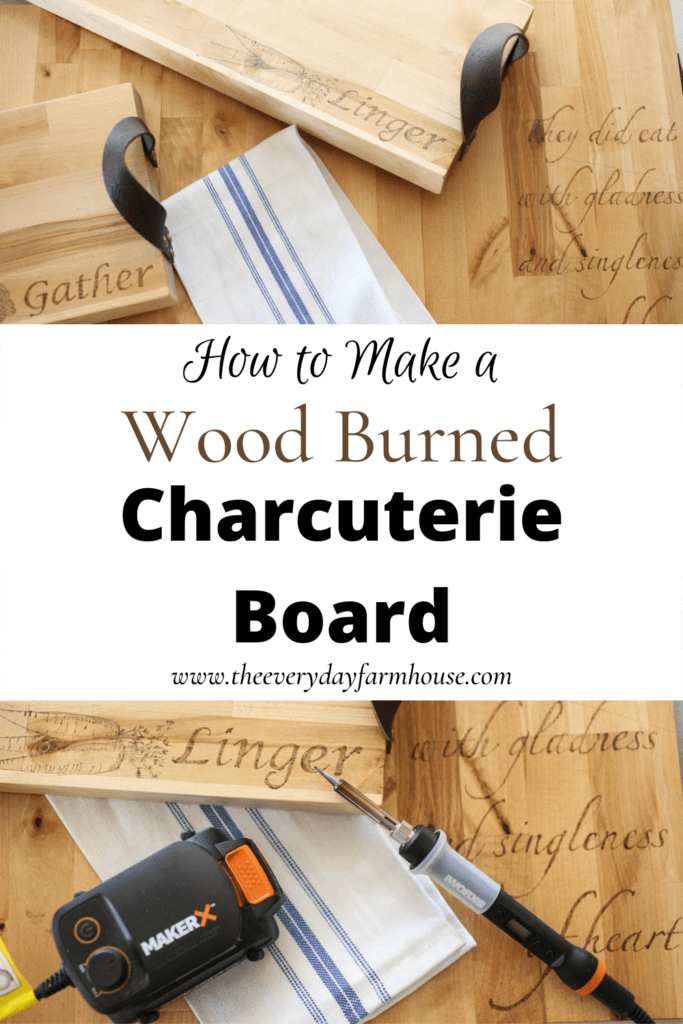
Wood Burned Charcuterie Board with Worx Maker X. Embellishing a beautiful wood charcuterie or cutting board is easy with the right tools. This post was done in collaboration with Maker X by Worx.
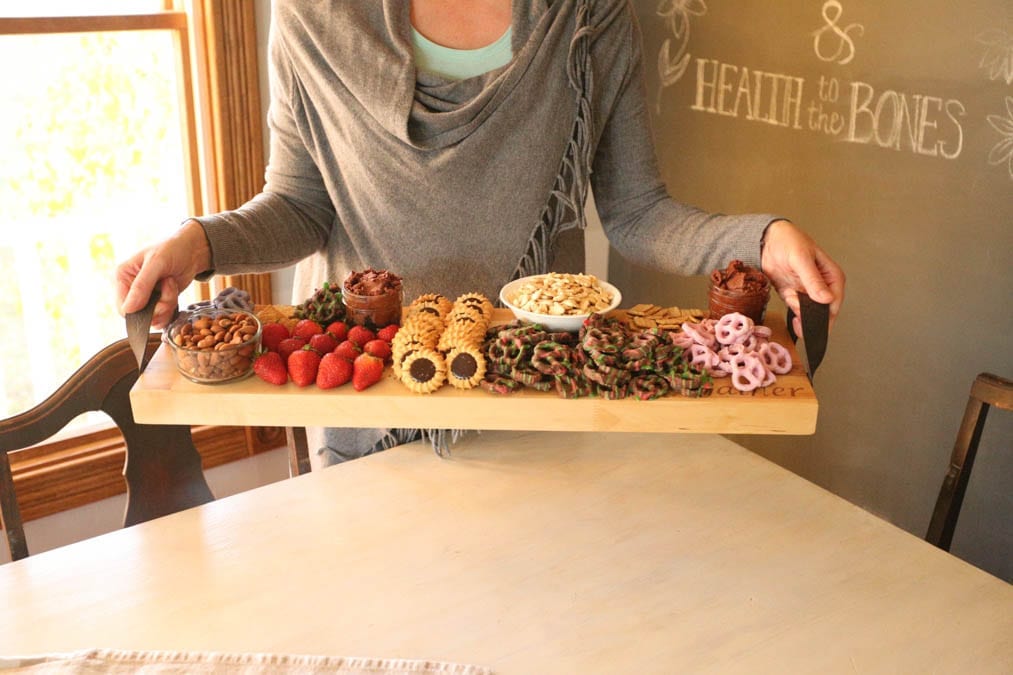
Last time I shared with you about building a Charcuterie or Meat and Cheese Tray. Today, I am going to share with you how I put the pretty designs on the board. For your convenience, this post contains affiliate links.
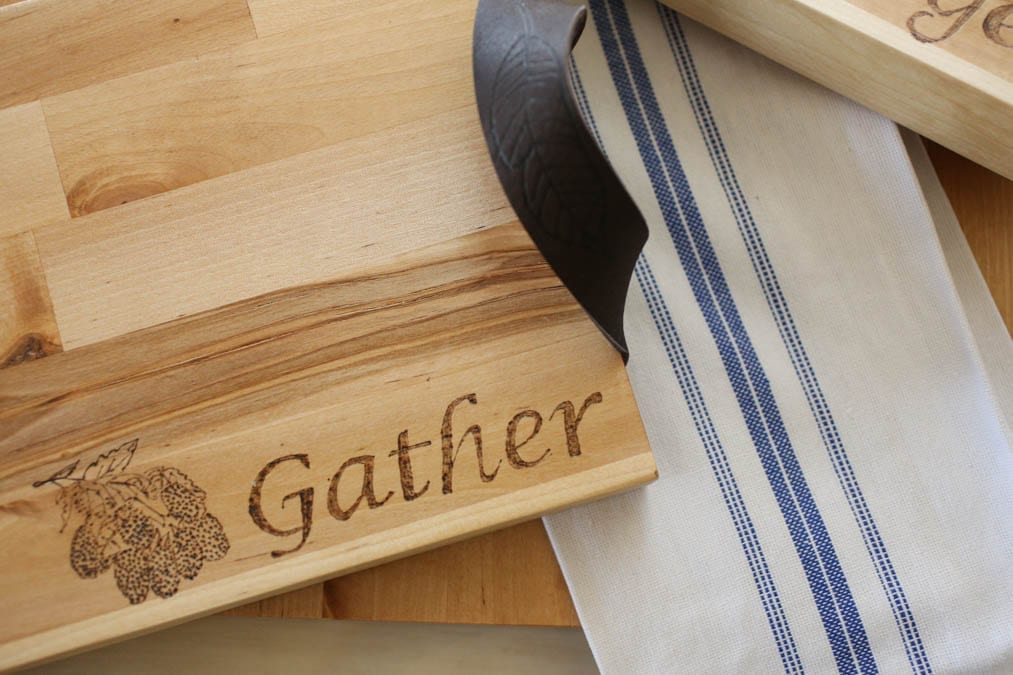
Steps for Finishing Your Wood Burned Charcuterie Board.
Whenever you are doing a wood burning project, you should always sand your board to a smooth finish first. I used 80 grit and then 150 grit sandpaper. Wipe your board off.
Decide on Your Design and Print it
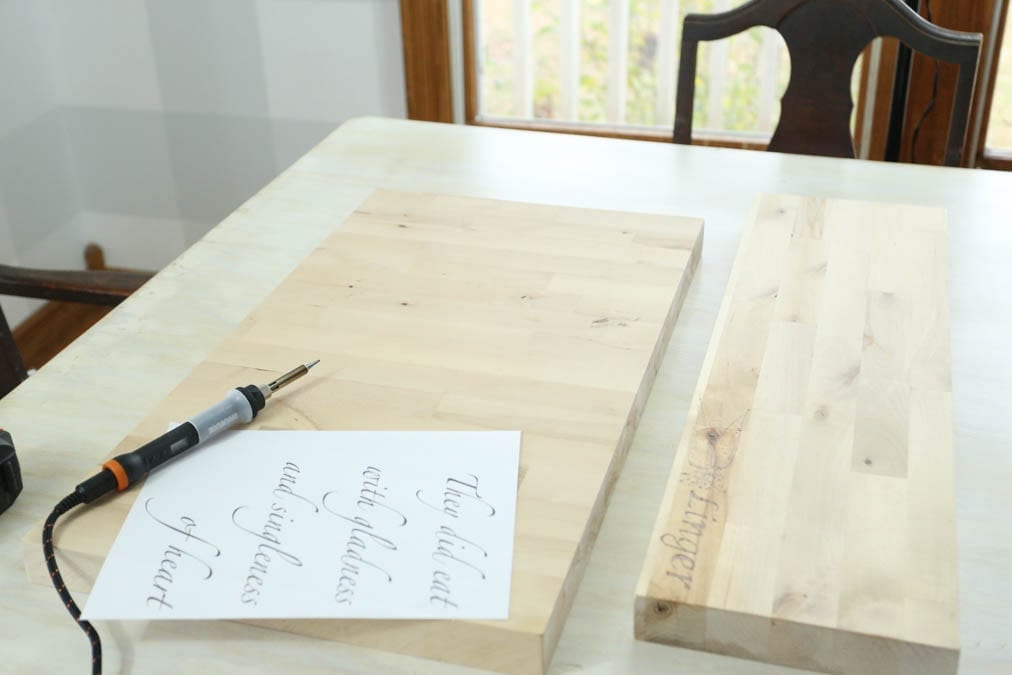
If you are artistic, you could freehand a design. Or you could make your design on the computer using Word or PowerPoint. Then print it off.
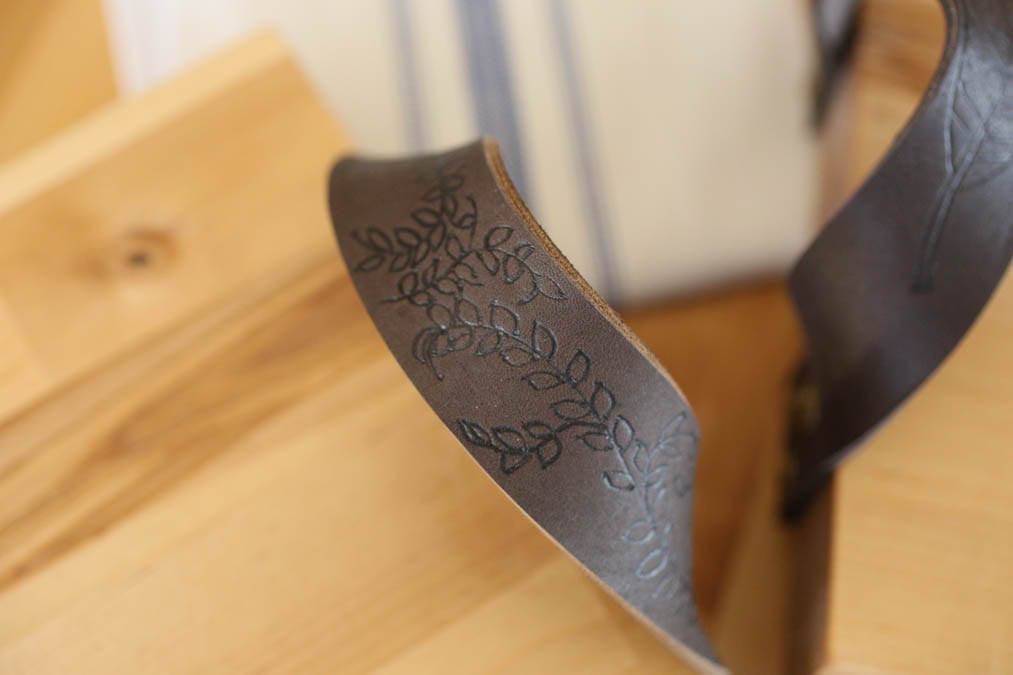
This is what I did for the board, then I just freehanded the designs on the leather straps. Transferring a design onto the leather would have been difficult.
Make the Design into a Transfer
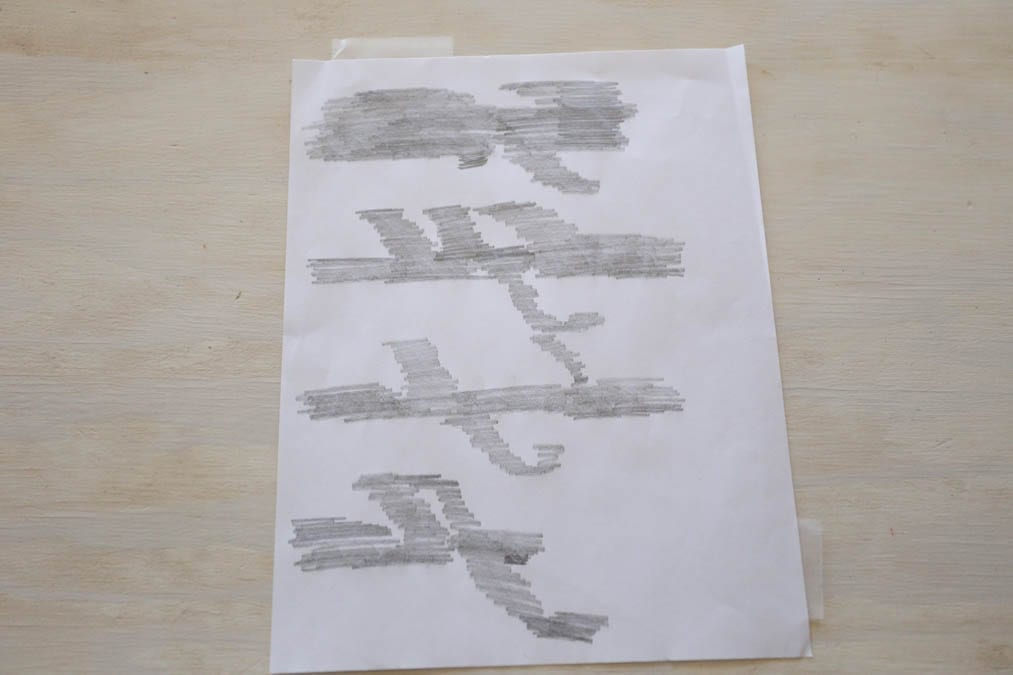
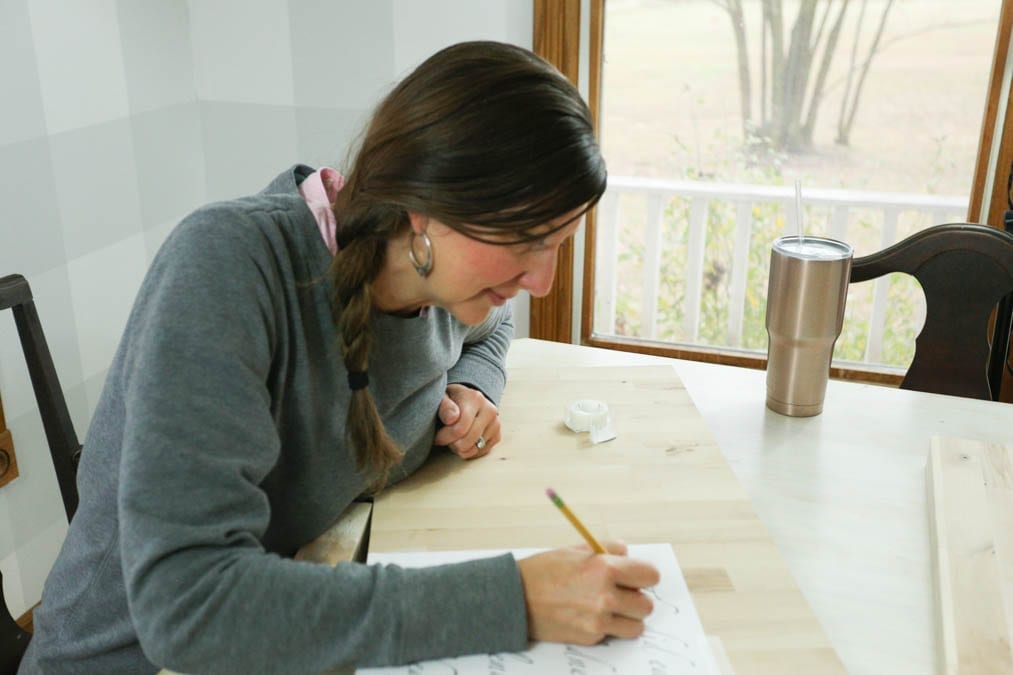
This is super easy. Just use a pencil or a charcoal pencil and color all over the back of the paper. Then lay the paper down on the board and tape it in place. Using heavy pressure trace over the design, making sure to go over each area carefully.
When you lift up the paper you should be able to see. your image on the board.
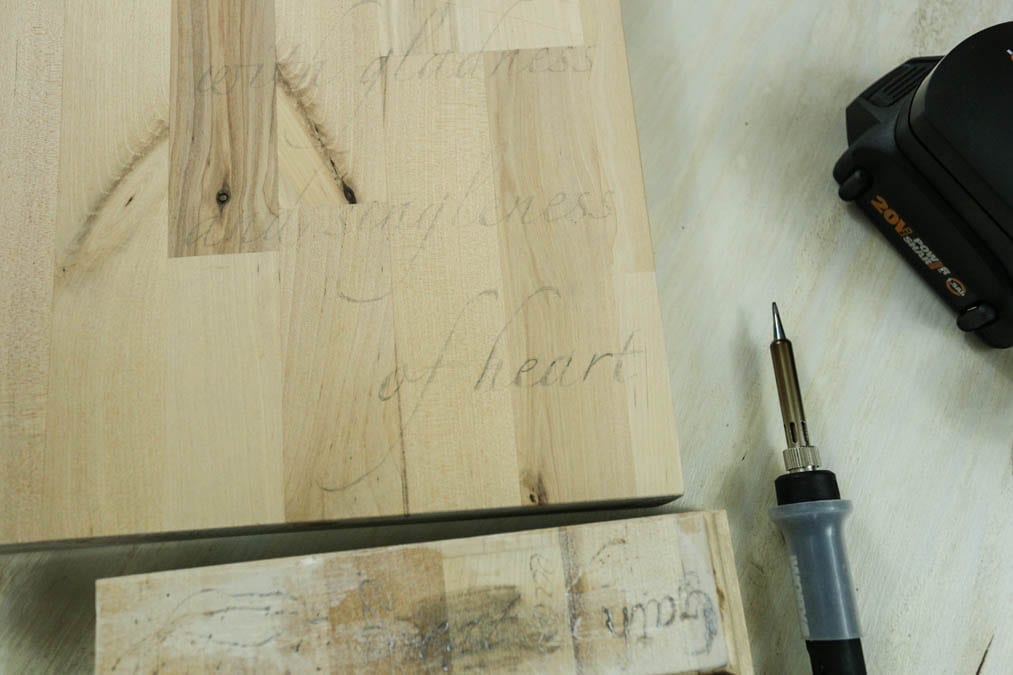
Burning the Design Into the Wood
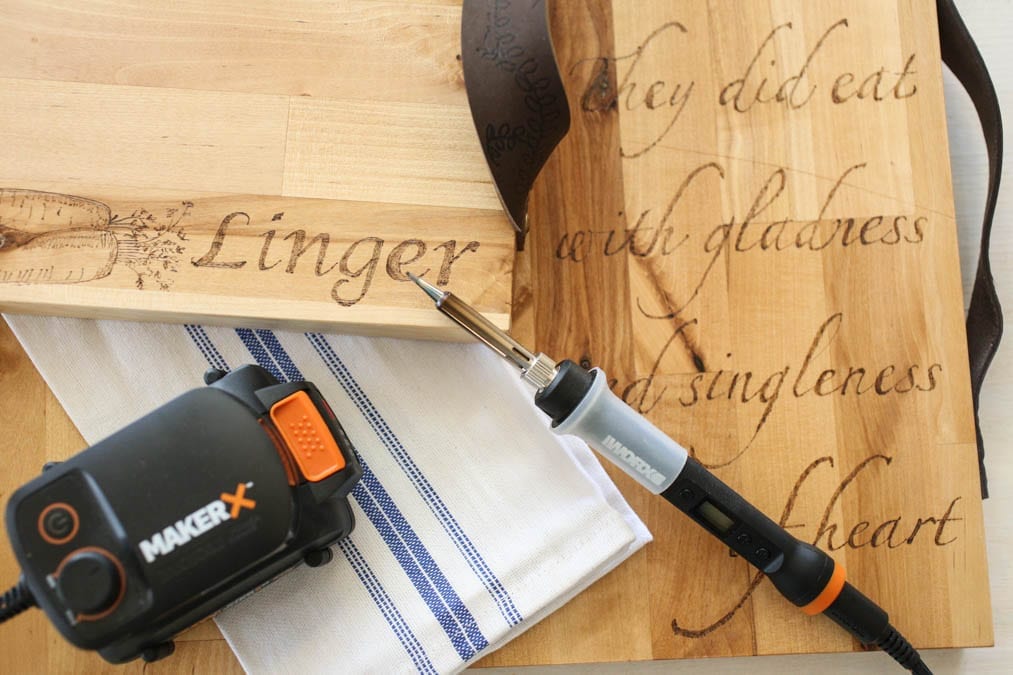
For this project I used the Worx Maker X. It is a brand new tool that just hit the stores! It is perfect for crafty people!
What is the Maker X?
It is an expandable/portable 20-volt creative tool system. The battery is compatible with all Worx power tools. So, the same battery that powers the Landroid mower that I shared with you this summer can also be used to power this tool!
I got the 54 piece Kit which included a rotary tool, an angle grinder, an air brush, a mini heat gun, and the wood and metal crafter that I used for this project.
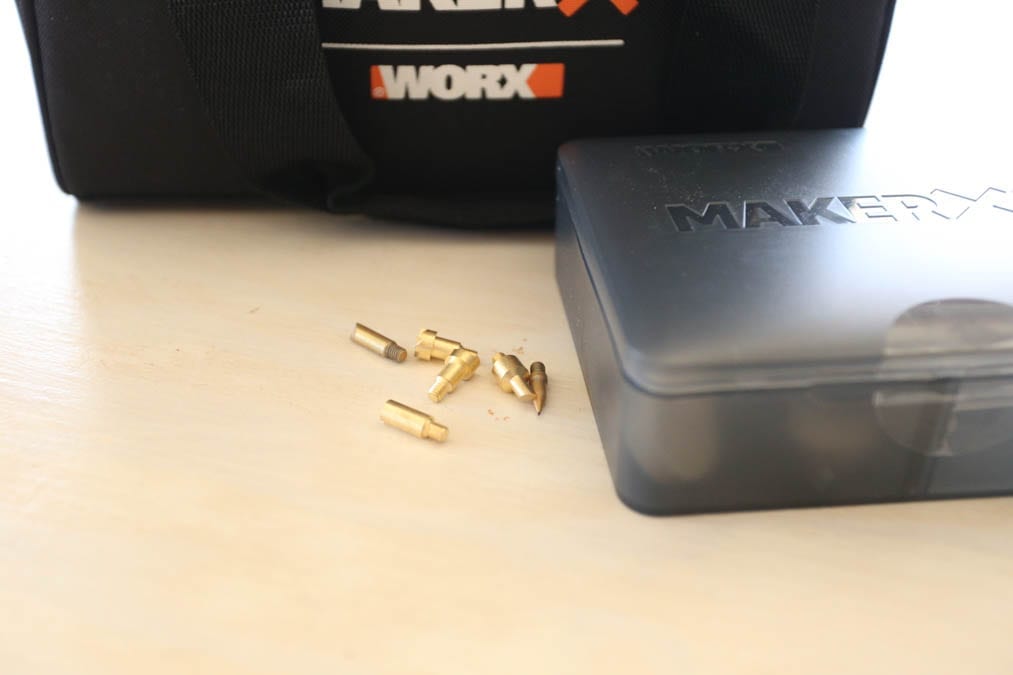
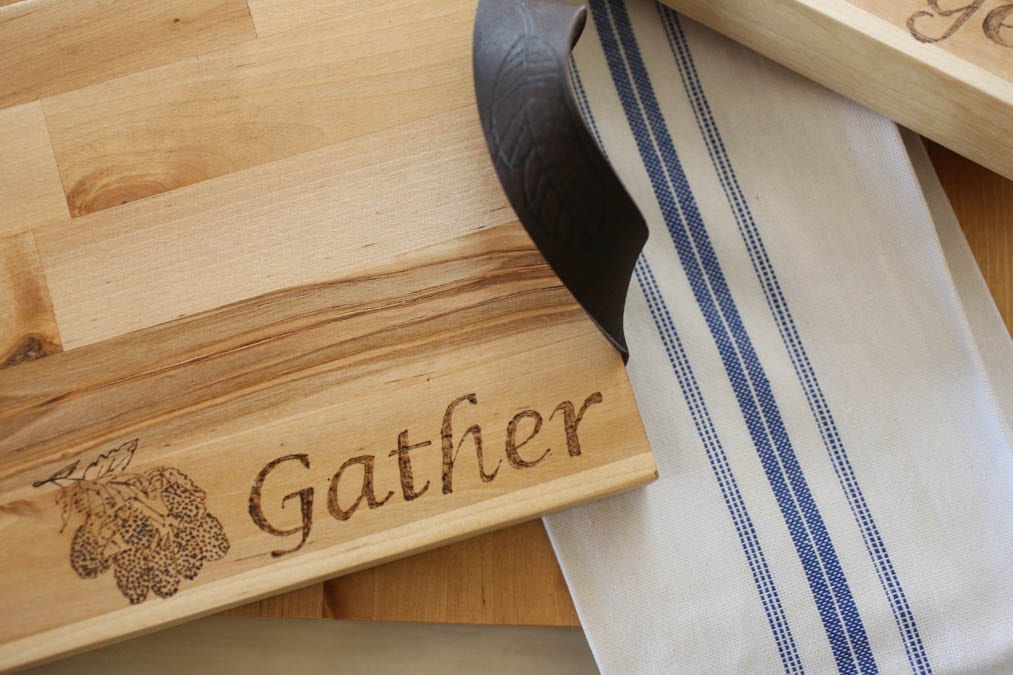
The wood and metal crafter came with different tips for woodburning. Some are even little design shapes that you can just press into the wood.
Set the Heat
For burning into the butcher block, I found that the maximum heat setting was necessary. This was 900 degrees. It heats up super quickly.
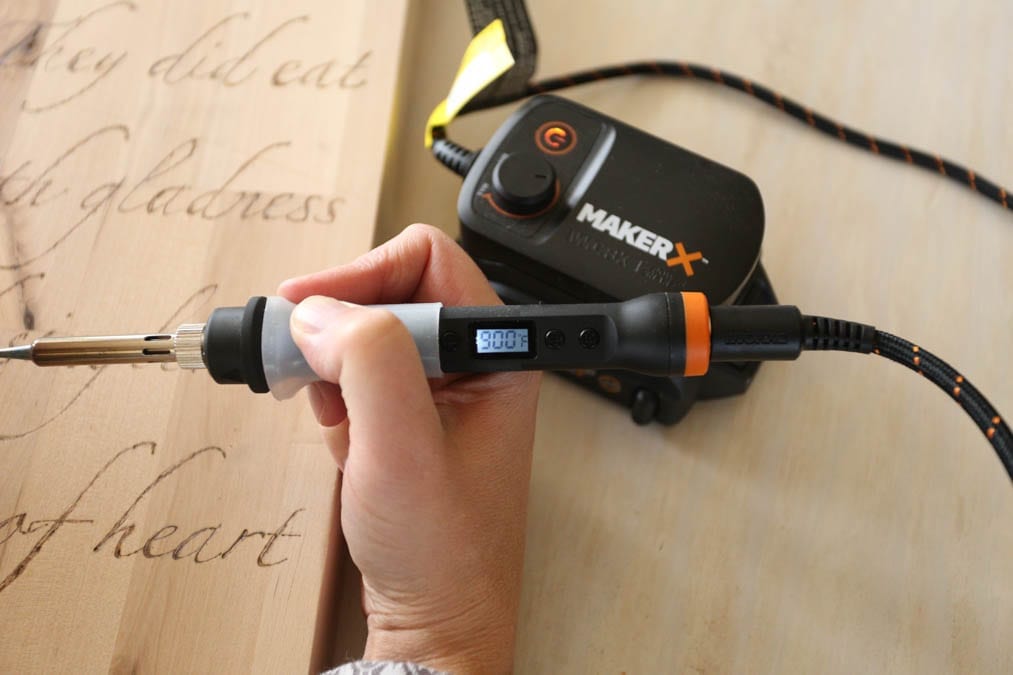
If you need to change the bit before the tool is cooled down, use a pair of pliers to pull the bit out so that you don’t burn yourself.
Also, you will definitely want to use the provided silicone sleeve to keep your hand comfortable, as the tool does get hot.
For the Leather
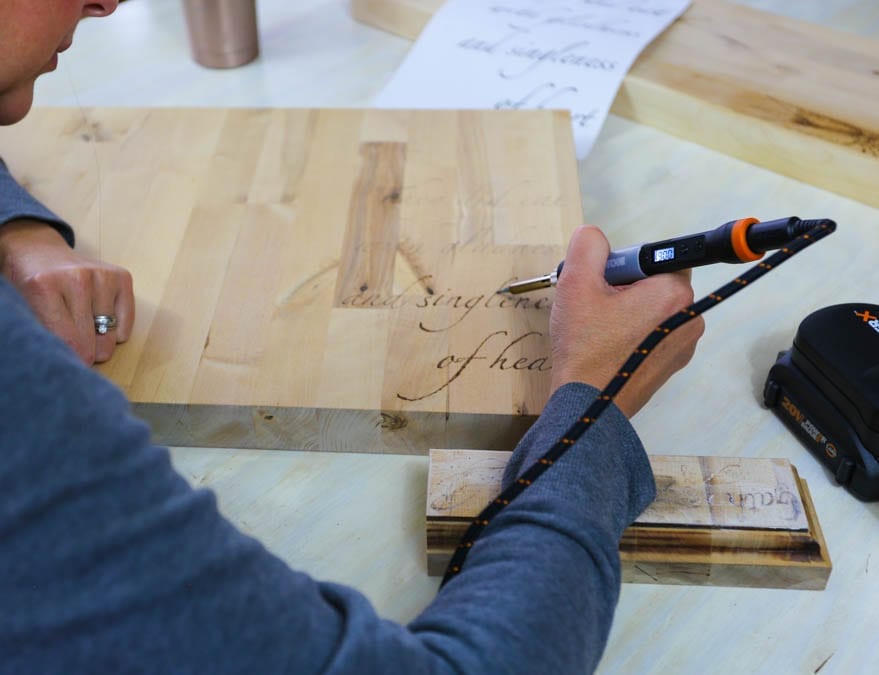
When burning into the leather you can set the heat lower. I set it at around 700 degrees for the leather straps. The design shows up better on lighter colored leather, but I liked the look of the dark straps against the lighter wood.
Sealing the Board
I went into the details of building the cheeseboard in this post. If you missed that, a good food-safe butcher block oil is a great choice. I used Watco Butcher Block Oil. I sanded in between coats with 400 grit sandpaper. It takes 3-4 coats for a nice hard finish. The sanding in between gives the most amazing smooth finish!
Let the board cure for 72 hours before using.
How to Wood Burn a Charcuterie Board Video
Make a Wood Burned Charcuterie or Cheese Board for a Gift
I think these would make amazing handmade Christmas gifts! You could throw in some kitchen towels and a little set of cheese spread servers. Wouldn’t you love a gift like that?
Or maybe you should give the Worx Maker X for a gift!
What Should You Put on A Charcuterie Board?
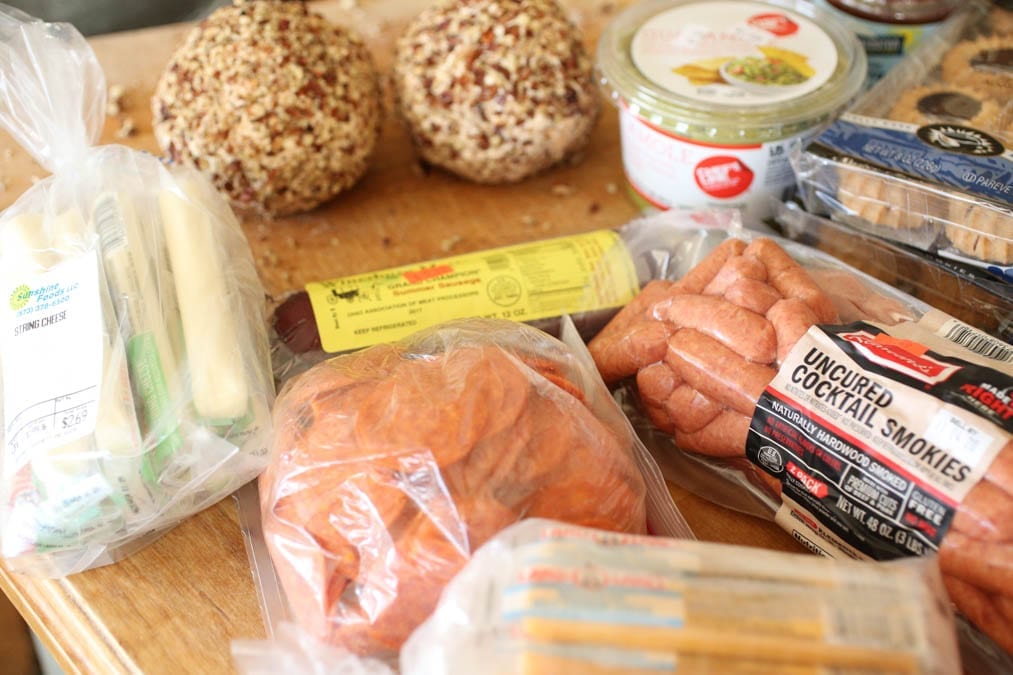
By definition, a Charcuterie has to do with prepared meats. Of course, we pretty much just use the term as a fancy way of saying a meat and cheese tray.
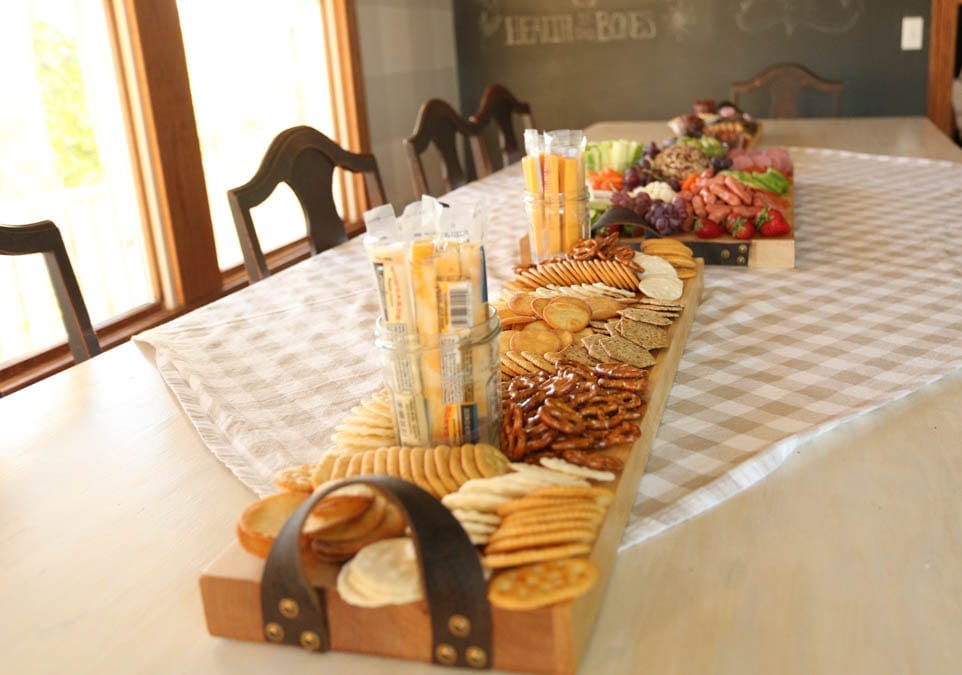
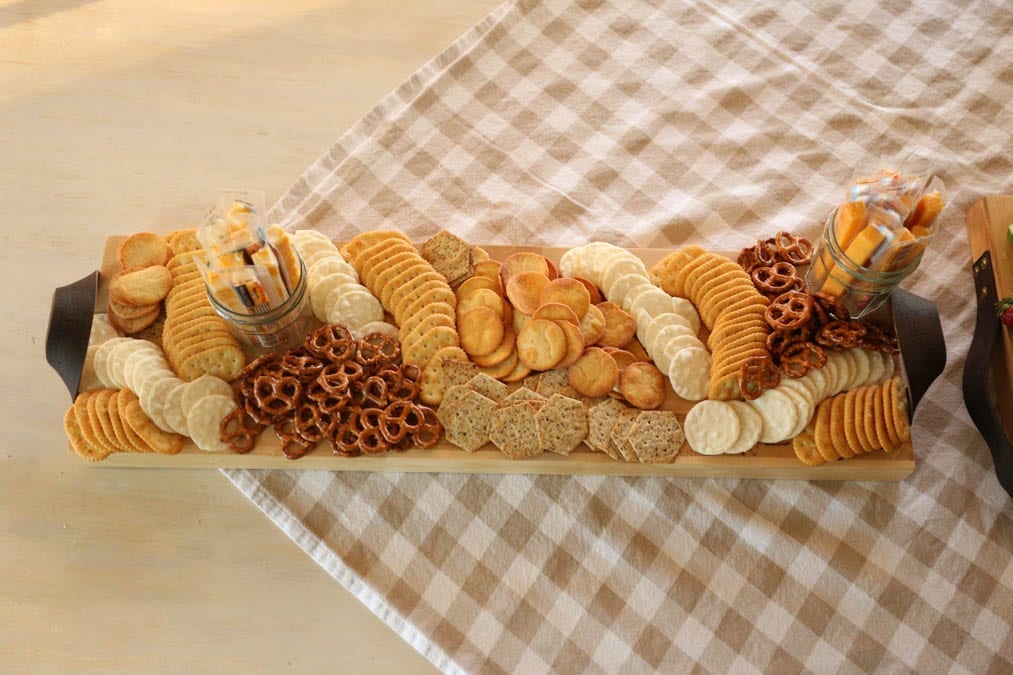
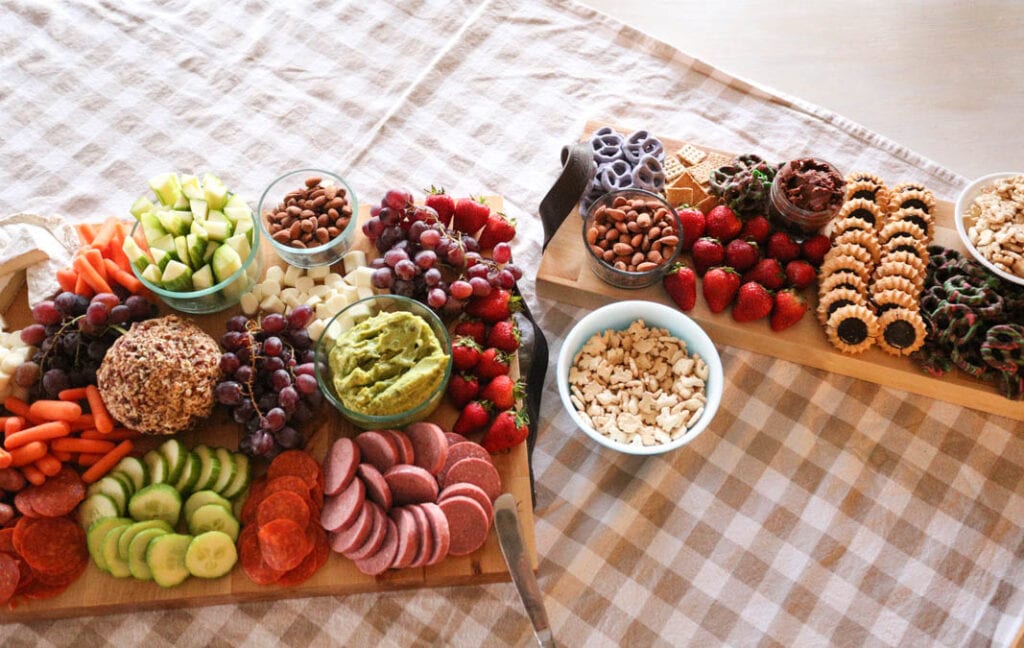
However, you can put anything you want on your board! Since I made three boards, I did one for crackers, one for the meats, cheeses, and fruits and one as a dessert board.
My family loves a good cheese ball. I use this recipe and it is so delicious!
How to Set Up Your Charcuterie Board
There really are no “rules” with this, but there are things you can do to make it look impressive. The nice thing about this is you don’t have to be a good cook to put out an impressive spread! Of course you could make a bunch of homemade appetizers and little cookies, but storebought treats are just fine too.
Vary The Display
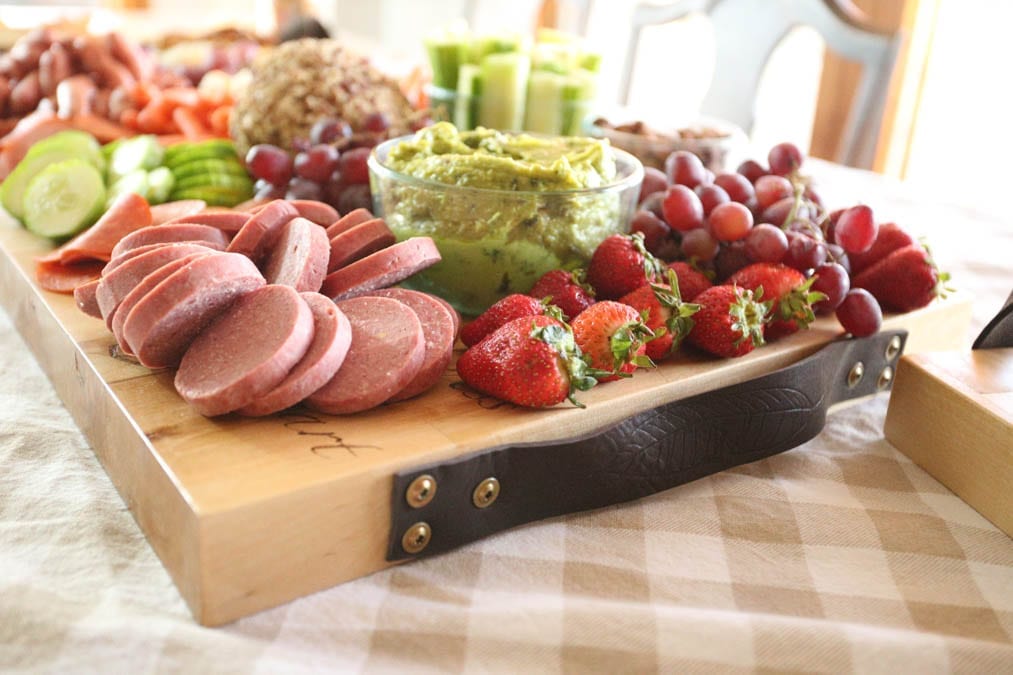
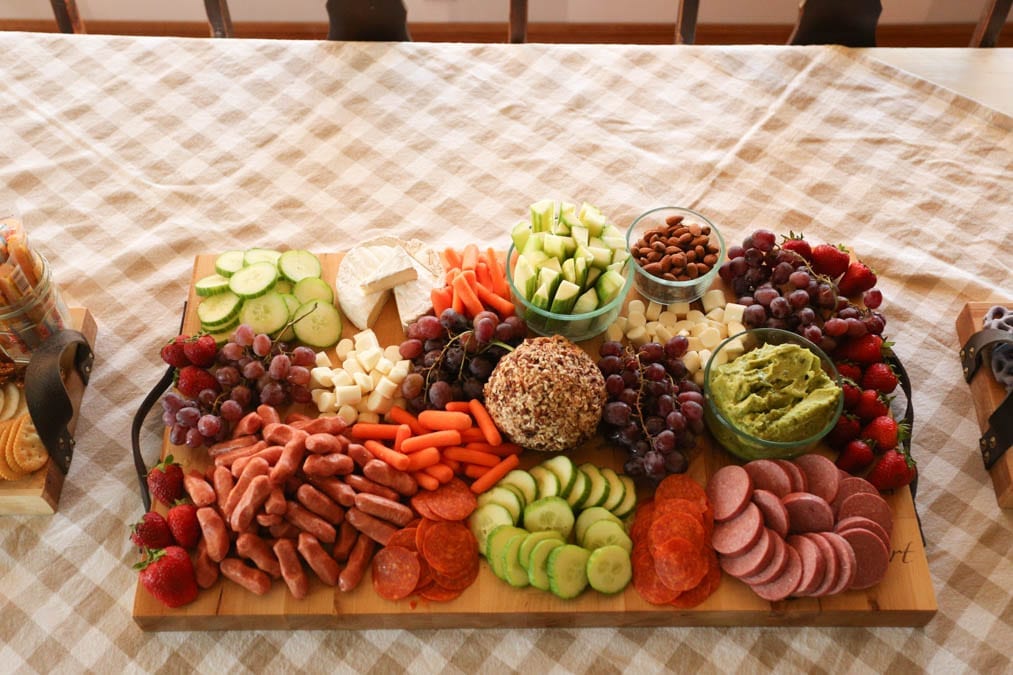
The main thing is to vary the way you put things out. Start with your main things, the meats, the cheese ball, the sliced cheeses. Then using glass dishes put out some dips and veggie sticks. This gives variation and height in different locations.
Color: Also, try to keep the colors in mind. I tried to balance out the colors, so if guacamole is on the front right, I then put some green cucumbers sticks in the back left, and again some round cucumbers front and center. The same way with the meat and the strawberries and grapes.
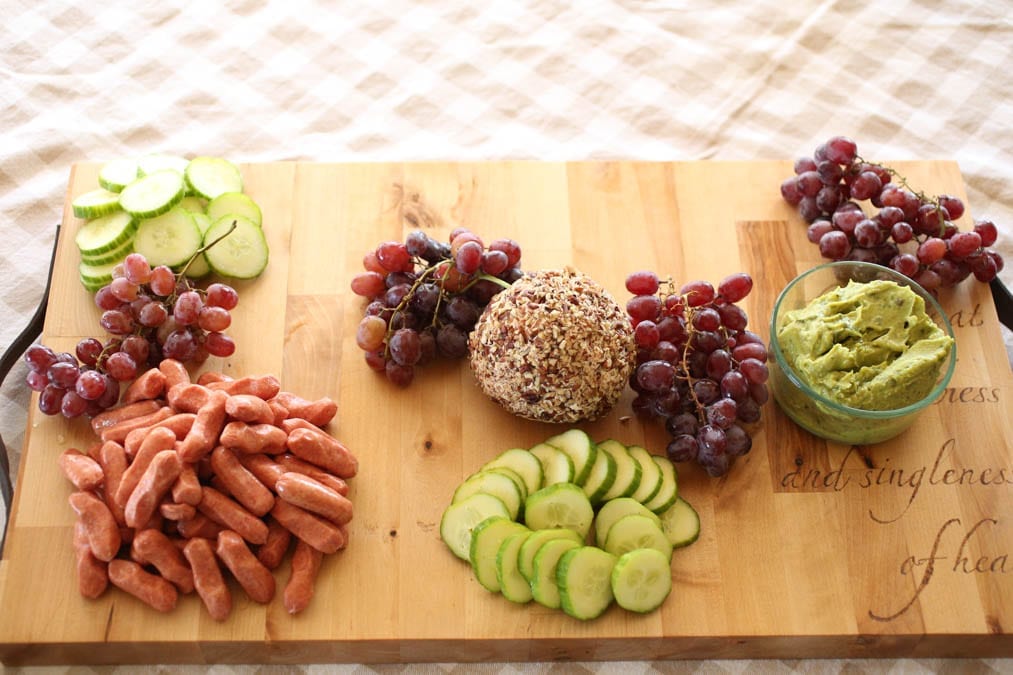
Then you just fill in with everything else, add in a bowl of nuts. Don’t put all of the strawberries or grapes in one place. Scatter the different items all around.
Making a Kid-Friendly Charcuterie
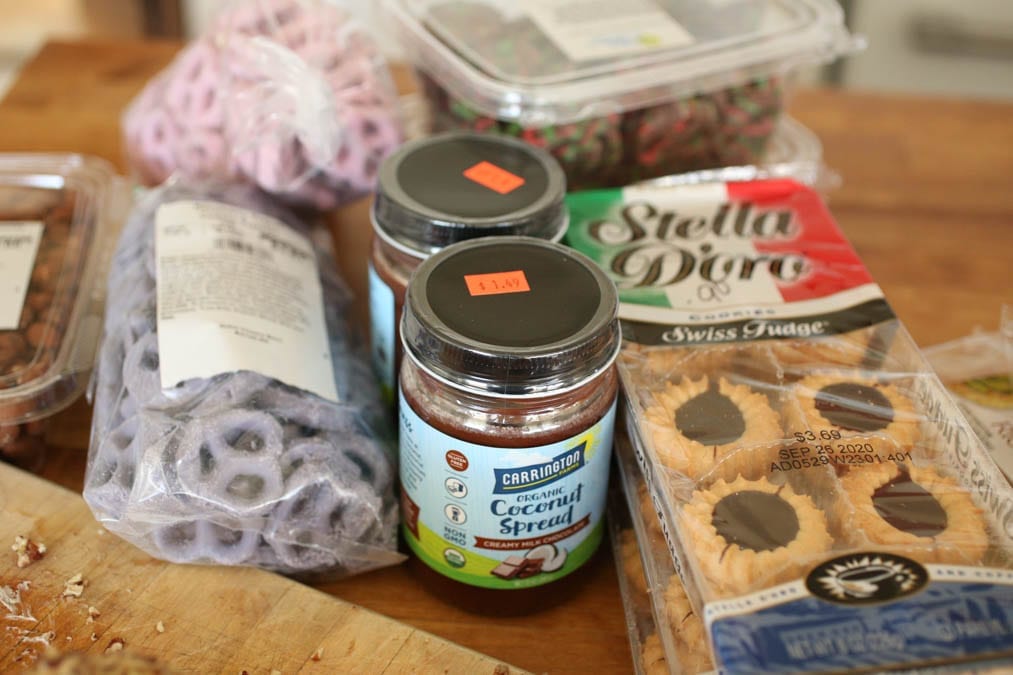
My kids will eat just about anything, and they loved all of the fruit and meat and veggies. But since we did this on the weekend, I made it extra fun with some unusual treats. They were so delighted with it!
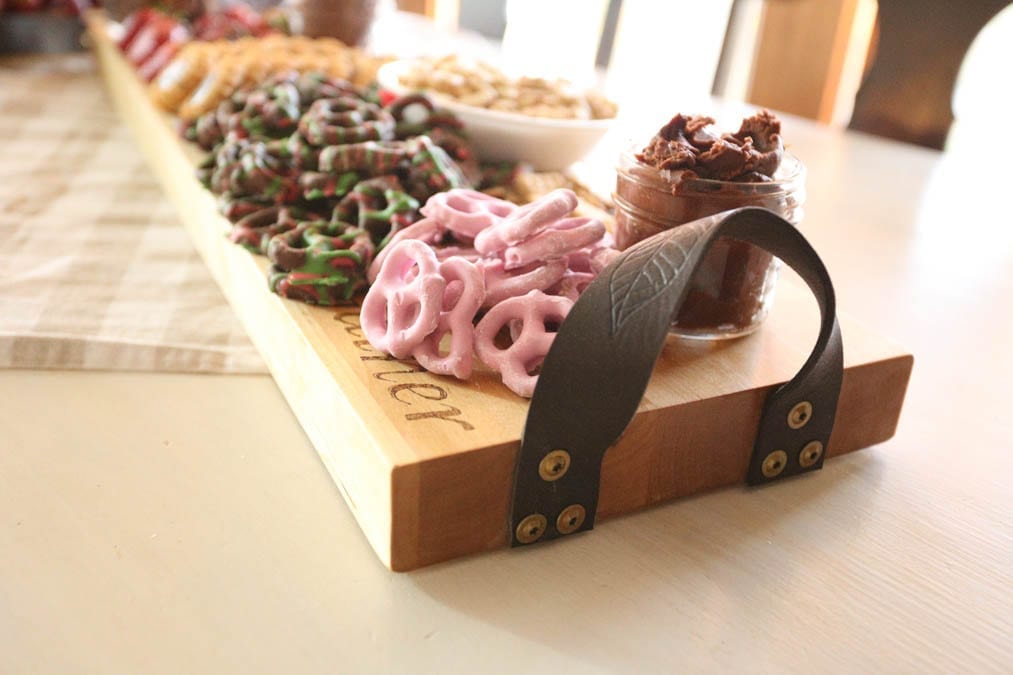
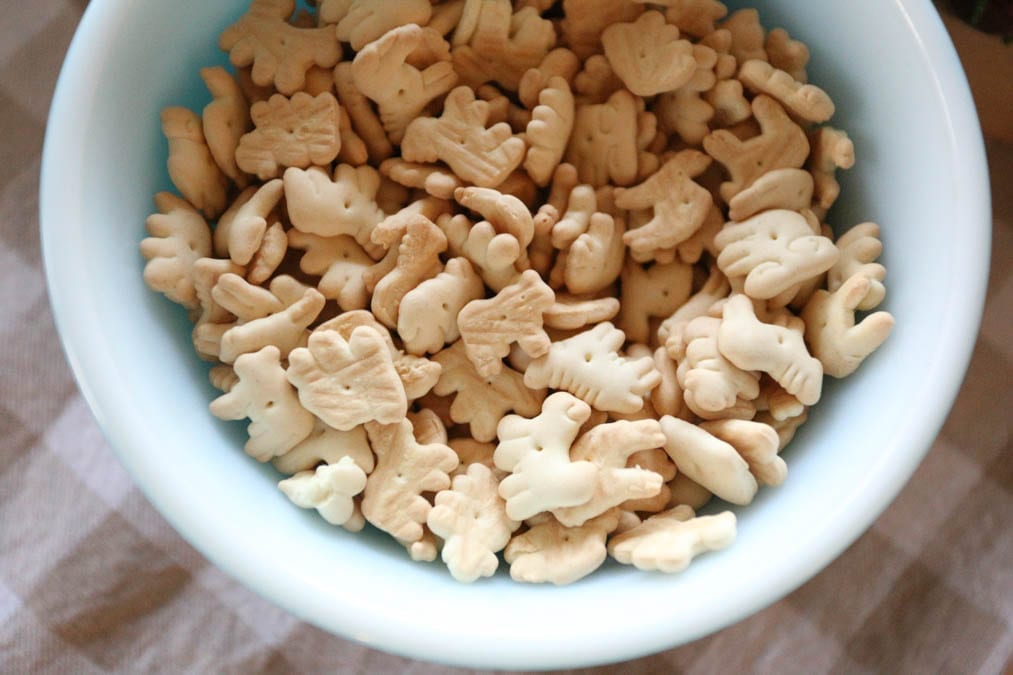
I found these little miniature animal crackers at our local bulk food store, aren’t they cute?
Don’t Want to Make One? Here are some Similar Boards!
Pin It
