How to Level Edging Stones–Front Yard Refresh
This post was done in collaboration with Worx, all weed pulling and opinions are my own. Come along as we do a front yard refresh!
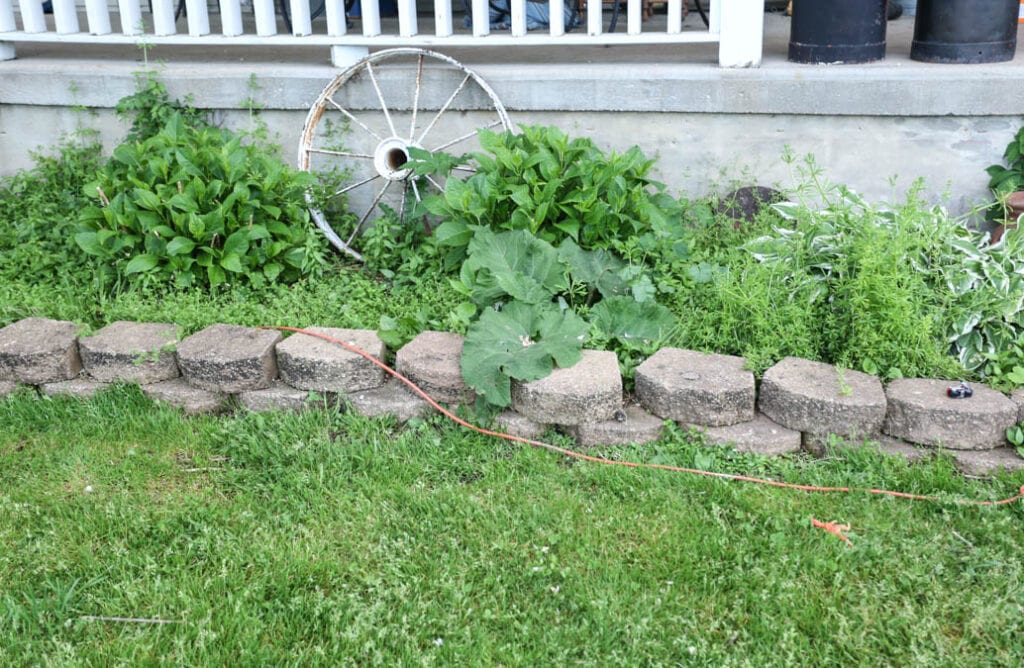
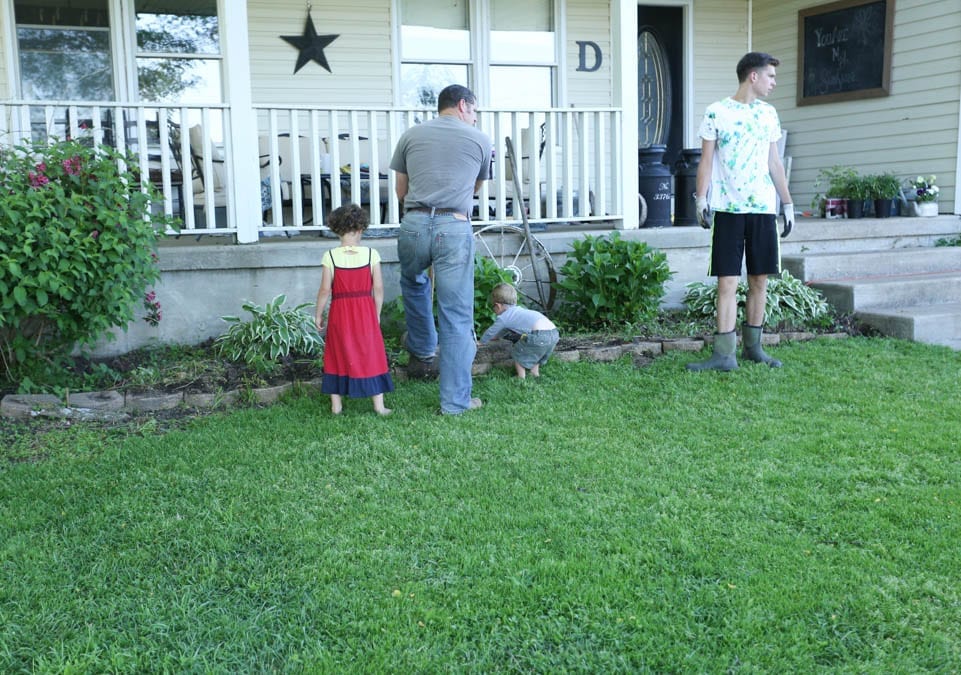
Do you ever let your garden beds get out of control? Like, majorly neglected? Life gets so busy, and there is so much to do. Sometimes, things like landscaping and shrubs take a backseat to more important things. This picture below is what our front flower bed looked like. Sigh….so sad, so neglected. There are some hostas in there somewhere, and some hydrangeas too. The edging stones have been turned over by children looking for worms–too many times to count. We’ve got a stray toy dinosaur and a motorcycle hanging out too. This is the front entrance to our house; what a poor first impression!
I thought a tutorial for leveling up edging stones might be helpful. I wouldn’t know how to do this without the instruction of my husband who had past experience with landscaping. This is how we did our front yard refresh!
Coming Up With a Plan
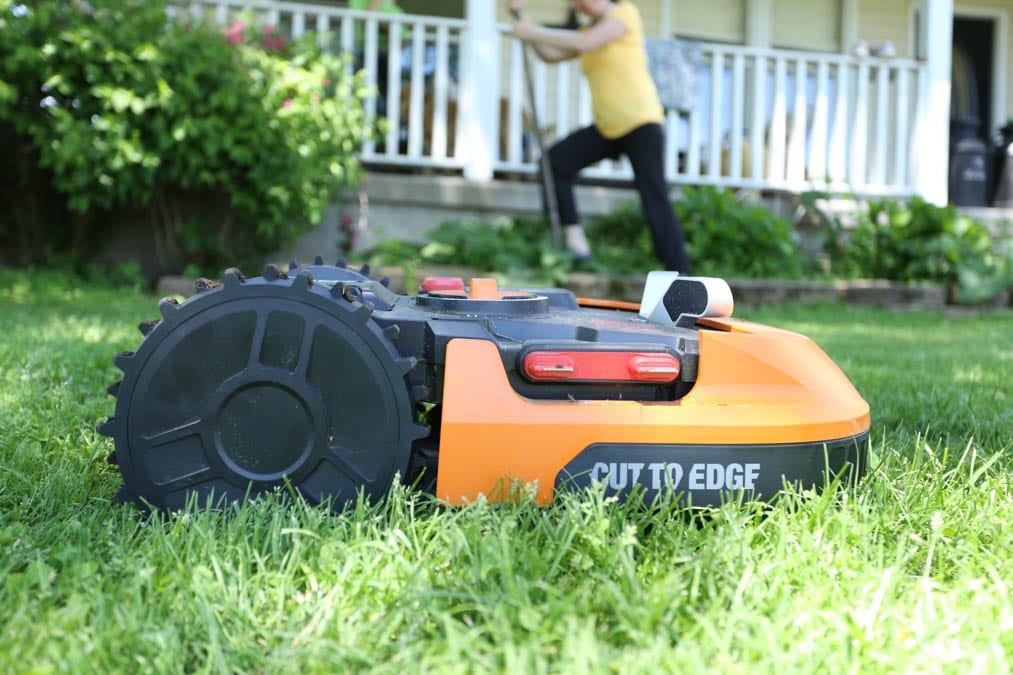
When you have a mess like this, you have to first come up with a plan. We live on acreage, so mowing is a huge job for us. Most of Saturday can be spent mowing. We definitely have a defined yard area, and having that kept nice throughout the week would definitely help with the load of mowing on Saturday. That’s where Worx came in. Their Landroid robotic mower can be programmed to keep up with trimming the grass up to 1/2 acre throughout the week. So, that’s where we started. Defining the borders of where the mower would work for us.
Next we decided that we would keep the stones we had, but we would re-do them. We would pull them all up, level the ground, clean the stones and replace them.
The next obvious step was to pull the weeds, put down landscape fabric and add new mulch.
Now, we had our front yard refresh plan, all that was left to do was to do it!!
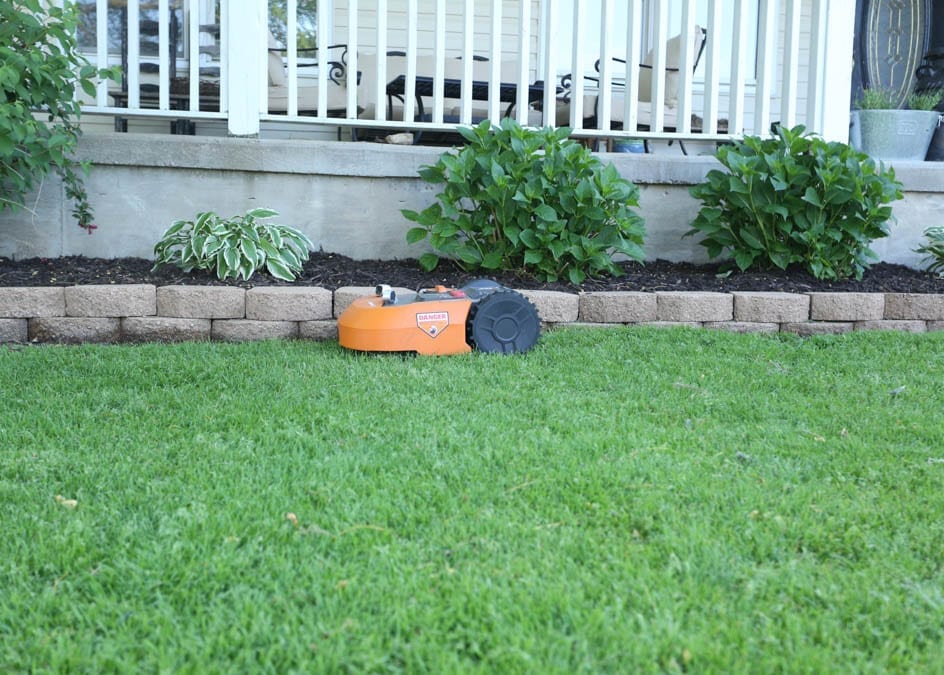
Step 1: Set up the Mower
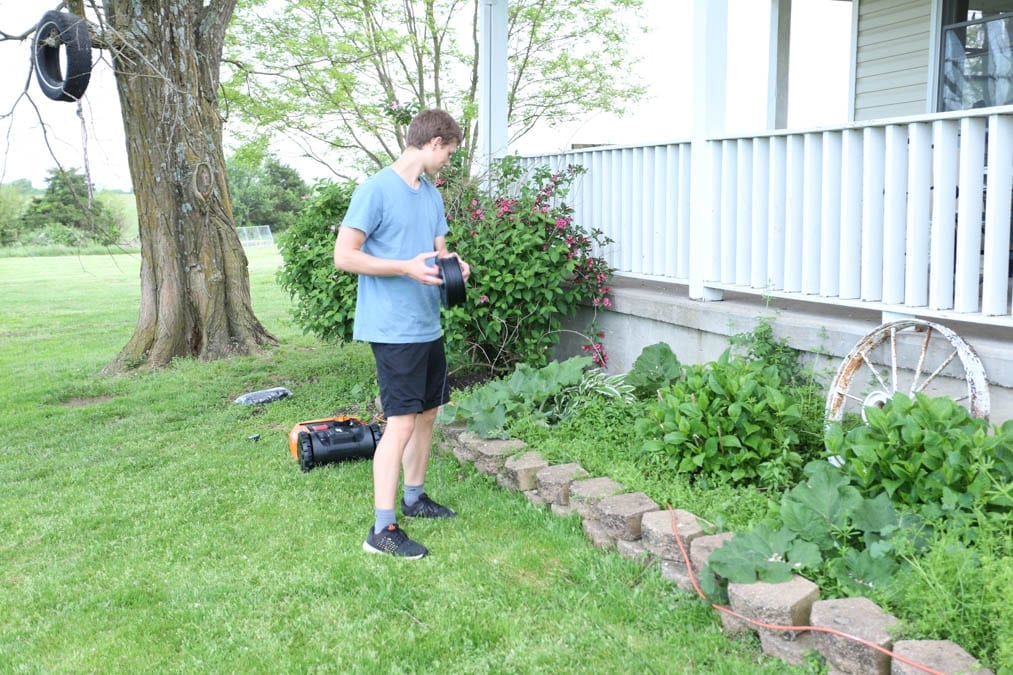

Setting up the mower was a pretty simple process. Rolling out and staking down the wire to define the border of where you want the mower to work.
I will be honest, at first we were all a bit skeptical of this mower. However, we have been using it for about three weeks now, and understanding how to use it and what to expect are key. We have found that for an area as big as we have that the mower needs to work from 9-4 everyday. All of this is programmable. So, he starts at 9:00 and goes around trimming the grass until he needs to charge. Then he takes himself to the charger and once he is charged he goes back to working. My kids named him Jeff…I have no idea why, but that’s what he is called. So, we are always glad to see that Jeff is out working on our yard. So, the idea is that he is trimming everyday, and the grass never really gets long and out of control. He does more of a maintaining of the grass. I think this must be better for the grass as well. ( ***Check my note at the bottom of the post**). Our yard really does look very nice!
Step 2: Pull the Weeds
This of course is the part that no one really likes. However, with a big gardening fork and a shovel, we got it done. We filled a couple of wheelbarrows with weeds and wheeled them back to our pigs who gladly ate them! Pretty nice really!
Step 3: Move all the Stones and Powerwash Them
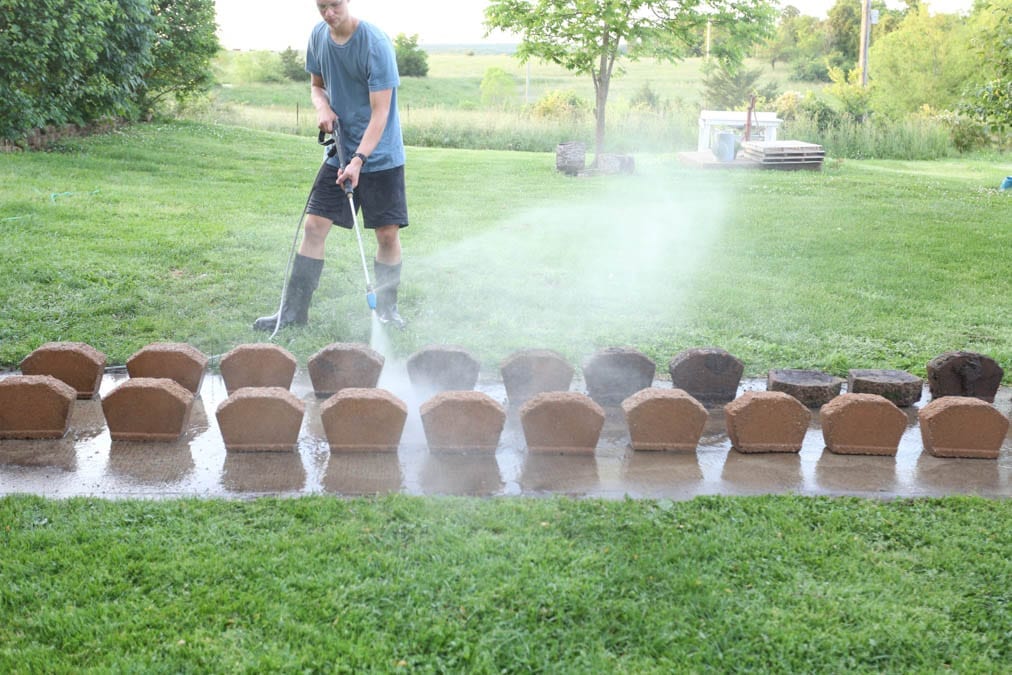
We used a shovel to pry up all of the stones, and moved them over to the sidewalk. We then lined them all up neatly and my son power washed them. This made them look like new!
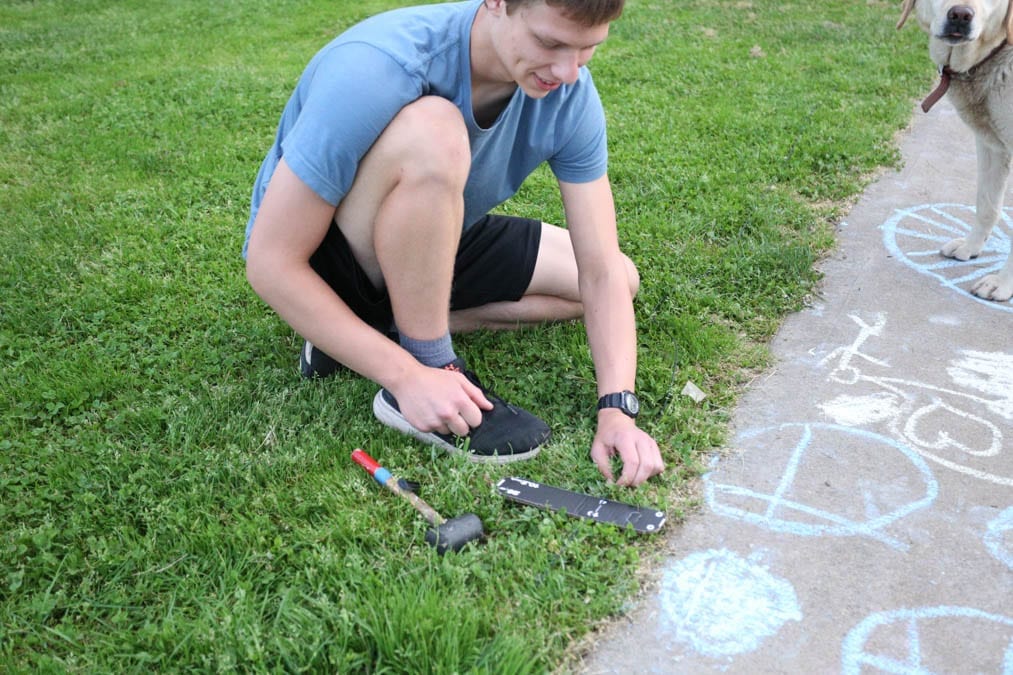
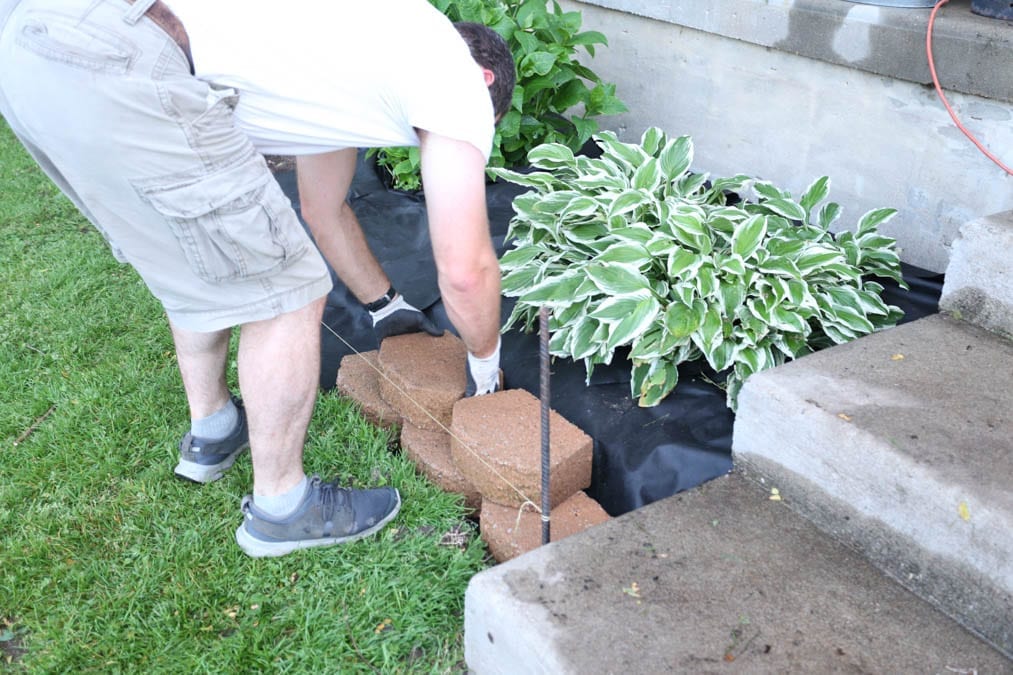
Step 4: Run a Line
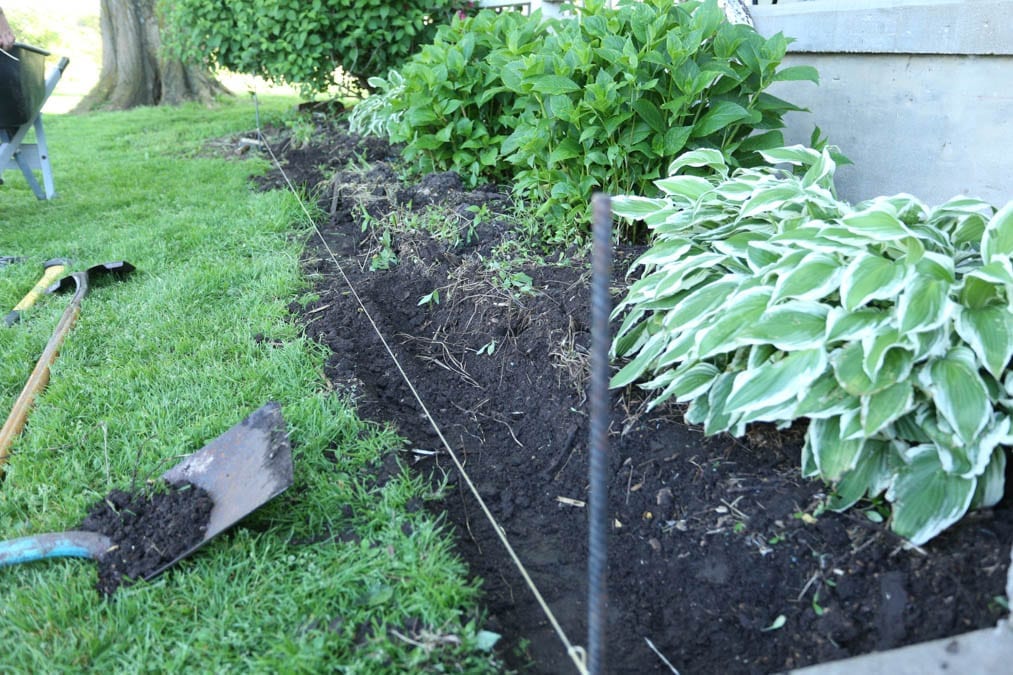
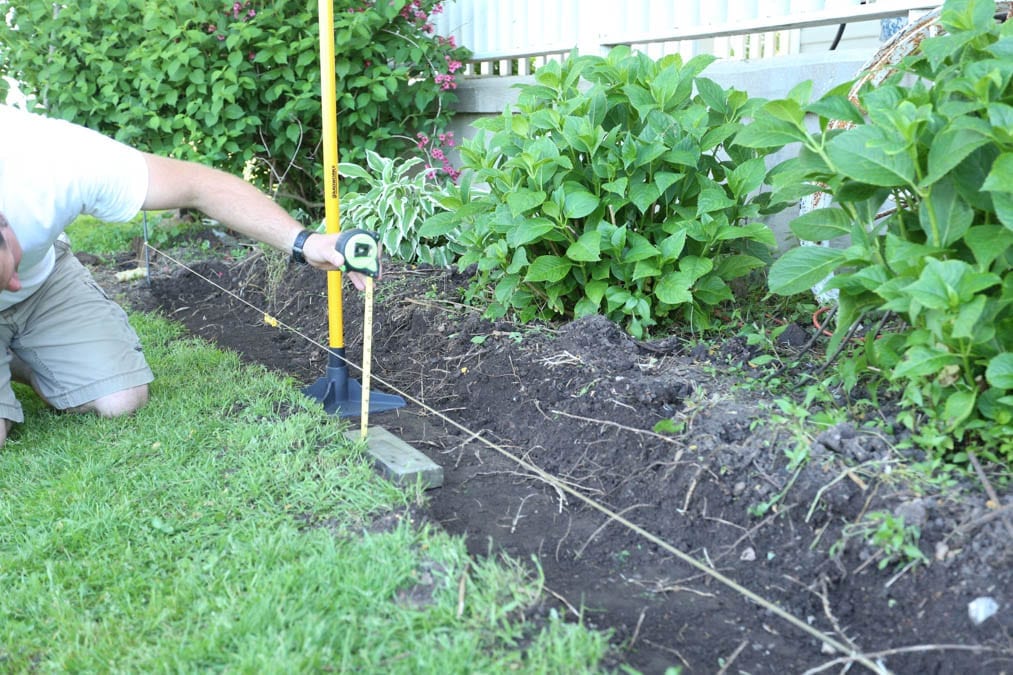
Next, my husband ran a line to make sure the blocks would be level when he put them back. Then he dug out any roots that would make the stones uneven.
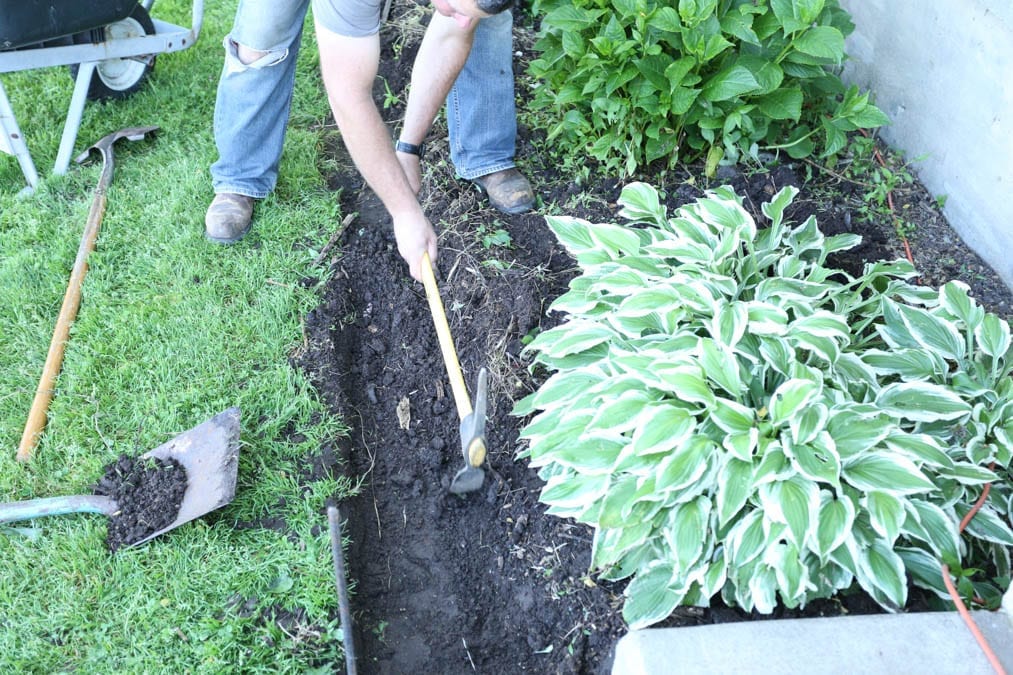
Step 5: Put down Some Pack Stone

Pour out some packing stones, and then tamp it down with a tamper.
Step 6: Lay down landscape fabric
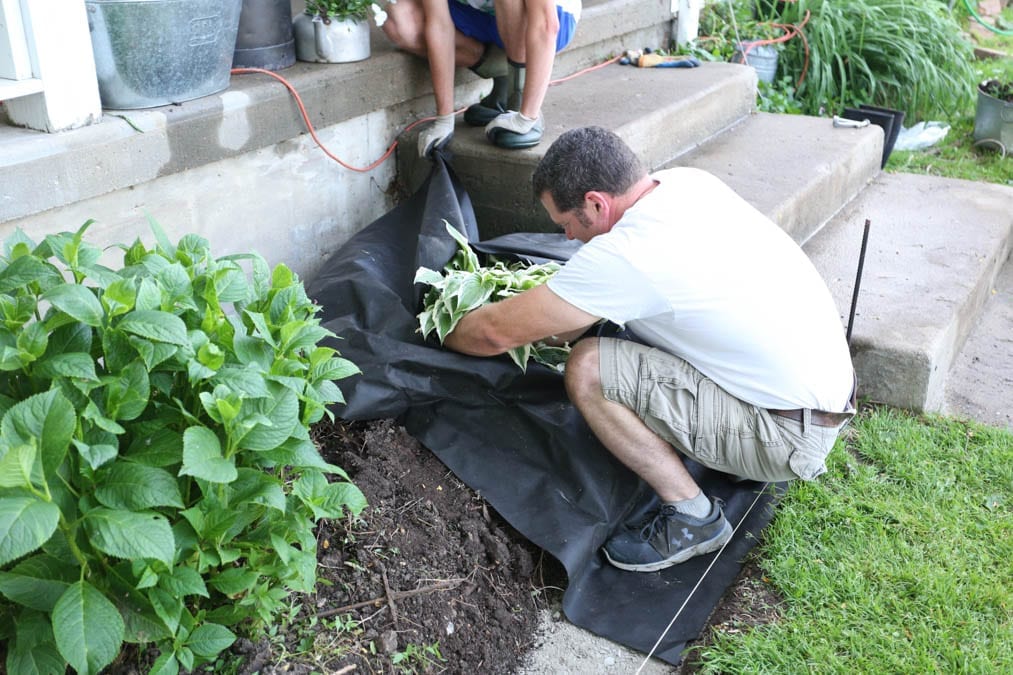
Of course it is much easier to put down landscape fabric prior to planting, but it can be done even with established plants. Simply use a straight knife and cut an X in the fabric and gently wrap it over and around the plants.
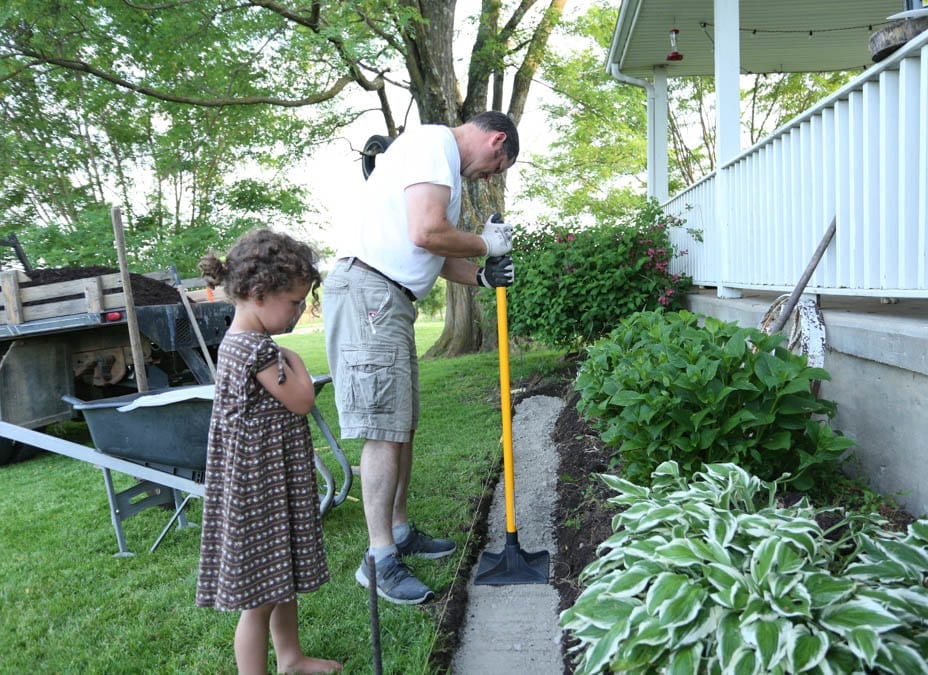
Step 7: Replace the Edging Stones
Neatly return your freshly cleaned stones to their places. Leave the string line up so that you can ensure that everything is straight.
Step 8: Mulch
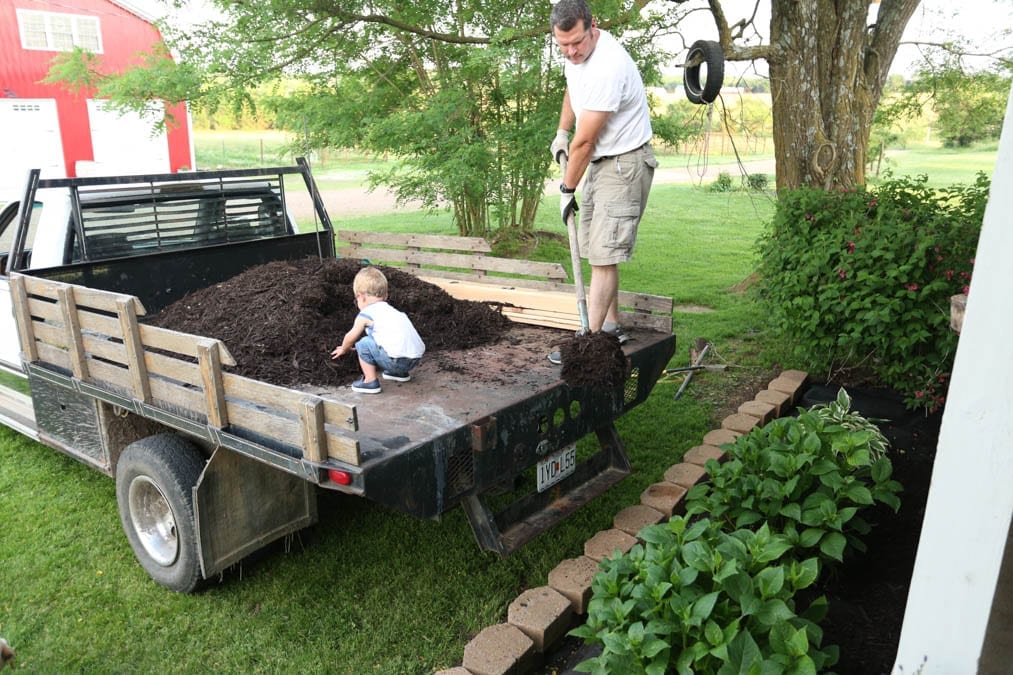
Lastly add the mulch, (get a cute helper if you can!) This will make everything look so nice and finished! We chose black for a nice contrast.
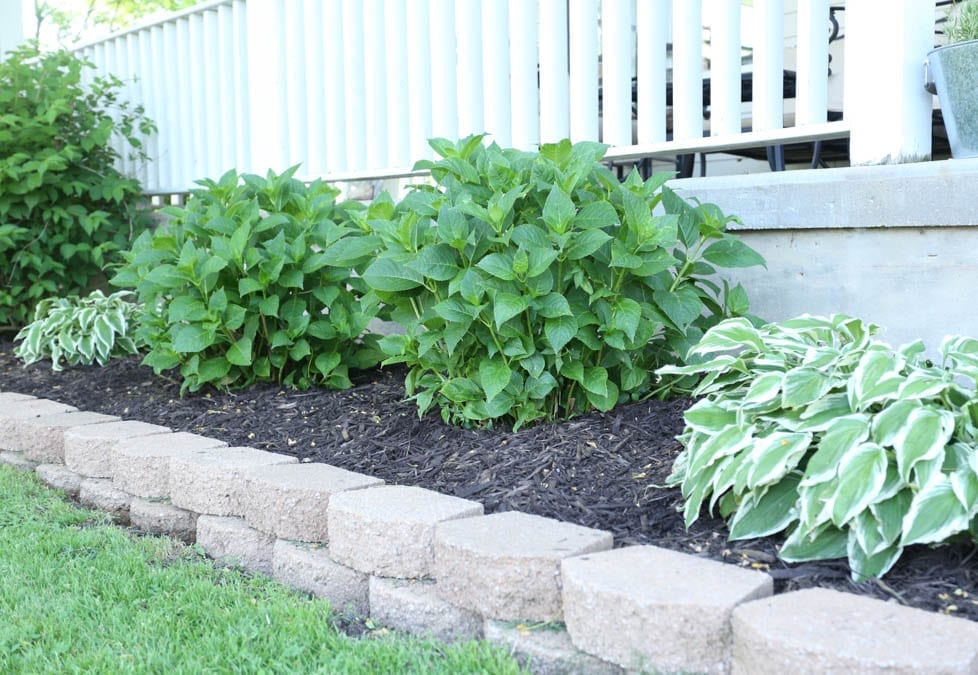
Lastly: Pat yourself on the back

Stand back and enjoy your fresh and clean flower bed and nicely trimmed yard! Of course it will look even better once the hydrangeas bloom! It’s a bit early for that just yet!
The total cost for this project was less than $50!
***Addition*** I originally wrote this Front Yard Refresh post for HomeTalk, and a couple of weeks have passed since then. We have now been using the robotic lawnmower for over a month. I have to say that the area where the Landroid mows looks noticeably better than the area where we use our riding lawnmower. I am super surprised by how amazing the grass looks! It is fuller, has more new growth and less weeds. If you have any questions about the Worx Landroid, feel free to ask!
More Outdoor Projects
How to Plant Lavender in Containters
Pin for later!


Looks lovely!! Makes a big difference. ❤️ Lots of good helpers.
Yes Jersey! Our helpers make all the difference!
Looks great! What a difference.
Thank you Lynda! Now, if I could just keep the chickens out of it!