How to Make a Vegetable Trug | Flower Trug | Garden Hod
Making a vegetable or garden trug or hod is pretty simple. You will likely be able to make this garden basket from pallets or scrap lumber. Below you will find a complete cut list and detailed instructions.
What is a Trug or a Hod?
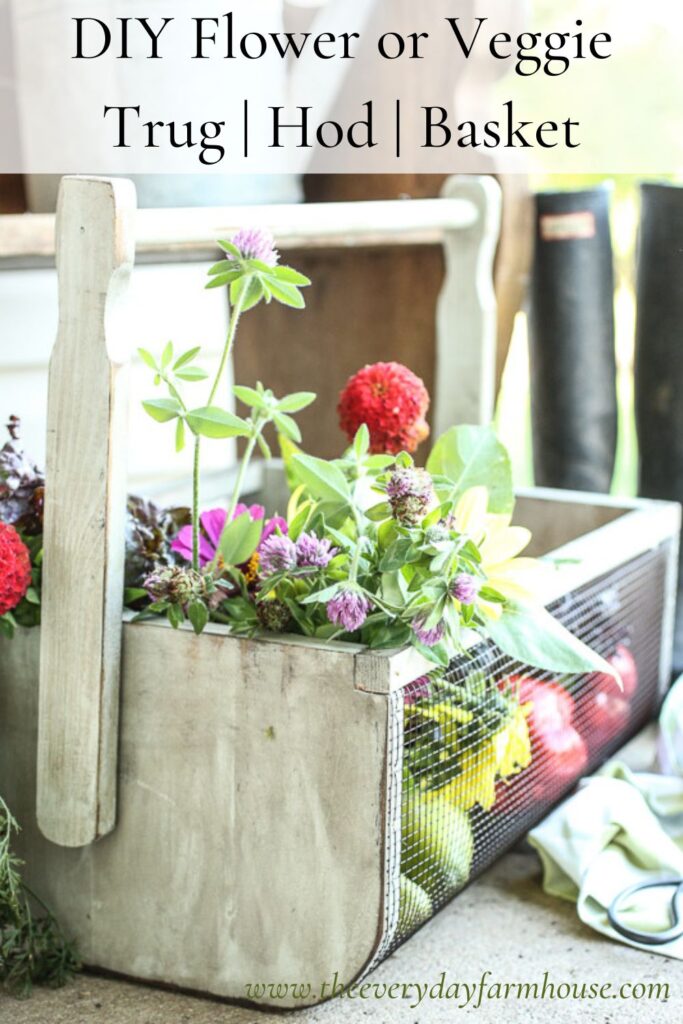
I have seen similar designs of this basket called a trug, and I have also seen them called a hod. Both names were foreign to me, I tend to navigate to the word basket! Essentially a trug or a hod is a rectangular or oblong-shaped vessel used for harvesting vegetables and flowers. A Sussex trug is made of thin strips of wood that cover the bottom. This design is clearly much different than that type of trug.
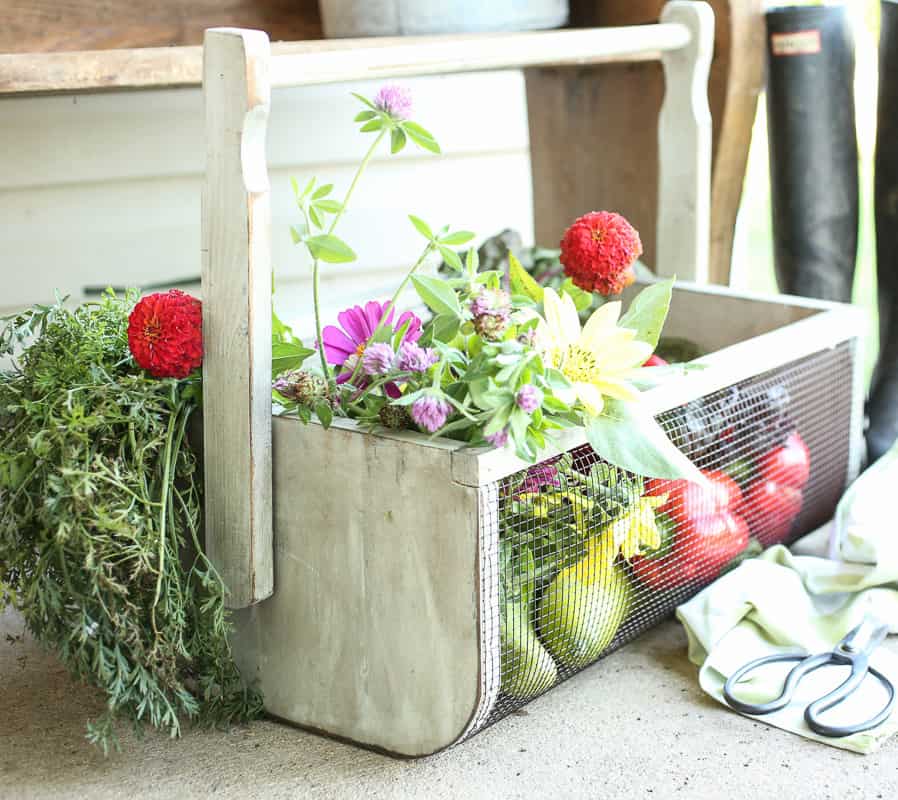
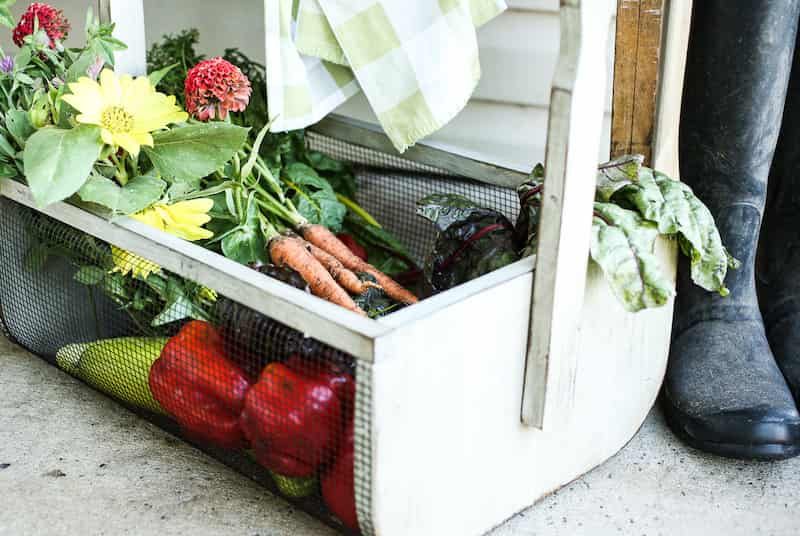
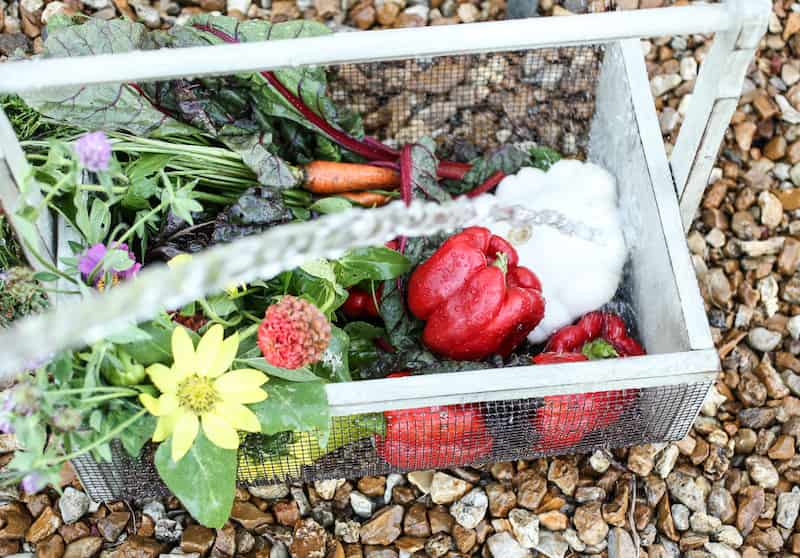
This is more like what I see sold as a garden hod. It is a long rectangular vessel with hardware cloth for the sides and bottom. This design allows you to wash your produce easily before you bring it inside. Brilliant if you ask me! I have been using this garden trug as I harvest carrots and other veggies and I love it! Call it what you wish, I call it handy!
Subscribe and Get Access to Free E-Books and Printables
Gather Your Supplies and Materials
I am providing our measurements below, however, you could make this any size you would like. This basket is big! The overall dimensions are 20″ long x 14″ wide and 8″ tall. Feel free to make it smaller if you wish!
Here is what you will need to make your own garden trug:
- 3/4″ dowel cut 20″ long for the handle you will also need two pegs cut from the dowel 1″ long
- two pieces for the ends, 1x8x14 My husband joined four 1×4’s together to make the ends. You could use plywood as well
- Side rails are 20″ long and 3/4″ square
- handles are 1x2x14″
- 1/4″ hardware cloth cut to approximately 20″x29″
Assembling Your Garden Harvest Basket
Cutting the end pieces
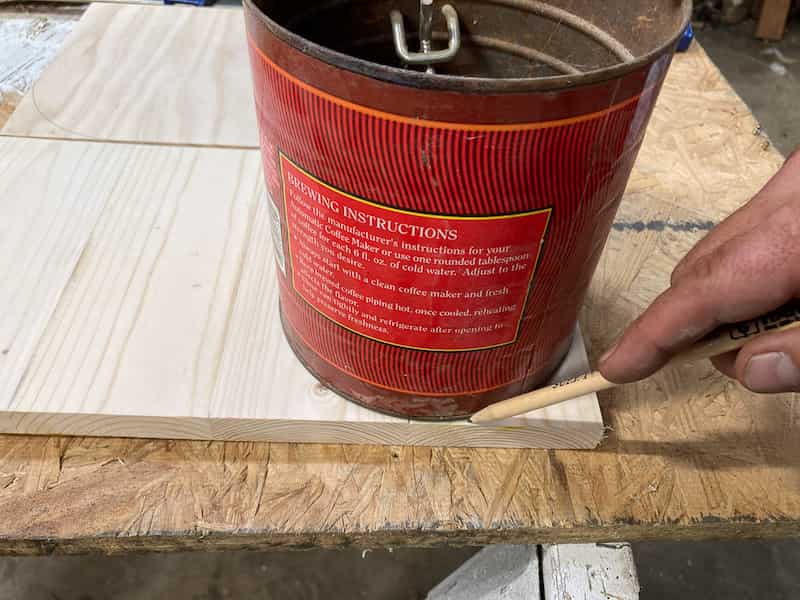
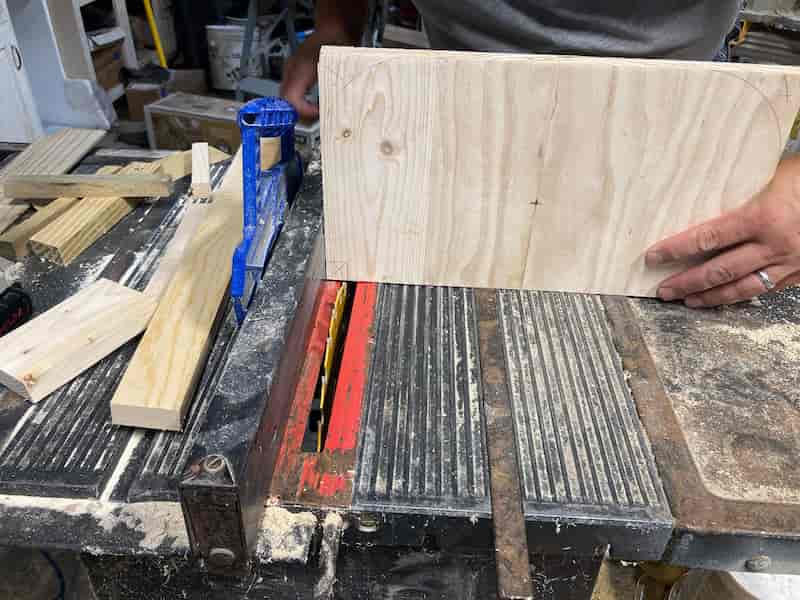
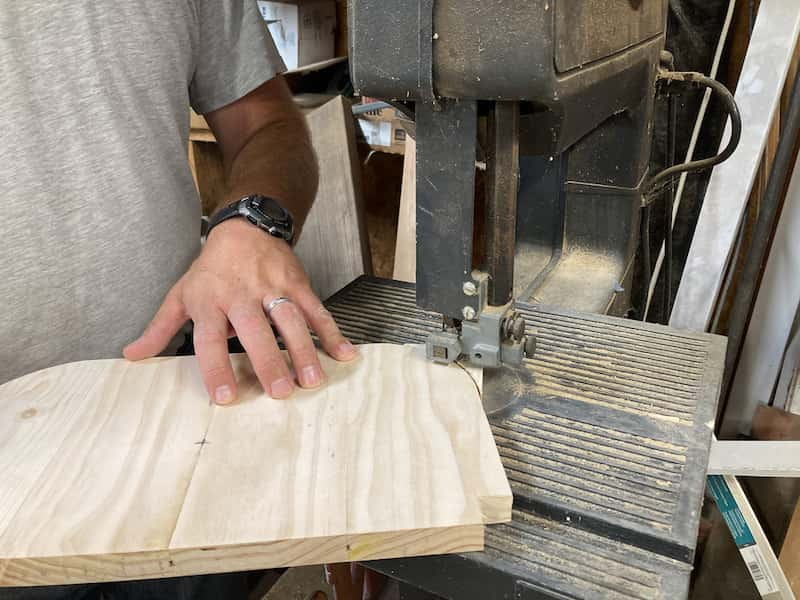
Cut your end pieces from a 1″ thick board. Either join some 1x’s or you can use plywood. The end pieces should be 8×14″. After cutting your end pieces, take a rounded coffee can or something similar and trace a curved line on each bottom corner to cut off. Using a saw, cut along the curved line. Our coffee can was 6 1/8″ in diameter
Next, you will need to cut out two 3/4″ notches on each top corner
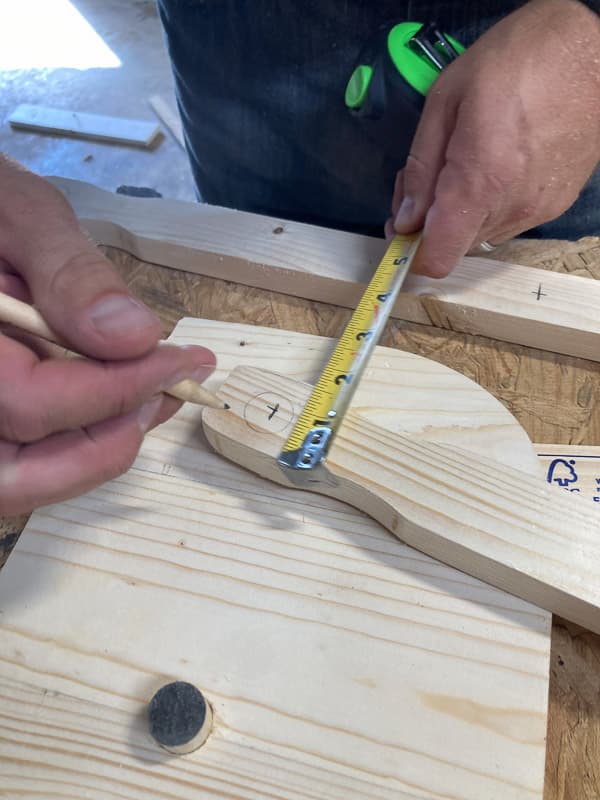
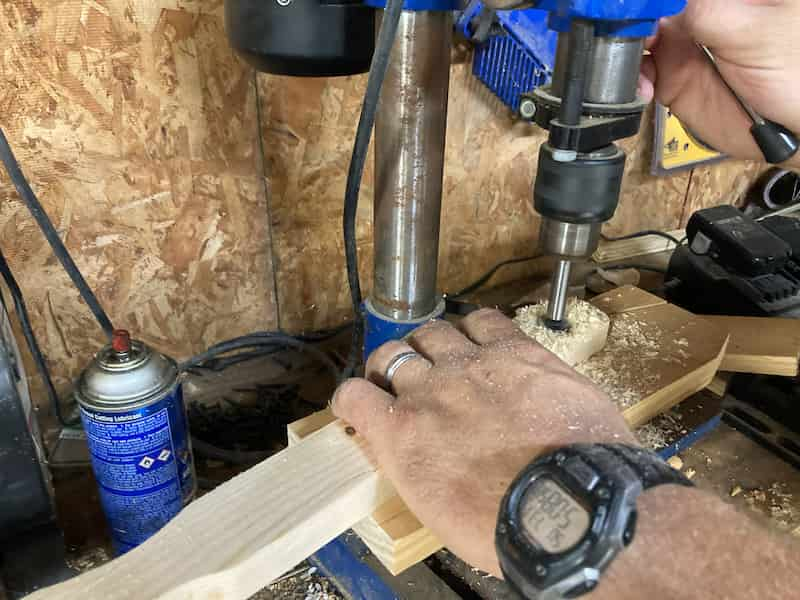
After the end pieces are cut you will need to drill a hole through each piece for the handle. It needs to be 3.5″ center from the top and 7″ center from the sides. If you have a drill press that works well, otherwise a drill with a 3/4″ bit will do as well.

Making the Handles
I wanted the handles to have a bit of a curved shape. We simply used the end of a paint stick to trace the handle shape. I think it worked nicely. This was a big paint stick, not one of the little ones. Then we rounded the bottom corners as well.
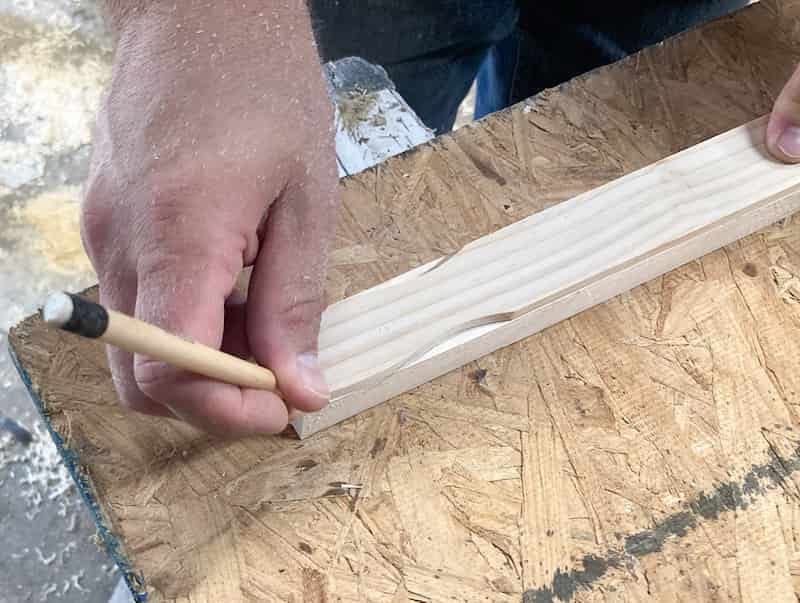
We then cut it out and sanded it. The handles are 14″x 1.5″
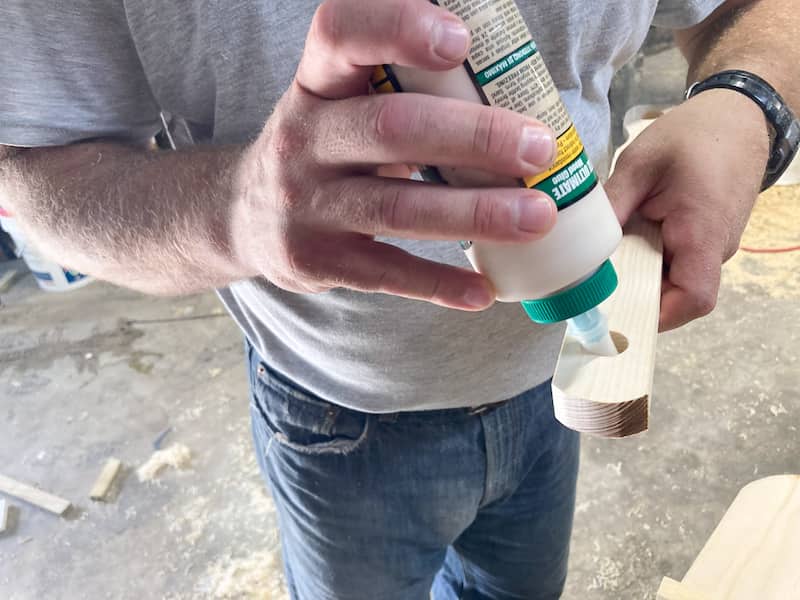
Next, you will need to drill a hole on the bottom of the handle 1/2″ deep and 3/8″ on top. The dowel will go part of the way through but not all the way.
You will need to glue the little 1″ peg into the bottom hole and then also secure it with a little nail. For the top, you will also need to glue and nail it to the dowel for the handle.
This handle pivots…I thought that would be a unique take on a garden hod! To achieve this, you simply attach the peg to the handle and pop it into the drilled hole on the ends. The peg holds it in place and easily moves back and forth but doesn’t flop down.
Cutting the Hardware Cloth
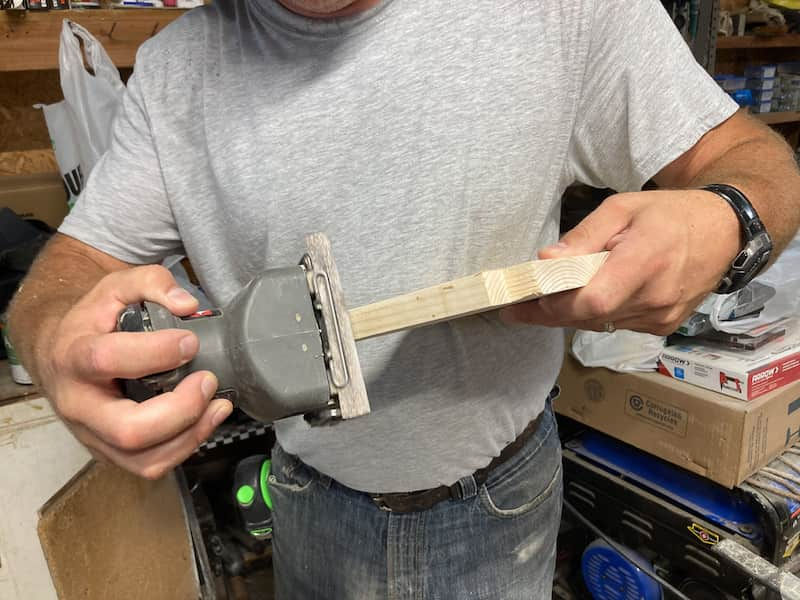
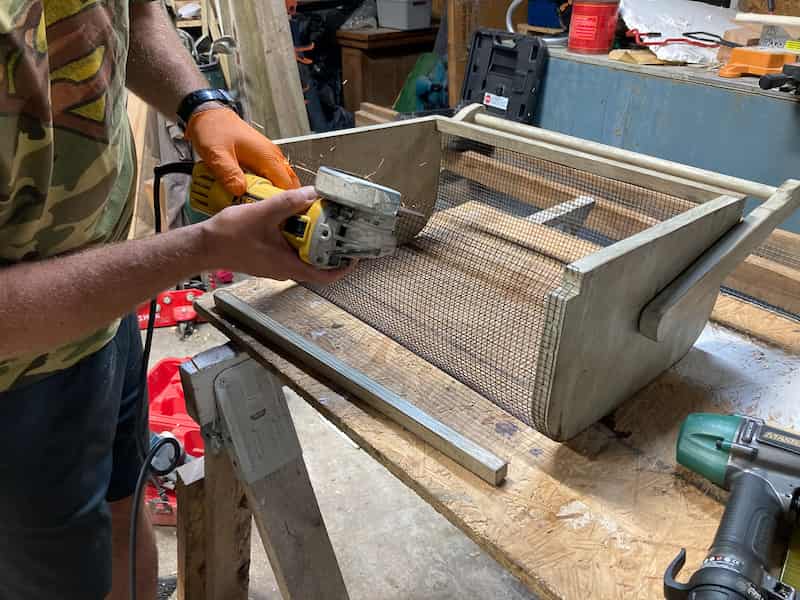
The easiest way to cut the hardware cloth is with an angle grinder. Otherwise, wire snips work fine too! Our approximate measurements are 20″ wide by 29″ long. You should give yourself a bit extra or just measure it as you put it on and cut off the excess. Just in case your measurements don’t match up exactly with ours.
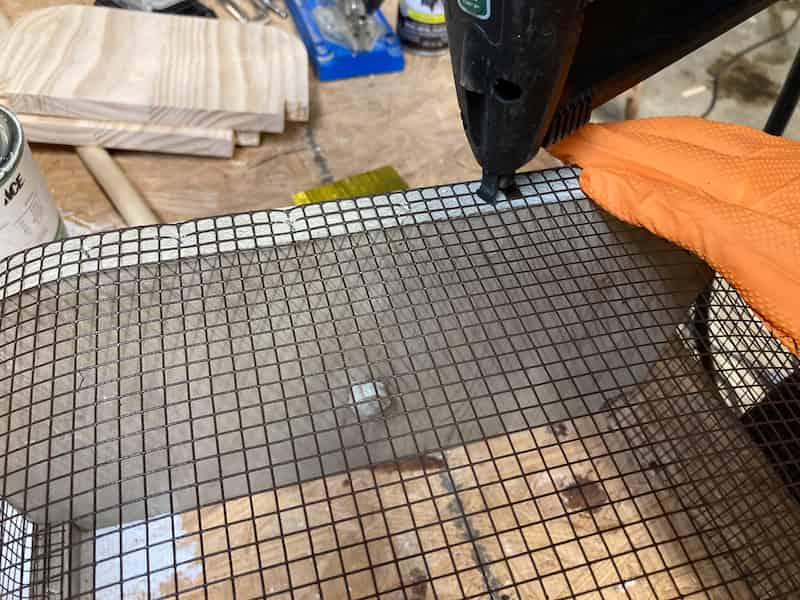
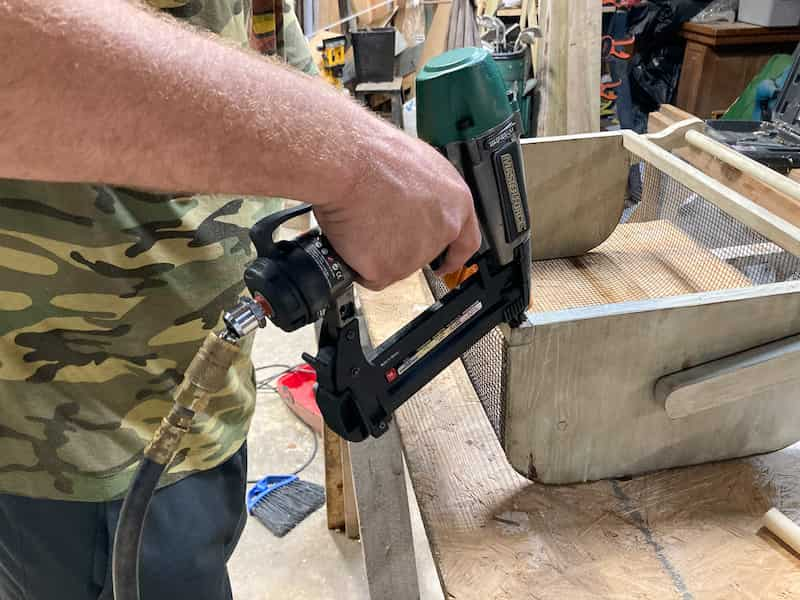
Stapling it all together
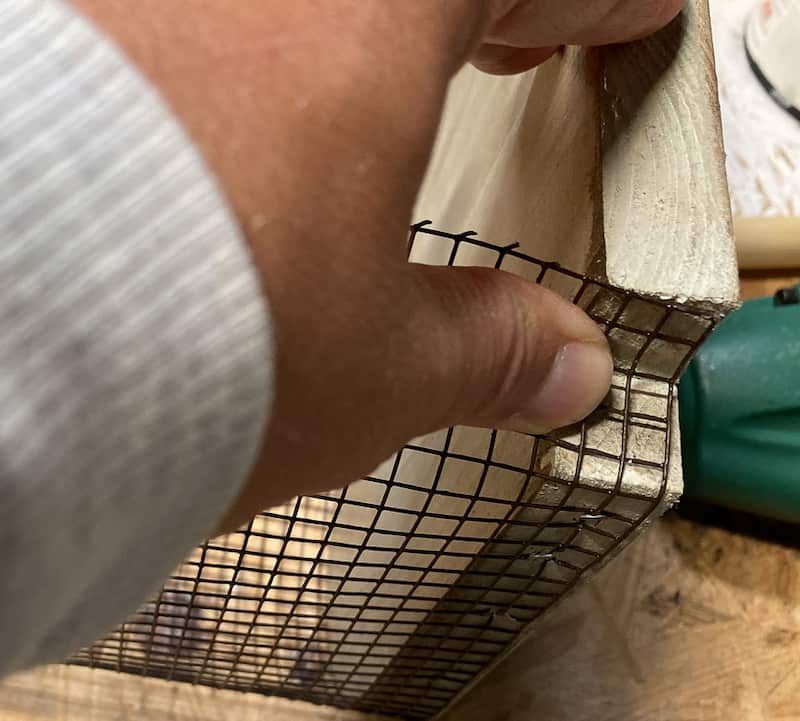
Using a staple gun or a pneumatic stapler (which is super handy), attach the hardware cloth and cut off the excess with wire snips or an angle grinder. Attach the hardware cloth under the side rails.
Cost of Making Your Own Vegetable Trug Garden Hod
This will vary widely on what type of wood you use. We were able to use scraps of wood from other projects so we didn’t need to purchase anything other than the dowel. We also purchased the hardware cloth as we didn’t have enough on hand.
If you can get a hold of a pallet, you could definitely use the wood from that to make a garden trug. Even if you purchased everything new, you could build one for less than $25.
If you purchase one already made, it will be around $50-$65.
The finish on Our Garden Basket
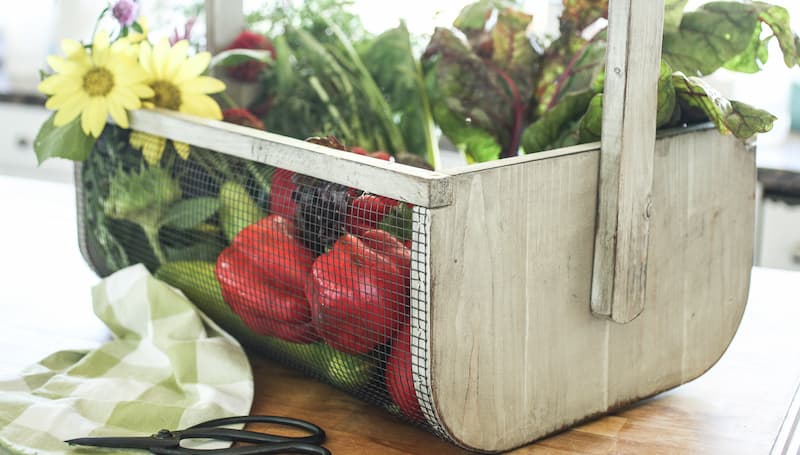
To finish this basket, I painted it in light-colored paint. My paint was leftover from the swing project. It is called Americauna egg by Magnolia paints. The base color doesn’t matter too much, white would work as well. Then I distressed it with sandpaper, focusing on the edges and places where natural wear would occur. I also gave it an all-over sanding so that the wood grain would show through the paint.
Next, I stained over the paint with dark walnut and quickly wiped it off working on a small area at a time. I like this effect especially on pine wood that doesn’t stain that well or on a scrap project with lots of different types of wood. It gives that effect of being stained but makes it more uniform and gives it an aged effect.
Also, I added a couple of layers of clear coat. Focus on sealing those little pegs as the wood will expand when you get it wet so it needs to be sealed if you want the handle to move freely!
Garden Hod Trug Video
This Garden Trug For Decor
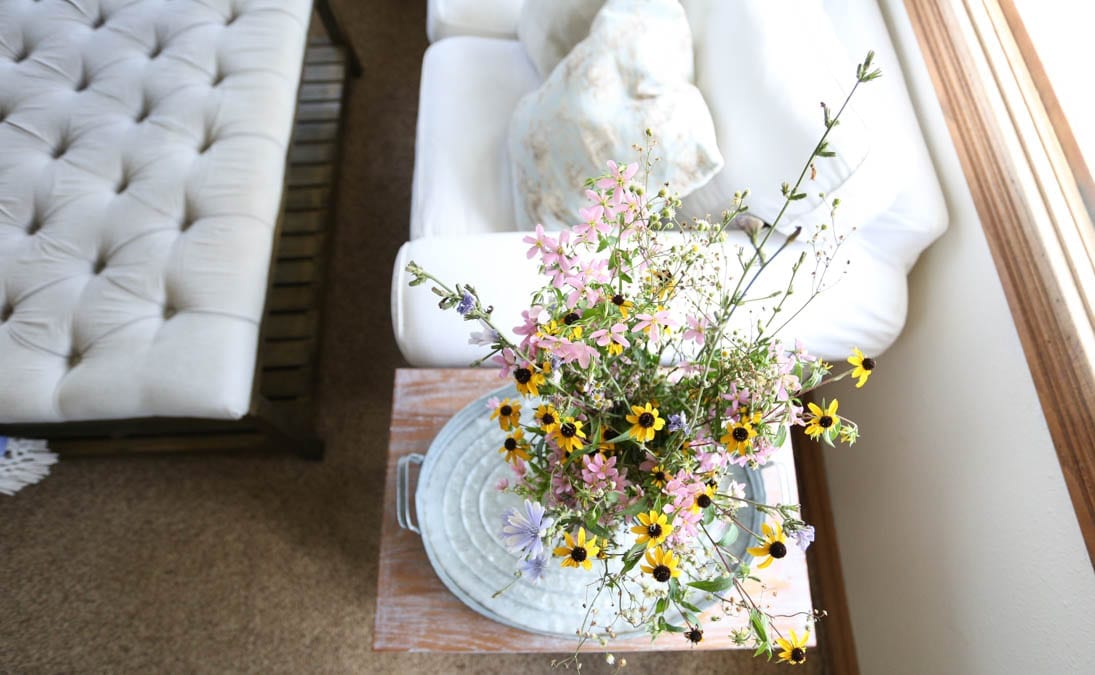
I think this trug would make a lovely centerpiece filled with pumpkins for fall as well! How about filled with scented pinecones for winter?
We also have a smaller one in the works that we plan to use for an egg basket! Of course I will be sharing the plans for that here!
Don’t Want to Make a Vegetable Trug Garden Hod? Buy Similar Here:


This looks really interesting. Could you give the exact dimensions, please? L x W x H?
Thank you!
Hi Carol! I added the overall dimensions to the post. It is 20″ long by 14″ wide by 8″ tall
Amazing, this is an excellent thing to have.
This is the first I have heard of this term even though we have used a similar one for years! I love learning new words for things. Thanks, Jennifer! Everyone needs to know about this easy project so I’m excited to feature this post in this week’s Tuesday Turn About Link Party! Thanks for joining us and I hope to see you this week. Pinned 😊
This is such h a lovely garden basket, or Trug! This is a new word to me too! I might have to try this in the spring. Thank you for linking up to Fabulous Friday link party.
Thank you!