Daybed Porch Swing DIY | Crib Size-Free Plans
These Daybed Porch Swing DIY plans will have you building your own bed porch swing over a weekend. Even a beginner can create this daybed swing with a complete cut list, tools, and materials needed!
This post was done in collaboration with Worx tools. This post also contains affiliate links. All plans, opinions, and 17-year-old boys to build it are my own.
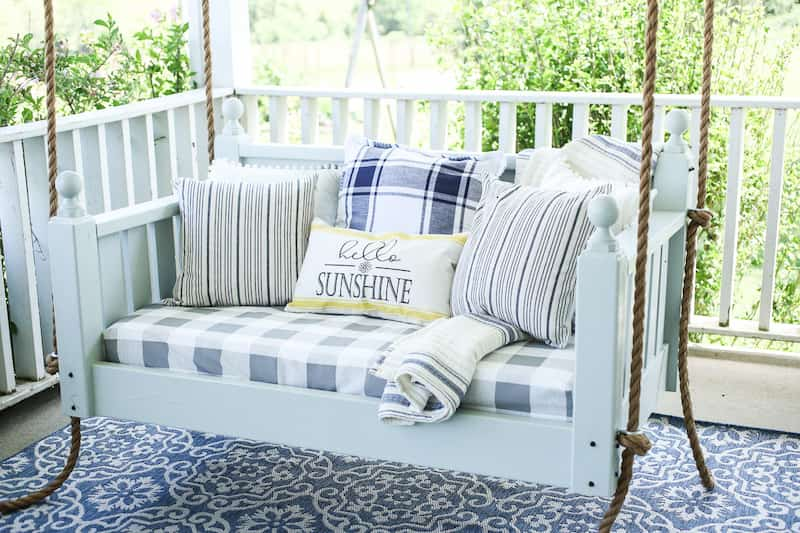
I have been smitten with these swing beds for quite a while now. However, the price of buying one already built is quite high! Not to mention none of the ones for sale were exactly what I wanted!

My 17-year-old son likes to build things and he has also been taking some engineering design classes, so being the enthusiastic homeschooling mother that I am I saw this as an opportunity for him to practice his skills! Ha! No selfish motivation at all!
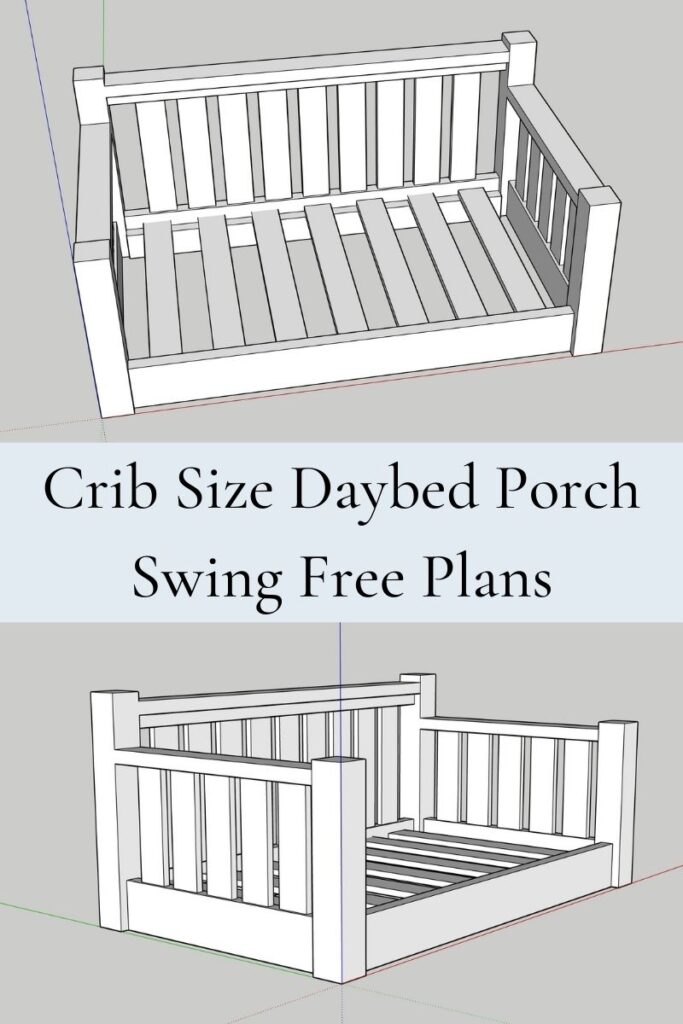
Free Printable Cut List for Daybed Porch Swing DIY
Where to Get a Crib Mattress for a Daybed Porch Swing
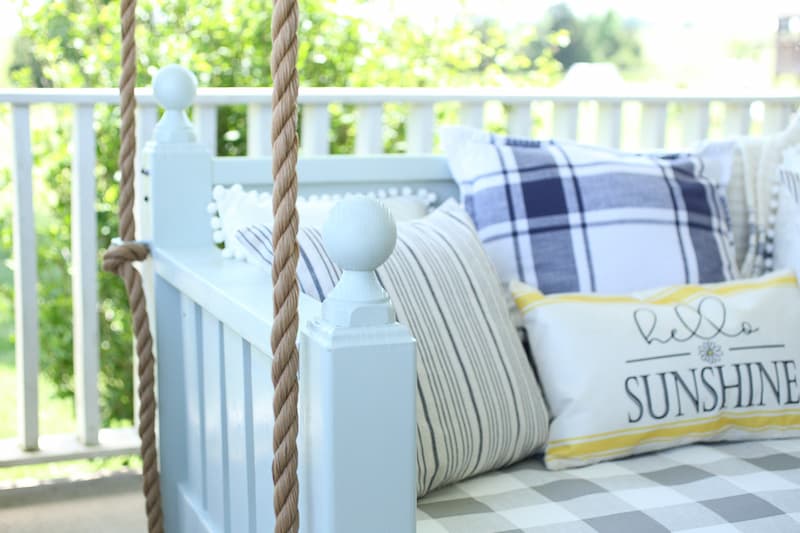
Crib mattresses are a pretty standard size, they can however vary by an inch or so. Our mattress that these plans are based on is 27.5″x52″x4″. The difference in size really won’t matter especially if you plan to have pillows on the daybed swing. While you want the mattress to fit tightly you will find that the sides and the center will measure differently. Even if your mattress only measures 50″ it will likely work fine for these plans.
I got my crib mattress from someone on Marketplace for $20! That is a great place to start or Craigslist, every once and I while I still find something on there. Ask around and see if a friend is getting rid of one.
Here are a few that I found online for a decent price.
Tools Needed for a Bed Porch Swing DIY
All of the tools we used were from Worx, the ability to work cordless and switch and share batteries is a huge benefit to using their tools!
Cut List for Porch Swing Bed
Frame
- 2-2×6@50″
- 2-2×[email protected]″
- 2-4×[email protected]″
- 2-4×[email protected]″
Arm Rests:
Top Back
- 1-2×4@50″
- 1-2×4@50″ Ripped to a 2×2
Slat Supports:
- 2-2×4@50″
Inside, Back and Side Slats
- 7-1×[email protected]″
- 11-1×4@16″
- 10-1×[email protected]″
How to Build a Swing Bed

Step 1:
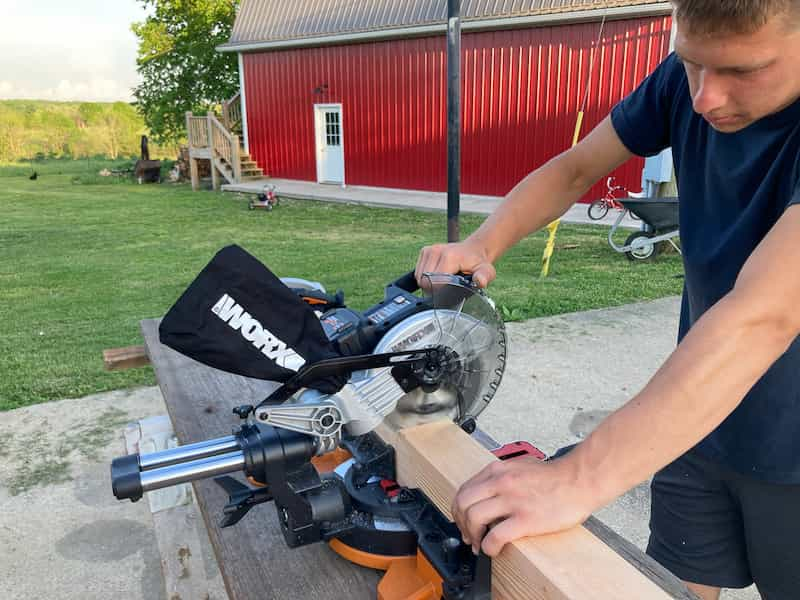
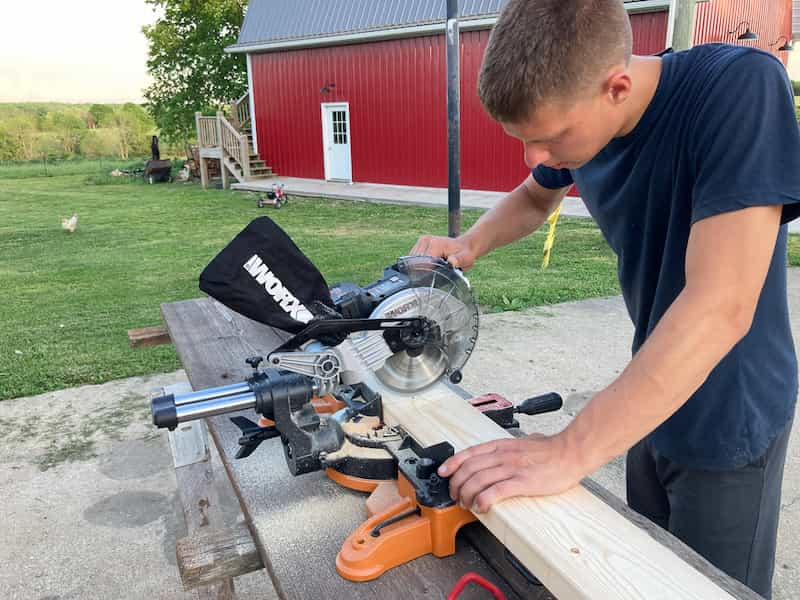
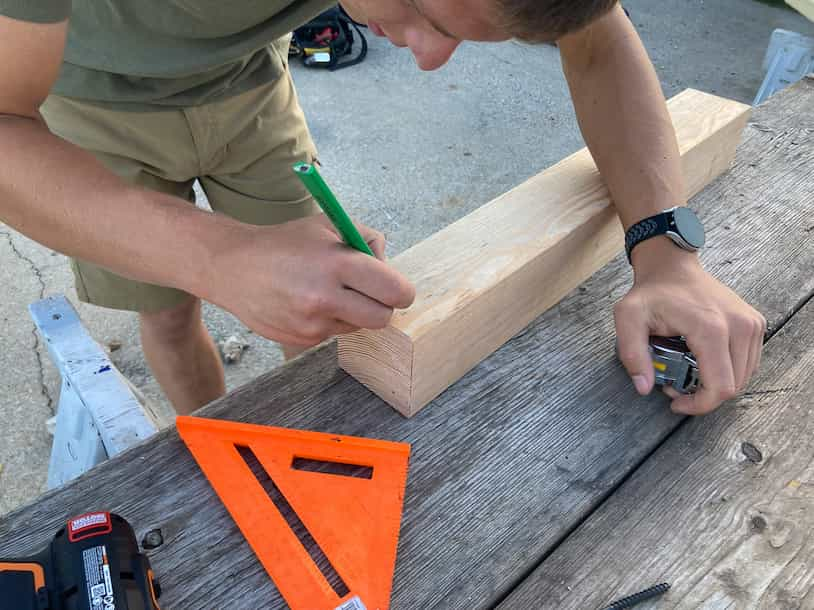
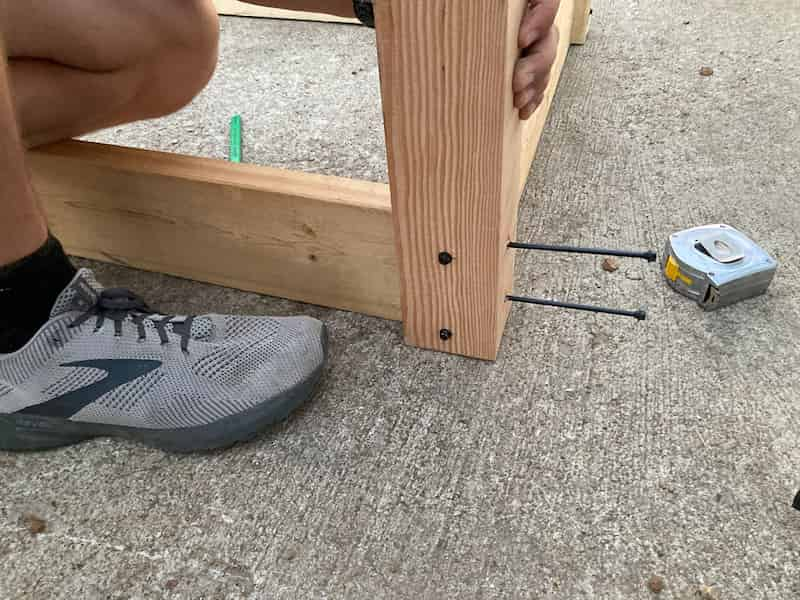
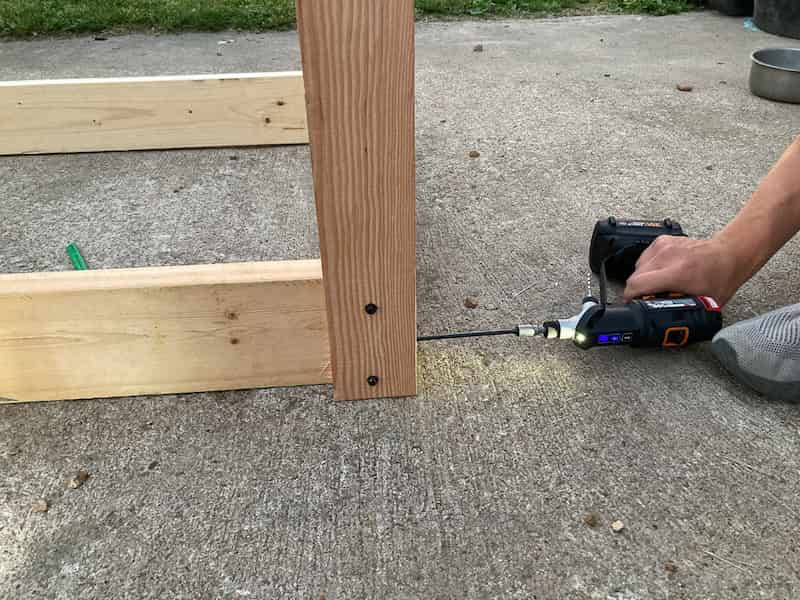
Build the frame of the swing. Using a Mitre Saw, cut the 4×4 and the 2×6 boards to length. Build the base frame of the swing, the 2×6 should be centered on the 4×4. Use two of the structural wood screws for each board. A speed square helps to line up your boards.
Step 2: Side Slats and Arm Rest
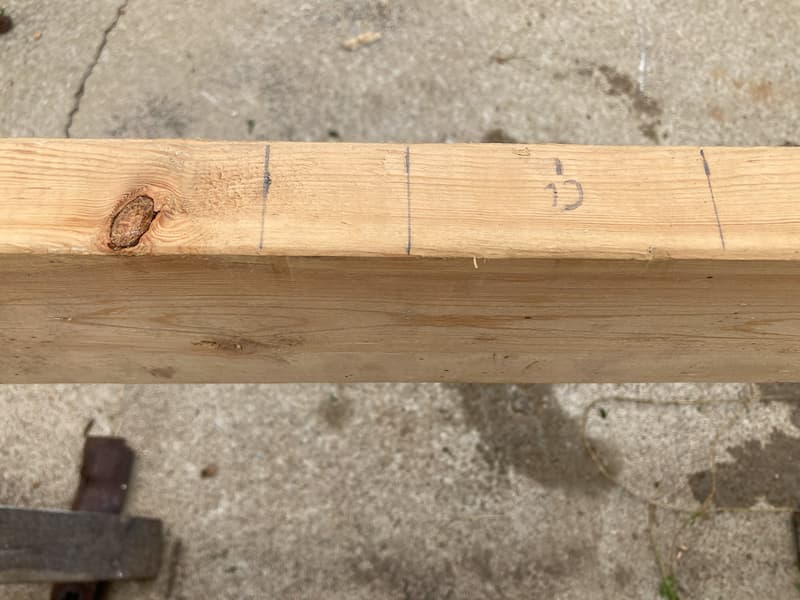
Measure out and mark your lines for the side slats. To get these even, find your centerline on the baseboard. Mark the center and then place your 1×4 on the line, you should have 1 3/4″ on each side of the center. After the first board is marked, you will have 1 1/2″ space between each board. Each end will have 2″ of space between the last slat and the 4×4.
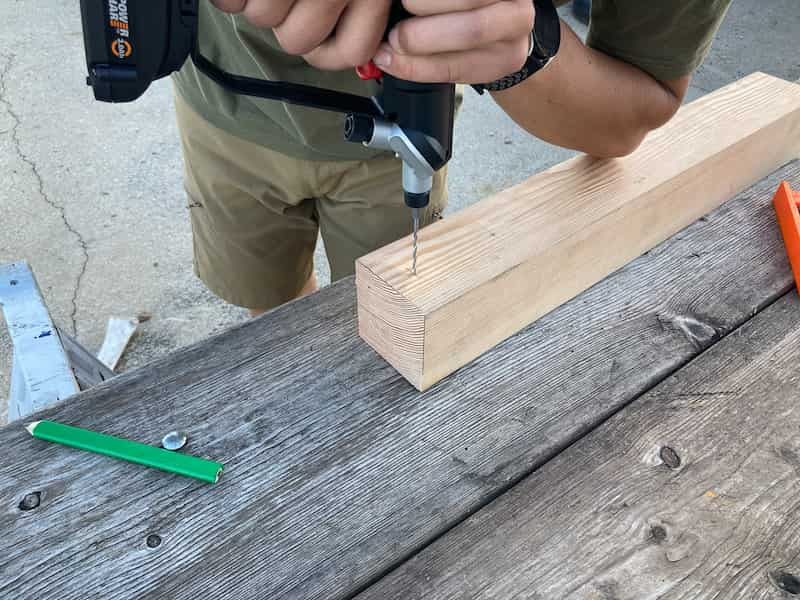
Cut your 1x4s to length (12.5″). Next, using a Kreg-jig, you should make two holes for the top and bottom of each slat.
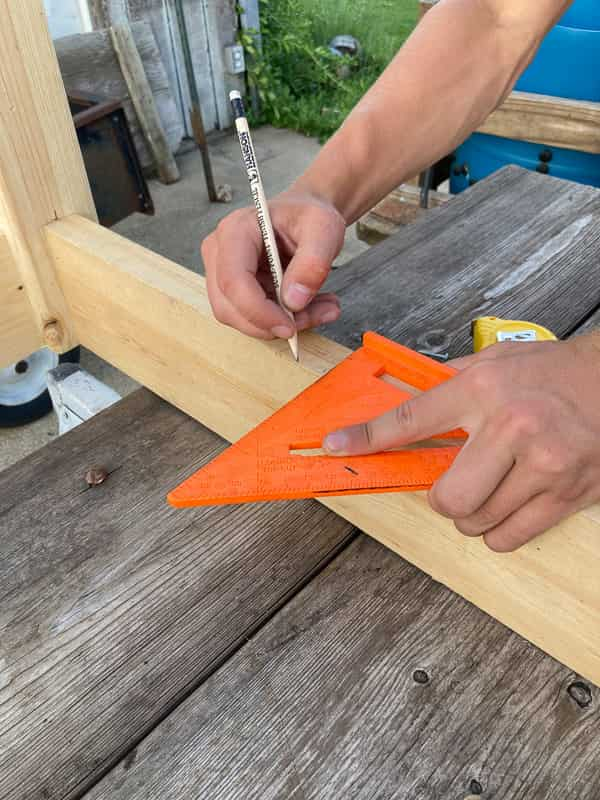
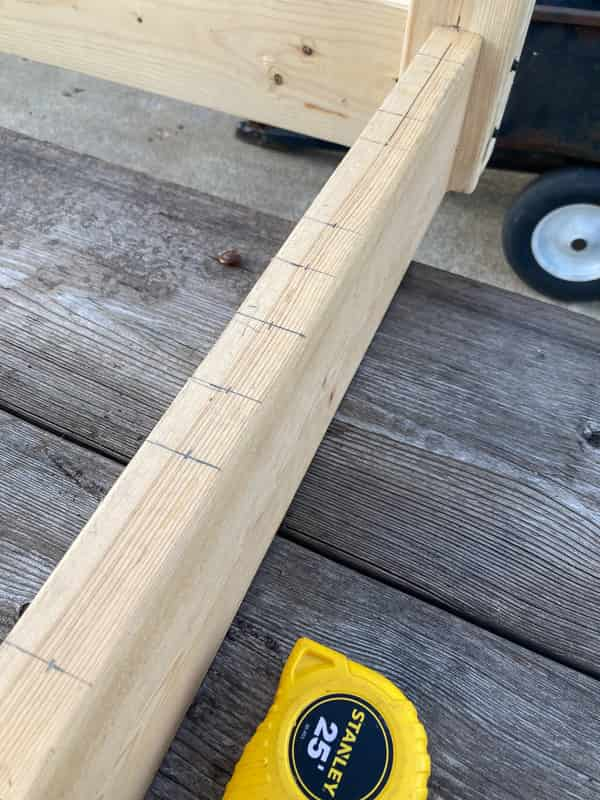
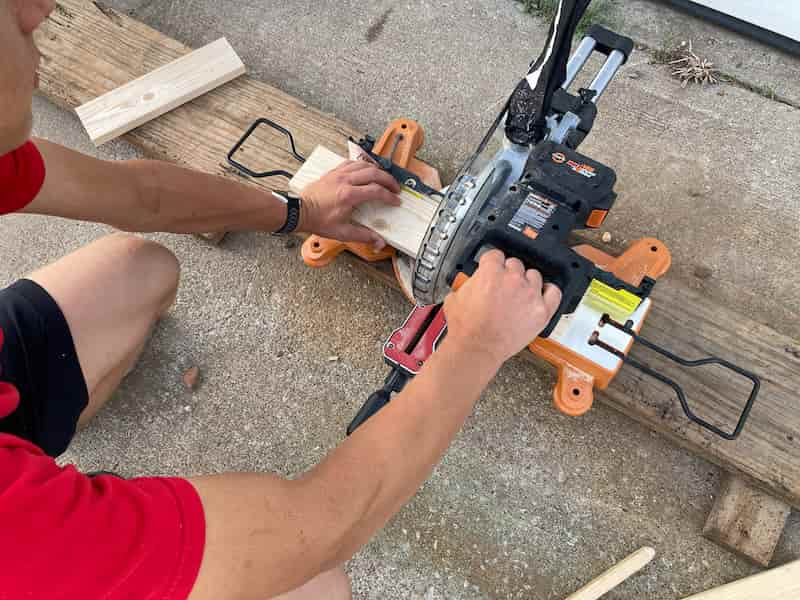
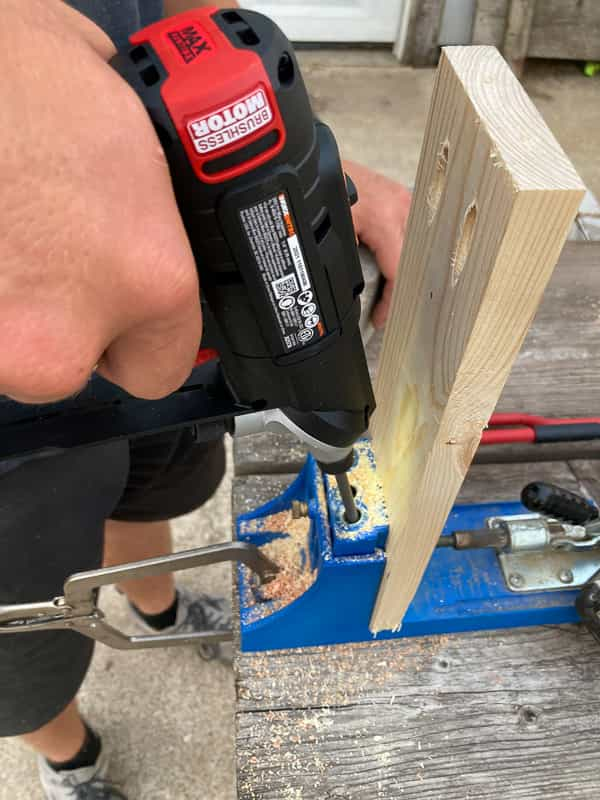
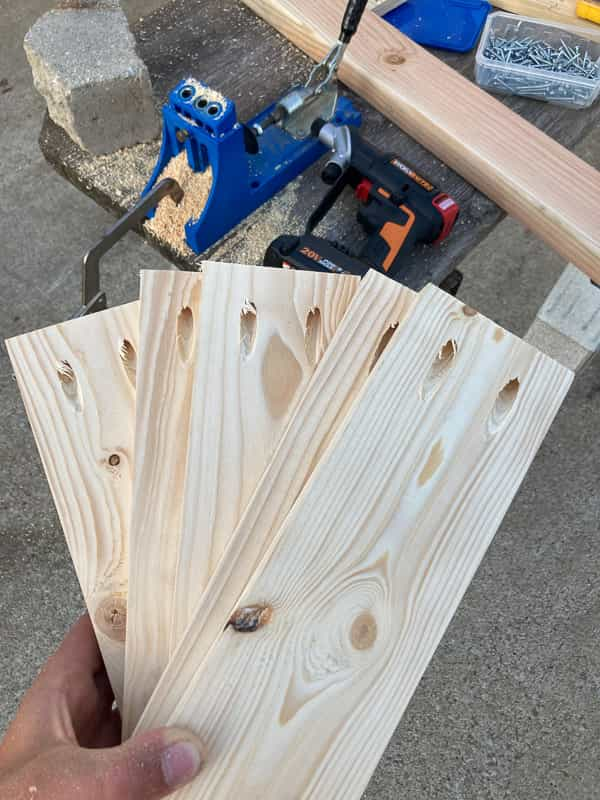
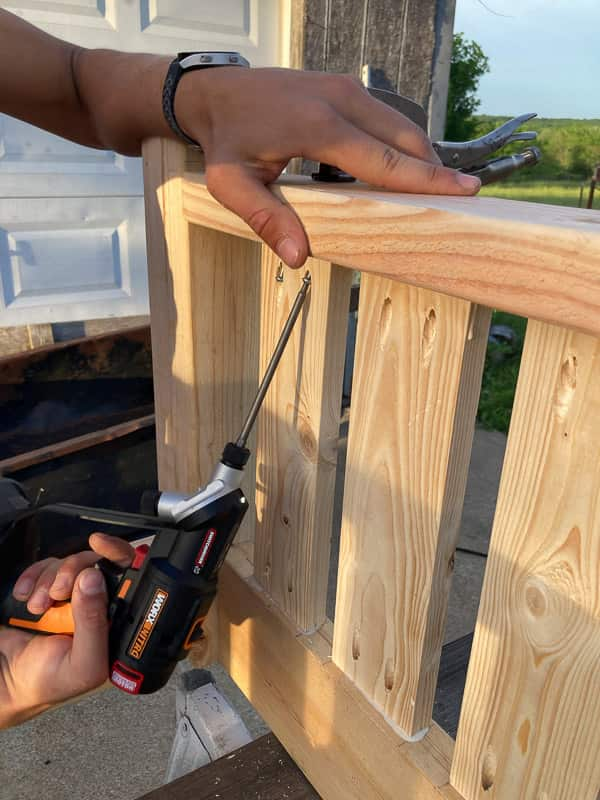
This cool little Switchdriver from Worx is super handy! You can switch from drill to driver super quickly!
Attaching the Arm Rest to the Swing
After screwing in each slat to the bottom board, you will need to attach the armrest to the top. In order to get the slats to line up evenly, it is a good idea to screw in the end boards first and then clamp a board along the top edge, this will keep the slats straight even as you screw the top on.
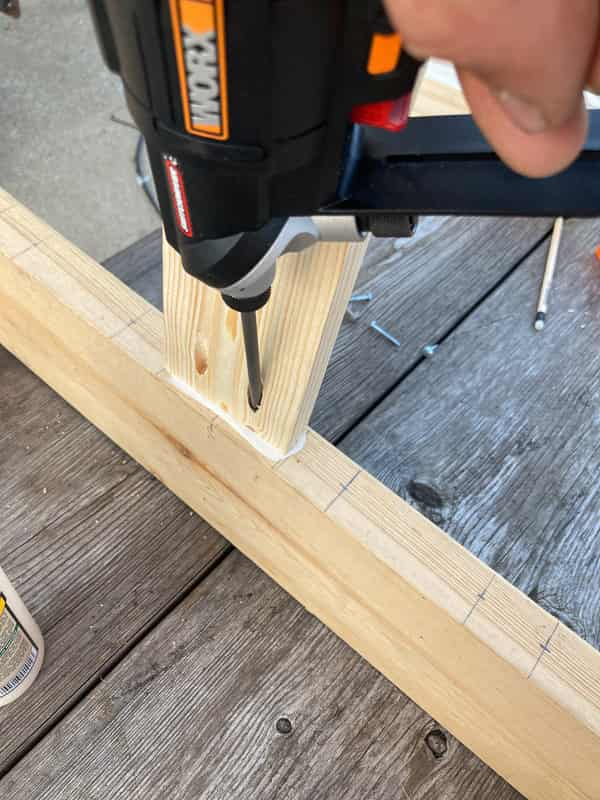
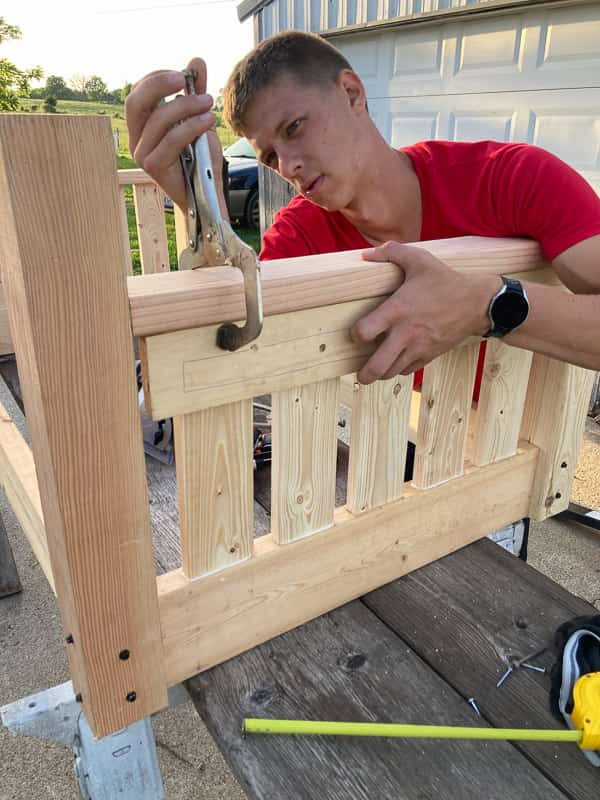
Putting the Back on the Swing
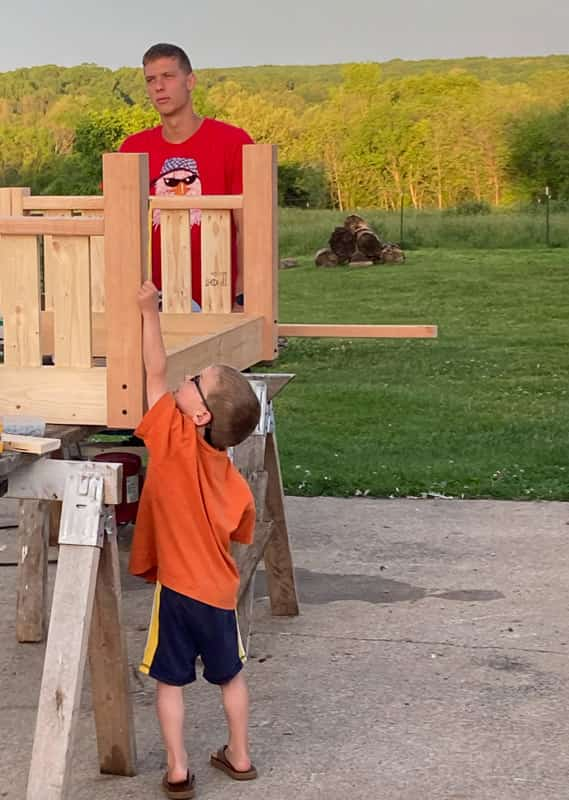
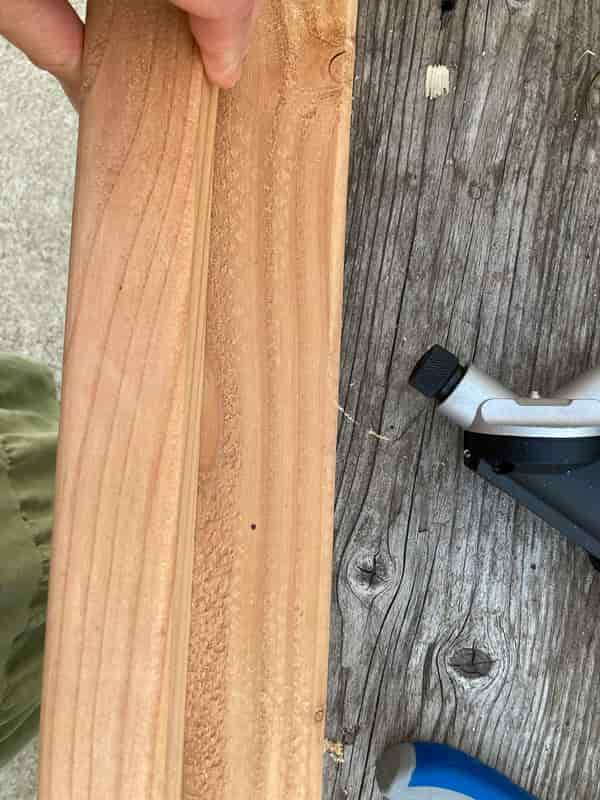
For the back of the swing, you can attach the top board or what I call the headrest first. For this part, you will actually need two boards, one you will rip in half to make it more interesting and more comfortable. It’s your choice you can attach all of the slats first or you can attach the headrest first. We did the headrest first and then fit each slat in a place where the measurements were marked.
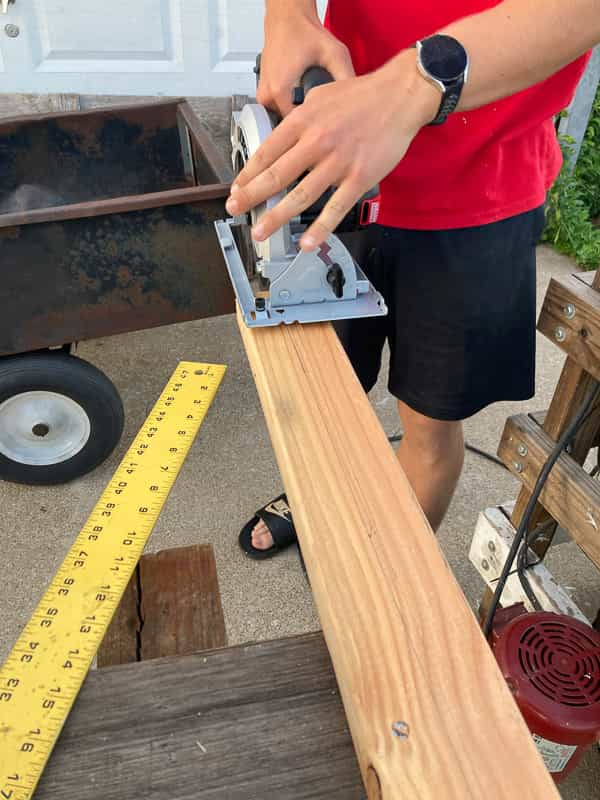
To make it easier to rip the board with a circular saw, you can screw the board down to your work base and then cut the side off that you will be using.


Making the Seat Slats for the Daybed Swing
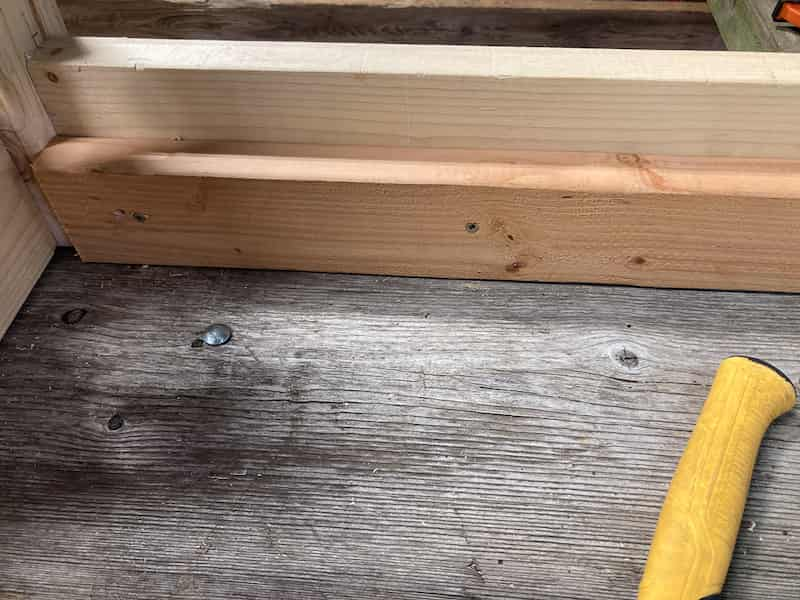
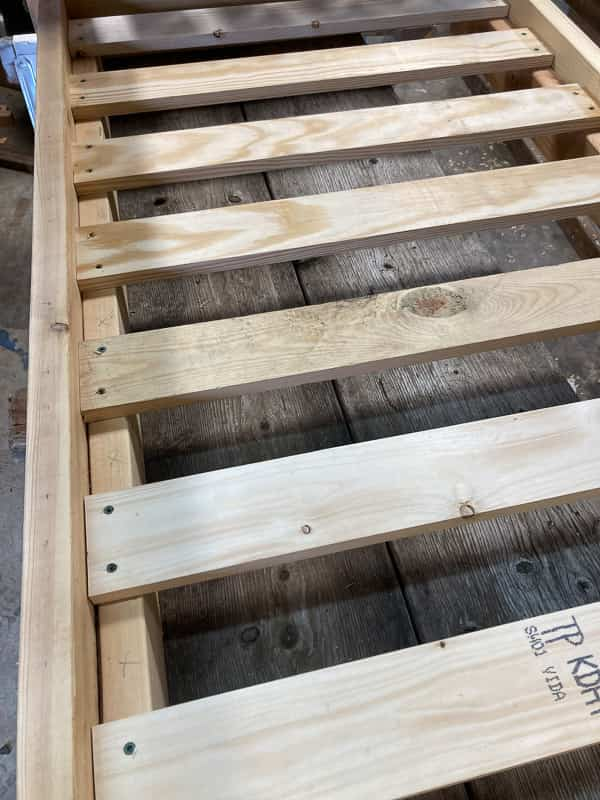
The seat slats are pretty easy and don’t have to be as precise. First, simply screw a 2×4 into the back of the base and to the front of the base. Next, screw the slats directly into the 2×4. We used 7-1x4s spaced evenly at 3.5 “
Attach a Finial
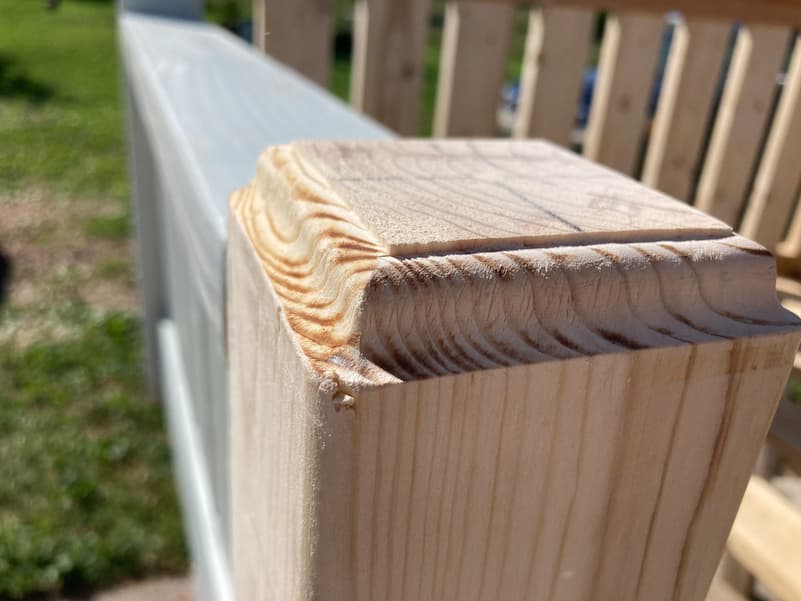
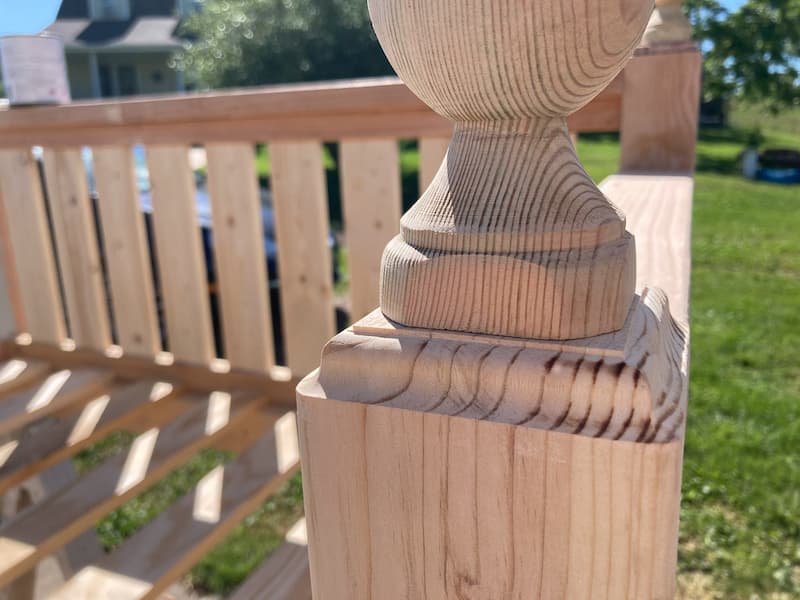
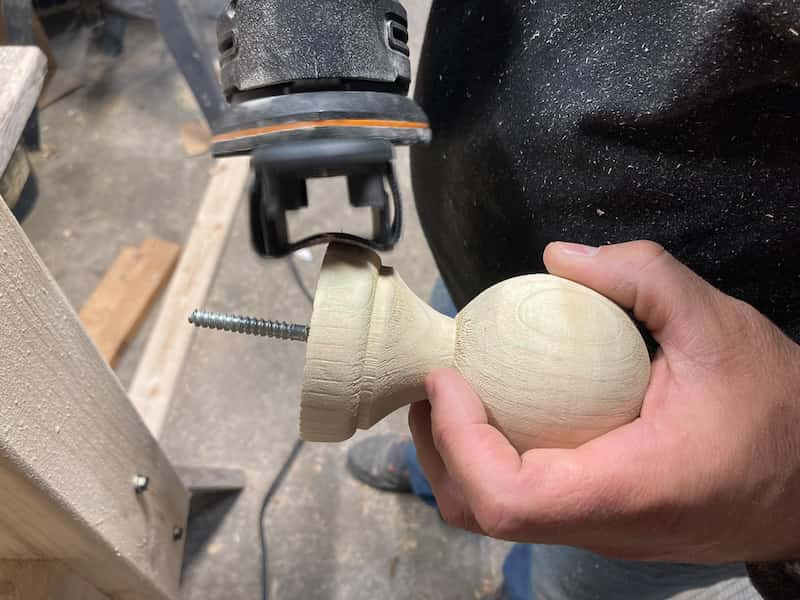
If you want to rout the tops of the 4x4s and attach a finial you can do that now. I wanted my swing to be a bit fancy so I opted for this little extra. The routed edge that we chose actually made the top of the 4×4 a bit small for the finial that I chose. We had to square up the round part in order for the mistake to look intentional rather than just like a mistake!
Sand and Paint
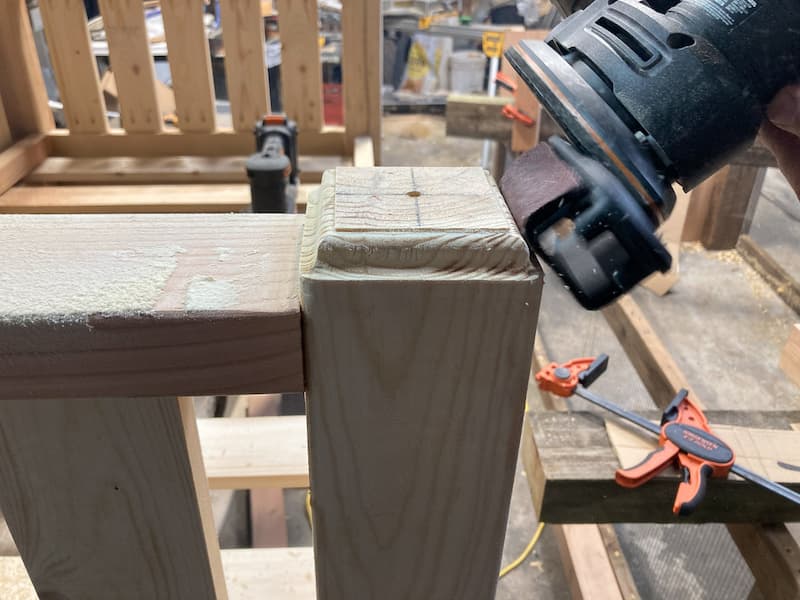
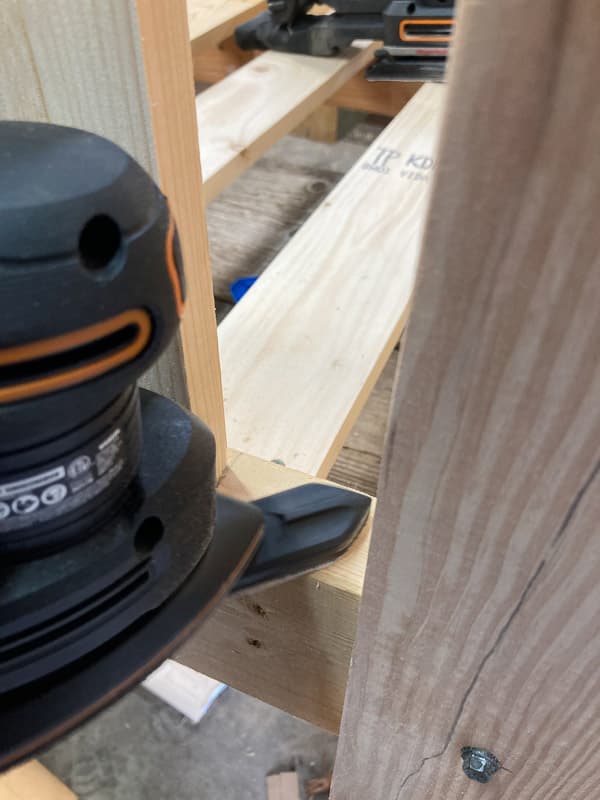
My son and I enjoyed using all of the Worx tools for this project. My son’s favorite was the 20V circular saw and mine was the sander. I have never used a sander that makes detail work so easy! There are several little attachments that make it easy to get in between the slats and to sand around curves and edges. I truly enjoyed using the sander!
Attach Eye Hooks and Rope
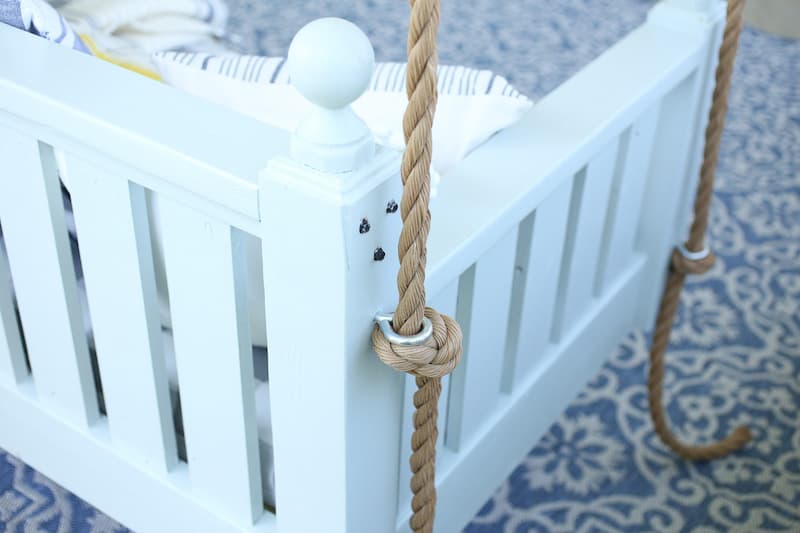
Here is a full post on how to hang this swing. Honestly, figuring that out may have taken as long as building the swing! We used 3 7/8″ eye hooks on the swing and then used this set of swing hangers for hanging it from the ceiling.
Check Out My Shop!
Planners, aprons, pillow covers, and kitchen towels!
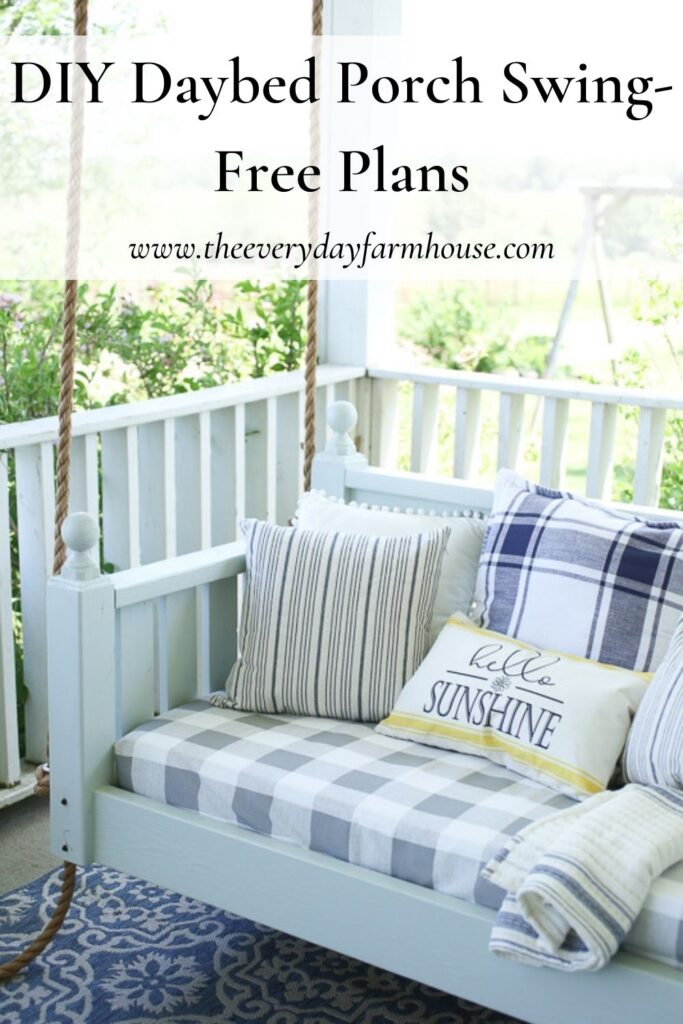
Striped Pillows Hello Sunshine Pillow Throw Blanket Rug Pompom Pillow






Wow this is beautiful you must be so proud of your son.
Thank you Janette…I really am proud of him! I love to see my kids work hard and accomplish something great!
It’s beautiful, he did a great job😍
Thank you Margaret! We love it and I am truly proud of what he can do!
Wow, that’s beautiful!❤️ Looking forward to swinging on that. ❤️
Yes, soon I hope!
I absolutely love that swing but I’d first need a porch! Mine is only about 5 feet wide and hardly holds the pot plants I have. Enjoy that beauty.
Thank you Janice! I love having a porch, it truly is a blessing! At least you are putting the space you have to good use by growing plants!
What a beautiful swing! Has anyone adapted this for a twin sized mattress? I am a novice and would appreciate any lessons learned,
Hi there Leah, I have not heard of anyone adapting it so far. These plans are only a couple of months old. You should be able to adapt them by just adding the difference in the measurements between a twin and a crib. Keep in mind that a twin swing will be quite heavy and will need good support for hanging! Update us if you decide to make one! I do think the basic instructions should be the same no matter the size!