DIY Picture Frame from Scrap Flooring–Plus Free Pumpkin Printable
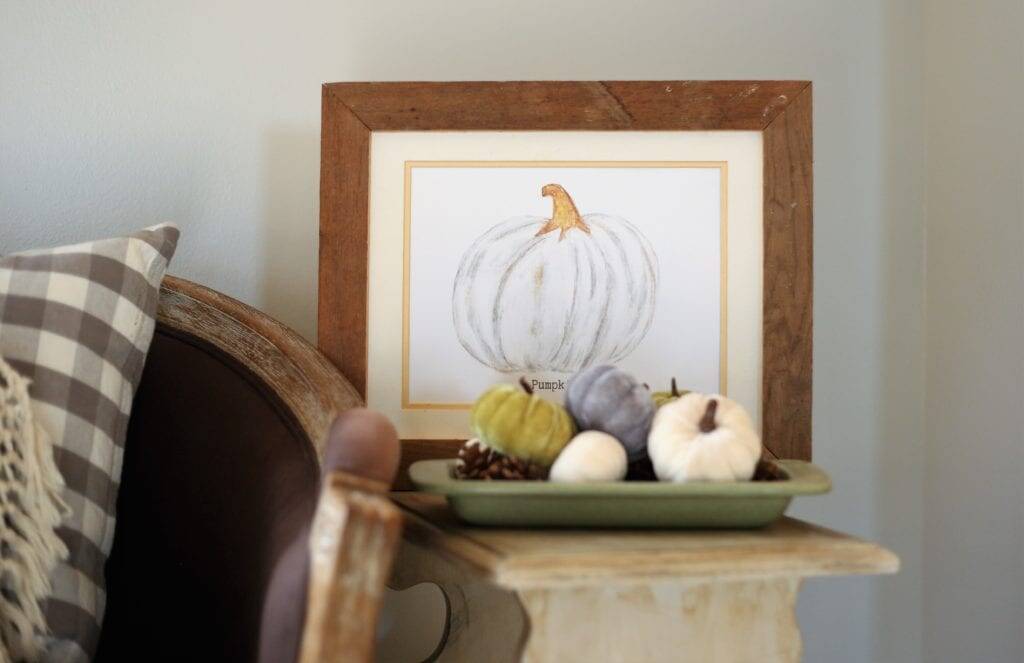
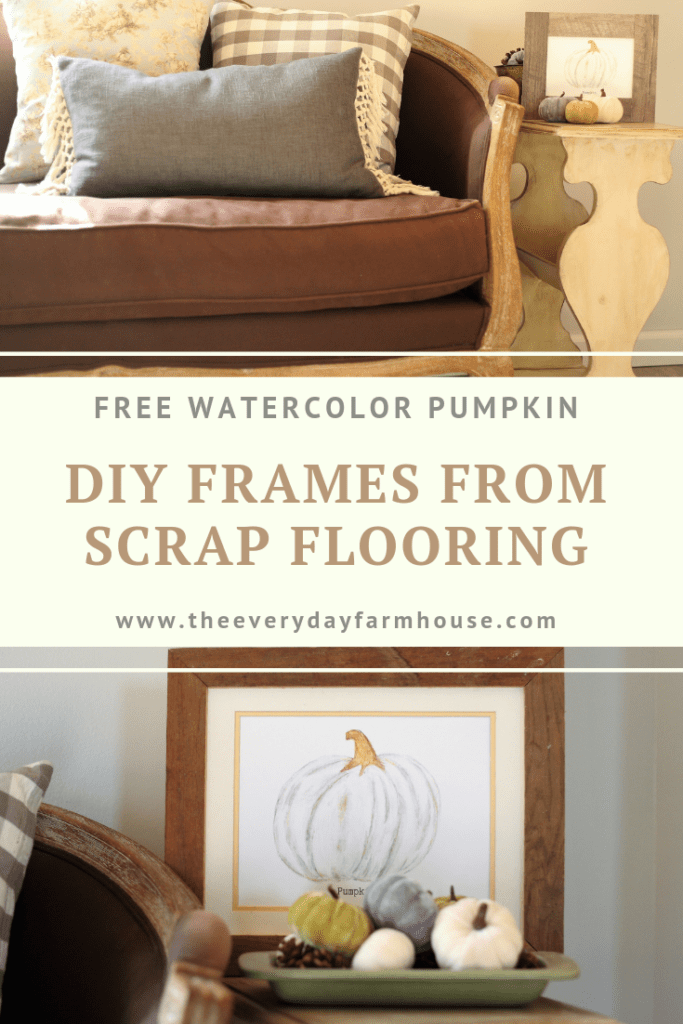
In this post I show you how to use scrap flooring to make your own custom picture frame. I also give you a festive pumpkin printable to put in your newly made frames!
Do you have scrap flooring?
If you have done any DIY projects, then most likely you have odds and ends of random materials lying around. One that we have a fair bit of is flooring. We have a box of pre-finished hardwood, a box of laminate flooring, and also a nice stack of reclaimed hardwood (my favorite).
I love using things we have on hand to make something “new”. I can actually count at least five projects here in my home that we have made from flooring. Last week I shared how to make these cute crates. Today, I would like to share one of the simplest projects.
This is Assuming you have some tools
I am going to assume that if you are a DIYER and have a stash of materials; that you also have some tools. While making the frame is simple, it will require some power tools. For this project, we used a table saw, a mitre saw, a router and a nailer.
You could use straight cuts and simplify this without mitred corners. If you have the capability though, it makes the frame look extra nice!
Materials
We used four pieces of reclaimed hardwood flooring for the large frame. 2-17″ and 2-14″
One piece of 5.2mm plywood. Large enough for the back
A hanger of some sort, we used a saw tooth thingy
A small piece of metal to hold the back of the picture in place.
Start with measuring–these instructions are for 3/4″ hardwood flooring.
To begin, decide what size frame you want. We made a large frame to hold an 8×10, and also a simple rustic 5×7 frame. These are our measurements, but you may want to make some different size frames. For the larger frame, I had a matte that I wanted to use. The matte measured 11×14, so the frame itself is 17×14″ with a 13 1/4 ” opening in the front. The routed edge is 1/4″x 1/4,” and the mitred cuts are 45 degree angles. The thin plywood is also 11×14 and is 5.2mm thick.
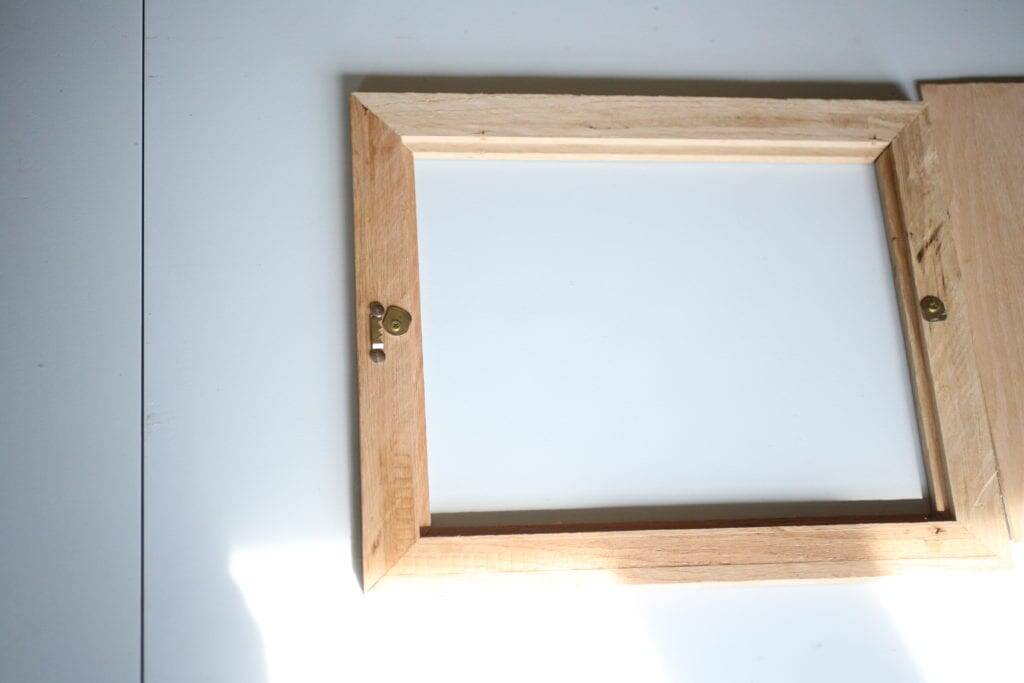
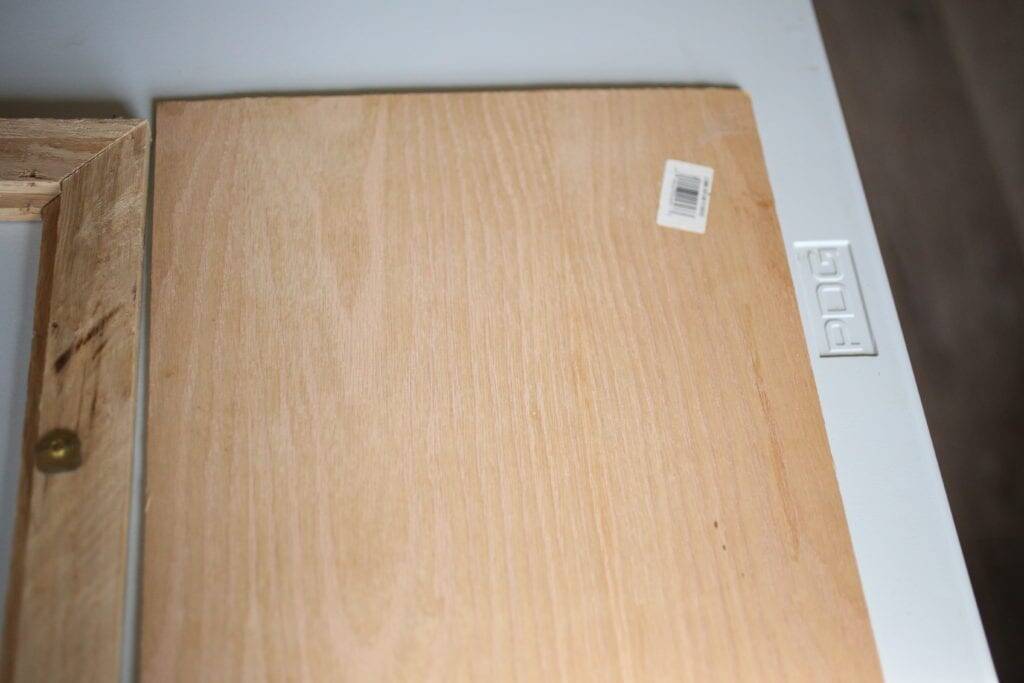
Rip the tongue and the Groove
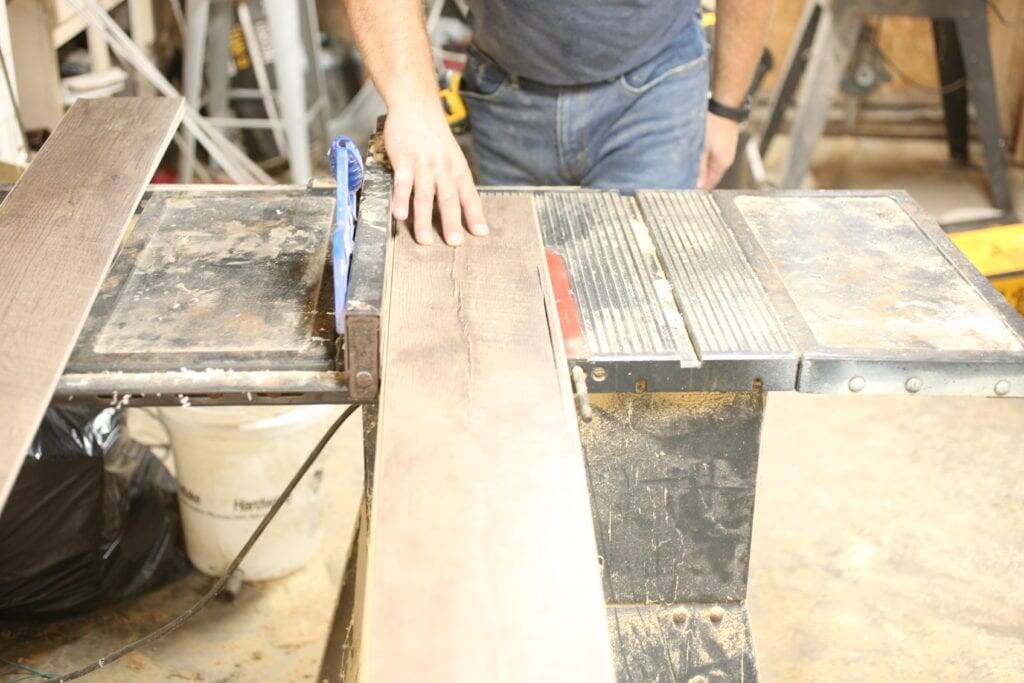
Start with ripping the tongue and the groove off of the sides of the boards using a table saw
Next use a router
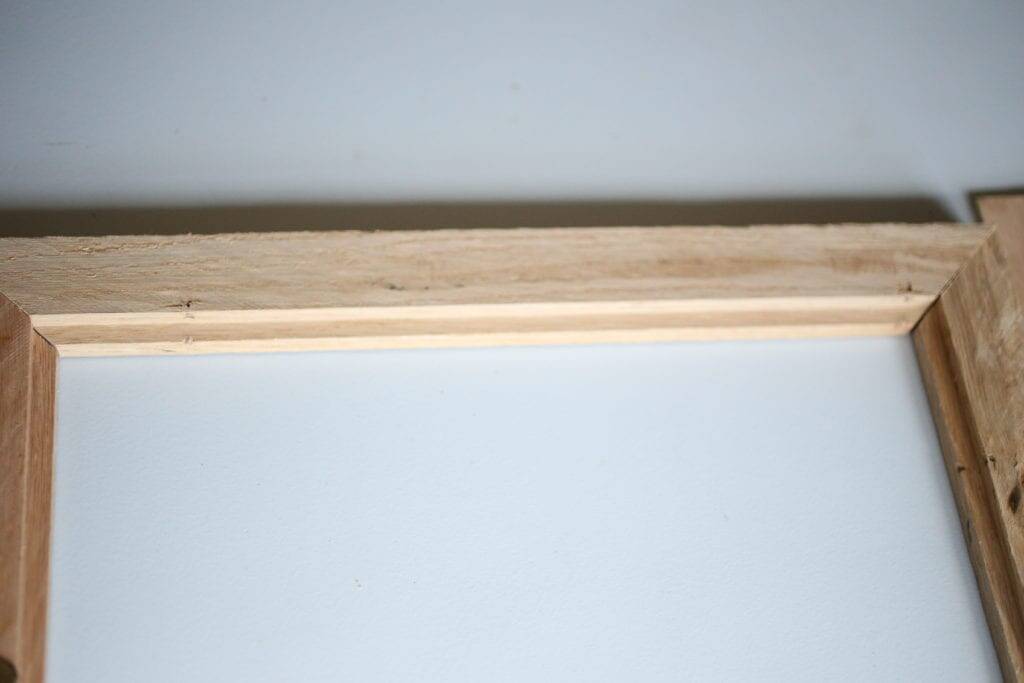
This is how you make a place in the wood for the picture to rest. Ours was 1/4″ by 1/4″
Make some cuts
A rustic frame looks great with just straight cuts. A fancier look uses mitred corners. Ours again are 45 degrees.
Glue and nail your corners together
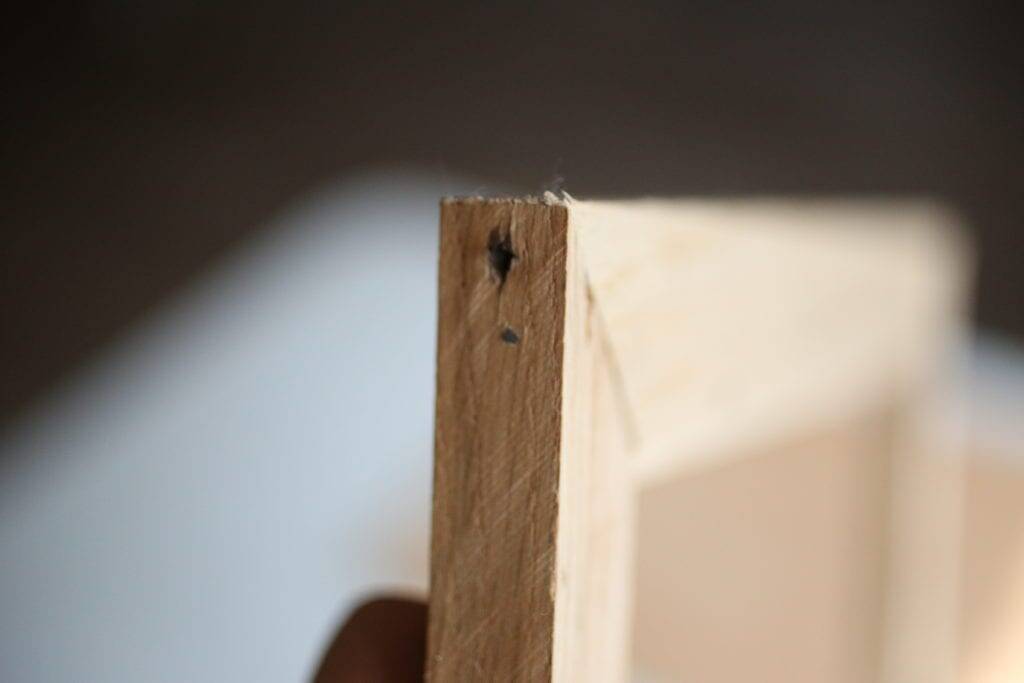
We used one brad nail in each mitred corner. Now you have a frame from scrap flooring!
Using laminate flooring
The laminate floor frame was a bit of an experiment. However, it turned out usable. It certainly has a bit more rustic look.
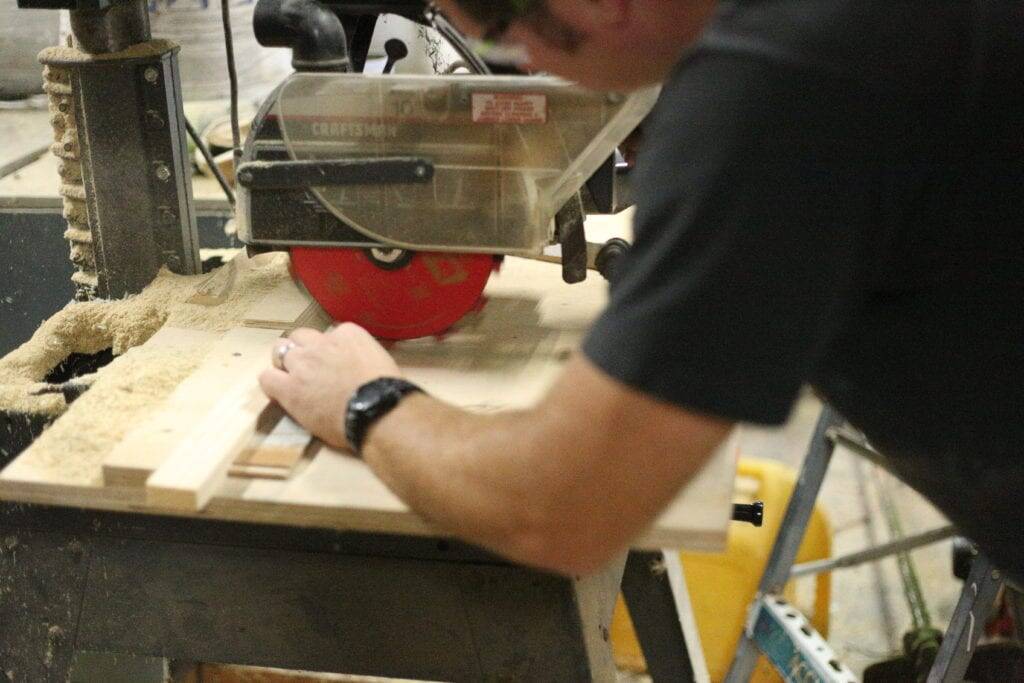
My husband used a radial arm saw for this. This made it sort of like a puzzle the way the sides locked into each other. I think this could be done with more primitive tools like a straight knife and chisel, if you were so inclined.
Glue and clamp the pieces together.
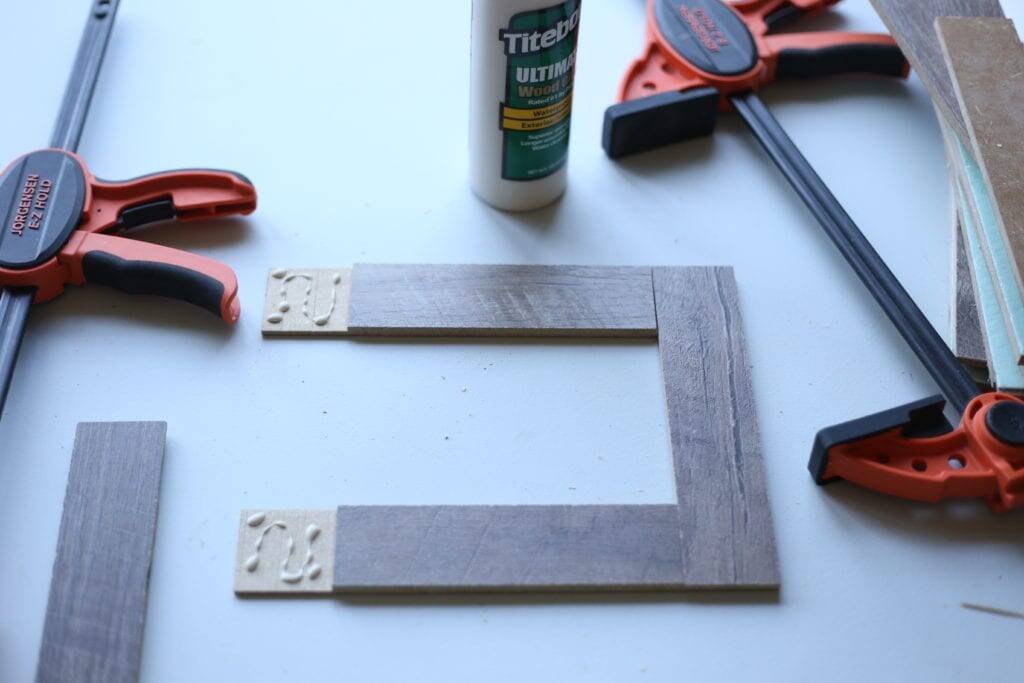
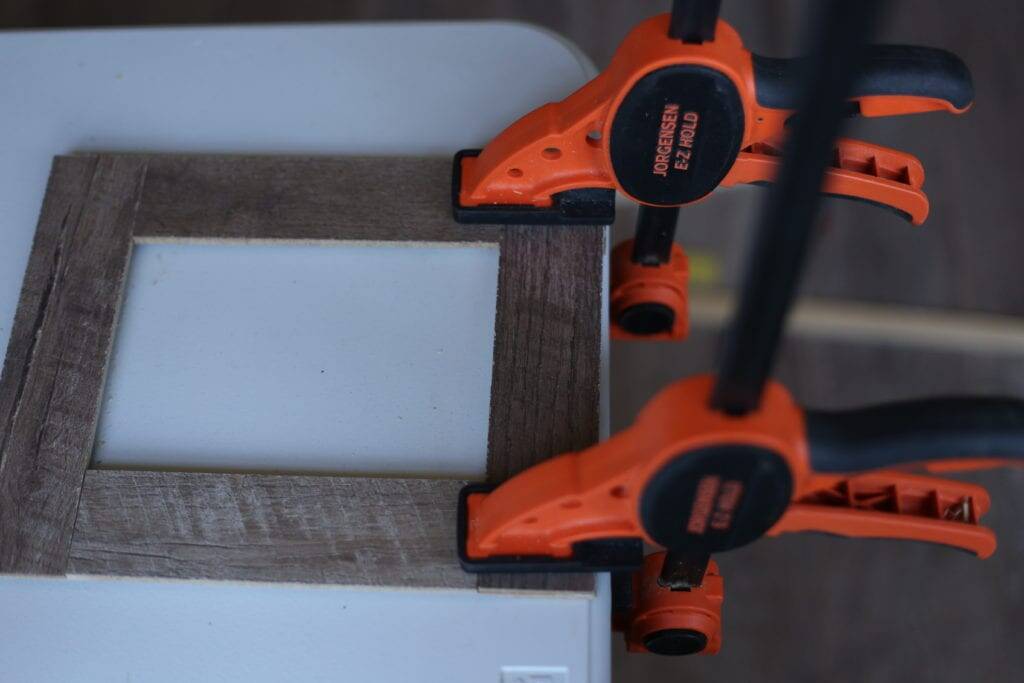
I didn’t get fancy with the back at all. I just used masking tape to hold the cardstock on the back. You certainly could make a groove and cut a very thin back, but it would need to be something thin like a cereal box. The laminate is quite thin like 8mm. It doesn’t make the sturdiest frame, but for something inexpensive that you could change out frequently, it is perfect.
Free Pumpkin Watercolor
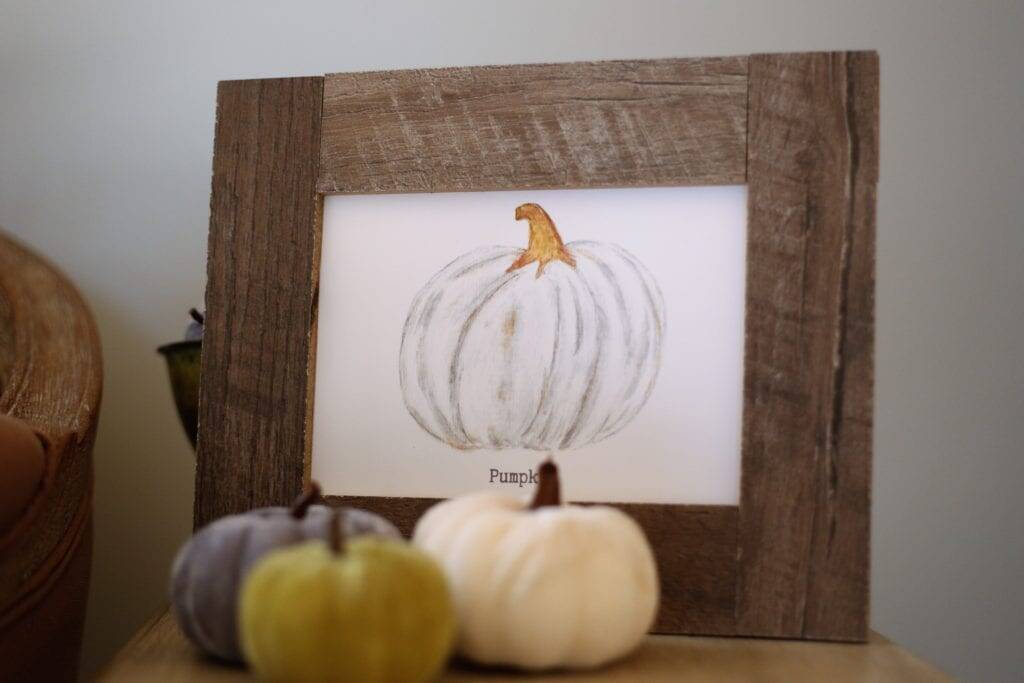
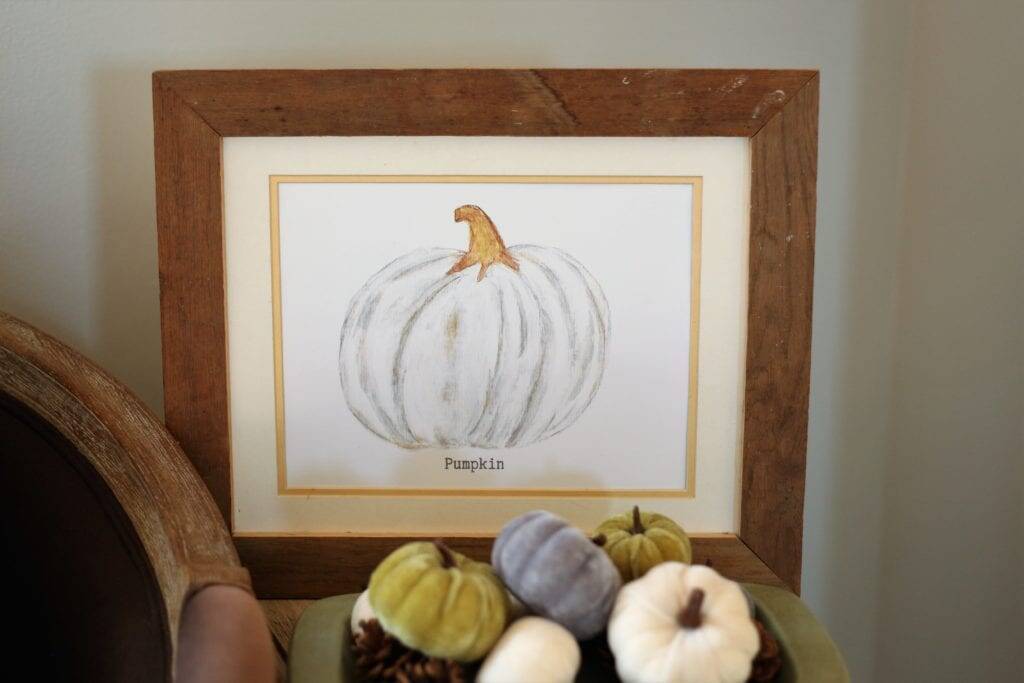
I painted this watercolor pumpkin to share with you for fall. It is in my free printable library. I made it in 8×10 and 5×7 sizes. My subscribers have access to the library and all the printables that are in there. If you are not a subscriber, it’s easy, just fill out the pop-up form or the one over in my sidebar. You will then receive a welcome e-mail with the password. After that I only send e-mails when I have new posts.
Pin and share!

I almost almost almost bought a junky frame at Walmart today but they didn’t have the size I wanted. It was fate! I know my hubby will do this for me!
Of course he will…just bake him something delicious!!
This is such a GREAT way to repurpose and make it EVEN CUTER!
Standing ovation from TEXAS!
Happy day!
karianne
You crack me up!! Thank you as always for the encouragement!
This would make a very sturdy frame. Thanks for all the steps, it’s very easy to follow.
Hey Jersey! Thanks for stopping by!
What a fantastic idea!! You are so creative!!! I should have saved some of our scrap flooring but never would have thought there was a use for it!
Love not wasting anything!
My hubby did the same thing with a picture on our sun porch.
One of my favorite things! Great post:)
Great minds think alike!
Very cute! Thanks for sharing on FArm Fresh Tuesdays!
Thank you Lisa!
You are all so talented! Never would think to make picture frames with laminate pieces! And your pumpkin is darling!
Thank you Julie! You are kind!
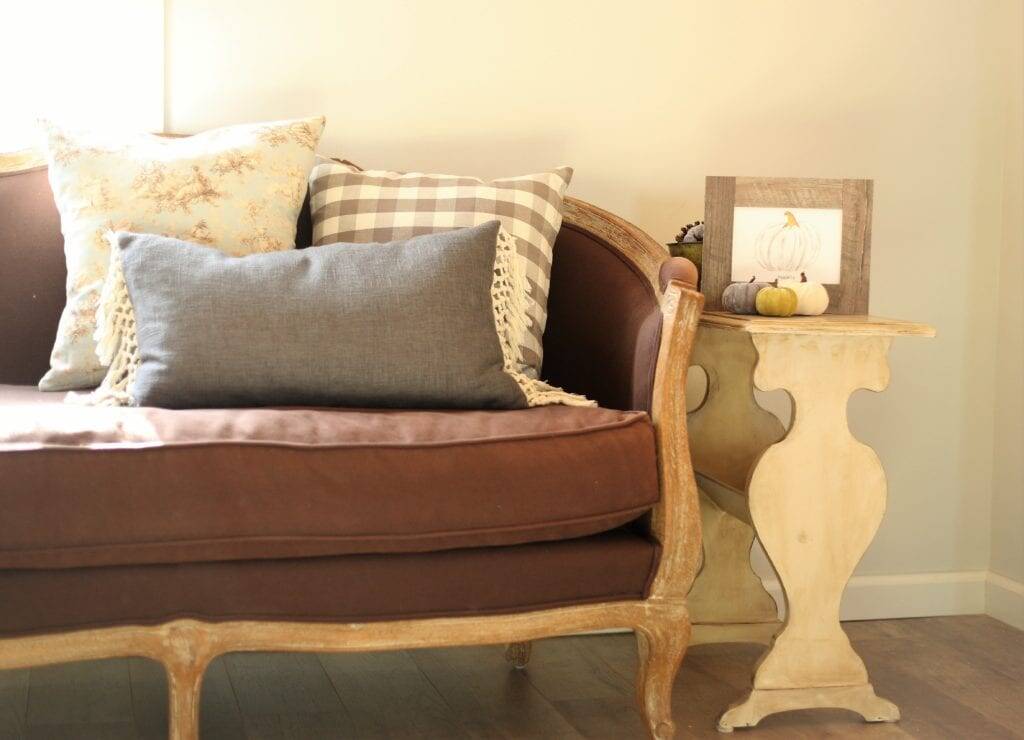
I love the printable and the frame, but here’s my burning question – did you make that side table? I absolutely love it!!! I need a slim side table for beside my sofa and love the curves on this!
Doreen, thank you for stopping by! No, we didn’t make the table, but I think it would be a simple one to make. I got it at a consignment shop for $8! It did need a little glue and tightening.
This is such a sweet fall project! I love the scrap wood and how you have repurposed it!
Thank you so much for sharing your gorgeous project with us over at Waste Not Wednesday!
Thank you so much for stopping by and for commenting!