Limed Oak Table–The Easiest Makeover
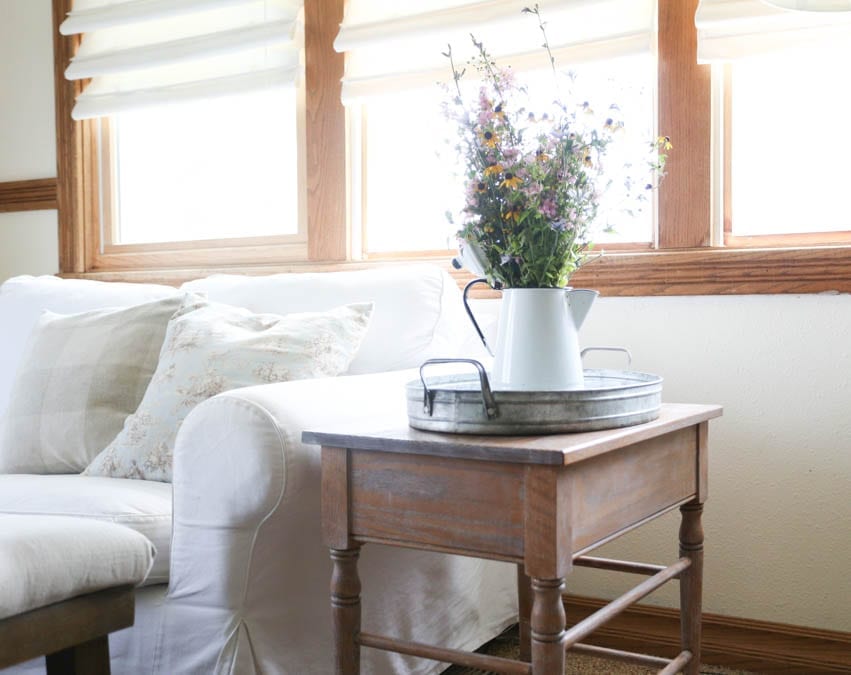
This limed oak table is a simple makeover. Try it on a piece of furniture that might not be your style, or maybe needs a little updating. This post contains affiliate links.
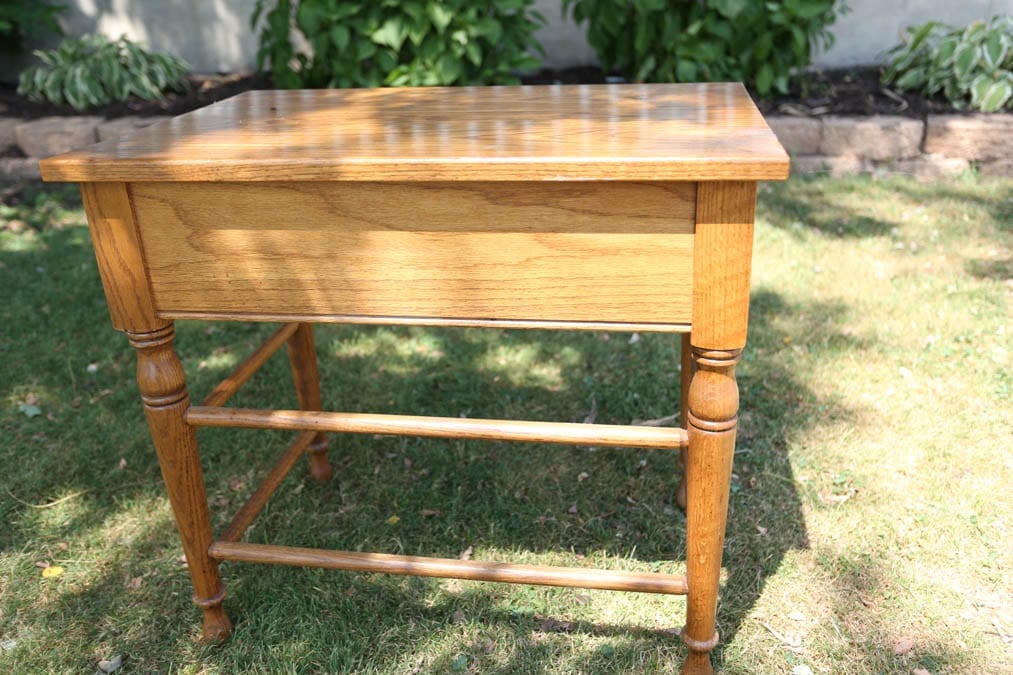
I found this little set of nesting tables on Marketplace. The set was about $40, not too bad considering they are solid oak. I knew when I bought them, that I would not leave them with the golden oak finish. While I acknowledge that the finish is beautiful, it is just not my style or my favorite.
All of the trim in our house is that golden oak color, so I get my fill of it’s beauty:) However, I didn’t think I wanted to paint these. My hope was to just lighten the finish and maybe give them a bit of an aged look. I didn’t yet know I would do a limed oak finish.
Stripping Furniture Stinks
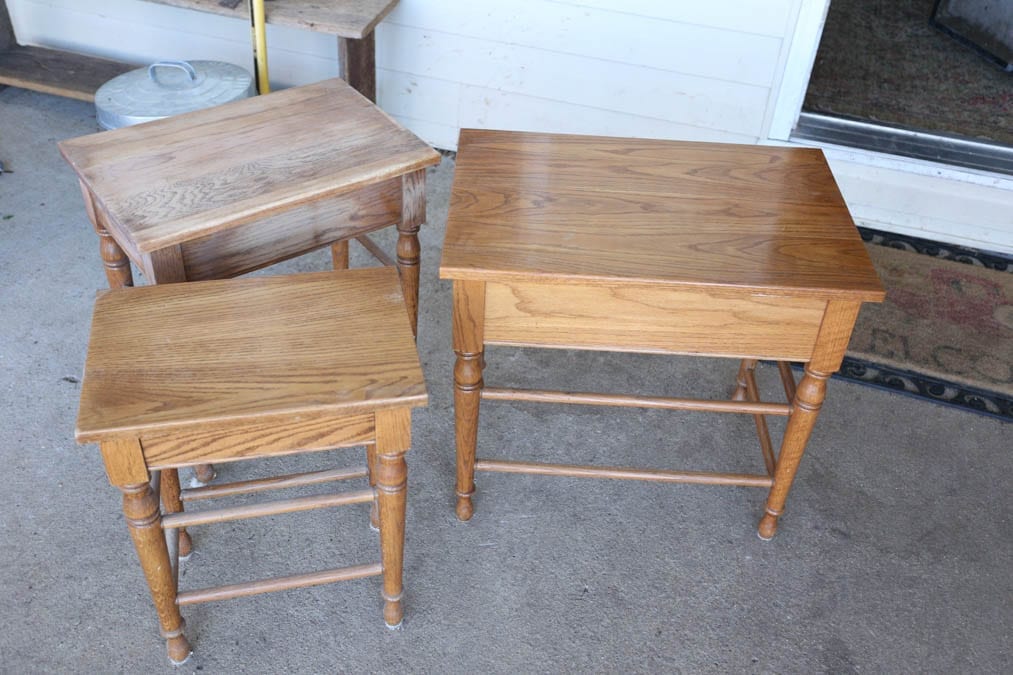
I am not afraid of hard work, but I have never stripped a piece of furniture. I have never heard of it being easy or going well. For whatever reason, I thought it would be different for me. So, I started stripping the smallest table.
First I Sanded
This was where I was smart, and I should have just stuck with this method. However, I thought “Oh, the turns on those legs will be a pain to sand. Maybe I should try a chemical furniture stripper.”
Big Mistake
I am not cut out for stripping furniture. You would think having 10 children would make me an incredibly patient person. If you think that, I am here to tell you that you are wrong. I am just like the next person, and I want everything to be quick, easy and done already. I watched a YouTube video, and the guy convinced me that it was almost a pleasant project. He was using Citri-Strip, but I just cannot believe anyone would really enjoy the process!
So, since my YouTube buddy recommended it, I used Citri-Strip. This is supposed to be more natural and non toxic. I was pregnant when I first started on these tables, so I was trying to be smart. However, what I didn’t know is that furniture stripper turns the finish to a gooey mess. The first layer will come off, and you will be like “Hey! This isn’t too bad!” You are wrong…it is bad! The layers that are left are sticky and impossible to sand. You will need to continue to add the stripper and scrape every last bit of the finish off the table. BLAH!!
And those turned legs…I don’t even know how I am supposed to get that off! Not my cup of tea at all! So, the little table that I experimented on still sits looking sad and halfway stripped. I loathe it and I don’t want to mess with it. Eventually I will finish it, but not today.
Let’s Try Something Easy!! A Limed Oak Table
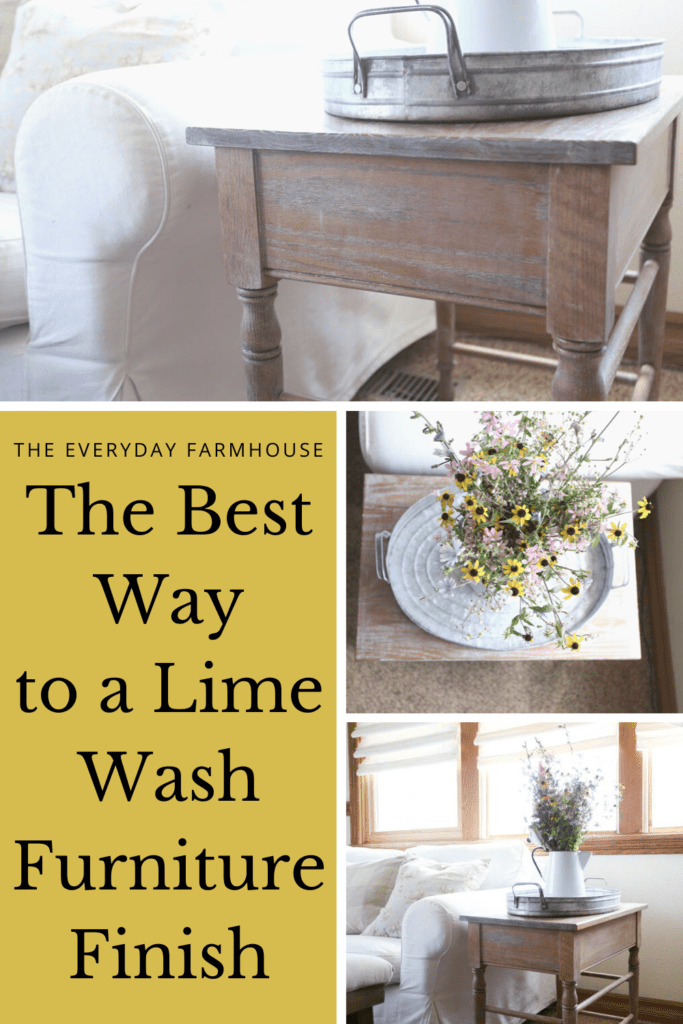
The look I was going for was like what you see at Ballard Designs. That white grain look on a stained piece of furniture. After trying a few products, I found THE BEST and easiest way to achieve that limed oak look.
Liming Wax
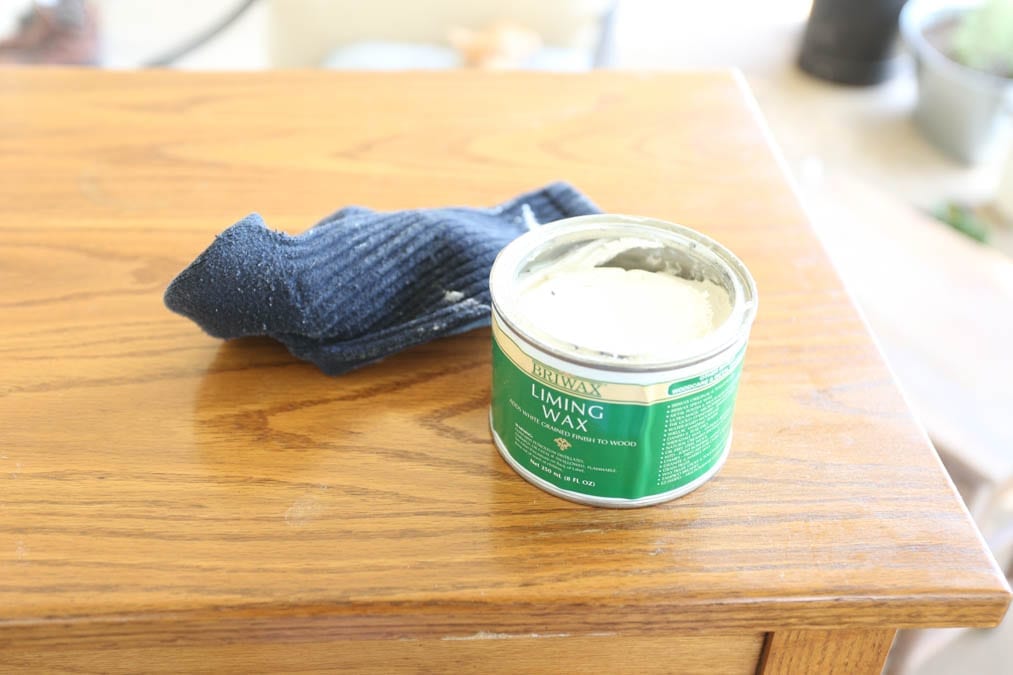
Briwax Liming Wax is what I used. This stuff is amazing and wonderful! I tried it on two of the tables. One I sanded a bit and one I left with the glossy polyurethane finish. There is absolutely no reason to sand. After trying both, the one I sanded looks no better than the one I left with the glossy finish. Actually, it seemed to settle into the grain better on the one I didn’t sand.
How To DIY a Limed Oak Table
Apply Over Polyurethane
You heard me right, you can apply this over a piece that has not been stripped or sanded! You can go from an orangey oak finish to a limed oak wash finish in less than an hour! It’s almost too good to be true!
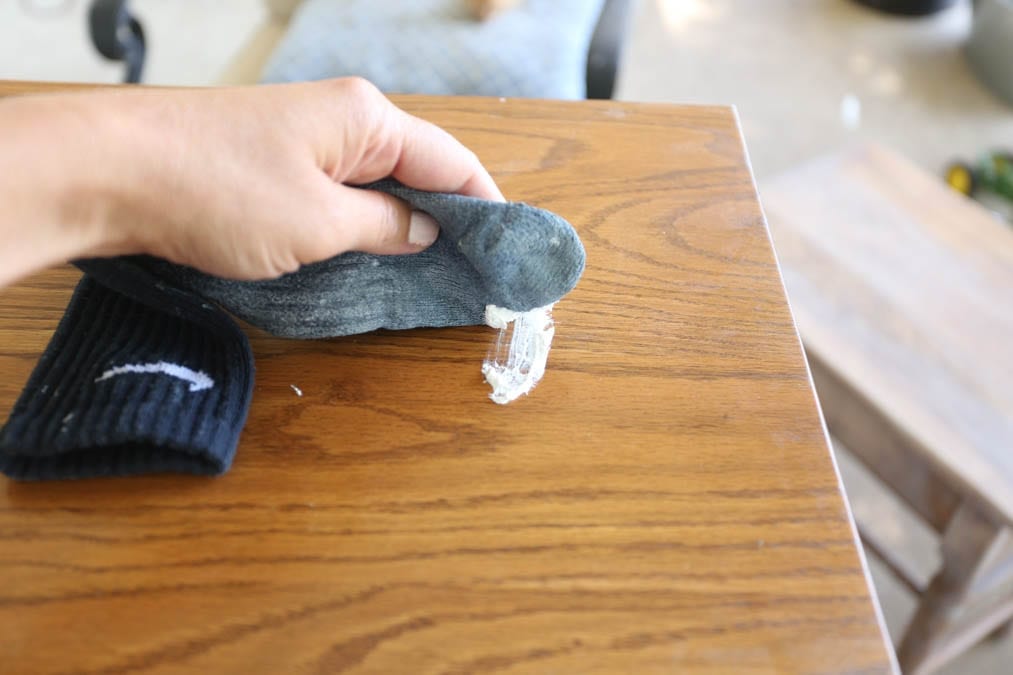
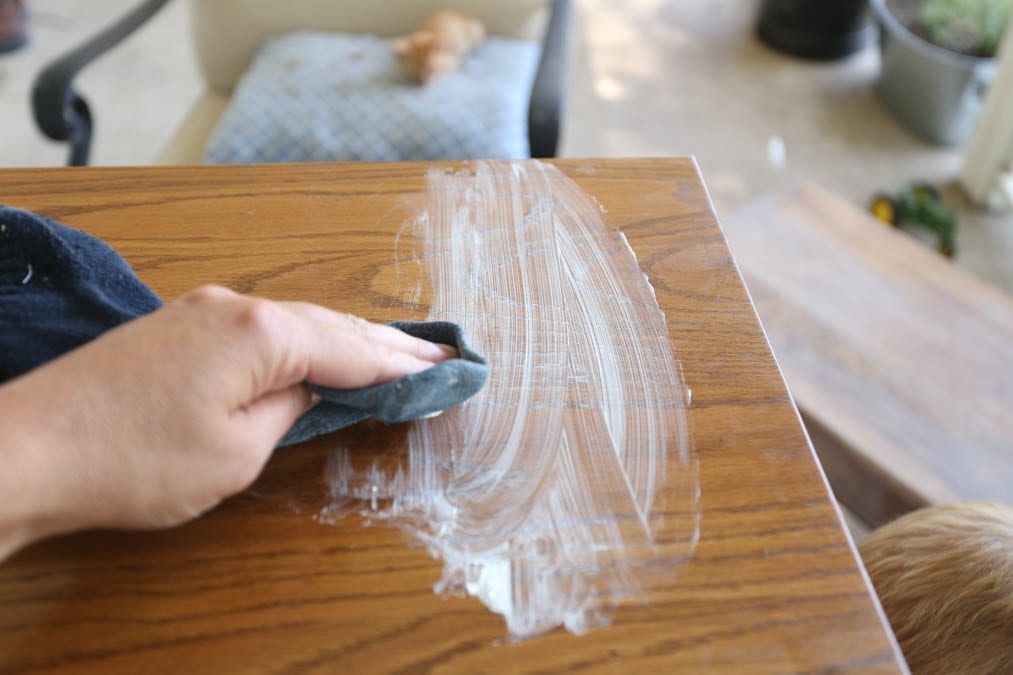
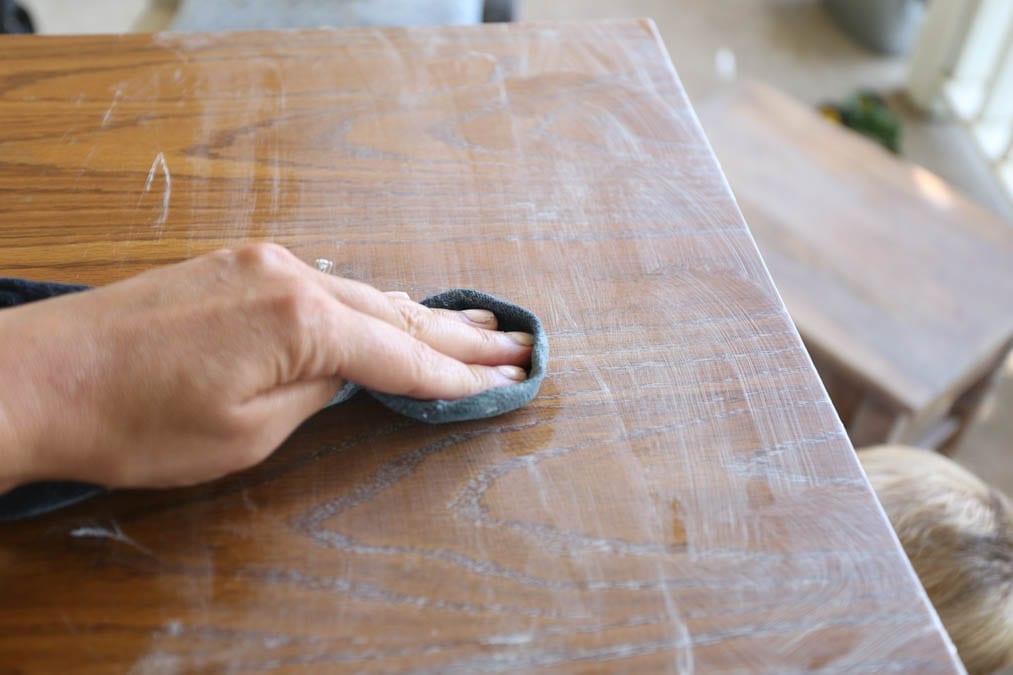
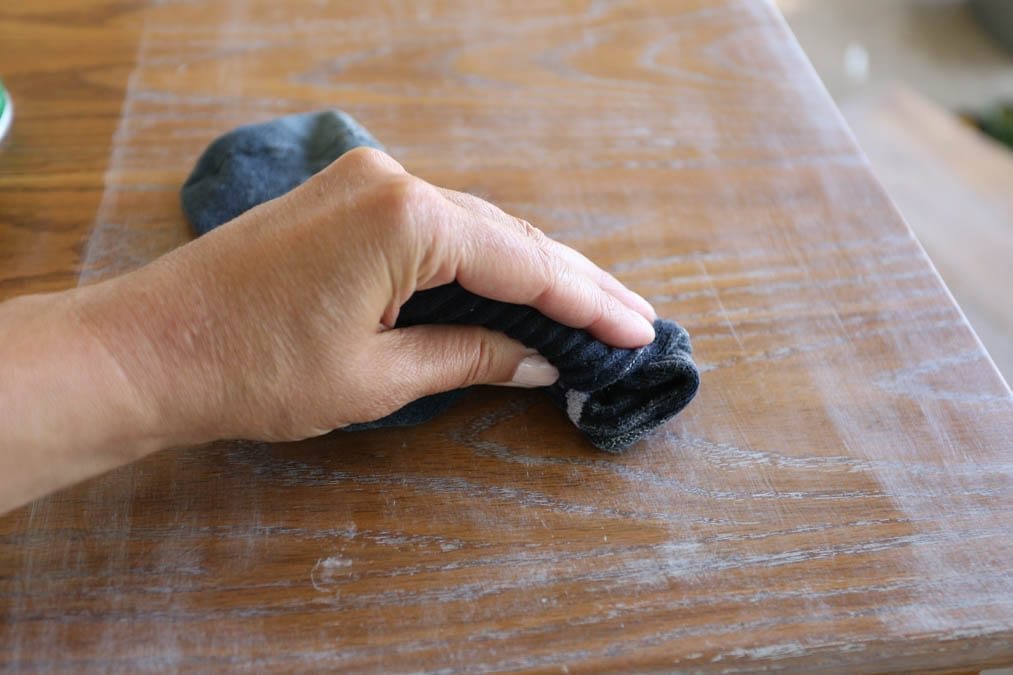
This is so simple! The wax is light and fluffy, it comes out of the can so easily. Just dip your rag, or your old sock, or your son’s old sock (ahem) in the wax. Wipe some on the table. Work it into the grain. Then flip your sock over and buff it a bit with a clean part. That’s it…really! That is all there is to DIY a limed oak table!
Half and Half
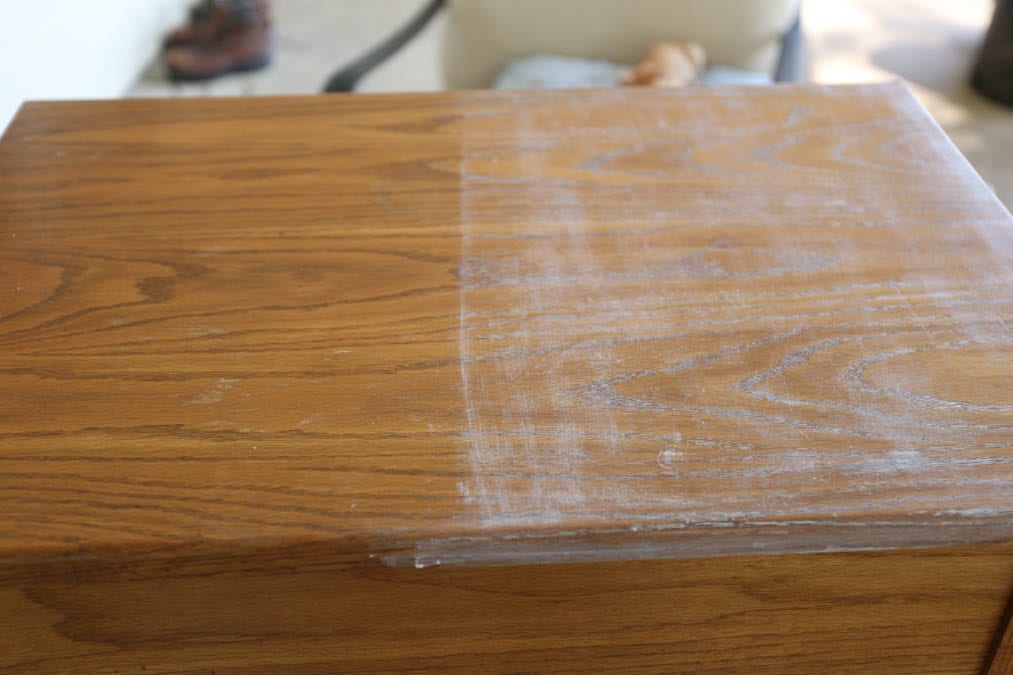
Here is the table after a few minutes of work. Half done and half still orangey oak.
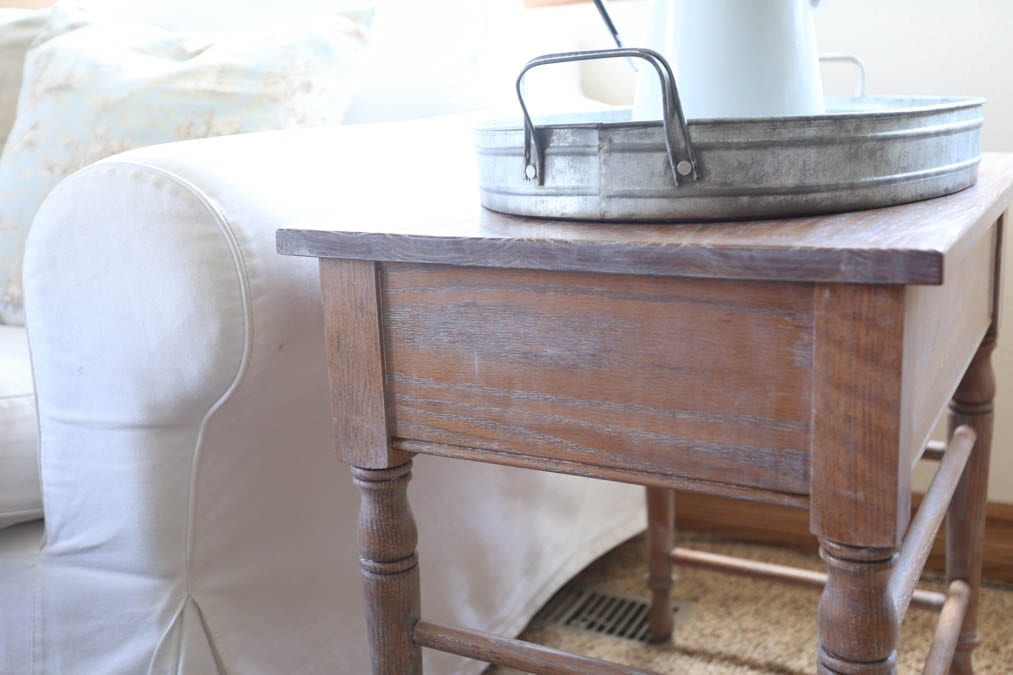
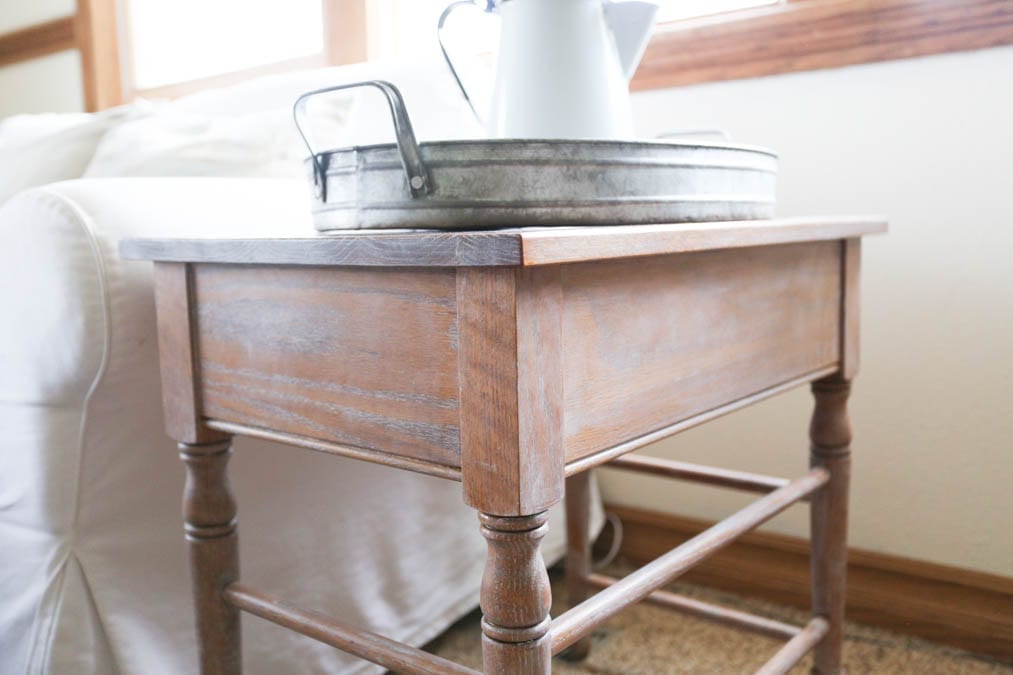
Limed Oak Table All Finished
Longevity
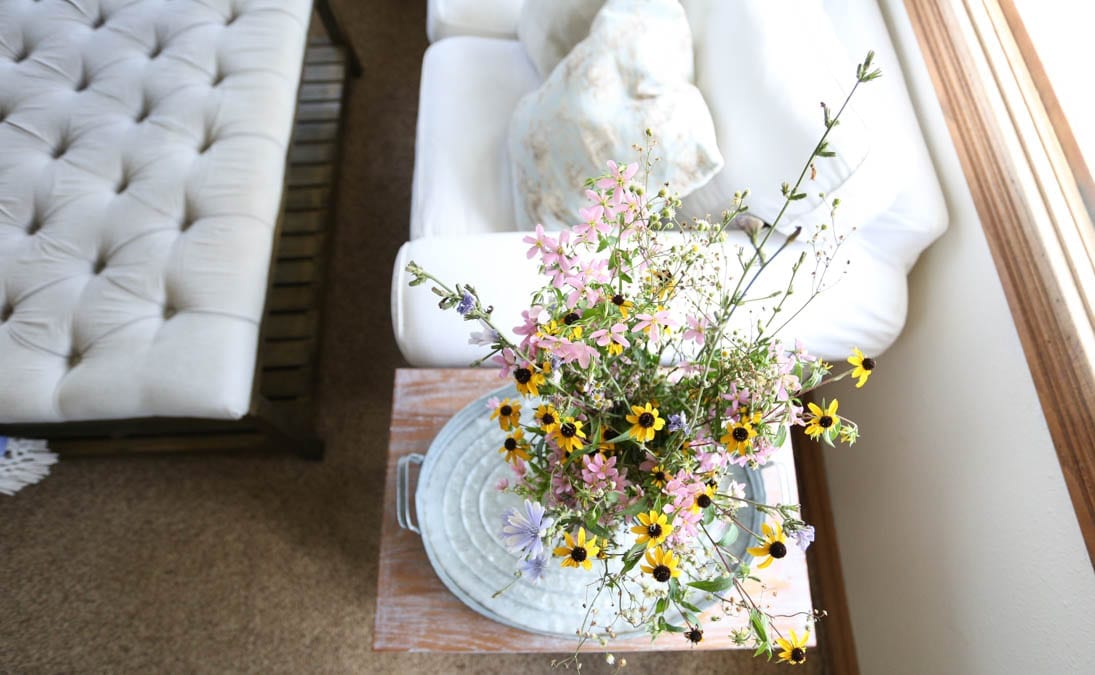
How will this hold up? I really think it will hold up pretty well. Of course, this is an end table, so it gets the occasional dusting, but it isn’t a highly used piece of furniture. However, it did dry solid and smooth, so it’s not tacky at all.
If you were wanting to do this on a dining table, I would imagine you would want to put a poly finish of some sort over it. I think the daily wiping would eventually wear away the finish.
What Do You Think?
I am personally so pleased with the finish. It gives it more of that coastal or white washed look. Or maybe it’s a farmhouse look. I don’t know, but I like it! It fit’s my style a bit better. I love the turned legs and the wax settles nicely in there to give a bit more contrast.
Would you try this limed oak table finish? Let me know in the comments!
Thank you for Stopping By!
Here are some other fun DIY projects
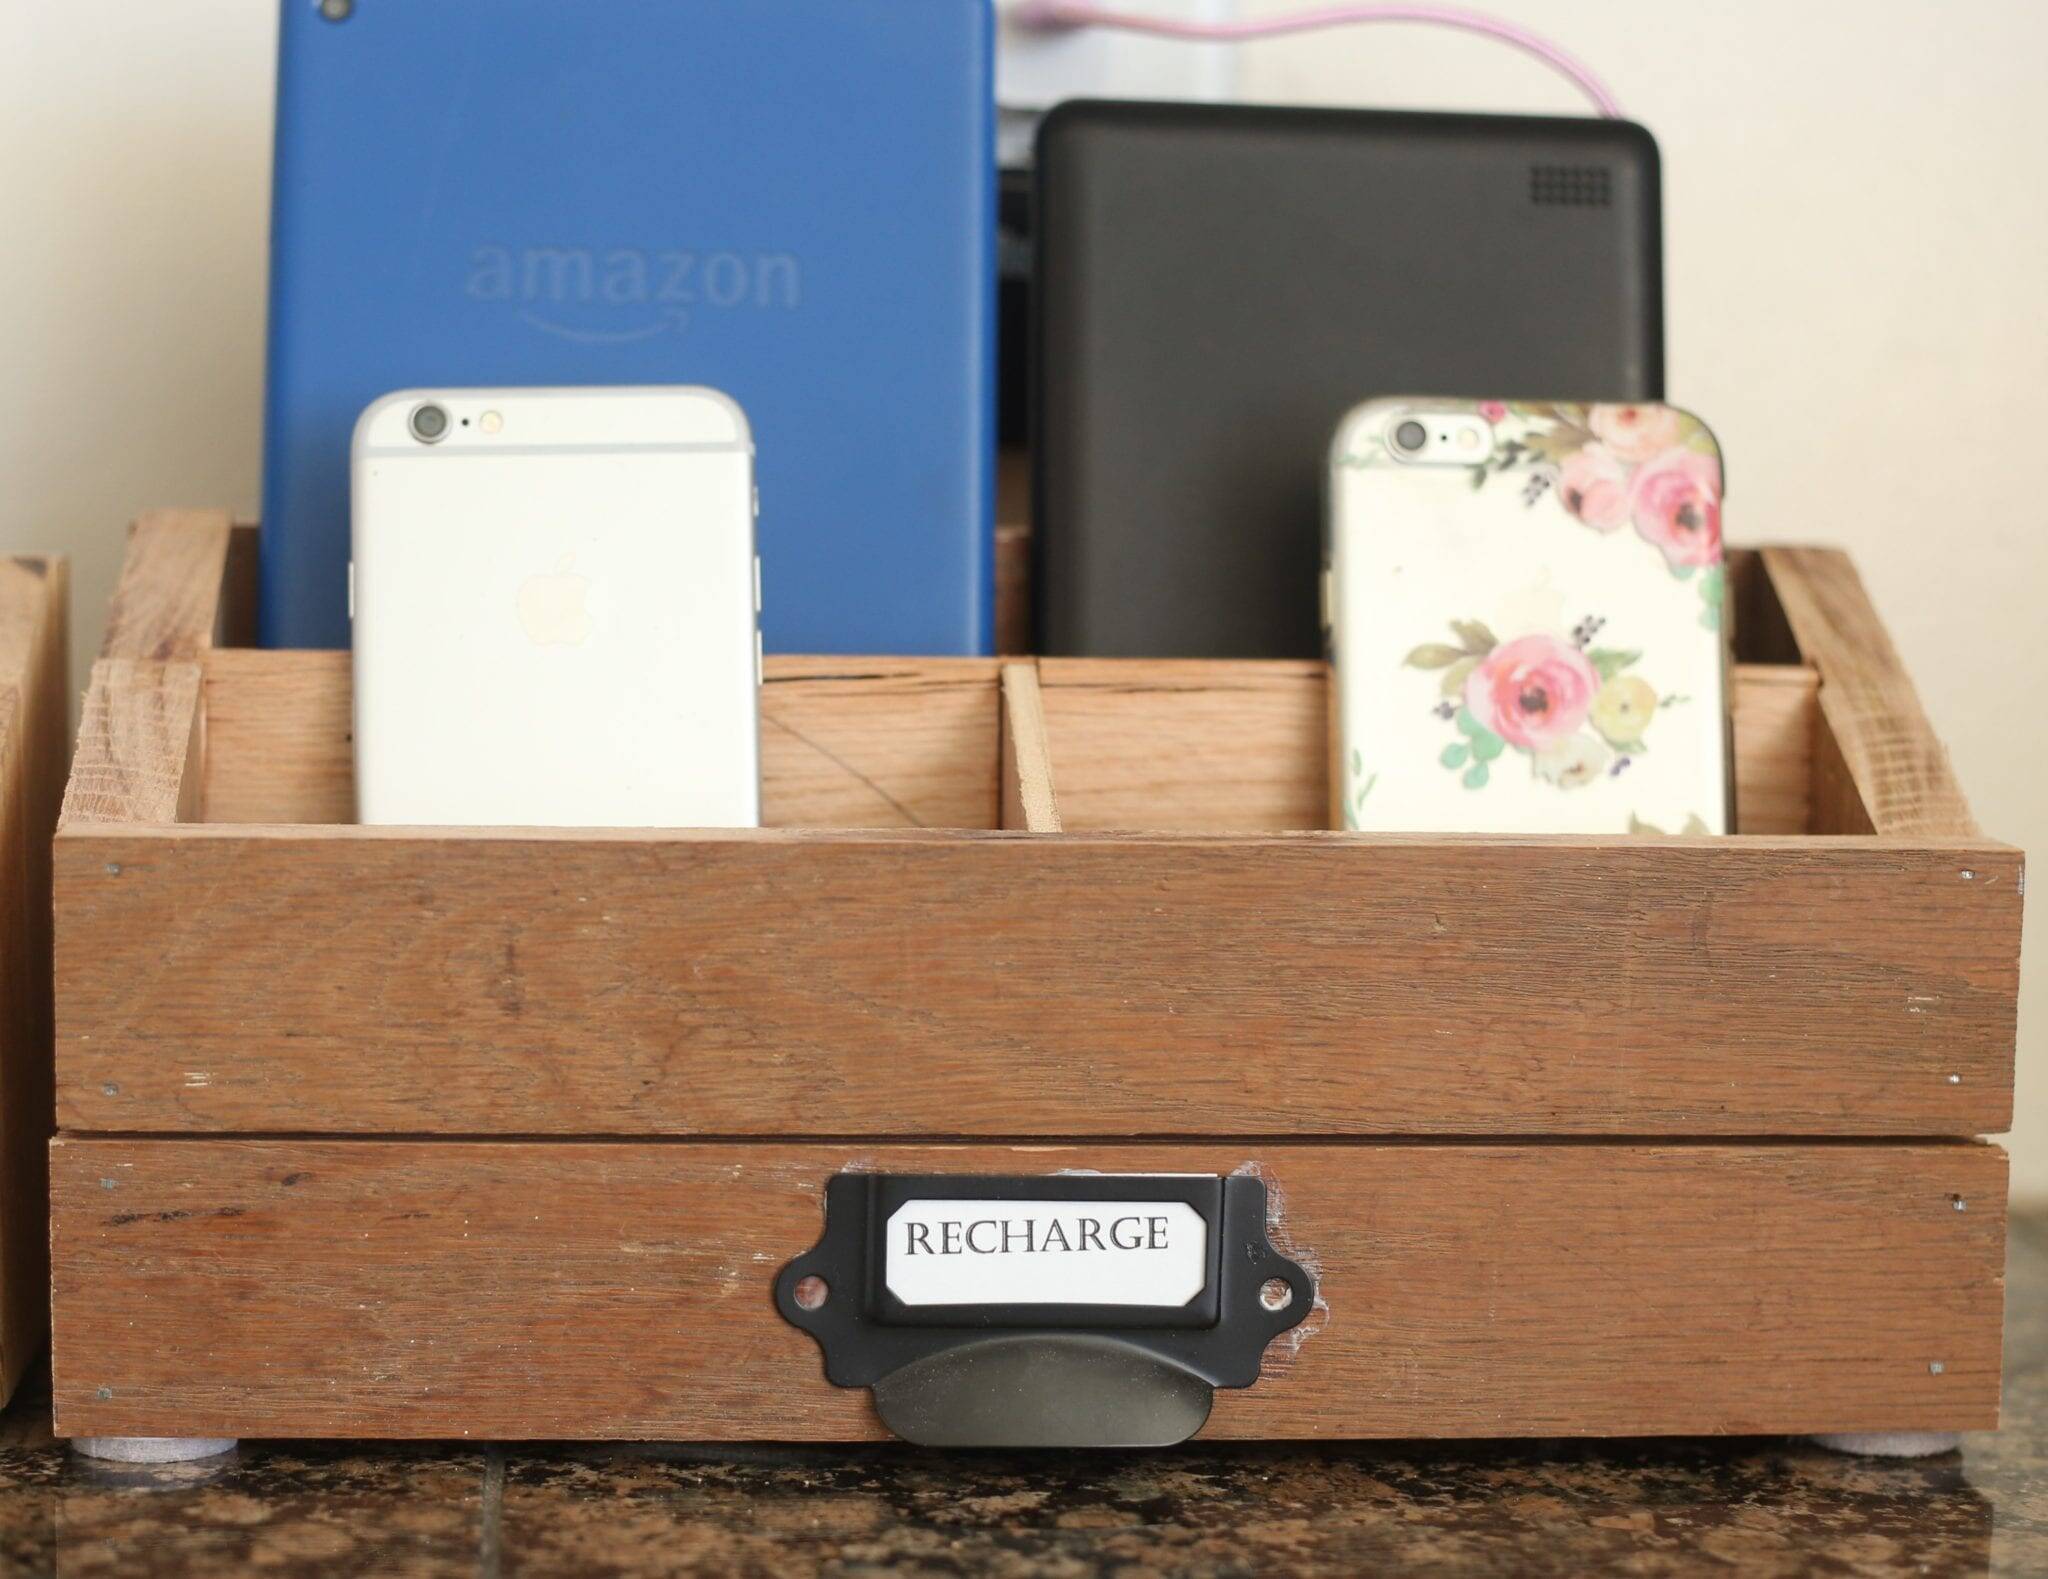
How to Make a Custom Charging Station or Mail Organizer, from Scrap Flooring or Lumber
How to Make Crates from Scrap Flooring and Lumber
DIY Picture Frame from Scrap Flooring–Plus Free Pumpkin Printable
I will be back soon with part 3 in my Homemaking series. Next in that series we will talk about equality, and how we as women are specially designed!
Also, I’ll see you Friday with our next Embracing Home and Family Link Party!
Shop Similar Looks


Pin This Limed Oak Table for later!





So cute Jenn! Love it. It definitely will go with coastal, farmhouse and more. So versatile. Great job!
Love the limed oak table. I have an old pine armoire that I have stripped and am wondering if liming would work on pine which, of course, has very minimal grain – do you have any idea or experience with that?
I enjoy your blog very much! I am 84 and still love working with old furniture, but have never tried liming. Also, as a teenager, I baby-sat for a family with 10 children and I have to say – any woman with 10 children already has one foot in Heaven! How do you do it?!?!?
Wow Elgie! You are amazing! I don’t think I would have the endurance to strip an armoire. Yes, I did do a little pine table that I had up in our barn. The effect on a stripped piece will be more of an overall lightening, especially on pine with less grain. More of a whitewashed look. It would still look very nice I think. Thank you for visiting and for your kind words and encouragement!
Beautiful project, Jenn! I love the limed look as it gives it a shabby chic, rustic feel to the end tables. So very cute!
I am also loving the wildflowers in the jug on the table; it’s so pretty! I love decorating with flowers of all kinds also, and love the natural look to picking random wildflowers.
I think we have the same couches… Ikea Ektorp?? 🙂
-Cherelle
Yes, my little girls are always picking wildflower bouquets! Yes, the Ikea Ektorp, ours is the sectional. It has held up surprisingly well, but the cover needs to be washed right now!!
Oh goodness, I love this Jenn! I also have several pieces that ive been wanting to update but not sure I want to paint. Thanks so much for sharing this!
Thank you Sue! I hope you try it, truly, so easy!
This looks amazing!! Love how it turned out!
Thank you Elise!
I use liming wax all the time and I love the finish it gives. AND that stripper…..I used that too, what a big mistake 🙁 Your side table looks gorgeous, what a find!
Ha! I guess any furniture adventurers will encounter a fail or two! Thank you for stopping by and commenting!
I love how it turned out! I feel ya on stripping furniture. I stripped a wooden stool last summer with chemical stripper and a palm sander and what a mess! It had a wood finish covered by red paint. OH MY, what I thought was going to be about an hour-long project from start to finish turned into multiple hours that I spread across a few days. haha. LOTS of nooks and crannies and that goopy stuff you were talking about. I ended up painting it a charcoal grey and it looks really nice. But I stare at that thing sometimes and think, was it really worth it? But I really love the look of your lime wash finish. I’ll have to keep that in my back pocket for future furniture projects. 🙂
Yes! I wonder that many times…was this worth the time and effort? I did successfully strip our dining room table top with the Citristrip. It took SO MUCH time! Ours had gotten tacky feeling over time and something really had to be done. Next time I think I will skip the chemicals and just use a belt sander!
Wow! The liming wax definitely toned down the orange stain. Looks great!
Yes, it sure did! Thank you for visiting and commenting!
I love how this turned out–such a better option than stripping! Thanks for sharing at Vintage Charm–pinned!
This is such a beautiful project Jenn. Well done! Pinned for later!
Thank you Kim! I appreciate you pinning it too!
I love your table makeover! Such a small change but it made a big difference! Thanks so much for sharing this at Farmhouse Friday!
Thank you so much Michelle!
Thanks so much for this post!!! I would have never thought of liming wax and now i need some:)
Absolutely love how your limed table turned out. Amazing how a little paste can change up the look of the table and refresh it.
Hi Tammy! Thank you, it is one of my favorite easy makeovers!
I’m just now enjoying that citrus stripper on my front porch paint…on round three of application! Loved reading!
Great tutorial Jenn! Isn’t Briwax the best? Definitely one of my favorite brands! And lots of clapping hands for you getting this project finished with 10 kids!!
Ha! Thank you Cindy! Yes I love Briwax! So simple!