Red Metal Barn–Upstairs Loft Update
In this post, I will show you the progress we have made on our red metal barn. I will show you the floor, the walls, the bookshelves, the ceiling and the trim! This post contains affiliate links.
Here a Little…There a Little
While we have made progress, at times it has felt very slow. We take the “here a little, there a little” approach. An hour here on an evening. Maybe a bit during nap time. A good stretch on the weekend. This approach has also helped us to not get stressed out. We don’t have a time schedule and if something comes up and we can’t work on it, it’s not the end of the world.
Flooring in the Barn Loft
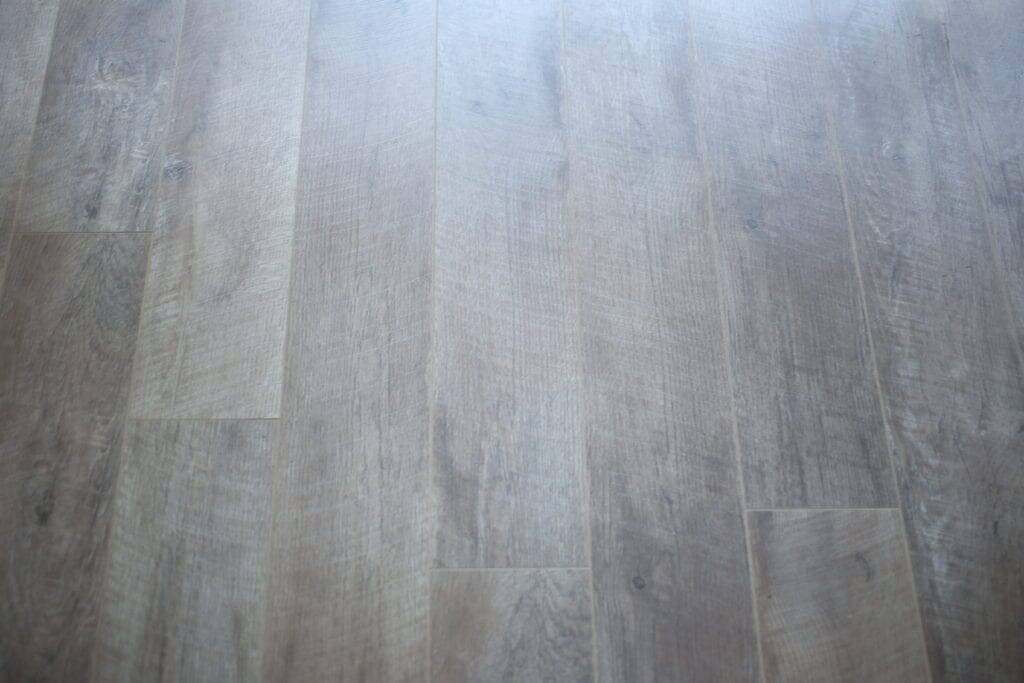
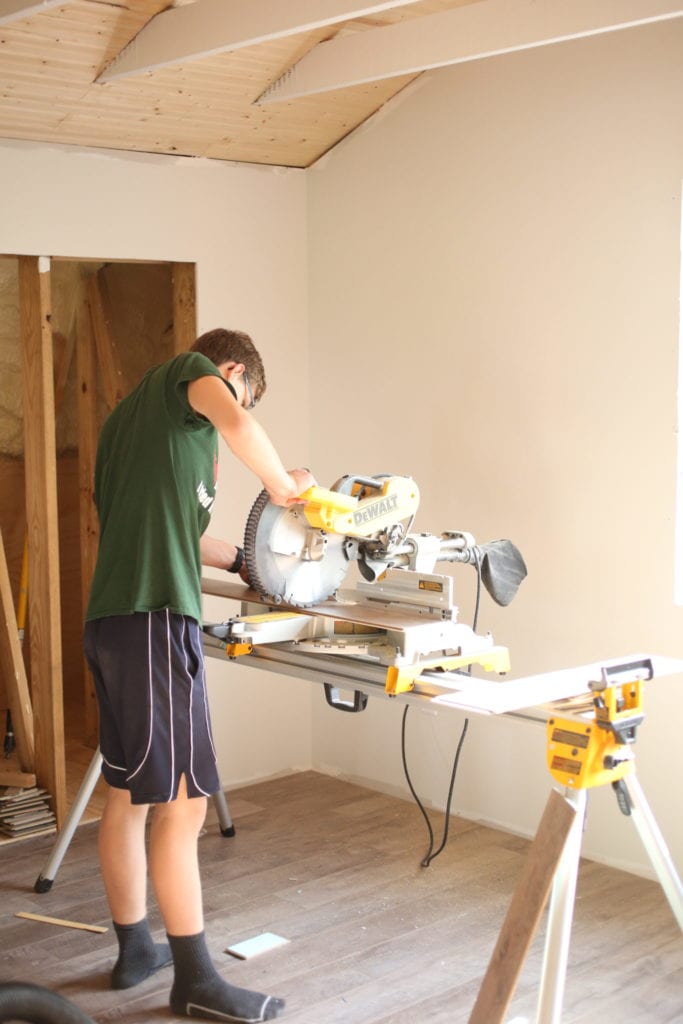
One of my favorite parts so far is the flooring! We bought this flooring from Sam’s Club in the color Nutmeg. The name would indicate brown, but it is really much more grey and aged looking. This was the easiest flooring we have ever installed. My 16 and 13 year old boys installed almost the entire floor in two evenings. My husband helped them with the initial layout and some advice on cuts. It is a laminate lock together floating type floor. The underlayment is attached to the back. It is also water resistant and rated for commercial traffic…which anything we use needs to be.


Totally an exaggeration!
The Ceiling in the Red Metal Barn
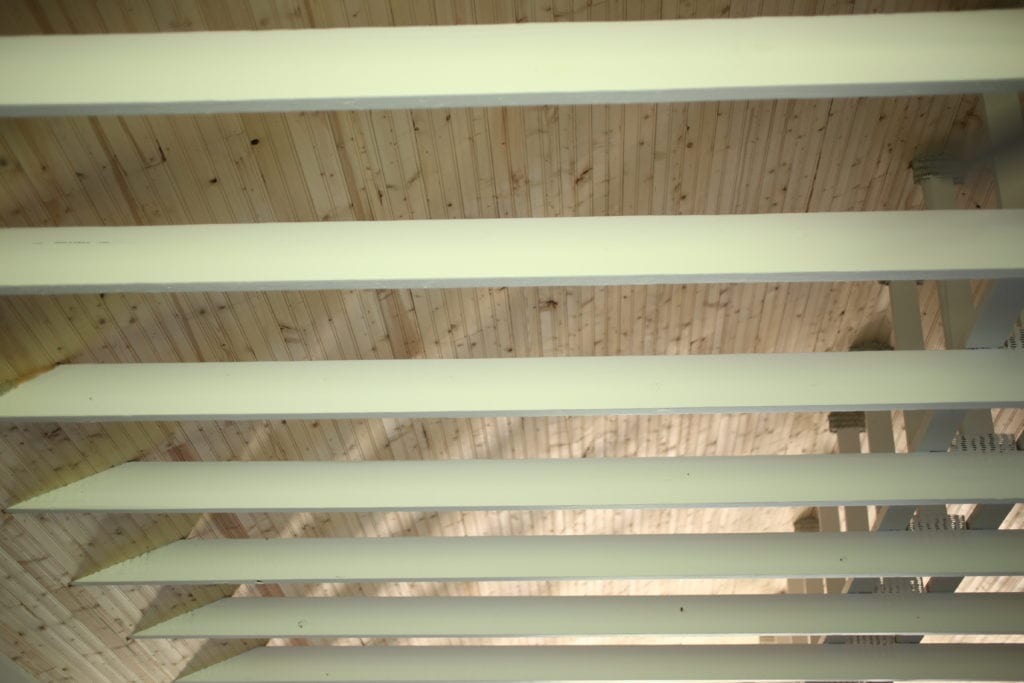
We had most of the ceiling done in my last update, now, it is completely done! I am really pleased with how it turned out and that all of the ugly spray foam insulation is covered up! If you don’t know what we did with the ceiling, read this post.
Bookshelves
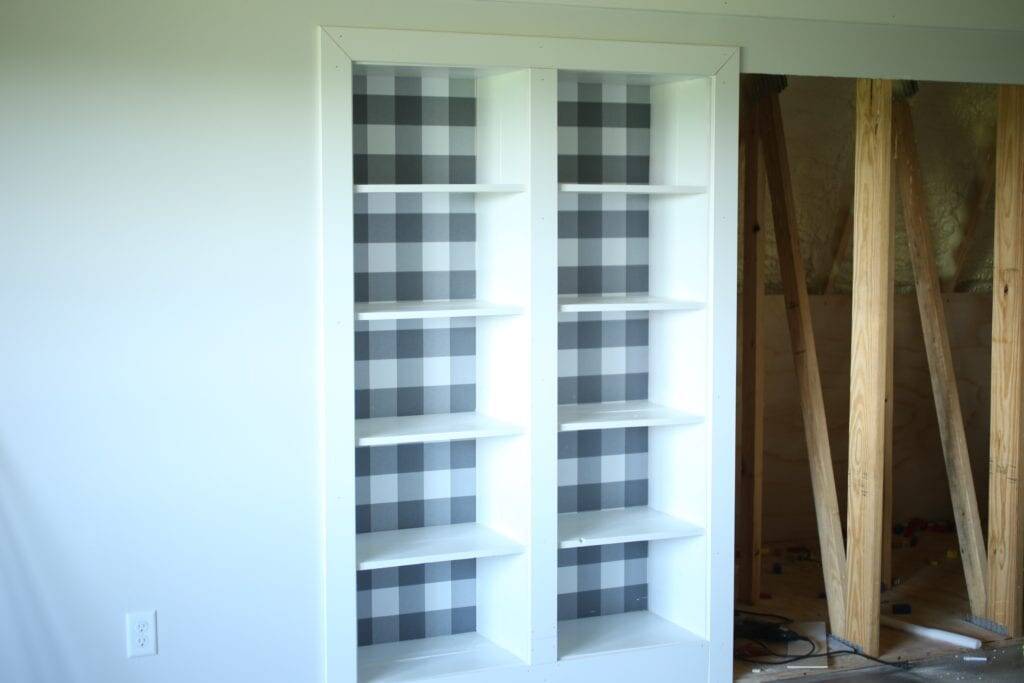
It is so easy to dream, and make plans for things like bookshelves. Then when it comes to doing the thing, you realize that you designed the room to house eight bookshelves. How nice all that storage will be! Then the reality of building, painting and framing eight bookshelves sets it! We are really pleased with them though! This was another project for our sons! My husband got them started and then let them go. He framed them and I did the paper.
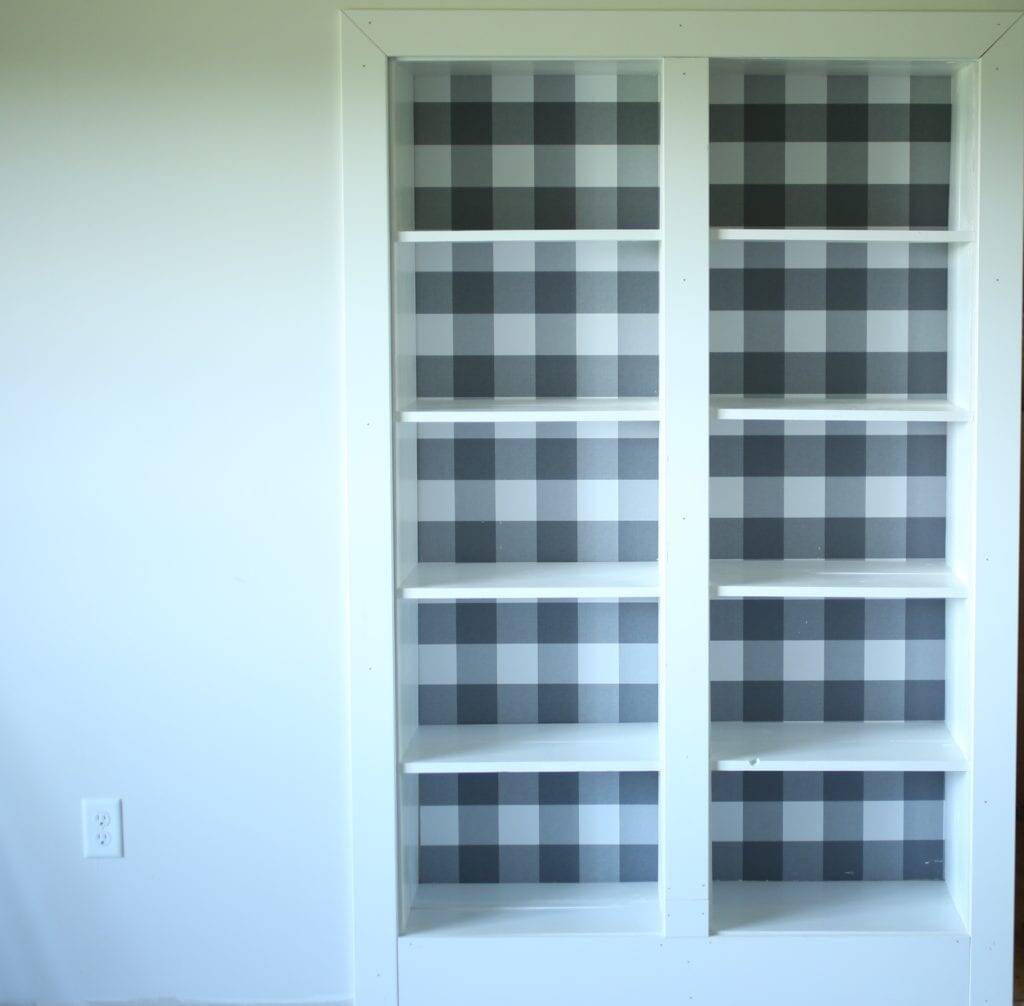
I really wanted the back of the shelves to have something special. I had seen this buffalo check wallpaper at Menards and couldn’t get it out of my mind. My husband surprised me by bringing it home one day! It was not cheap, but I think it looks so good!
The Walls and Trim
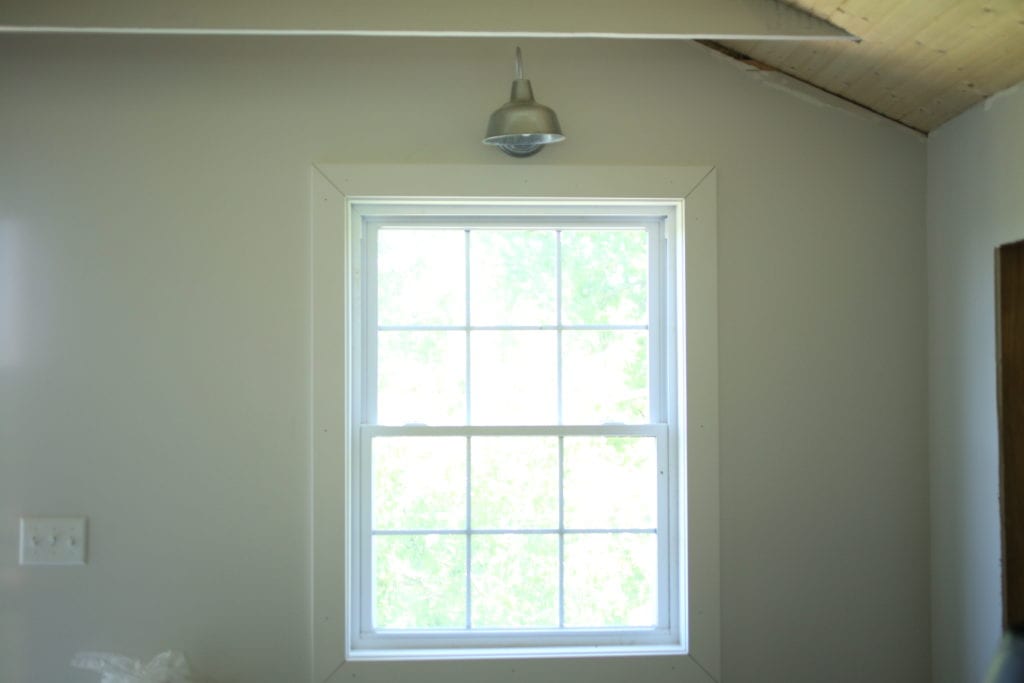
The walls are thanks to my Father-in-law. Does anyone really like to do drywall work? I suppose there must be some that do. My Father-in-law is not one of the lovers of drywall work! However, during my in-laws visit in April, he did most all of the mud work. A sacrifice of love on his part! He also helped my husband install garage door openers on the doors downstairs. We are totally living uptown now!
Paint
For the walls, we used Glidden paint. I know it isn’t considered the elite when it comes to paint, but we have used it and been happy with it many times. We live out in the country and don’t have a Sherwin Williams or other fancy paint store near us. When we were ready to paint, we didn’t feel like driving the 30 minutes to get paint. We do have a Walmart nearby, so Glidden paint it is! The color is Light Pelican Grey.
We chose to use Valspar paint on the trim and trusses. My husband works near an Ace Hardware, so we spent the extra money to get really good paint for the trim. For the trusses we used paint plus primer and it only took two coats. We painted the rest of the trim and the shelves with regular primer and then Valspar paint. We did the trim and bookshelves with a paint sprayer that I nearly forgot I had! I primed almost all of the shelves with a brush before I remembered the sprayer. Once we started using the sprayer we knocked the trim and the shelves out lickity-split!
Not all of the trim is up, but we have quite a bit done.
Lights in the Red Barn
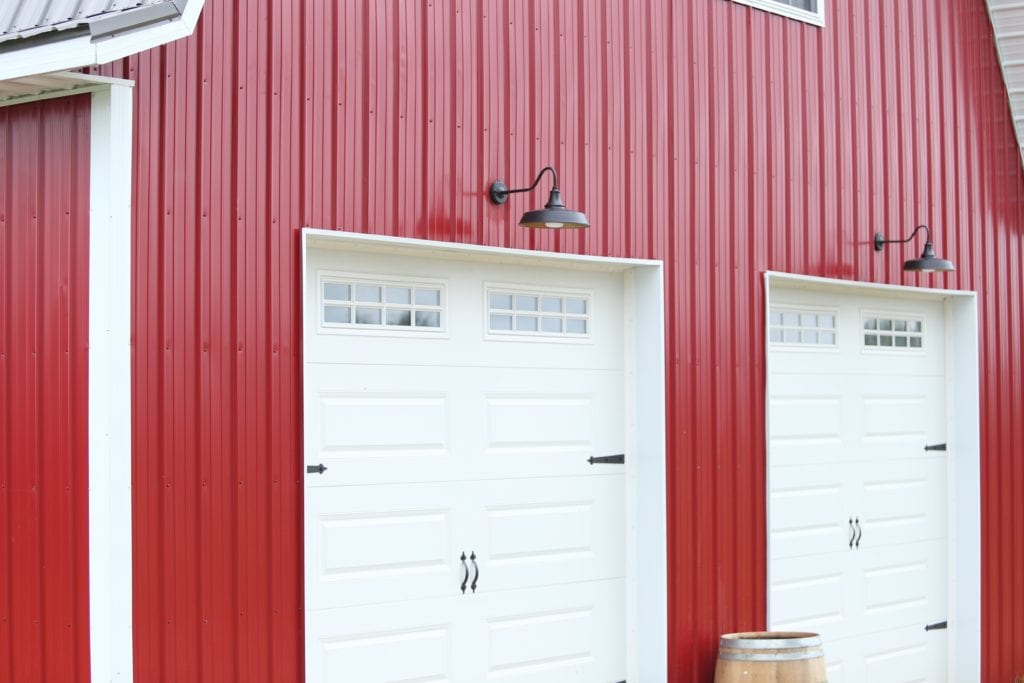
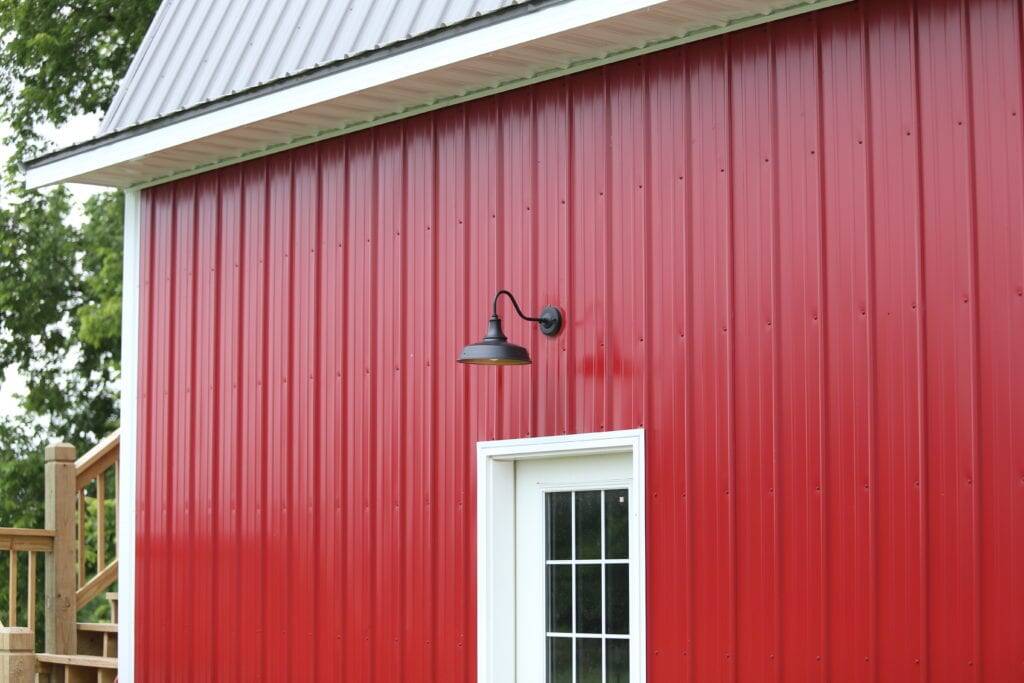
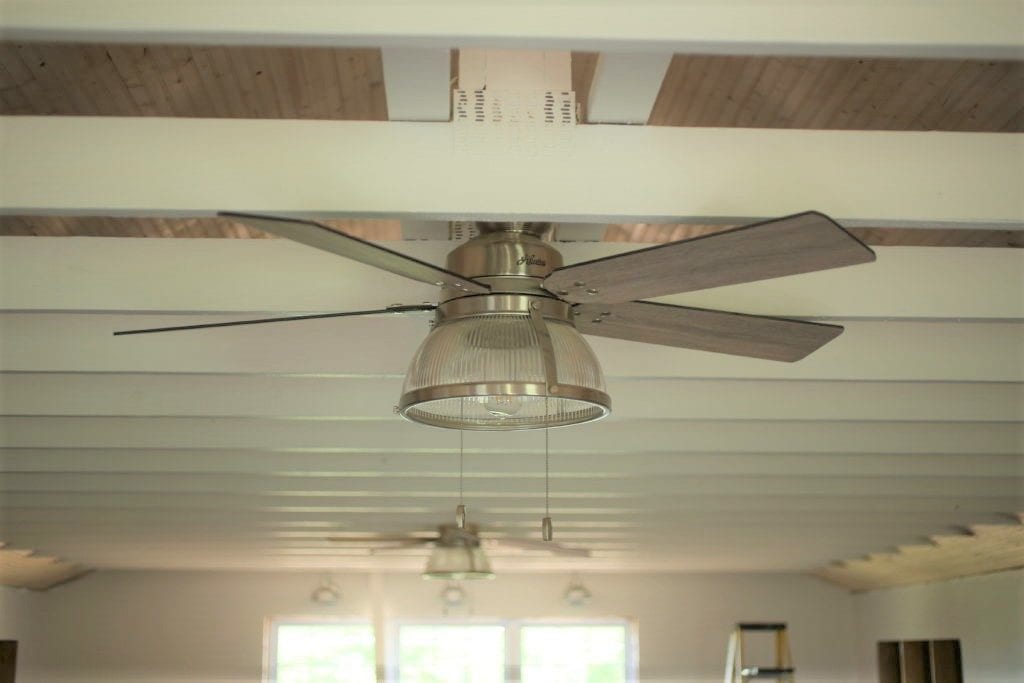
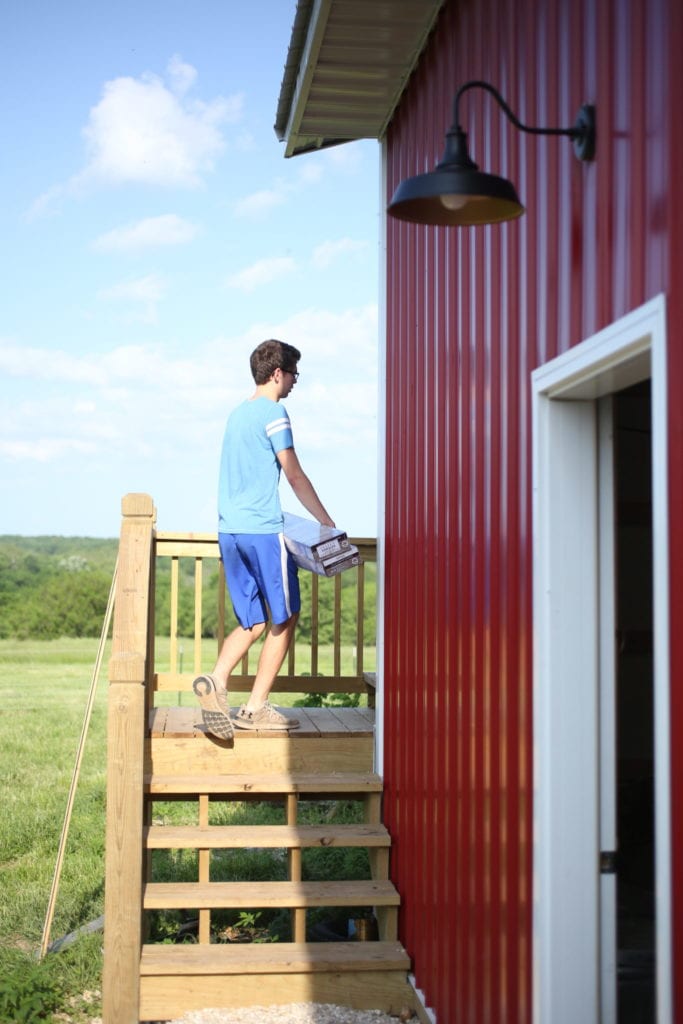
Since my last update, we installed lights upstairs and outside. The outside lights were placed over all of the doors. My husband was just about sick from having to cut holes in the barn to install the lights! They are dusk to dawn, which is pretty nice if you are heading outside after dark. I bought the outside lights from Wayfair, but it has been a while, and I don’t know for sure if they still have the exact ones. I linked some similar ones from Amazon below.
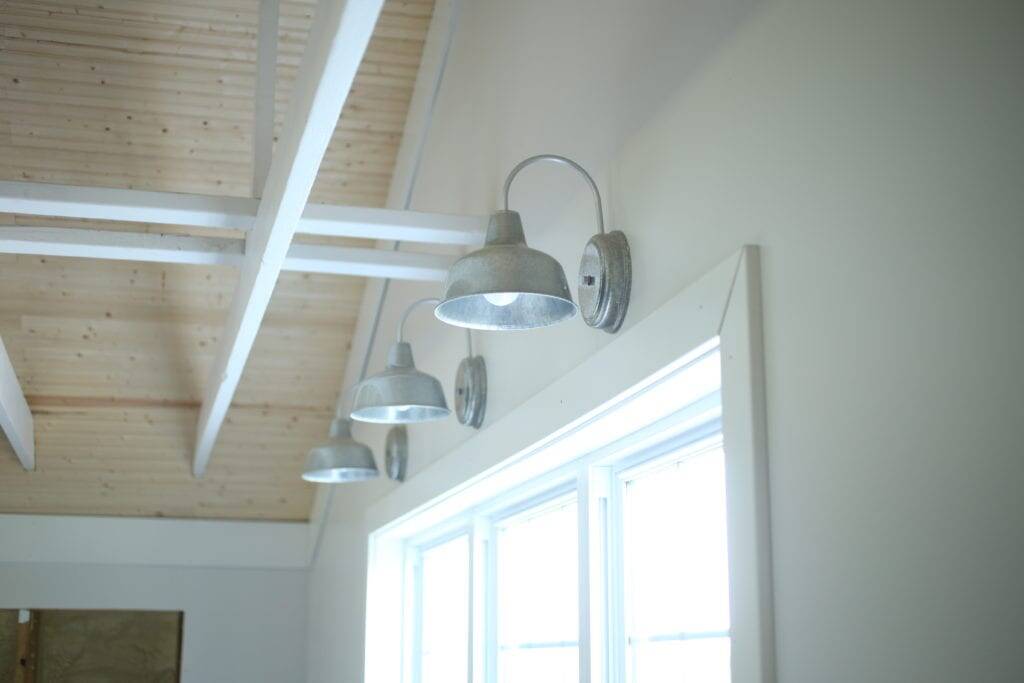
The inside lights are from Menards, and the fans are as well. Links to the same or similar below as well. I love the way the lights look over the windows. It is fun and also a little stressful to decide where each and everything goes. I am not the best with picturing something before it goes up. I can tell you from a picture what I like, and I can tell you what I don’t like, but to envision something that is not there is a bit tough for me!
What’s Left on the Red Metal Barn?
The main thing we have left to do is the barn doors to cover all the storage on the sides. This was another thing that sounded good on paper, and I think it will be really nice. However, that is a lot of doors to build! There will be eight doors total!
I keep going back and forth on staining or painting them. We are building them out of pine. I have had some really bad experiences with staining pine. Since then, I have watched some videos on ways to get it to take stain evenly. But in the end, I think I will choose to paint. With that many doors, painting just sounds so much simpler, and I really want to be done!
We also need to finish all of the trim. Caulking needs to be done to hide all of the gaps as well. We also got a quote on doing new concrete in the downstairs part and re-doing the bad groundwork that was done. We have had lots of rain, and it is just running right into the barn. So, that is one we are going to have to think about for a while!
Hopefully my next update will be a reveal!
Thank you for stopping by and touring our Red Metal Barn! See you next time!
If you missed part one or two of this series about the red metal barn, read those here and here.
Amazon Links for Similar Products


Pin for later!






I love it! We too have gotten over ambitious with shelving and such. Lucky you to have helper sons!
Looking really great! Can only imagine how nice all that space is for your family! Looking forward to the full reveal!
Me too!! Ha!
I am so happy for yall!
I know the kids are excited too! Your decor and selections are amazing! I love your taste and it is obvious that y’all have thought out every little detail! Love it!
Thank you Angela! That means a lot!
I’ve missed the story – will this be your residence? Guest house? It’s truly lovely! I love seeing your kids help with the work. I honestly don’t know what I’d do around here without my homestead kids!
Thanks for stopping by Tessa! Good point, I didn’t link part one or two of the red barn series…I sure thought I did! Ha! I added those links to the post. We will be using it for a rec room/homeschool/homechurch space. Plus storage!