Our Red Metal Pole Barn Part Two
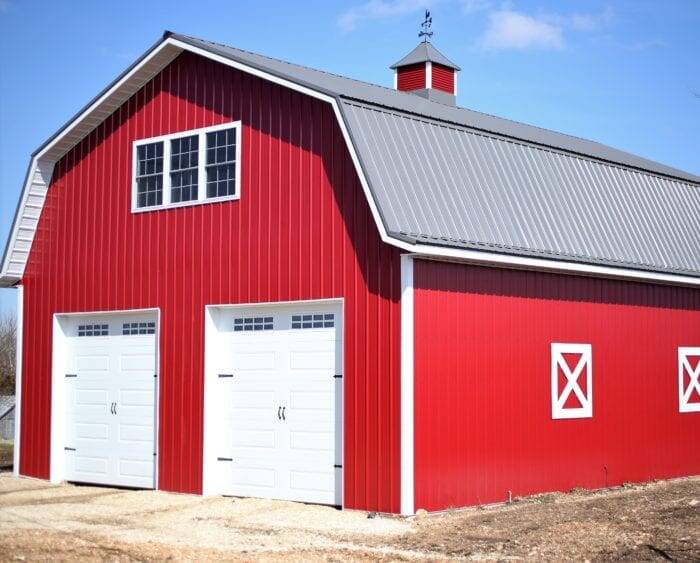
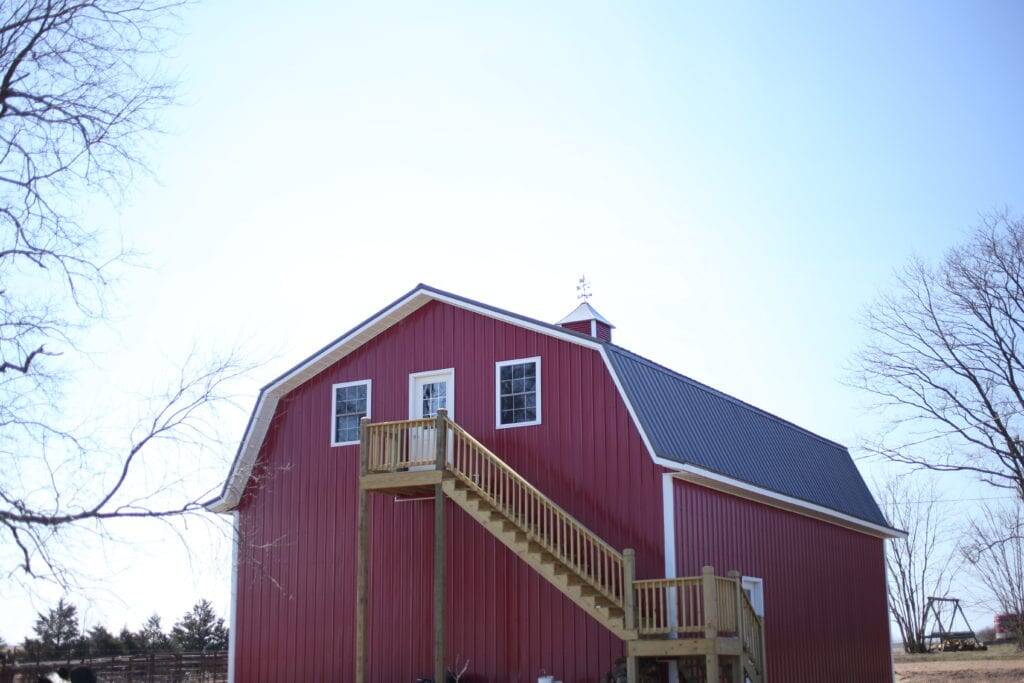
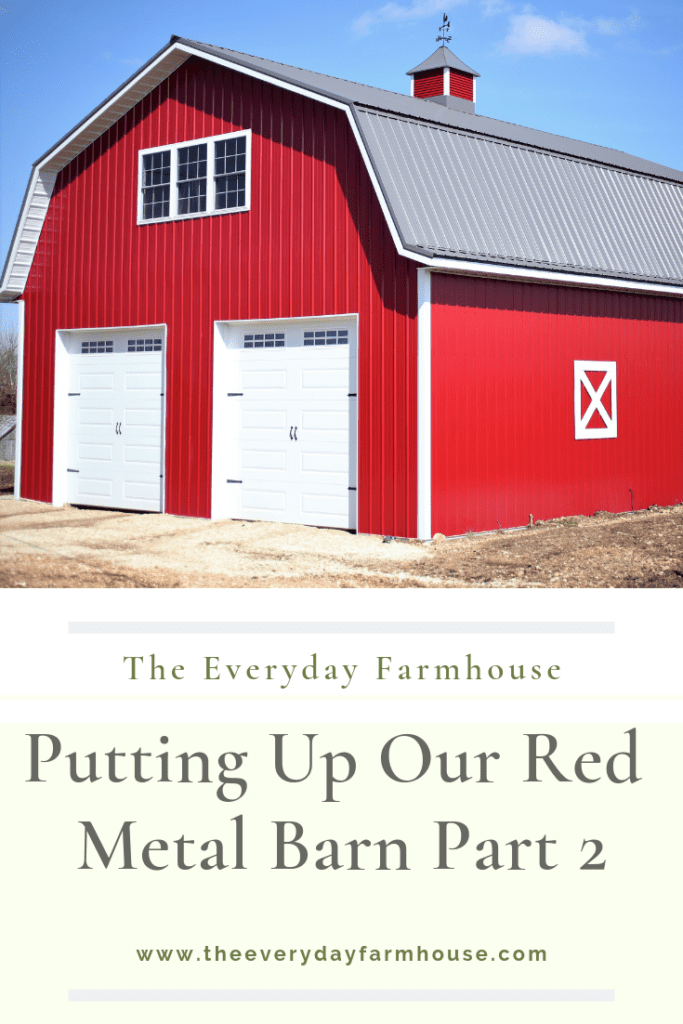
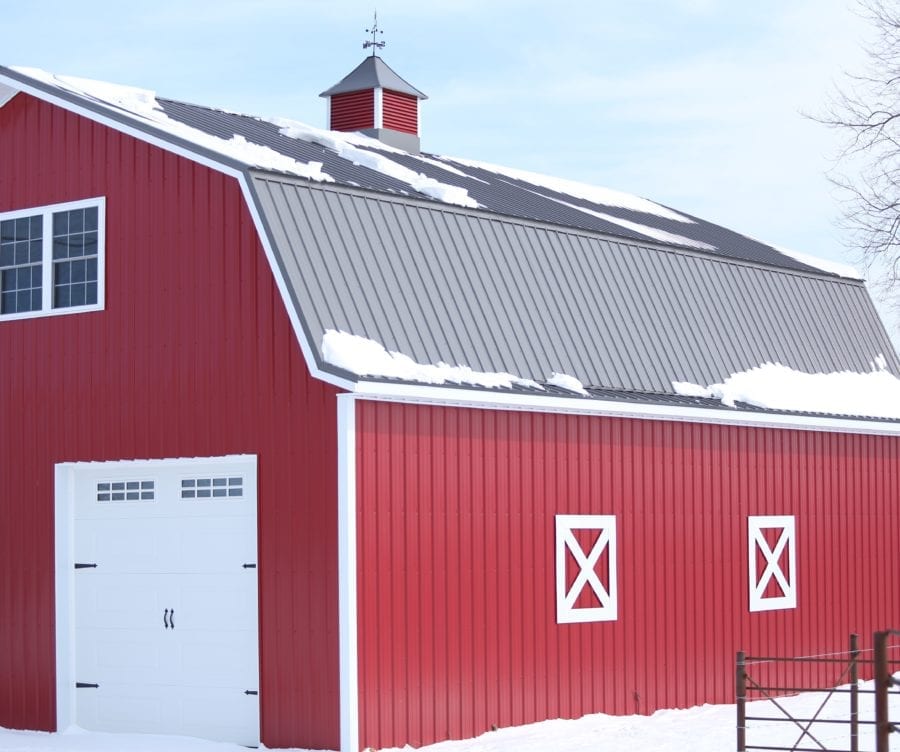
So, last time I showed you the process of tearing down the old metal building that we had. In it’s place we had a new pole barn put up. If you missed part one, you can read it here. In this post I will show you the back side and take you inside the upstairs area in our red metal barn.
Tips for Planning a Pole Barn
My husband and I have been married for 17 years. We have lived in three different houses and have done countless remodeling projects together. I would hate to calculate the number of hours we have spent painting or tearing up carpet together. However, we have never built anything from the ground up. If you are planning to build anything, a house or a barn…voice all finishing details to your significant other. He has since told me that every little detail is important from the beginning.
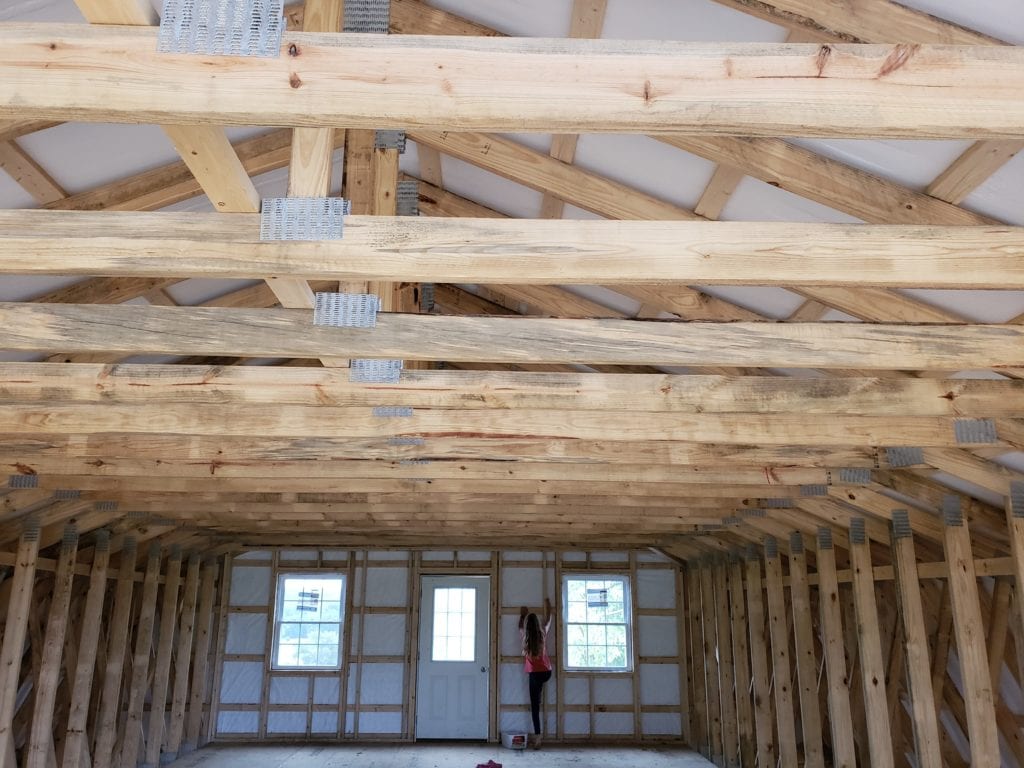
I, in my ignorance, did not mention that I wanted to keep the rafters in the upstairs part exposed. I thought it wasn’t worth mentioning before we started. In the past I have learned that he doesn’t want to be burdened with every single idea that pops into my head. It turns out, that detail was a significant thing to mention. If I had told him that from the get-go, he probably would have insulated differently. Instead, this detail came to light when he talked about insulating and sheet rocking the ceiling…..WHAT? Sheet rock…no, no, no, that is not what I was planning. Oh really? says he…then how do you plan to insulate the ceiling? Hmmm… I hadn’t thought of that! Had he known of my plans, we may have done a higher R-Value insulation below the roof.
The boring stuff–insulating a Pole Barn with Spray Foam
Part of our delay in finishing this building was deciding on insulation. Of course you know why after reading the previous paragraph. This is also rather ironic because my husband has worked in the insulation industry for his entire adult life. We tossed around the idea of the foam board insulation, fiberglass, mineral wool, and spray foam insulation, weighing the pros and cons of each.
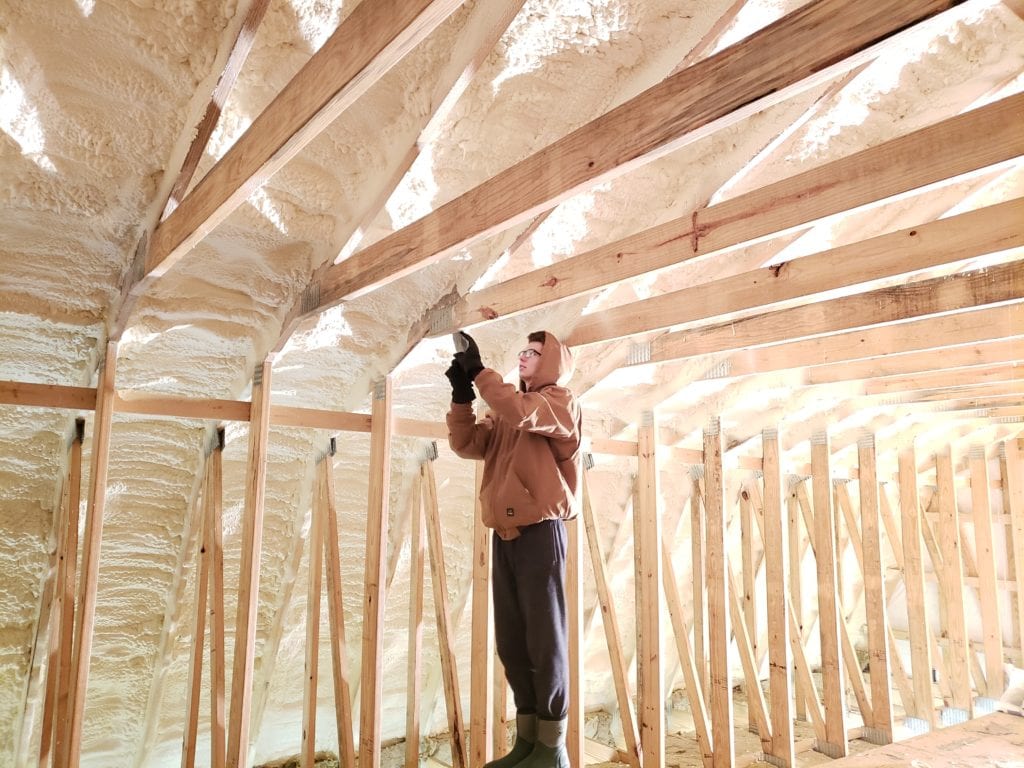
Ben decided on a combination of mineral wool and spray foam. Spray foam is crazy expensive, but it adds some rigidity to the structure and it provides an excellent R value. We did the entire ceiling and the north wall with spray foam. The floor was insulated with Mineral wool. Also, when I say “we” you know I wasn’t actually involved in any of the work. I usually only complicate matters with my endless ideas. The actual work is for my oldest sons…you know–to help them be responsible and build character!!
Now, to cover the hideous spray foam insulation
Spray foam insulation looks a lot like scrambled eggs. When I took a look after they were done, I was very disappointed. With my exposed beam vision, I also saw some sort of pretty ceiling, car-siding, or some sort of planks. The foam ended up being thicker than what we paid for, and a little bit messier than we expected. “We” had to do quite a bit of scraping to get it off of the beams that would be exposed.
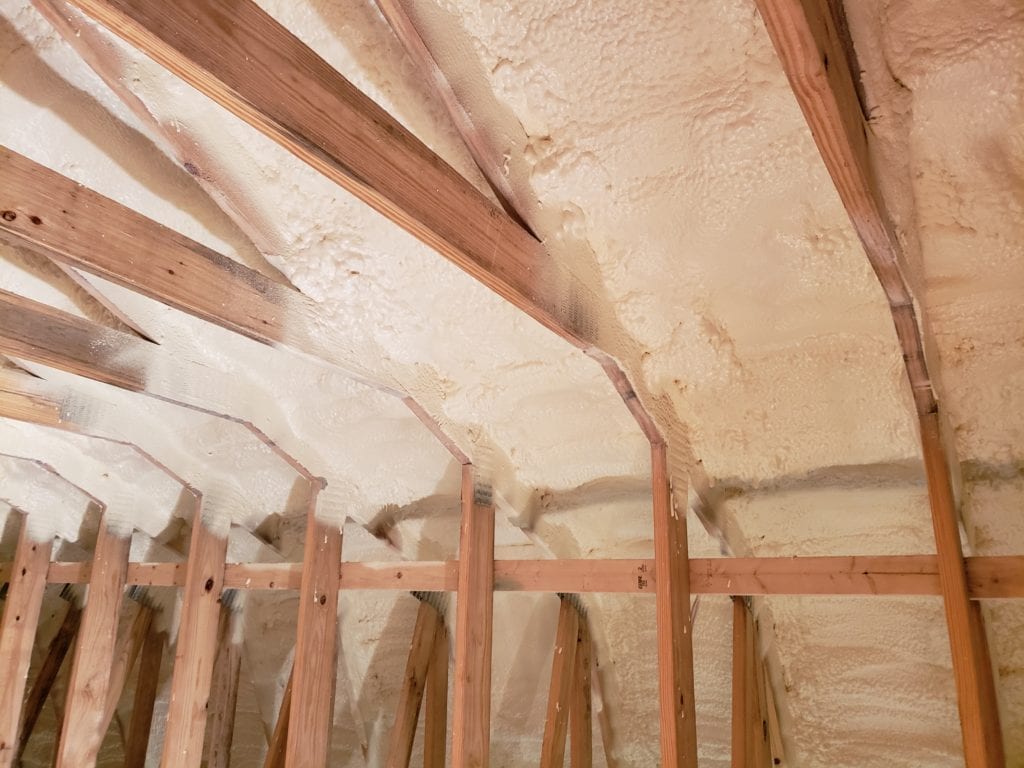

Here “we” are scraping the insulation off the trusses.
Originally, I wanted all of the beams exposed with the planks going in-between. The spray foam voided that idea. It would have been totally impractical to try to clean those beams up enough. So plan B was to leave the trusses exposed and cover the beams. Turns out plan B is just fine! We went with the cheap rustic pine wall planks. We got them at Menards and they run about $10 a package. I love, love, love the way it looks. I haven’t decided if we will leave them natural, or if we will white wash them. Any thoughts?
How to do a planked ceiling with pine paneling
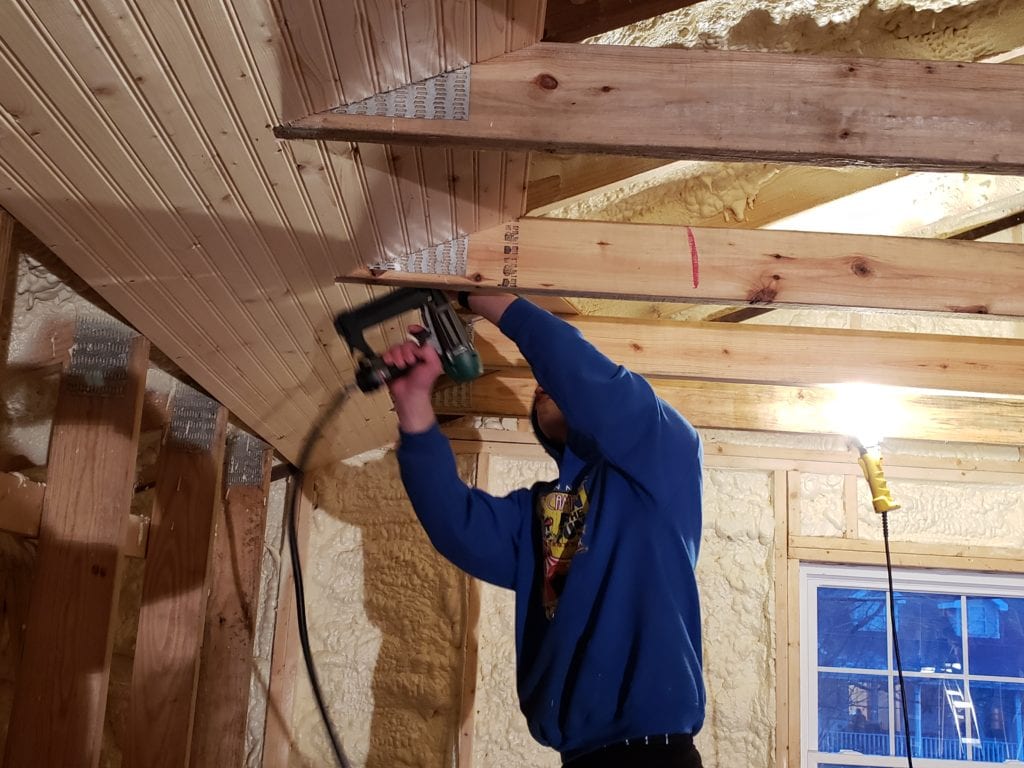
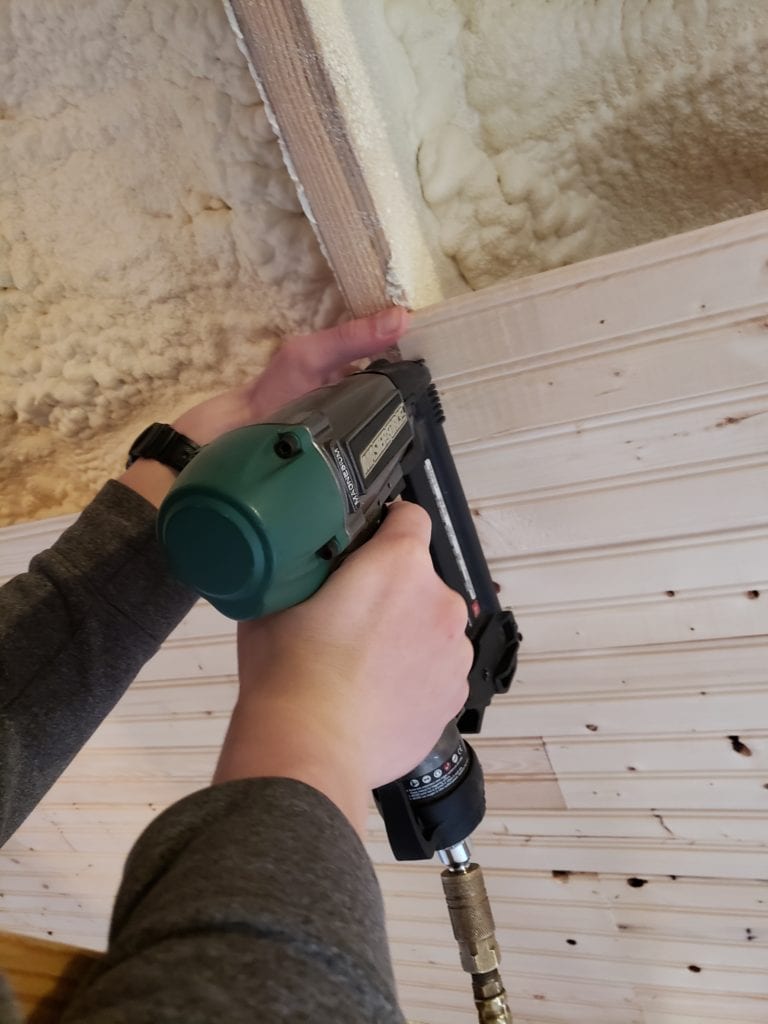
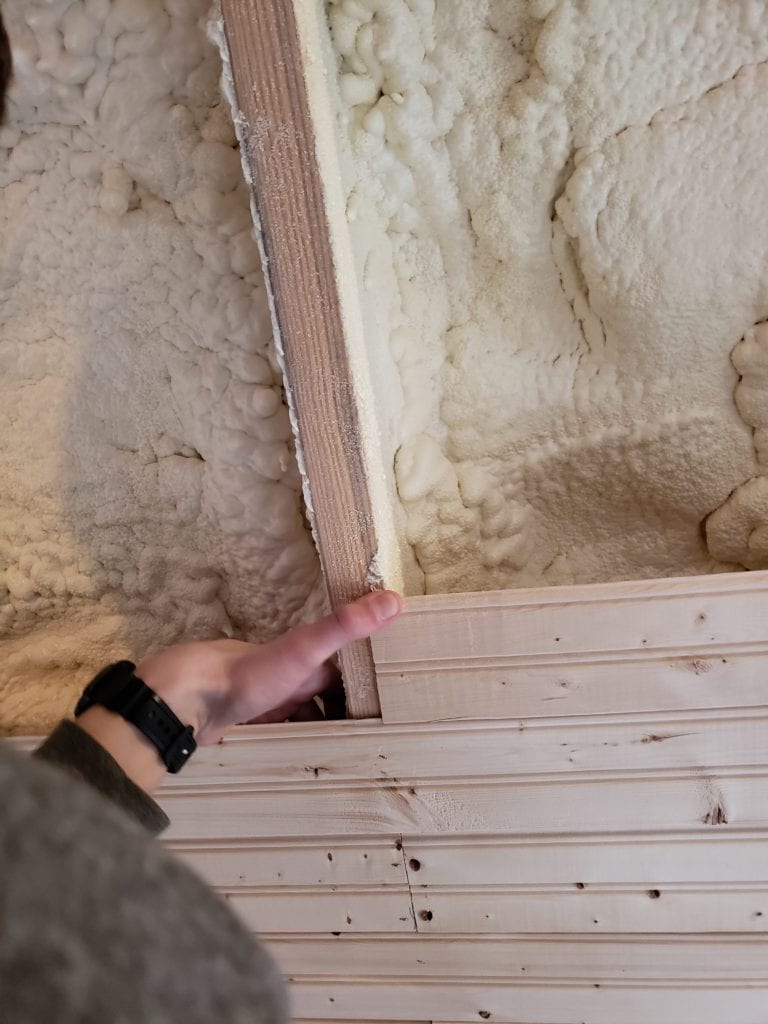
To lay this out you will need to run a string line length-wise across the trusses. This is very important, otherwise you will not have them perfectly straight and will pay for it later! When you get to the place where the panels meet the trusses, you must make a notch using an oscillating tool. As you add board after board, the main thing is to make sure the bead lines up before you nail. These are tongue and groove, so the tongue holds the bottom and you nail the top, we used 3/4″ narrow crown staples. It really isn’t difficult, just time consuming.
A quick note: As I was writing this post, my oldest boys got sick. Guess who had to actually work on the building? Yours truly!!! That’s what I get for joking about “we”. My husband and I actually had fun working together on nailing up the ceiling panels, and me with a one year old in a baby backpack. Wish I had a picture!


See how you line up the joints? Centered on the board.
Making a Storage Area in The Barn Loft
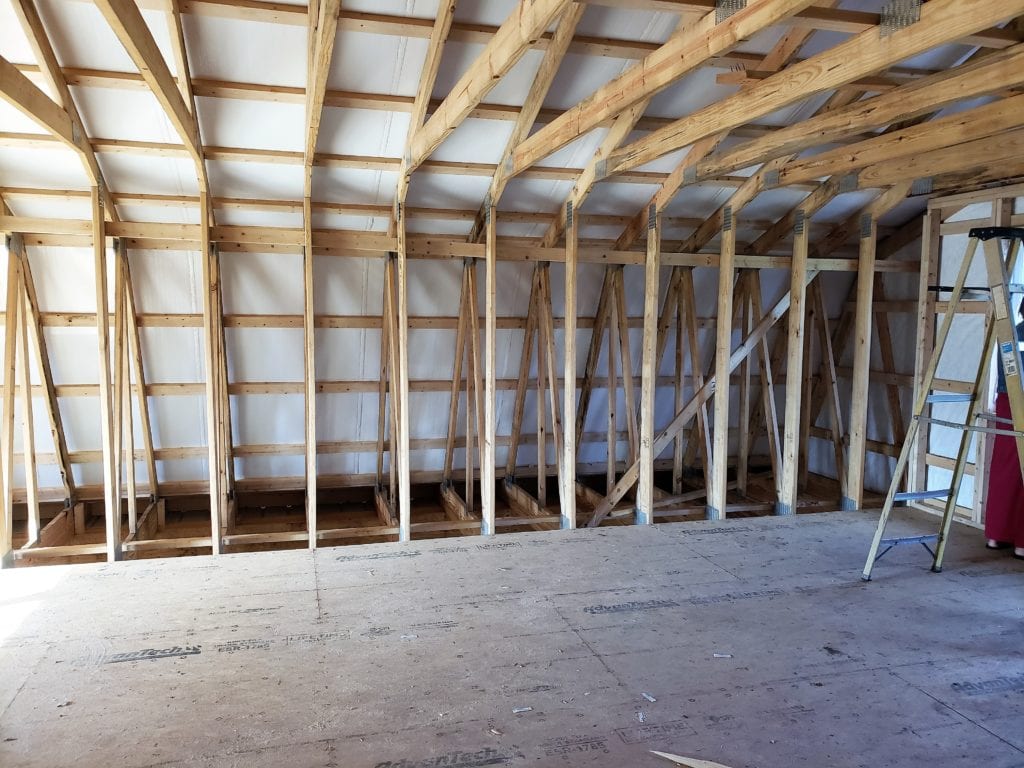
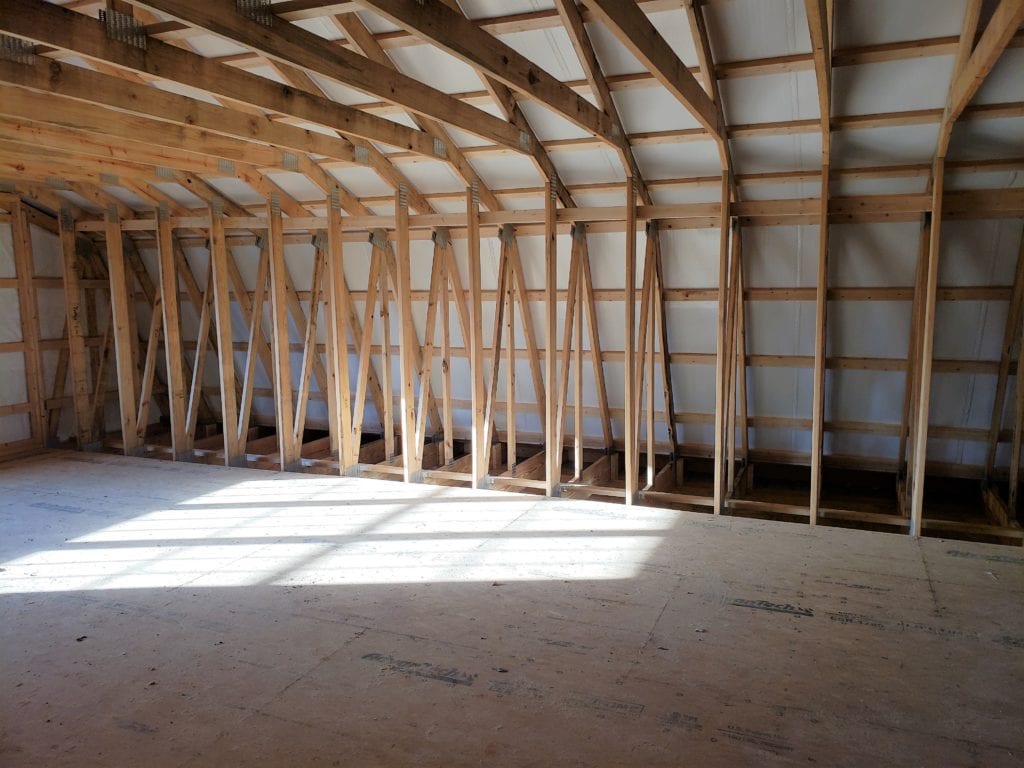
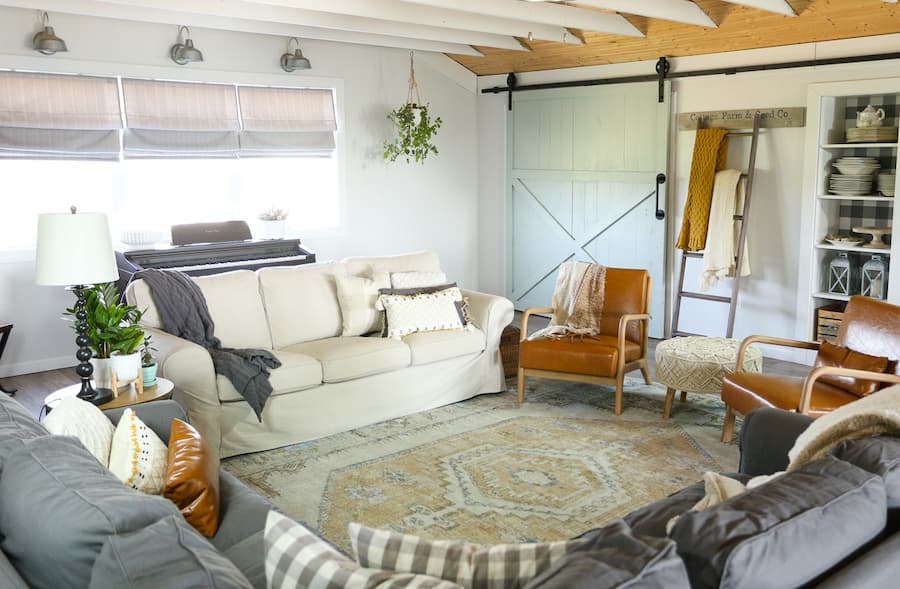
We will be turning the wing area into storage. There will be bookshelves and sliding barn doors on both sides.
A Quick Video Tour
Here is the backside and the downstairs of our Red Metal Pole Barn
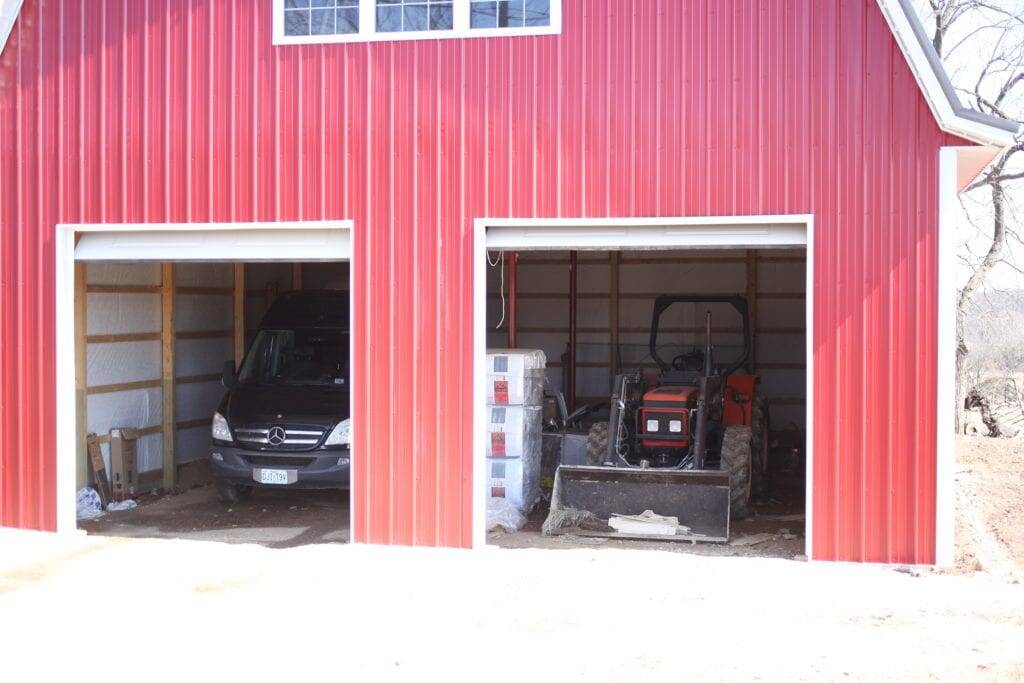
The downstairs is not for animals, although we have used it to milk the cow a couple of times when it was raining. We call it a barn, but really it is a garage/shop with a large upstairs room….barn just sounds so much simpler, and more appealing. Our huge van and tractor take up much of the space. In the back there is room for storage and a small shop set-up….in due time anyway.
Pin it for Later!




Wow! love it. So much went into it! We always wanted spray foam insulation but never could afford it. Especially when we built up North. Here in TN, we can get away with far less.
Well written, felt like I was there!
Thanks Jersey! Yes, it is so expensive, that’s why we only did a small part.
I was wondering if there were going to be two floors! I think it’s perfect! I want to host a painting class there! LOL!
Happy day friend!
karianne
Set the date!! How funny, I do have big visions for the space…sewing, painting, crafting…
So wonderful! That big room is going to be well used and loved by you all. The ceiling looks great! Your farm is beautiful and loved the video.
Thanks Julie! Yes we cannot wait to be finished and actually enjoy it!
Oh I love it! So many possibilities! It looks like a barn and you should call it whatever you want!
Yes, barn it is!
That’s the prettiest barn I’ve ever seen! Y’all are going to love that upstairs room! Loved the video too! Thanks for the tour:)
Thank you Angela! Glad you stopped by!
What is length and width and outside wall height of it
32 x 40 with 12’side walls.
What are the dimensions Of the building?
32’x42′
How big is the loft. I want to build something similar but I want living quarters on top. Is the size of your barn large enough for living quarters?
Thanks
Here are all the posts on our barn loft: https://theeverydayfarmhouse.com/?s=barn+loft