Pallet Wood Succulent Planter–How To
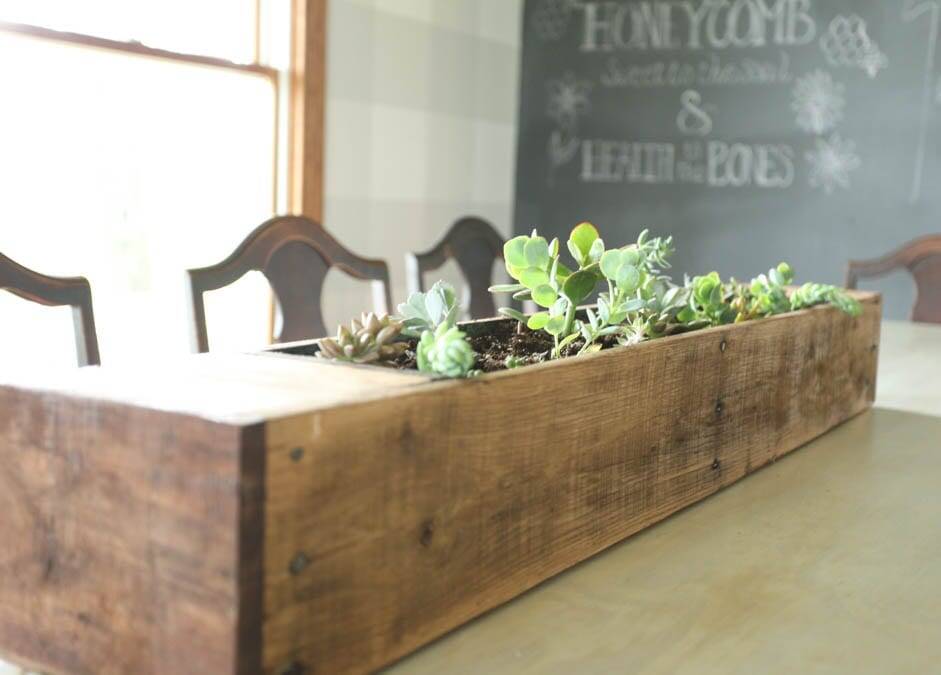
Making an impressive pallet wood succulent planter is not difficult. Here is a step by step guide to help you! This post may contain affiliate links.
Hobby Lobby Inspiration
This is another one of those projects that was inspired by a trip to Hobby Lobby. You know the drill. You are walking through the store and you see something that you like. However, you are far too thrifty and far too resourceful to actually buy it! Instead you pull out your phone and snap a picture while saying…I could totally make that. Please understand the “I” here is not always really me, it is very often my husband. However, good news for him, my boys are getting older and very capable! So, the “I” that did this project was my 15 year old son! He loves to make things, so of course he considered it an honor to help me out 😉
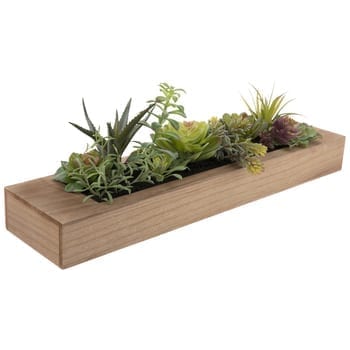
The image above is what I saw. It is much smaller than the one we built and it was filled with fake succulents. What I liked about it was the ends, the way it was flat on top, so that had to be part of the design.
Free is Better
For me if “I” am going to make something, I really want it to cost next to nothing. So, I looked around to see what we had to make this planter. I spied a pretty nice pallet. I knew it would be just the right size to fill the center of our dining room table. That is how the pallet wood succulent planter was born!
Succulents
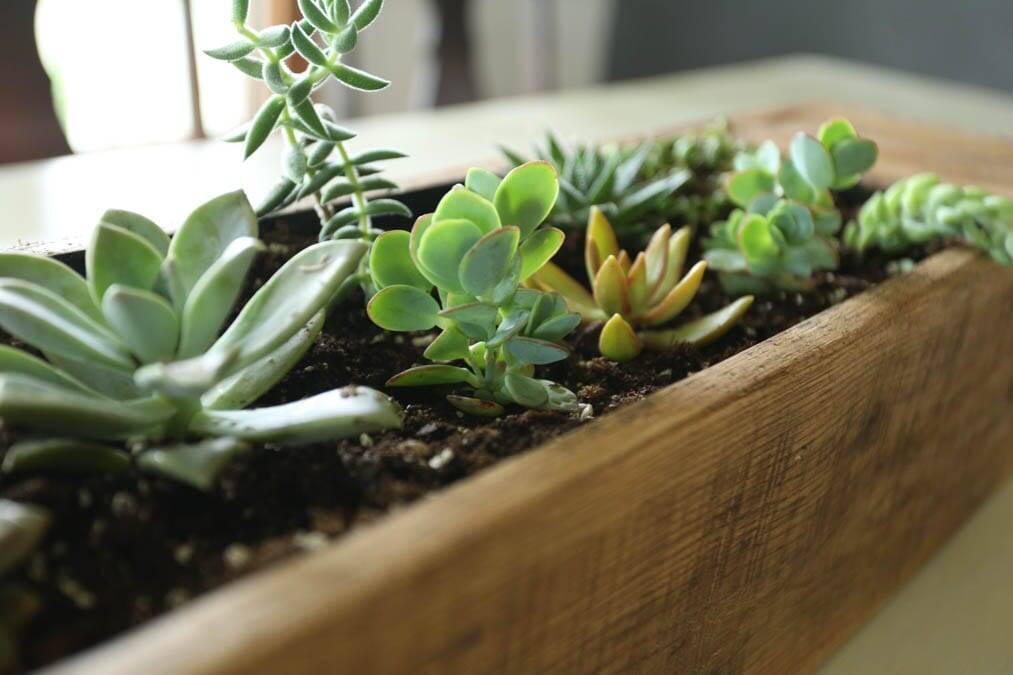
My mom is the succulent queen. She has had succulents for as long as I can remember–lots and lots and lots of them! She keeps them in little McCoy pots in all of her windows. So, when succulents started appearing all over the place it made me smile and think, wow, my mom has been so cool for all these years! Please forgive me if I tell you that “I was succulent when succulent wasn’t cool” is going through my head as I write this. #Imadork
My two oldest daughters have caught the bug too. They have quite a collection of succulents that they love and nurture. I felt left out, so I decided that I needed my own collection as well! I got lots of tips from my daughters and the queen of succulents to help you when we plant these!
Let’s Build a Pallet Wood Succulent Planter
The dimensions of the finished planter are approximately 41″ x 6.5″. He didn’t cut the board down on length at all. He just kept it the length of the pallet.
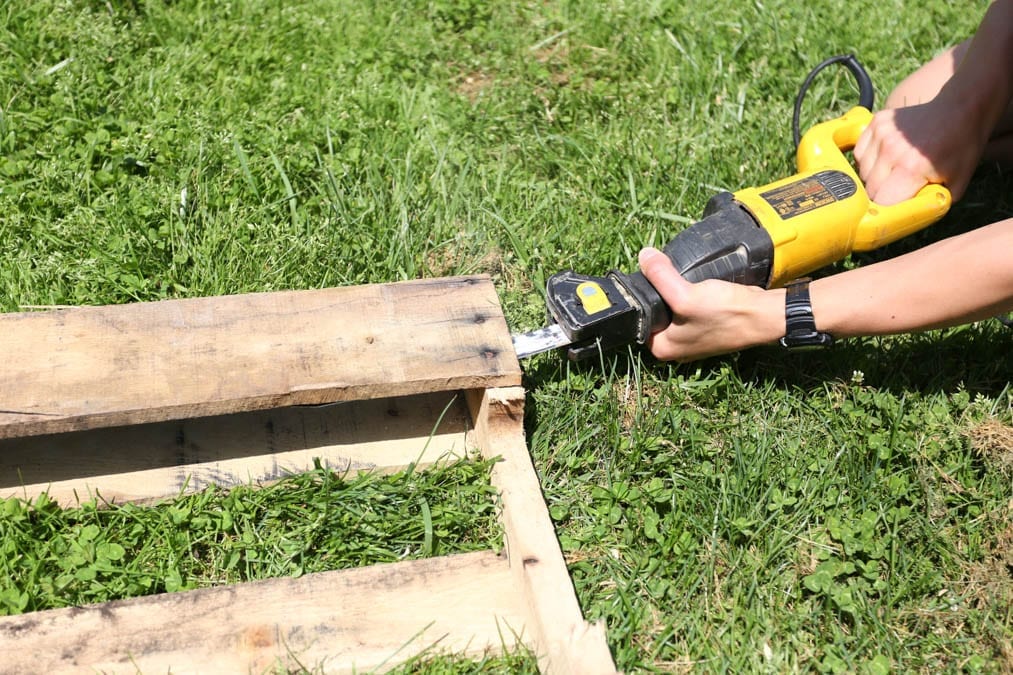
To remove the boards from the pallet, you could pry them off and remove the nails, or you could just use a sawzall to cut the nails. We went for the latter. When we tried to pry the boards off, the wood was wanting to split. Plus I liked the look of the nailheads staying in the boards. I’m a fan of rustic!
This project took five pallet boards total. Three for the sides and bottom and two for cutting up. The centers of the cut-up boards weren’t usable because of the nails in those, that is why we needed two.
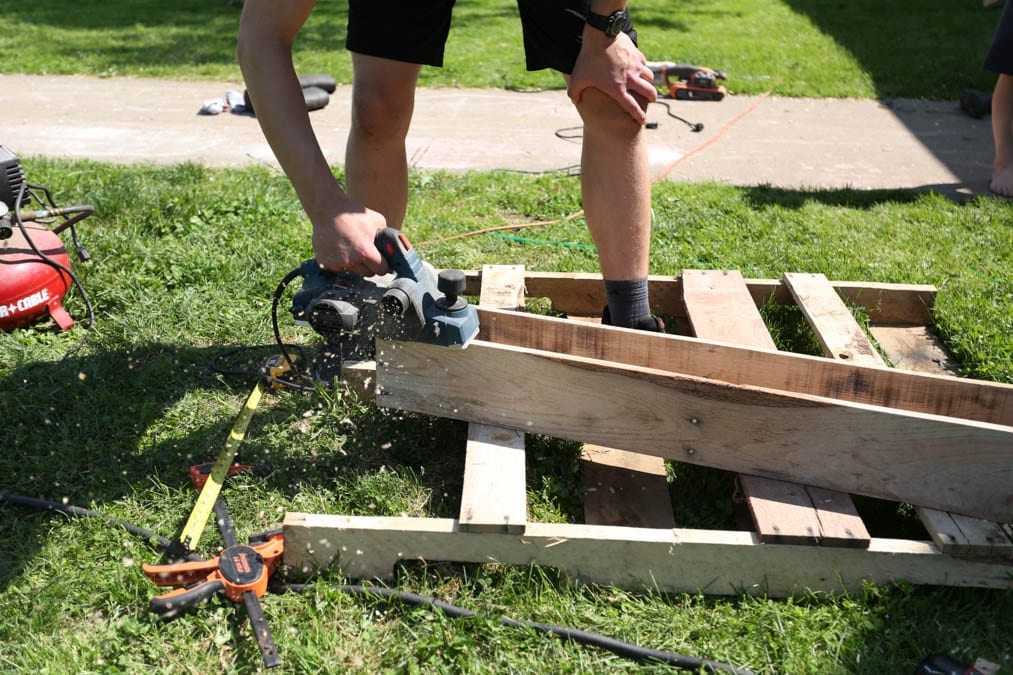
Try to pick boards from your pallet that are identical in size. If you have a planer, you can plane down any issues. The condition of your pallet will determine how much tweaking you have to do. Ours had been sitting outside, so it needed a fair bit of sanding and planing.
Step 1: Cut your boards
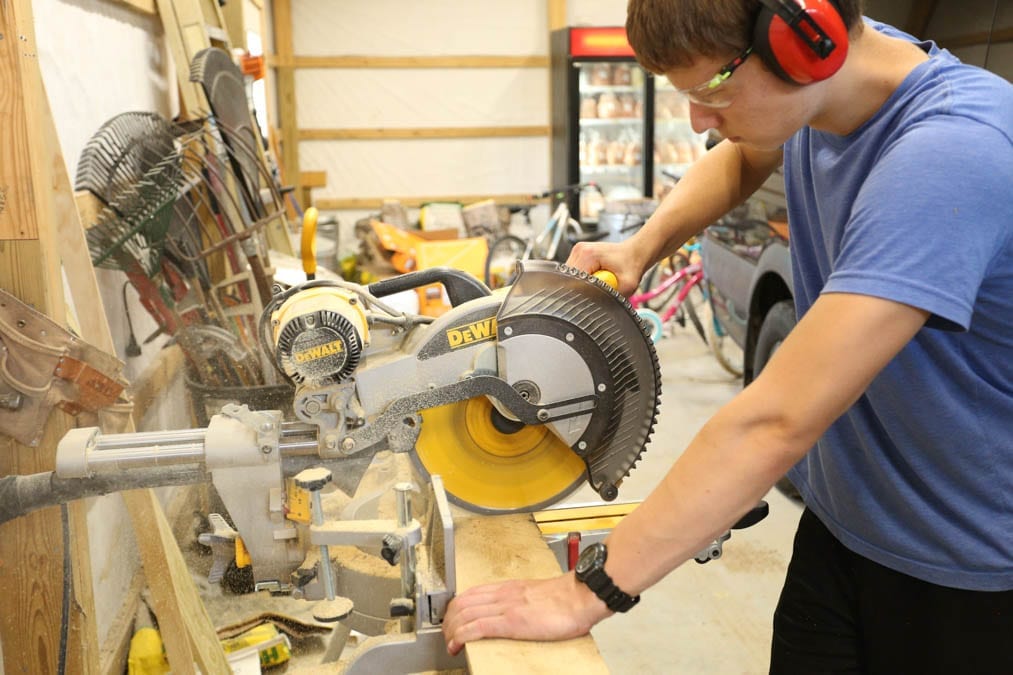
You will need 2- 6 3/4″ x 5 1/2″ boards for the ends of the box
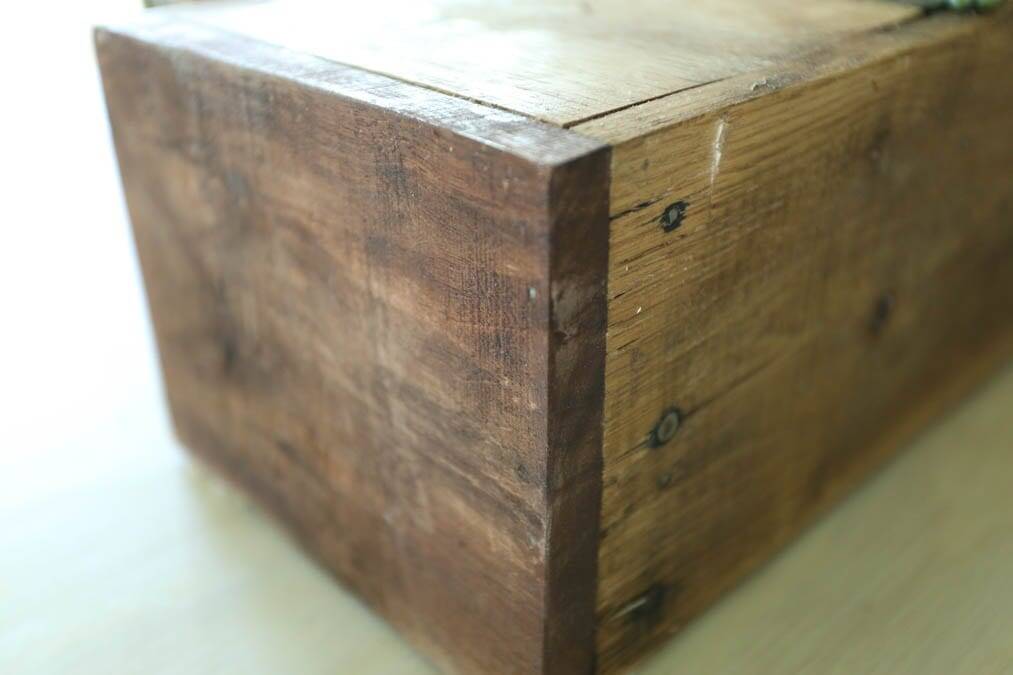
2- 5 1/8″ x5 1/2″ boards for the top of the box
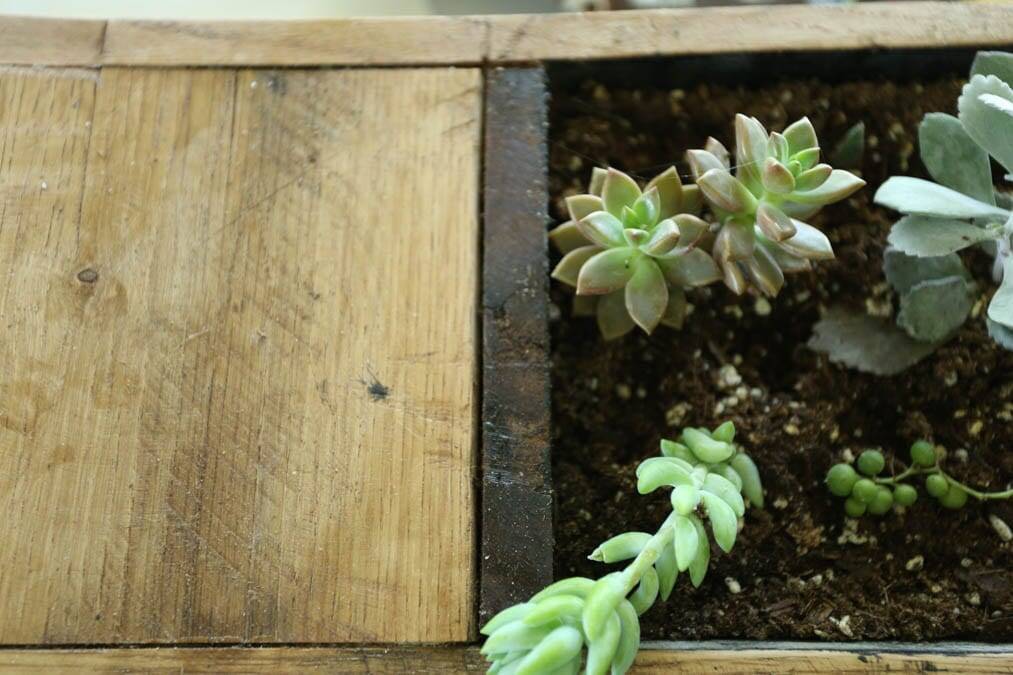
2- 5 1/2″ x 5 1/2″ boards for the inside of the box
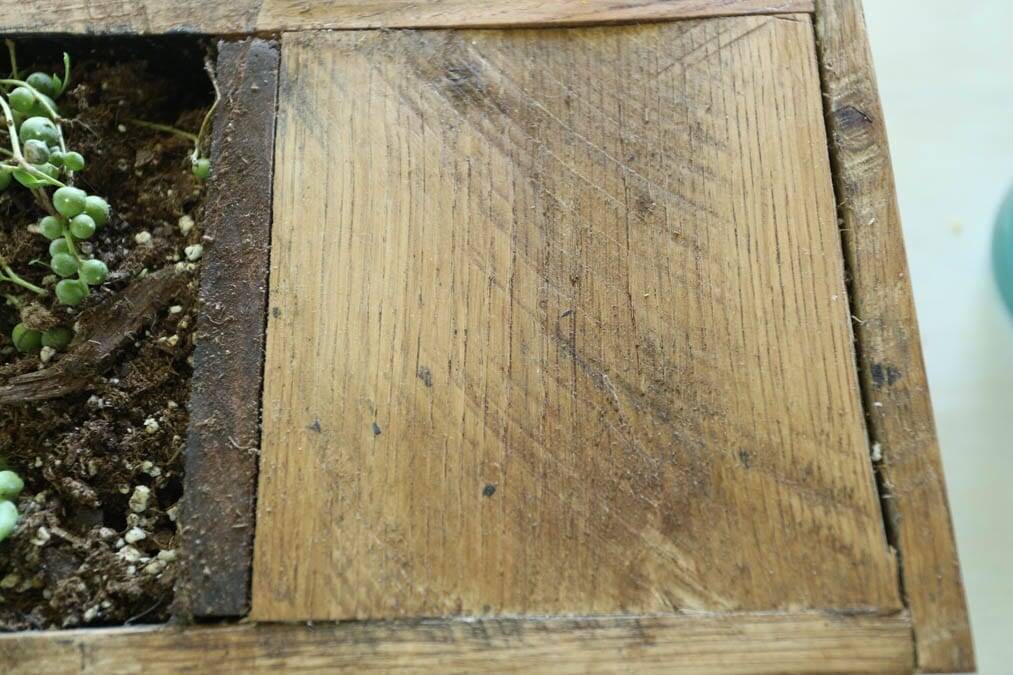
Step 2: Sand and Plane any that need it
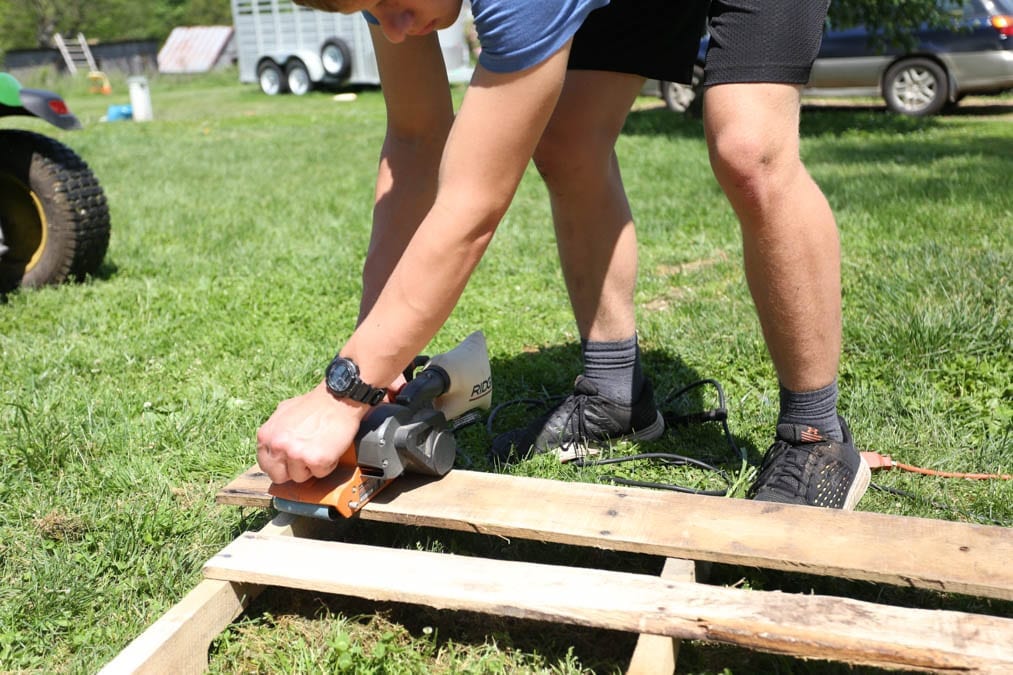
Step 3: Assemble
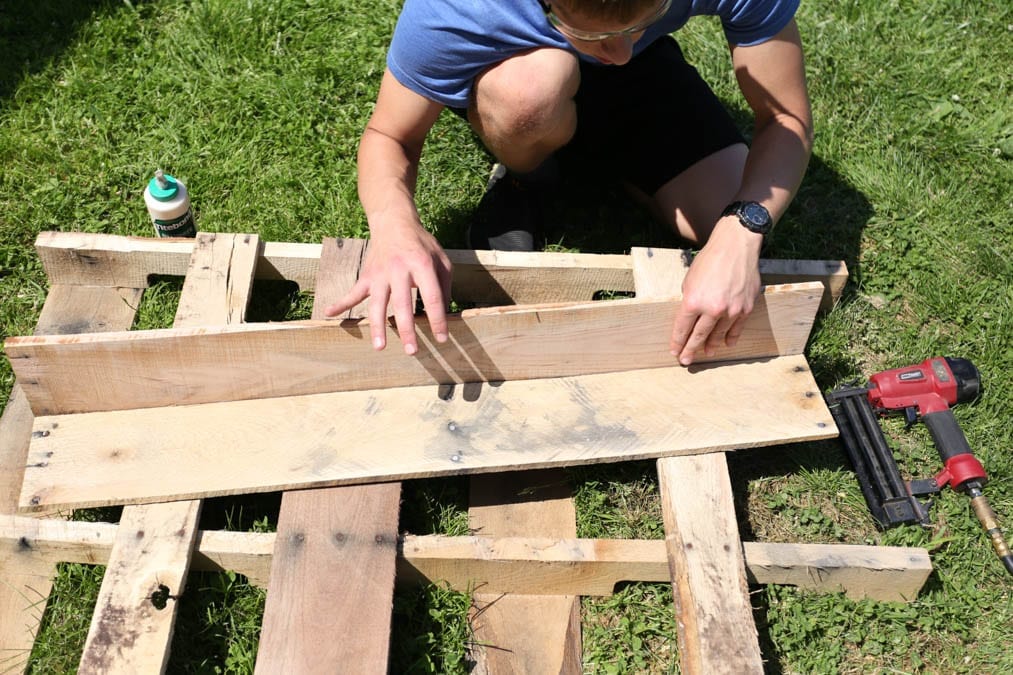
My pictures will show assembly a bit differently than what you should do. I have been accused of not verbally telling my builder all of the details of what I want. Side Note: There seems to frequently be a point in nearly every project where the words “It would have been helpful to know that from the beginning” are said to me. ( I am working on that, and will try in the future to realize that people cannot read my mind!)
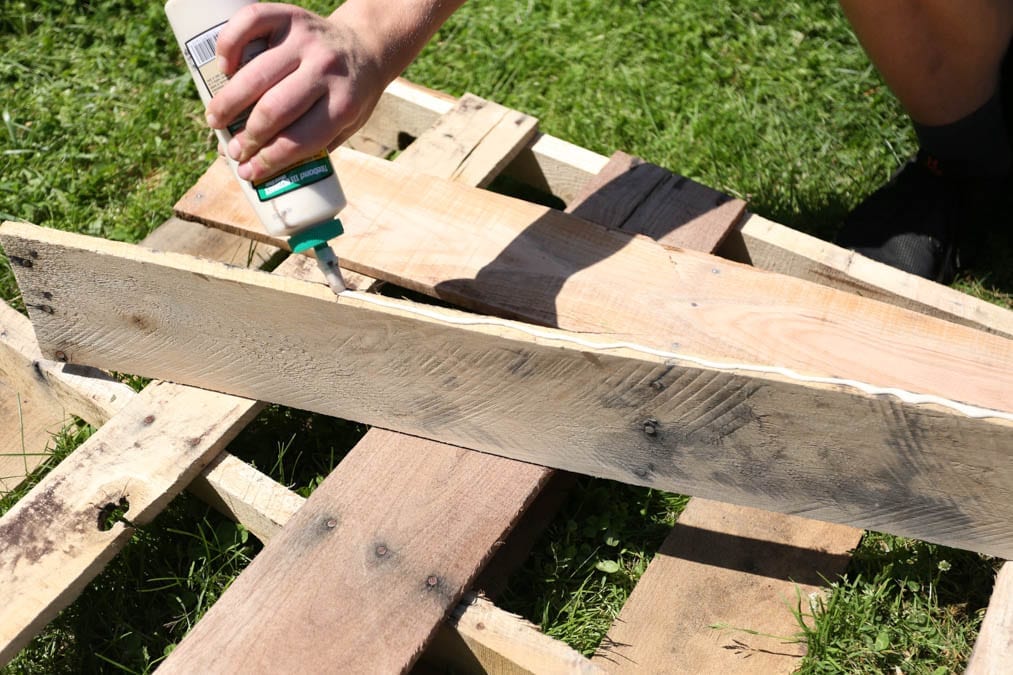
It would be best to assemble your small boxes within the big box prior to assembling the outside. It can be done the other way too. You will just need to trim your boards and maybe hammer them a bit to get them to slide in place. Our boards were a bit warped from sitting outside, and that didn’t help.
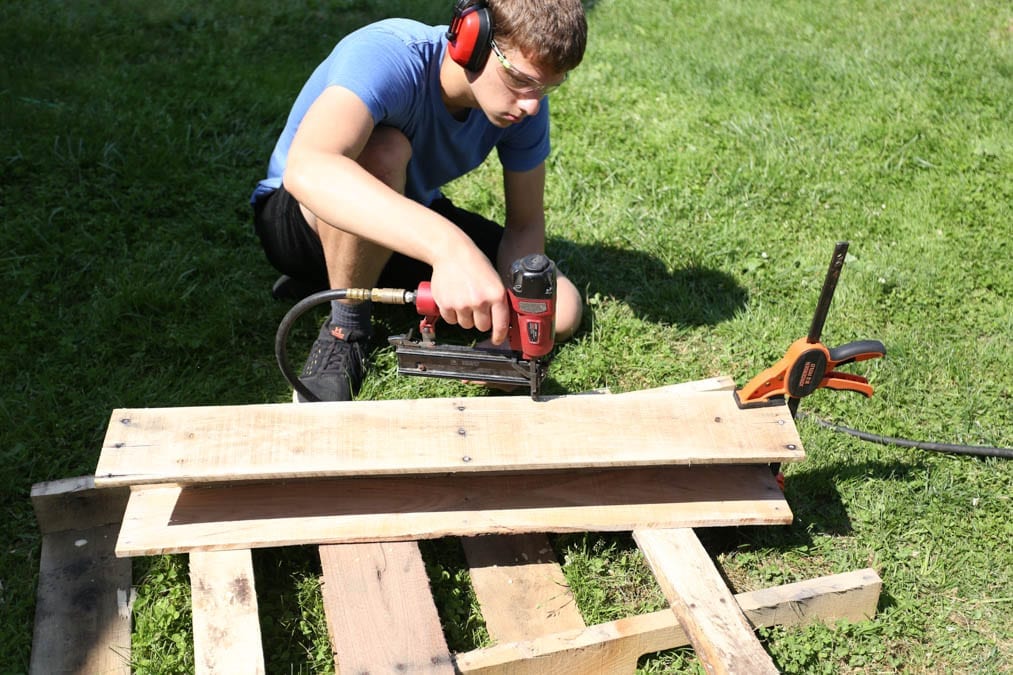
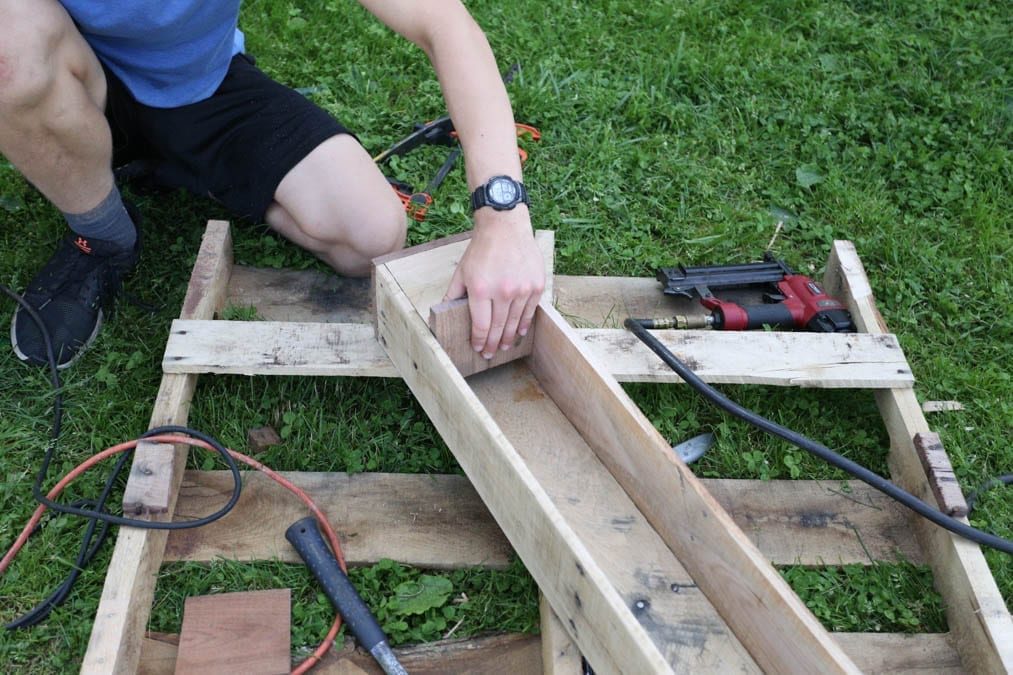
For assembly, he just ran a bead of wood glue and then clamped it and used a nailer to hold it all together.

Waterproof the Inside
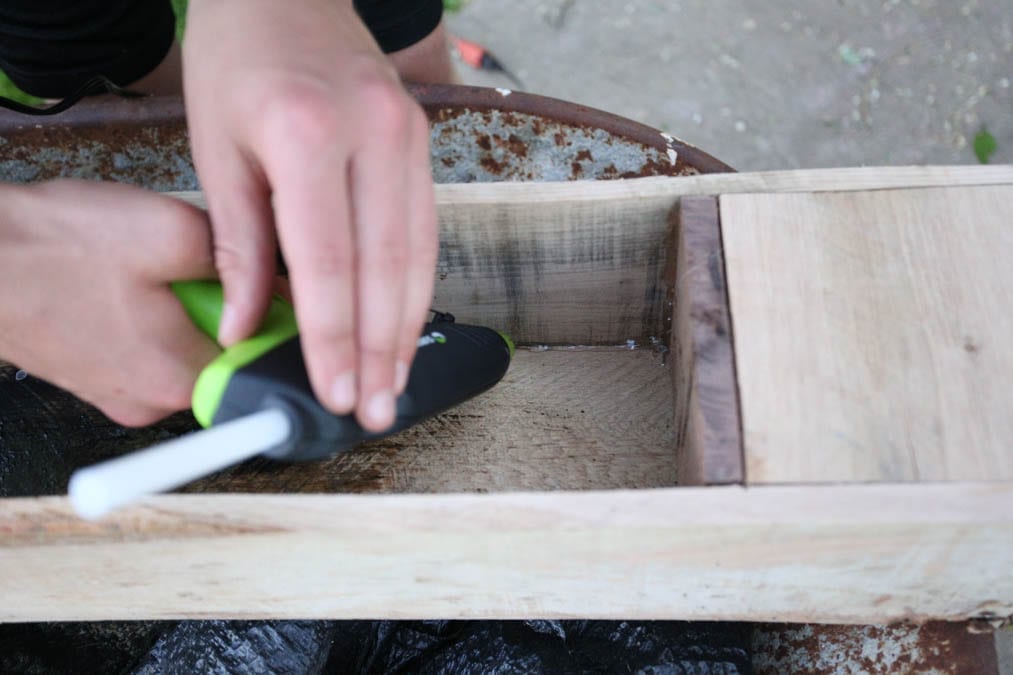
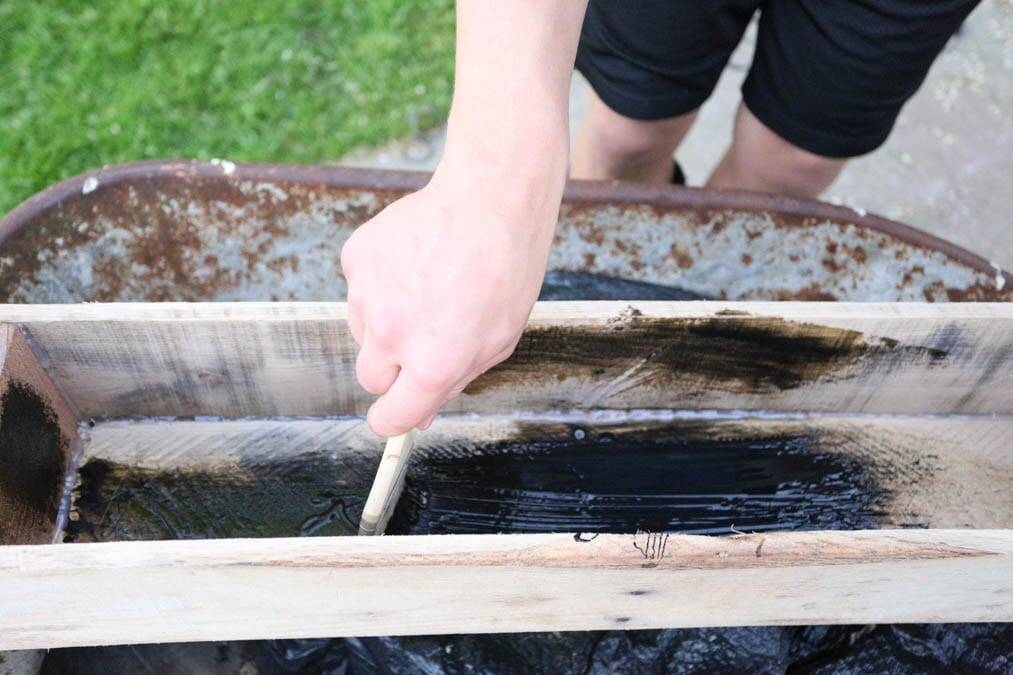
For the inside, you want it to be able to hold water. I was just planning on lining it with thick black plastic. That would certainly work. However, we had some flex seal on hand. We had used this to repair a leak in the roof of our van, and we had a lot left over. So, we ran a bead of hot glue down the seams of the box and then painted over the entire inside using flex seal. The instructions say that it is safe for plants after it is fully cured which takes 24 hours. It really works, and it made a super nice finish for the inside. Unfortunately, I lost a few pictures and one of them was the inside totally sealed with flex seal. He painted it on thoroughly until it was totally rubberized.
Finish the Outside
I sanded the outside…really I actually did the work on this part! I sanded it with 120 grit paper. Then I stained it using a stain, plus poly finish. The color I had on hand was dark walnut. One piece of the wood actually appeared to be walnut, so it is much darker, but of course I like the variation!
Prepare your Soil
Succulents like a loose, gravely/sandy soil. They don’t like their roots to be wet. So, we bought some cactus soil and also mixed in some sand and small bits of gravel.
Drainage
Since they don’t like wet roots, we filled the bottom of the planter with gravel. Yes, this makes it heavy, but I knew I wanted this inside, and I didn’t want drainage holes. I also had pictures of this that somehow disappeared from the camera! Filling the bottom with gravel lets the water run down away from the roots. Then the moisture stays in the box as well and doesn’t run all over your table!
Succulent Care
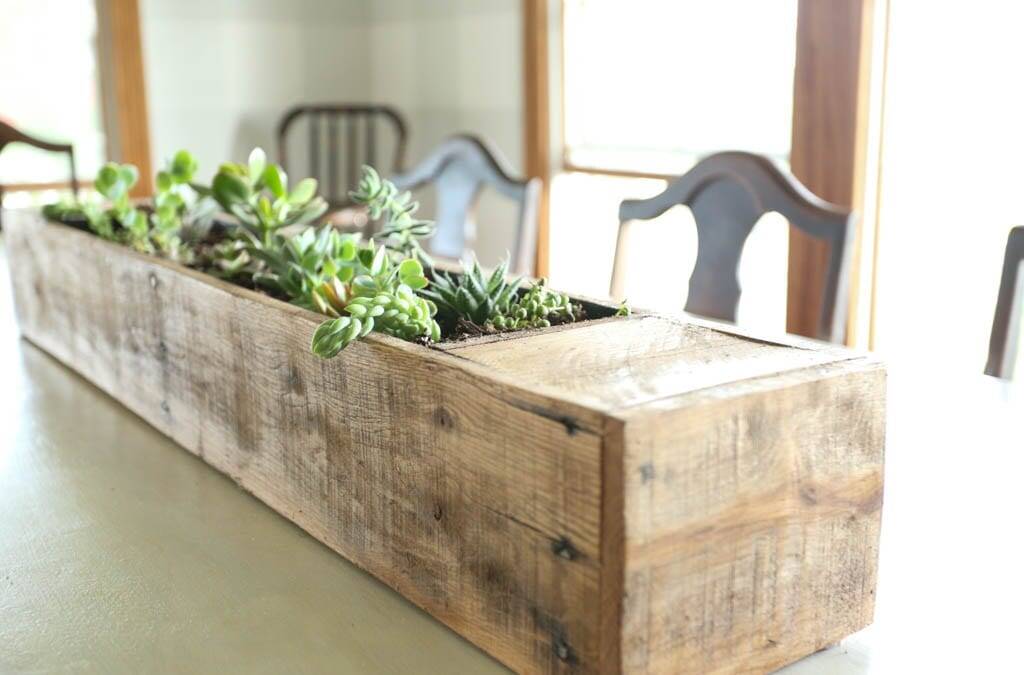
My mom said you can save a succulent that has been under-watered, but it is very difficult to save one that has been over-watered. They actually burst on the inside when they have been severely over-watered. You will know if you are giving it too much water, because they will look pale, translucent and swollen compared to what it looked like at first. In a box like this, a light watering every two weeks to once a month will be sufficient. Spring and Summer, (times of growth) will require more water. This of course depends on their location. If they are outside in the hot sun, they will obviously need more water.
The best indicator is a finger test of the soil. If the top inch or so feels dry to the touch, you should water the soil, not the plant itself.
Succulents need lots of light. Our dining room is on the south side of the house and gets lots of sun, so this is a perfect place for them. My daughters carry their succulents outside everyday for sun and fresh air. That is far more care than I am willing to give mine! I think they are pretty happy where they are though.
Also, keep your plants free of dust. Dirty leaves could possibly inhibit their growth. Just wipe them off with a clean cloth.
Thank you!
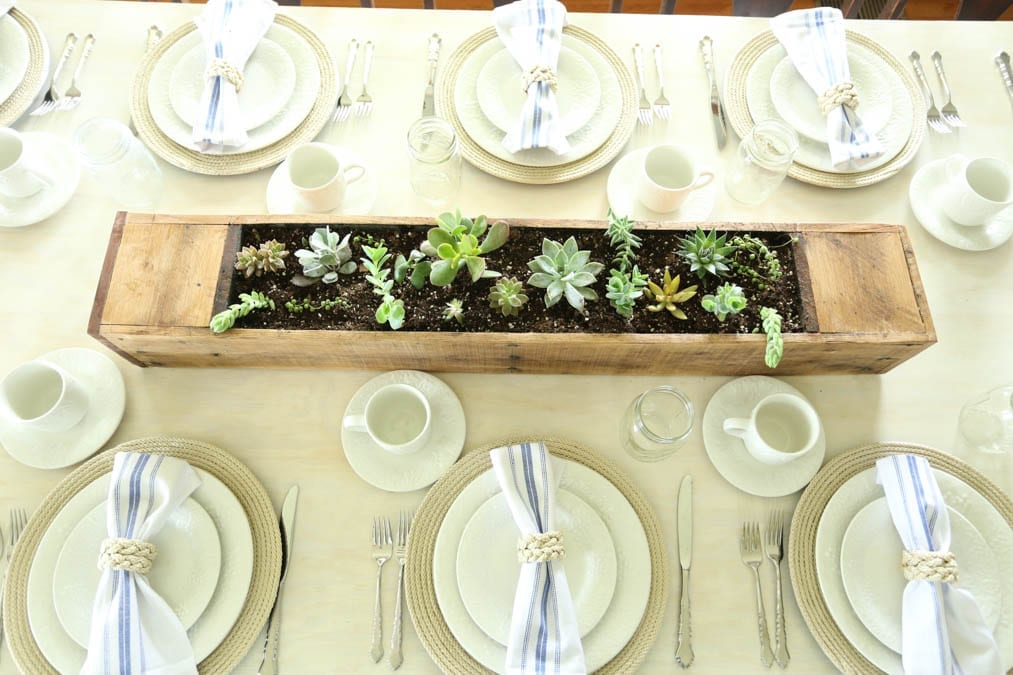
I appreciate you stopping by! I hope you enjoyed this post on making a pallet wood succulent planter. I have another post on succulents coming up. It will be on how to plant Hens and Chickens!
Next week I will also be sharing a how-to for those napkin rings and plate chargers that you see in the picture above!
Do you like plants? Here are a few more posts you may enjoy!
Planting Lavender Boston Ferns
Pin for Later!



I love your thriftiness! This looks so fantastic! And I love that your mom was cool back when no one had succulents!
Thank you Elise! Yes, it’s nice to have a super hip mom!!
Very nice post, Eli looks so professional with his woodworking skills, hearing protection and safety glasses.
Yes, I am the Queen of succulents and cacti. 🥰 I actually had an addiction to McCoy pottery, cacti and succulents. When I would buy a new pot at thrift/antique stores then I had to go the nursery to get a new succulent. Over the years I have found how easy and fun it is to propagate these little darlings. It is a fun hobby and I’m happy that my daughter and granddaughters are sharing in the fun as well.
Thank you they are fun! I’m so glad you are teaching us!
Love your succulent planter idea and think they would make wonderful gifts for the succulent gardeners in our lives. I have a few. Pinned to share 🙂
Thank you so much Marie!
Love this Jenn, and it looks like you have a skilled helper! Thanks for sharing at Vintage Charm–pinned!
Thank you! Yes, he is a blessing!
This is so pretty and so inspiring to see the step by step! Thanks for linking up at Charming Homes & Gardens!
Thank you! I enjoy the link party!
What a beautiful idea! I just love this so much! Thank you for sharing with Charming Homes and Gardens!
Thank you Kim!
This turned out so perfect! I love the rustic look and it looks amazing with the succulents in it. I would love it if you would come and link up to my Centerpiece Wednesday Linky party. 🙂 https://karinskottage.com/2020/06/centerpiece-wednesday-linky-party-is-back.html
Karin
Thank you Karin! I will head over there!
What a wonderful tutorial! I love succulents and have often bought them to use in a holiday centerpiece. And then I plant them outside (which works well here in Phoenix). Many of them continue to grow and bloom. Your container’s rustic color looks so lovely with the many shades of green. So happy to discover you through the link party!
Thank you Mary! I’m glad to have you visit!
Lovely idea for patio tables on sundays or events outside
Greetings from Argentina
Thank you! Yes I have recently moved mine outside! I love to hear where you are from!