Linen Throw Blanket with Ruffles DIY | Flannel Lined
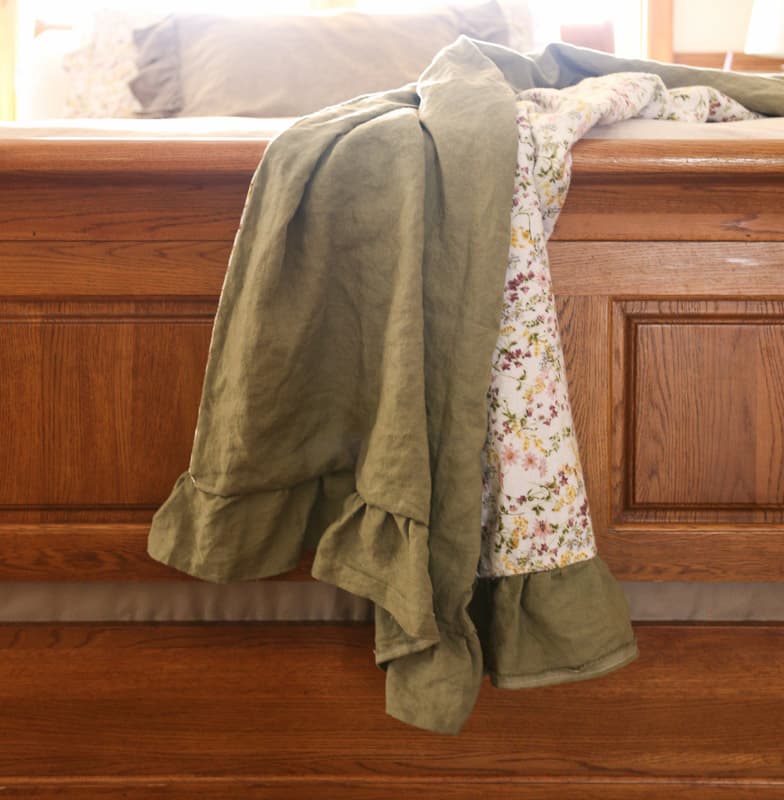
A linen throw blanket with ruffles is the perfect weight and look for spring! Add a flannel lined back and you have a cozy and beautiful throw blanket!
This post contains affiliate links
Do you love linen? I have always been drawn to it, I think because my mom always liked it. It has a casual feel with its natural wrinkles but it also feels kind of upscale. Linen is one of my favorite fabrics to use for bedding. Our duvet cover is linen and I think it is just perfect for every season.
This linen throw blanket is a rewarding project that you can make in an afternoon. It feels amazing wrapped around your shoulders on a chilly spring night.
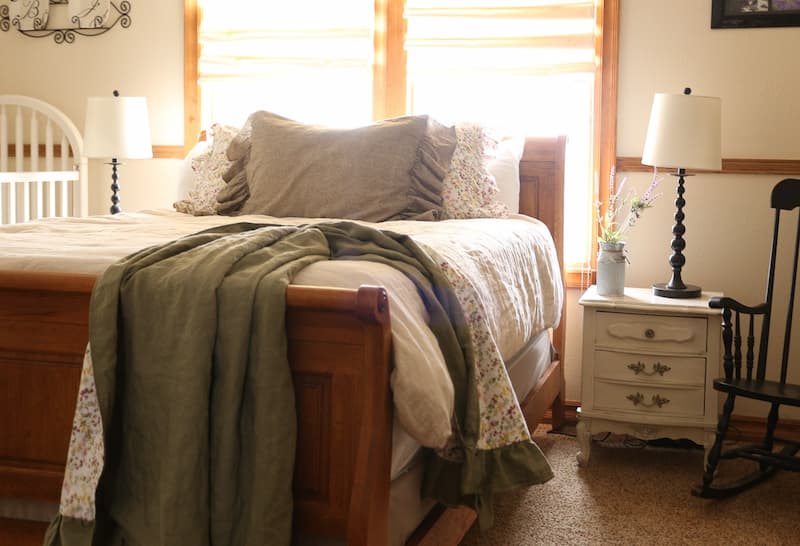
Every day at nap time, my little boys and I snuggle to read in our bedroom. This has been the blanket of choice to snuggle with ever since I made it, the flannel inside makes it so cozy!
I had the idea for a linen and flannel ruffled blanket in my head ever since Christmastime. However, it never felt right for winter, so I put this project off until now. When I searched around for assembly ideas I came across this post from Farmhouse on Boone. I found her video very helpful.
Linen Throw Blanket with Ruffles
Step-By-Step
Here is an overview, detailed step-by-step instructions to follow below
- Cut the fabric
- Make the ruffle-turn your tension and stitch length all the way up
- Stitch the ruffle to the linen piece
- Sandwich the ruffle between the right sides of the linen and the flannel
- Stitch around all four sides, leaving about 5″-6″ opening to turn it right side out
- Turn the blanket right side out
- Top stitch around the entire blanket to close the hole and give a finished look
Ruffled Linen Throw Cut List
- Linen Piece- 70″ x 44″ (Of course you can make it whatever size you would like)
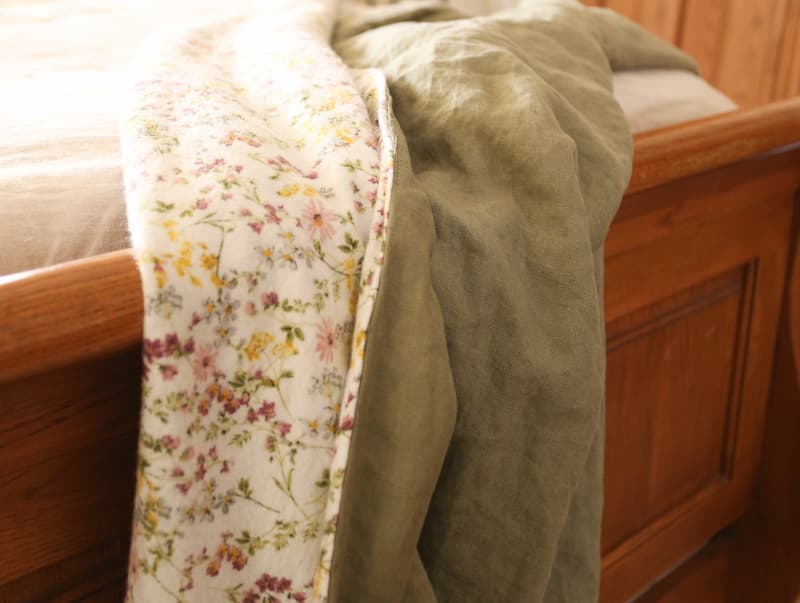
- Flannel Piece- 70″ x 44″ (My flannel was not 44″ wide so I had to cut two pieces and stitch them together, to make a piece big enough. The seam is not noticable at all with the busy pattern.). This print was from JoAnn Fabric and is called Vintage Floral from their Snuggle Flannel Line. It looks like it might be sold out online.
- Two long strips 6″ x 70″ for the ruffles
How to Make a Linen Ruffle
Ruffles may seem intimidating, but they really are not difficult to make. To begin with, you should cut a strip that is the width that you would like for your ruffle, 5″-6″ is good for a throw. The length should be at least 1.5 times the length of the end of the throw. For example, the short ends of the throw that I made are 44″. So I would need to cut my ruffle strip at least 68″ long. (That is 44+22 which is half of 44). I went ahead and just cut it to 70″ since that was the length of linen that I was using. You can cut it up to twice as long if you want really ruffly ruffles!
Linen drapes beautifully as well, ruffles made of linen are so perfect.


Next, you need to put a little 1/2″ hem around three sides of the strip, leave one long end unhemmed for the ruffling.
After the sides and bottom are hemmed, take your ruffle strip back to the machine. Turn the tension all the way up as high as it will go and set your stitch length to the longest stitch it will make.
Place the strip under the needle, be sure not to back-stitch. Now stitch straight down the strip, as you sew, put your finger under the tread as it pulls off of the spool. You are just applying a bit more tension and are making the machine work a bit more to get the thread. This should be the perfect combination and the machine will basically make the ruffles for you.
Once you get to the end, do not back-stitch again. Hold your ruffle next to the end of your throw and make sure the length is good. If it is too long, you can pull the threads and make the ruffle a little shorter and tighter. If it is too short, simply spread the ruffles out a bit.
Assembling the Linen and Flannel Throw with a Ruffle
Stitch the ruffle to the linen fabric. Place the linen and flannel right sides together, sandwiching the ruffle in between both pieces, the ruffle will be facing inside. Tuck the sides of the ruffle in and pin them so that you don’t accidentally stitch them to the sides.


Pin the side of the ruffle back while you stitch it all together 
You can see the ruffle sandwiched in there Turn it right side out


Stitch all the way around the entire throw blanket, leaving a 5-6″ hole for turning it right side out. Try to stitch as close to the stitching of the ruffle as you can, this will keep everything neat and tidy.
Turn the blanket right side out and top-stitch around the entire blanket to close the hole and to give it a finished look.
Alternative Assembly
Rather than placing the blanket pieces right sides together, you could press a 1/2 inch seam around the linen and a 1/2″ seam around the flannel. You would then pin the pieces together with the raw ruffle sandwiched between the pieces but with the ruffle sticking out. You could then stitch the backsides together with the ruffle sticking out the bottoms.
Where to Buy Linen?
I bought the green linen for this throw here, however, it has been sold out for a while.
I have bought this green linen and it is actually what I used to make the pillow sham on the bed. It is not 100% linen but a blend. However, I think it feels really nice and it’s more affordable.
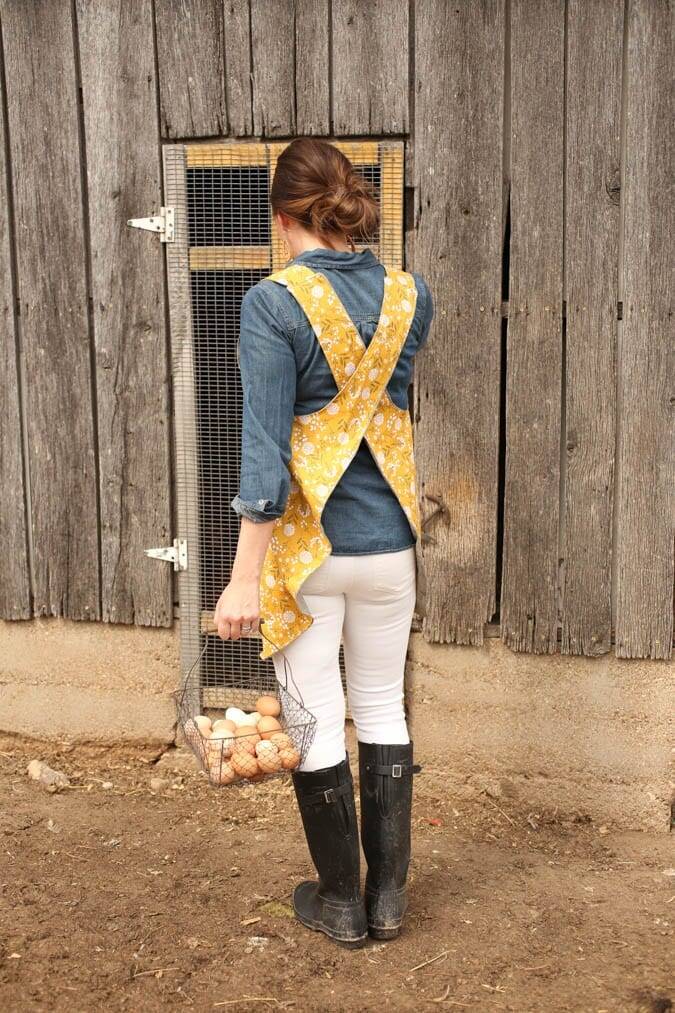
I just found this store online and I am in love with their linen. It’s beautiful linen and I have an apron project coming up using some linen from there.
Shop Ruffled Linen Throw Blankets


Very pretty and inspiring project! Where did you find the flannel? I really like that print!
Jennifer, these are beautiful and look so cozy. I will have to take a look at them.
Thank you Barbarilla!
I buy all my fabric from Organic Cotton Plus. They have all fabrics and it’s all organic, something very important to me. Cotton has been, for decades, grown from plants/seeds irradiated with monsantos roundup type toxins. (just like many crops are now)
So having a product close to my skin from something NOT wash-out-able is not going to happen. These may be priced higher, (or not, IDK) but having skin that is healthy is more important to me.
Hi Carol! Thank you for sharing that! I just checked out their site and they have some lovely fabrics! Also, some made in the USA options which is always nice!
This is so beautiful!! When washing the blanket how do you keep the two layers from separating and and making an uneven appearance of the blanket?
I prewashed both fabrics and since making it I really haven’t had any problem with the layers getting wonky.