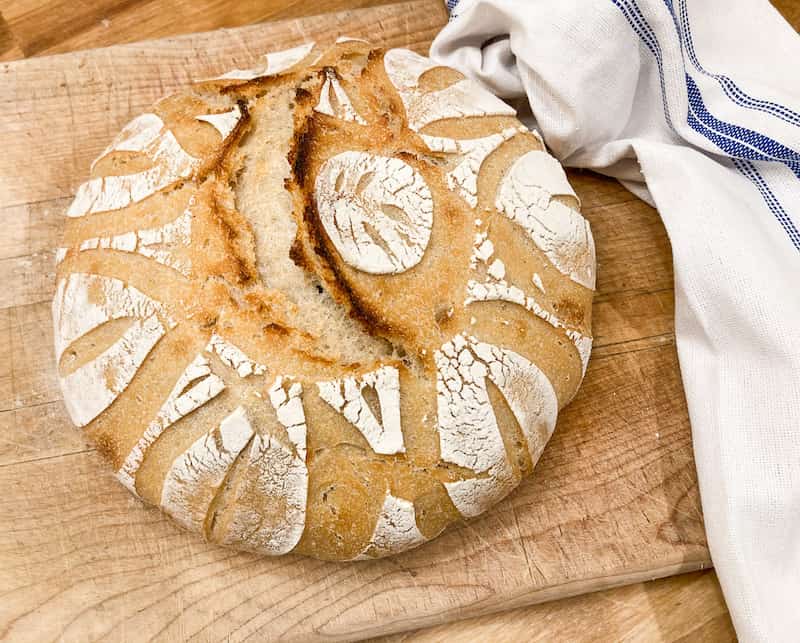
Three Fermented Drinks to Make at Home–Kombucha, Water Kefir, and Milk Kefir Recipes
Three easy fermented drinks to make at home, each one of these tasty drinks will help you to improve your gut health!
Warning: Once you get into making fermented drinks and fermented vegetables, your kitchen will look a bit like a science lab with jars of this and that sitting all over. However, it is such a good feeling to feed yourself and your family good healthy food!
This post contains affiliate links
Have you ventured into fermented probiotic drinks for your health? I’ve shared with you before some tasty fermented vegetable and dairy recipes. You can find those here, fermented carrots, red cabbage sauerkraut, fermented beets, yogurt, and cheese.
Fermented drinks are super easy to make and can be a refreshing way to sneak some more gut-healthy bacteria into your diet!
Why Make Fermented Drinks at Home?
Well, the cost savings alone are reason to make these drinks at home. If you have ever bought kefir or kombucha at the store, you know that they are $2-$3 a bottle.
What Does it Cost to Start Making Fermented Drinks at Home?
If you have a friend with a Kombucha Scoby (symbiotic culture of bacteria and yeast), or a friend with water kefir or milk kefir grains (two different types of starter). Then you can get started for next to nothing. Of course, there would be the cost of the tea and sugar for Kombucha or the milk for Kefir.
I read another person’s math breakdown and the cost is about 8 cents per serving for Kombucha. Quite a savings compared to $3-$5 for a bottle!
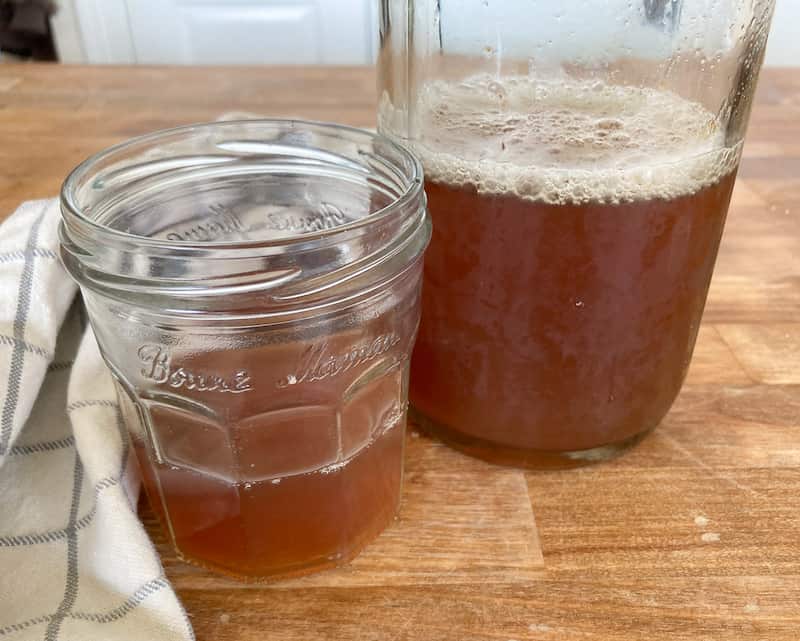
#1 Kombucha at Home
What is Kombucha?
Kombucha is a slightly fizzy tangy tea, kombucha made at home is much better in my opinion than the kombucha from the store, we find the flavor to be much more pleasant. Kombucha is my favorite fermented drink to make at home!
We love Kombucha at our house, even my two-year-old loves it, he calls it boochie and asks for it every day.
A friend of mine got me started making it years ago and I am so glad she shared the instructions with me! I have been making it pretty consistently ever since.
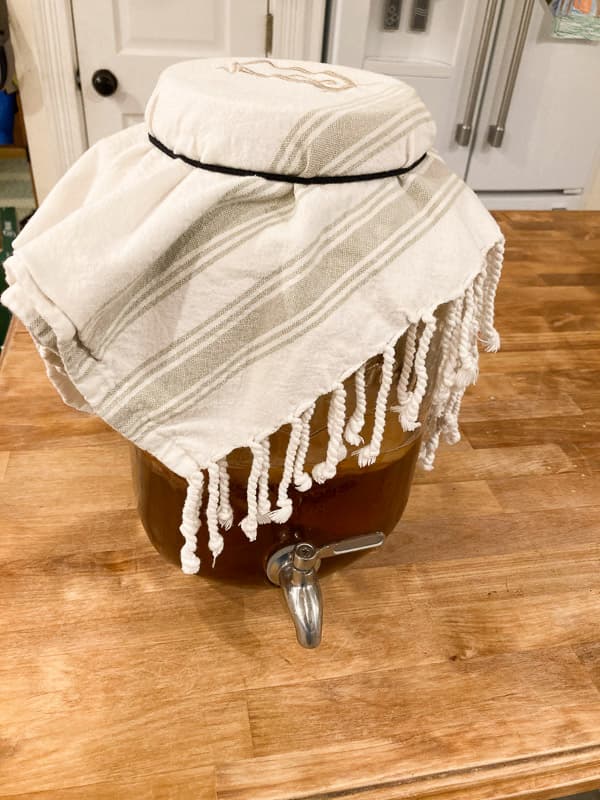
I brew mine two gallons at a time and we go through it in a week. Keeping it in a large drink dispenser with a spout makes it easy to bottle it after fermenting. I clean it out completely about every third brew. Otherwise, I just keep enough in the jar for a starter and pour the newly brewed sugar and tea mixture into the jar, cover it and let it go for another week.
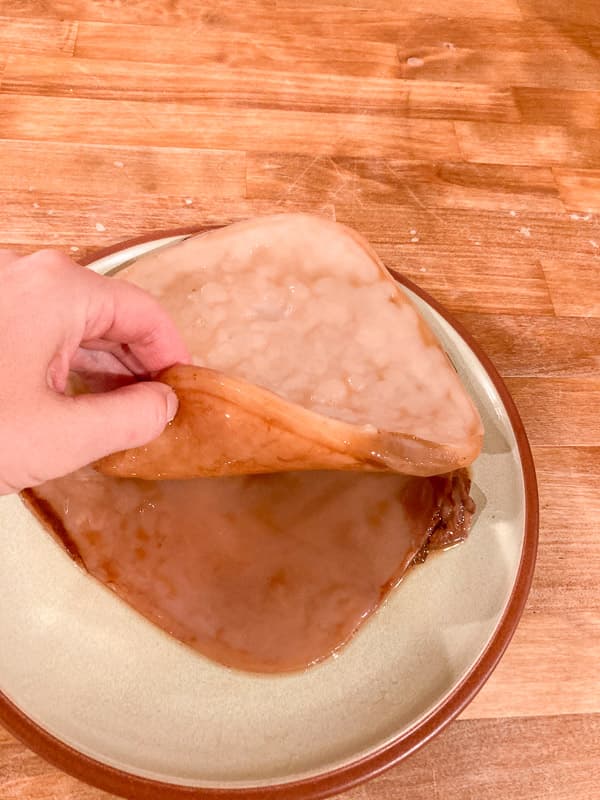
How to Get a SCOBY?
You can of course get one from a friend. You can purchase a SCOBY from Etsy, or you can actually grow your own! A SCOBY is a mushroom. It feeds on sugar. To make your own SCOBY you need a bottle of store-bought kombucha, some black tea bags, sugar, and water.
Brew a strong batch of tea using 7 cups of water and 4 bags of tea. Add 1/2 Cup of sugar. Once cooled add in 1 Cup of store-bought Kombucha. Cover with a towel and rubber band. Let it sit in a cool dark place for 1-4 weeks. You should see a whitish film cover the surface and then grow thicker. This is your SCOBY!
SCOBY by the way stands for Symbiotic Culture of Bacteria and Yeast. The SCOBY feeds on the sugar in the tea and turns it into a slightly fizzy, tart but not too sour (mostly non-alcoholic) fermented beverage.
What Kind of Tea for Brewing Kombucha?
Kombucha requires real tea because of its need for minerals and nitrogen. Plain black tea is really best for making kombucha, especially when you are first establishing your SCOBY.
After brewing several batches, you can start to mix in some other teas. I like to add a few bags of herbal teas like raspberry or peach for flavor. The majority of the tea is black tea though.
You can use decaffeinated black tea if you are worried about caffeine. We don’t drink large glasses of kombucha, we just drink a small glass once or twice a day so caffeine isn’t really an issue for us.
What Kind of Sugar is Best for Kombucha?
It is recommended that you use white cane sugar or organic evaporated cane juice crystals. I always use the second one, that is what I buy and use in all of my baking. My SCOBY is always healthy and strong.
Any other alternative to sugar may not be ideal, raw sugar can produce a yeasty kombucha and be hard on your SCOBY. Honey, agave, maple, coconut, or palm sugars will likely give inconsistent results and may shorten the life of your SCOBY.
The longer your kombucha ferments, the less sugar there will be in the finished product. Depending on the time of year and temperature in our home, we usually ferment for 7-14 days. When it is warmer, 7 days is ideal. In the winter two weeks are sometimes necessary.
If you let it ferment much longer than 14 days it will begin to taste more and more like vinegar.
Ingredients for Brewing Kombucha at Home
- 3 1/2 Quarts Water
- 8 Bags of Black Tea
- 1 Cup Sugar
- 2 Cups Starter Tea
- SCOBY
Steps for Making Kombucha at Home
- Aquire a SCOBY (See above for details on making your own)
- Brew a batch of strong tea using 3 1/2 quarts of water, 1 cup sugar and 8 black tea bags.
- Let the tea cool, transfer to a large glass jar
- Add in 2 Cups of starter tea, either store bought or aquired from a friend
- Place the SCOBY in the jar with the tea
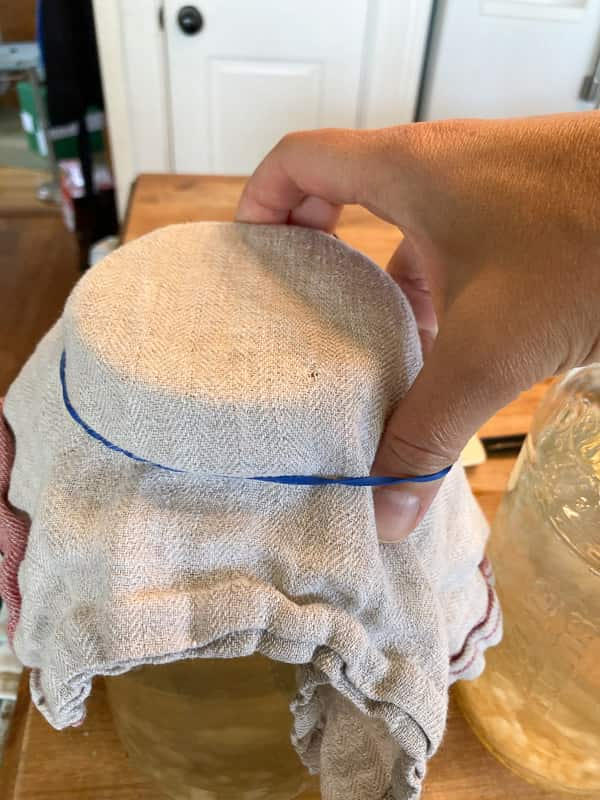
- Cover the mouth of the jar with a tea towel, coffee filter or beeswax wrap, secure with a rubber band.
- Let is sit in a dark corner of your kitchen for 7-14 days. Taste after 7 days, it shouldn’t be sweet or really taste like tea anymore, it should be slightly fizzy, and a bit tart. If it still tastes like sweet tea, let it ferment longer.
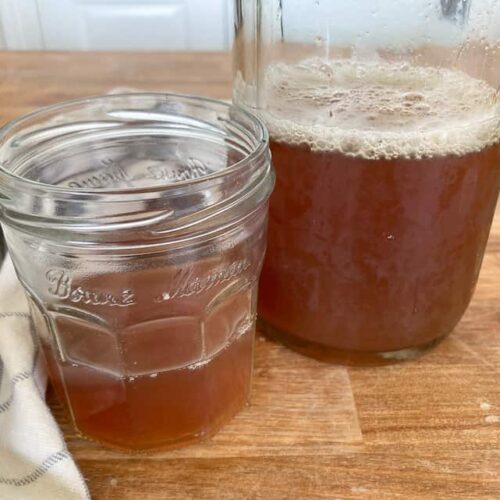
- Bottle the kombucha and place in the fridge (I just use some litre sized jars from Kombucha that we purchased)
- If you want your kombucha fruit flavored and extra fizzy, you can do a second ferment. You do this after you have put it in smaller bottles then, you add some diced up fruit like strawberries and put a litd on it and let it ferment for a few more days on your counter. I rarely do this.
Kombucha FAQ’s
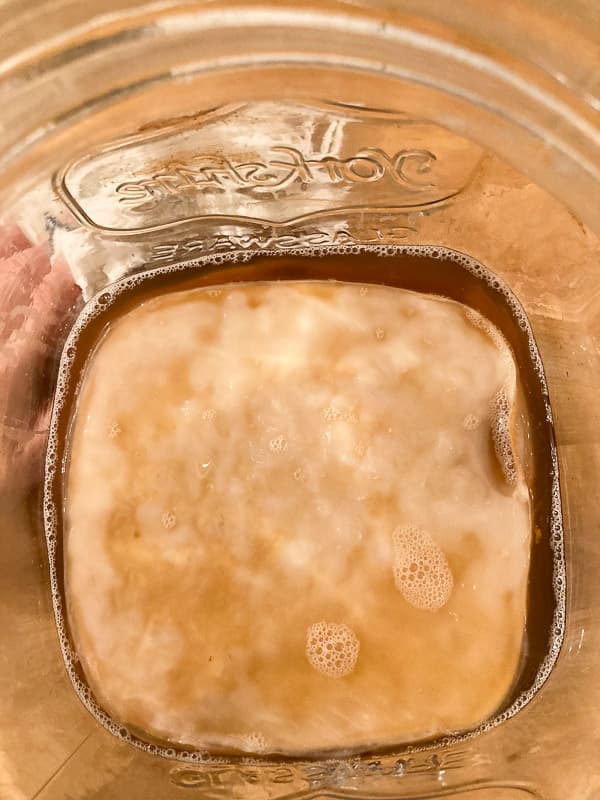
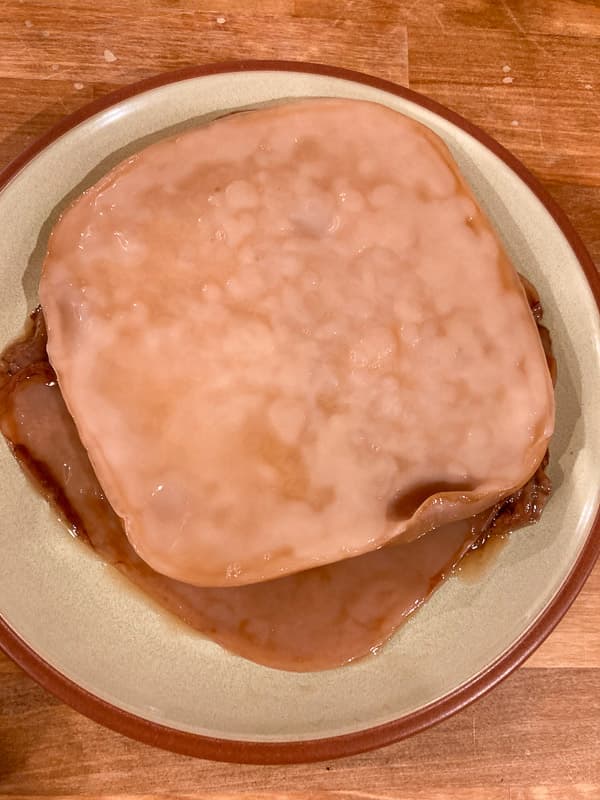
- What is the white layer growing on top of my SCOBY? That is a new baby SCOBY! It peels right off the top of the mother. You can let the SCOBY continue to grow for several batches. When it gets too large, you can peel the bottom layers off and share with a friend, compost or feed to your chickens.
- Does Kombucha have alcohol? Less than 1%. I feel perfectly fine letting all of my children drink Kombucha.
- My SCOBY is floating on it’s side? That’s fine, it may float on it’s side, rest on the top or bottom.
- There are stringy brown bits coming off the SCOBY and resting at the bottom. This is no problem, just new growth.
- My SCOBY is moldy, can it be saved? No, time to get a new SCOBY, mold is not normal or and indication of a healthy SCOBY.
- My Kombucha smells like vinegar, is this normal? As the Kombucha ferments, it will start off smelling pretty neutral and then progressively get more and more sour and vinegary smelling. If it smells foul or rotten, it’s best to discard it and start over. You may have just let it go too long. If the SCOBY looks fine, you can use it again, however if it shows any signs of mold, throw it out.
Kombucha
Equipment
- 1 Gallon Glass Jar Larger if you wish to make a double batch
- 1 Tea Towel, coffee filter or beeswax wrap
- 1 Rubber Band
Ingredients
- 3½ Quarts Water
- 1 Cup Sugar
- 8 Tea Bags Black tea to start your kombucha you can add flavored tea bags after a few brews.
Instructions
- Heat the water and brew a strong batch of tea with the 8 tea bags and 1 cup of sugar.Let the tea coolTransfer to a large glass jarAdd the SCOBYCover the mouth of the jar with a tea towel, coffee filter, or beeswax wrap.Let the tea sit in a dark corner for 7-14 days, checking after 7 for flavor.When desired taste is reached, place in bottles and refrigerate.
- Second Ferment
- You can add fruit juice or chopped fruit to your jars of kombucha before refrigerating. Put a lid on the jar and let it sit out on the counter for another 24 hours.
Shop For Jars to Make Fermented Drinks at Home

#2 Milk Kefir at Home
Kefir is the first fermented probiotic drink I ever made. When my older kids were little, we lived in the city in a historic area. We could walk to the library, the bakery, and we even had a little natural food store on the corner of our street. That is where I first discovered kefir. Unfortunately, our budget did not allow me to buy kombucha every day! The sweet lady that worked at the store told me that I could easily make kefir in my own kitchen and that honestly, it couldn’t be easier!
What is Kefir Exactly?
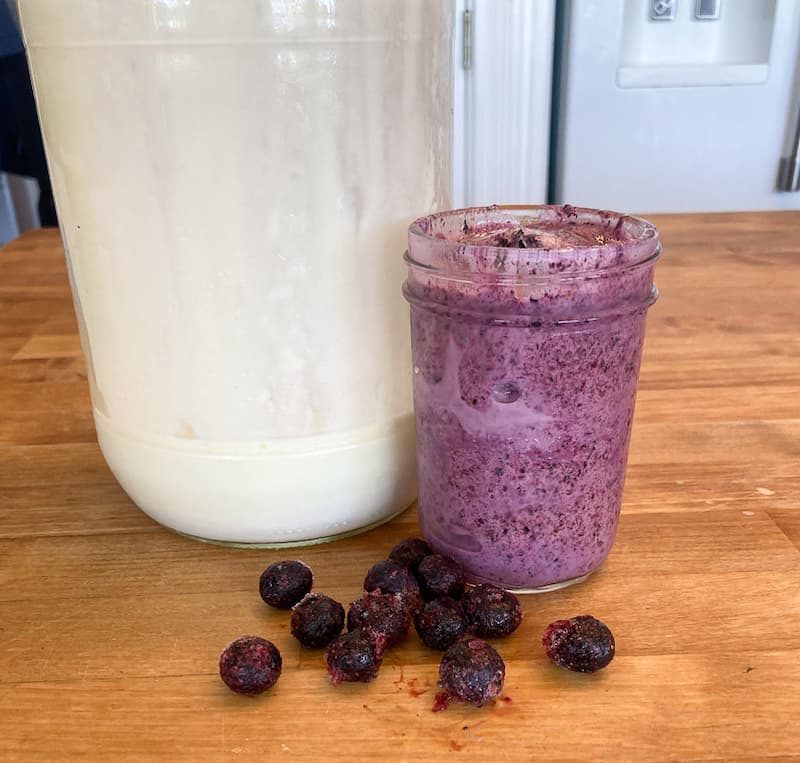
Kefir is a thick fermented milk drink. It is similar to yogurt but it has even more gut-friendly strains of probiotic-rich bacteria. It is slightly sour and can be flavored by blending with fresh fruit! Many people love making smoothies with their kefir.
What Does it Cost to Make Milk Kefir at Home?
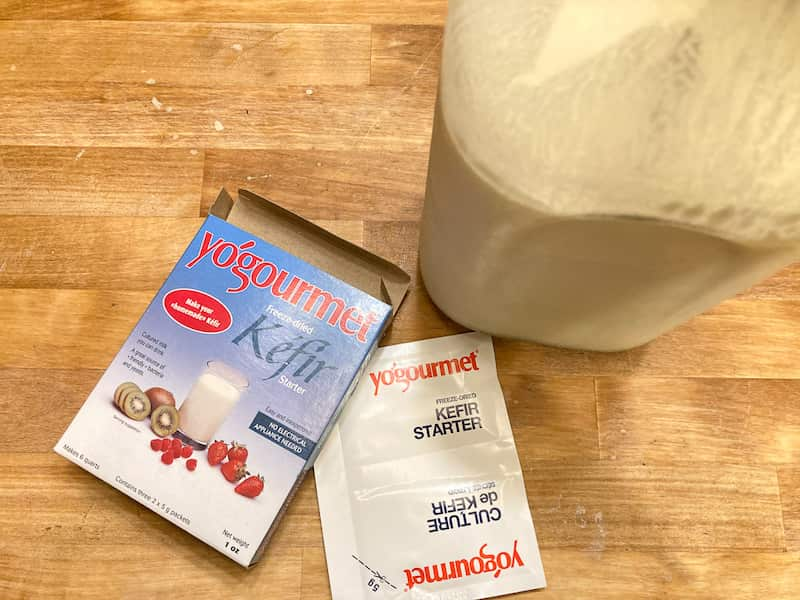
Really it’s just the cost of your milk and the starter. What’s great is if you have a friend that makes kefir, they would likely gladly give you some of their grains! Then it’s just the cost of your milk.
What is the Best Milk for Making Kefir?
Well, animal milk is best. In order for the kefir to feed off of your milk, it needs to have the nutrients from animal milk. Goat milk, sheep milk, or cow’s milk will all work. The results of each will of course be slightly different. Cow’s milk will produce thicker, creamier kefir whereas goat’s milk kefir will be thinner and runnier.
Of course, I prefer raw cow’s milk. That is what we have and so naturally that is what I use. The creamier the milk, the creamier your kefir will be. From what I understand it is best to get your kefir grains established in pasteurized milk so that the naturally occurring bacteria in raw milk doesn’t compete with the kefir strains. If you have raw milk, you can try it out by just using it raw, or you can just heat it up to 160 degrees first and then cool it down before adding the starter. Please note: I do not do this and really don’t believe it is necessary.
If you like smoothies, then this is definitely a fermented drink to make at home!
Cold Milk from the Fridge or Room Temperature Milk?
You can use either. Letting your milk sit out until it is at room temperature is probably not the best choice as it will likely let the bacteria that leads to spoilage grow. You can use milk directly from the fridge and your grains will still grow and your kefir will be good, this is the method that most people use.
Steps for Making Milk Kefir
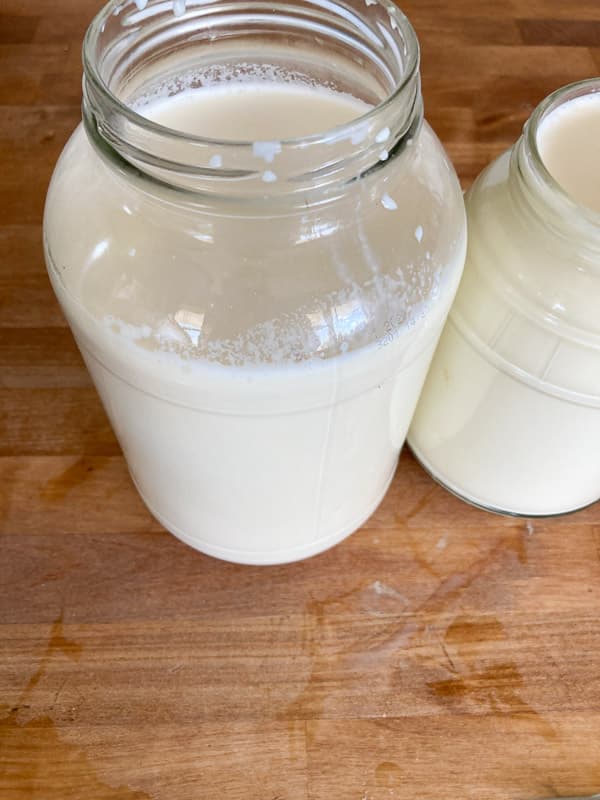
- Pour your milk into a clean quart size glass jar
- Add the kefir starter or the grains that you got from a friend. 1 TBS of grains for 4 cups of milk is the ratio.
- Cover the jar with a coffee filter, paper towel or beeswax wrap.
- Set is a warmish dark spot for around 24 hours. (65-85 degrees F)
- Strain out the grains, and use your kefir as you wish.
- Wash your jar and start a new batch with the leftover grains.

Milk Kefir
Equipment
- 1 Quart Jar
Ingredients
- 1 qt milk
- 1 TBS Kefir Grains or Kefir Starter
Instructions
- Mix the starter or grains in with the milk. Cover with a towel, coffee filter, or beeswax wrap. Set in a warmish spot, (65°-85°F) for 24 hours.Strain out the grains and start a new batch if desired. Use the kefir as you wish! Enjoy!
#3 Water Kefir

I’m pretty new to water kefir, the name always turned me away. I thought it was similar to milk kefir and the thought of a watery milky drink didn’t sound appealing. However, my understanding of water kefir was all wrong.
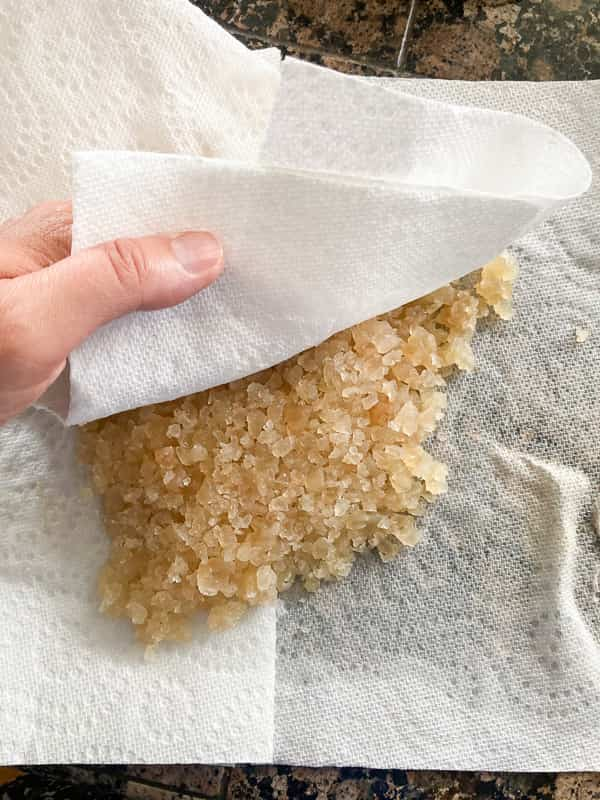
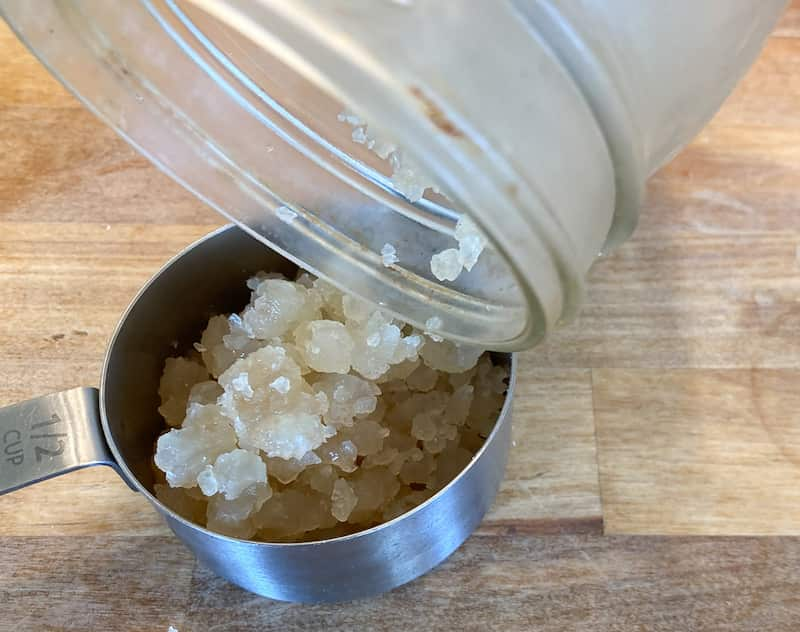
Water kefir is made with a different type of strain of bacteria than milk kefir. The grains look a bit like chunks of candied ginger to me.
Water kefir is refreshing and a great alternative to sugary lemonade or other fruity drinks. Here’s how to make it!
Where to Get Water Kefir Grains
The grains used for water kefir are different from the milk kefir grains. Therefore you need to either purchase grains or get some from a friend that makes water kefir.
I bought mine here, and I thought it was a great value and it came with very clear instructions for getting started. Also, the grains were very healthy and easy to activate. They grew a lot after the first ferment!

Steps for Making Water Kefir the First Time to Establish the Grains
If you purchase your kefir grains, there are very specific instructions for getting them to ferment the first time. The grains came with these instructions. If the amount of sugar seems alarming, remember that just like the kombucha, the grains are consuming or metabolizing the sugar. You won’t be consuming that much sugar.
- In a glass jar, (quart size is good) mix 3 tsp sugar, with 2 tsp unsulphered molasses into 32 oz of room temperature water. (spring water is best)
- Place a 1/4 cup of the kefir grains in the jar
- Cover lightly with a towel or coffee filter
- This first fermentation should take about 3 days or up to 5 days depending on the temperature of your home.
- The grains may float to the top or bob up and down.
- The color of the water should begin to look washed out, this means the grains are feeding and creating probiotic kefir water
- You may strain off the liquid for consumption, leaving the grains and about 1 inch of the liquid with the grains for the next batch.
Steps for Making Water Kefir after the Grains are Established
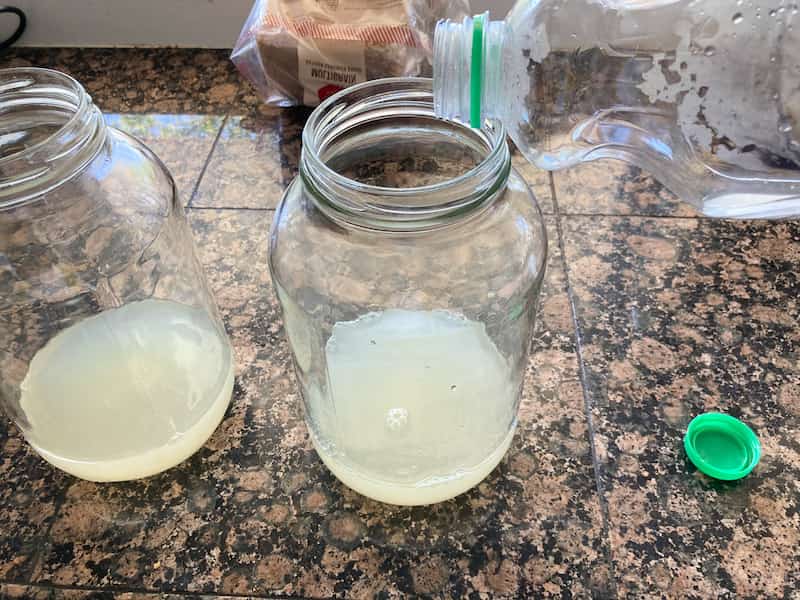
- Fill two half gallon sized jars halfway with water
- Add 1/4 cup sugar to each jar
- Add 1/4 cup kefir grains
- Add 1/4 cup starter from first batch
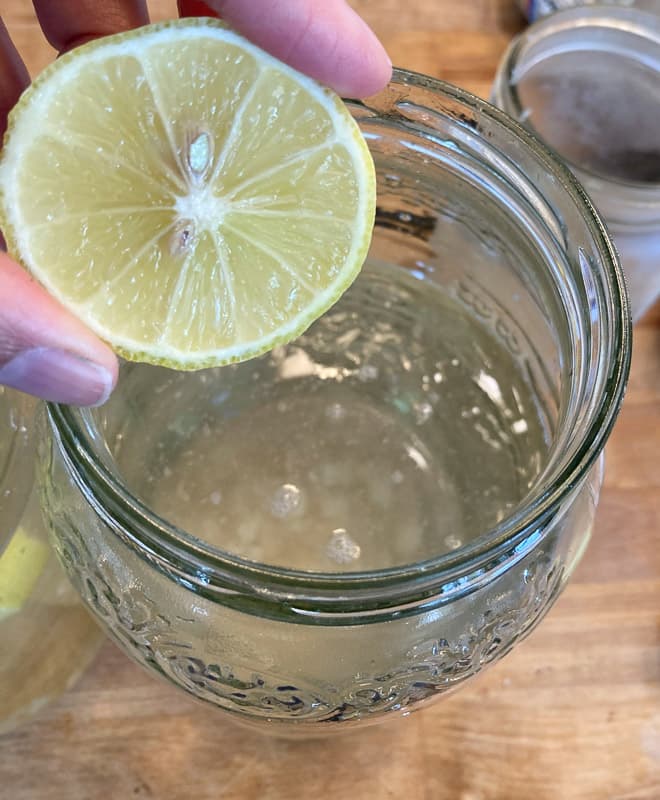
- Add 1 slice of lemon (this helps to eliminate KAHM yeast from growing on the surface). I did not use lemon initially and had that yeast grow every time. It is harmless but makes it taste a bit off.
- You can also add a raisin or two for flavor this is optional
- Cover with a cloth or beeswax wrap and put on your counter in a dark spot
- Let this mixture ferment for 2-3 days
- Taste this after a few days it should be slightly tangy.

Second Ferment
This is the fun part where you can flavor the kefir water. We prefer to flavor it with lemonade but you can use any juice or fresh fruit. This step will also make it slightly effervescent.
- Add 1/2 Cup lemonade or fresh fruit to a medium sized 2 quart or half-gallon glass jar
- Add the strained kefir water to the jar
- Put an air-tight lid on the jar and allow it to sit out and ferment for 24 hours
- Pressure will build up with a tight lid so if you let it ferment for longer, be sure to burp the lid from time to time.
- Refrigerate and then enjoy!
Tips for Keeping Maintaining Your Kefir Grains
If you want a break from making kefir water, you can store them in the fridge in a glass jar with 1 TBS sugar and 2 cups of water. The colder the temperature the longer it will take for the grains to metabolize the sugar.
The grains may need to be fed once a week to keep them healthy and alive. You can taste the water and see if it is sweet, if it is then you don’t need to feed the grains. If it is tangy, you should feed them a bit of sugar. This will allow you to continue to make fermented drinks at home!
Water Kefir
Equipment
- 2 ½ gallon jars
Ingredients
- 32 oz water
- ¼ cup new kefir grains
- 2 tsp unsulfered molasses
Instructions
- This instruction is for newly purchased kefir grains to get them going. If your grains are from a friend and already established, no need to use the molasses steps. Skip to the next set of instructions.Mix 32 oz of water and 2 tsp molasses add the ¼ cup kefir grainsCover with a towel, beeswax wrap, or coffee filter. Leave on the counter to ferment for 3-5 days. Your home temperature will dictate how long it takes. The dark color should be washed out by the third day. This is a good indication that the grains are active and creating kefir water!Strain the grains and rinse well before using them again. If you wish to take a break from making kefir, place the grains in a jar with 1 TBS sugar and 2 Cups of water. Feed a bit of sugar weekly to keep them active and alive.
Kefir Water with Established Grains
- Fill two half-gallon jars halfway with water. Add ¼ cup sugar and ¼ cup kefir grains to each jar. If you have ½ of kefir water from the first batch, split that between both jars. Add one slice of lemon to each jar. You can also add a prune or a few raisins for flavor. Cover with a towel, beeswax wrap, or coffee filter. Let the mixture sit on the counter for 3-5 days or until the desired taste is achieved.
Second Ferment
- After the first ferment, you can flavor the kefir water. Add ½ cup lemonade or ½ cup chopped fruit to a ½ gallon jar. Pour the strained kefir water over the top. Place a lid on the jar and let it sit for another 24 hours. If you let it go longer than 24 hours be sure to burp the lid from time to time so that it doesn't build up too much pressure.
Pin It!