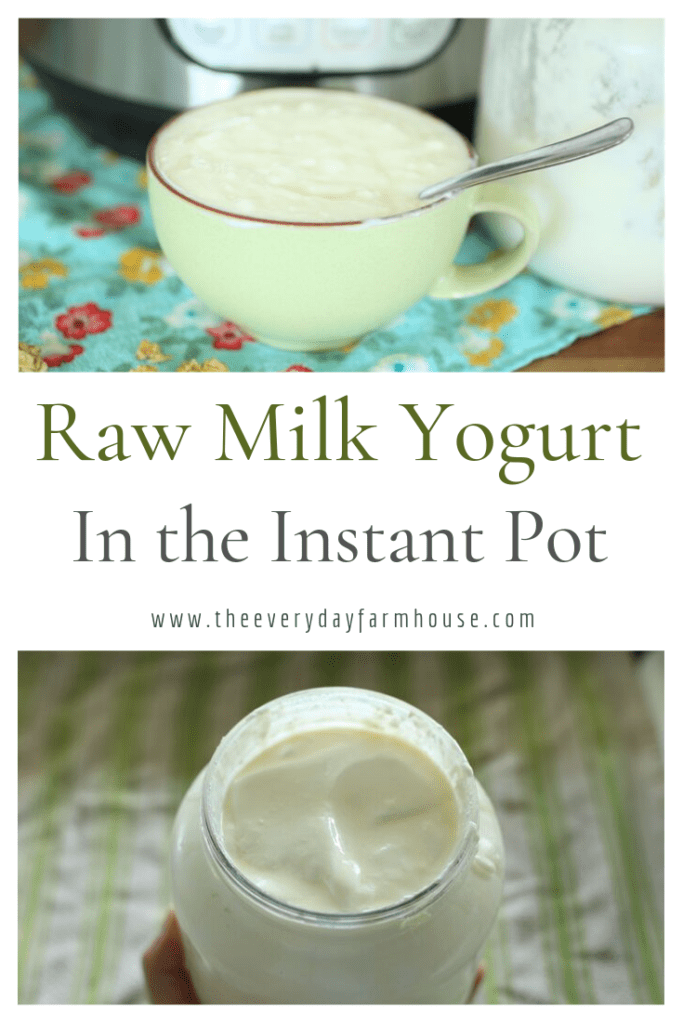
Yogurt With Raw Milk | in the Instant Pot
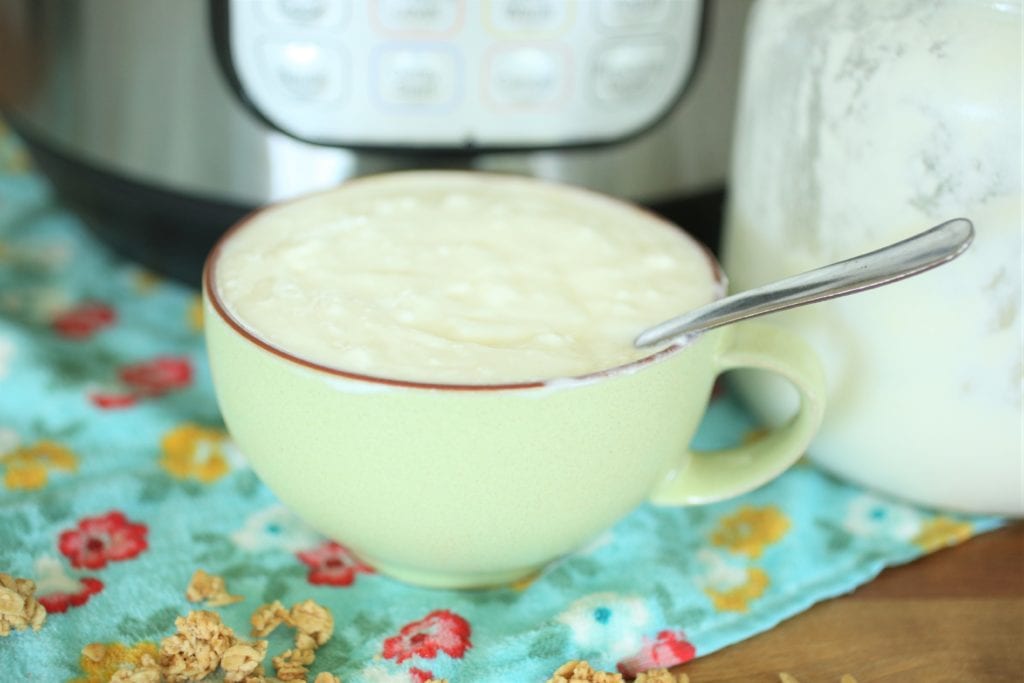
Homemade yogurt is a great way to get some probiotics in your gut! I have been making yogurt for many, many years. However, the Instant Pot has made it so much simpler for me to make it a couple of times a week. In this post, I show you how I make raw milk yogurt in the Instant Pot or without one.
Disclosure: Any information given is my opinion formed through my own research. This information is not meant to diagnose, treat, prevent or cure any illness. Please do your own research regarding your health as you are responsible for your own decisions.
September 2024 Update- Heat the Milk First
I have pretty much completely rewritten this post. My initial method was to not heat the milk before incubating. I would simply take the morning milk from our cow and put it in the instant pot with some culture and let it ferment for 12-24 hours. Several people reached out to say they weren’t getting great results with the method of not heating the milk. I too was having a batch here and there that didn’t turn out.
After doing some more research, it turns out you really do need to heat the milk first. I wanted so badly to not heat the milk. In my mind, I was wasting raw milk by heating it. It is true that you are killing the raw milk bacteria, however, if you don’t, then it competes with the yogurt cultures, and in truth if the raw milk bacteria wins, you don’t really have yogurt, you have something more like clabber.
All that to say, this may work like it did in my video, and unfortunately it may not. If you want a guarantee of thick actual yogurt, it will be best to heat it first before you set the yogurt setting on your Instant Pot.
How to Make Yogurt with Raw Milk
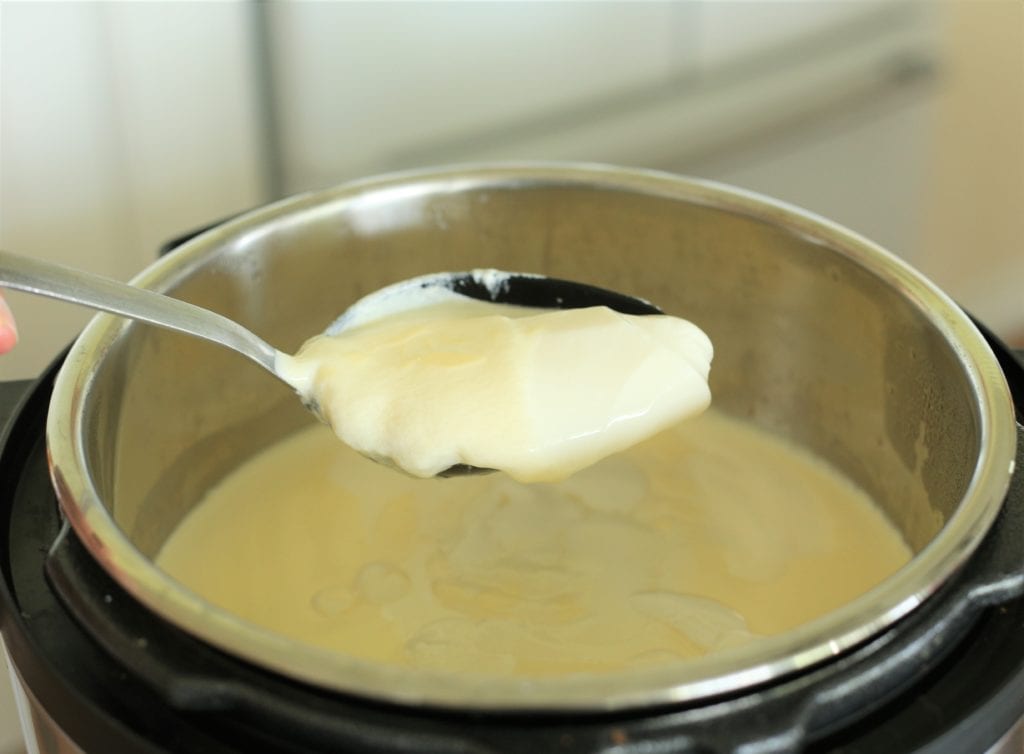
- Heat your milk to 180-195 degrees F hold it there for 10 minutes (this helps make a thicker yogurt)
- Let it cool to approximately 110-115 degrees F
- Skim the skin off the top, this will help the yogurt to be smoother
- Add your culture
- Stir in the culture gently
- Incubate for 12-24 hours (yogurt with be ready after 8 hours, but will have more benefits with a longer ferment)
What is the Best Temperature for Incubating Yogurt?
I have always incubated mine at around 110 degrees, the instant pot uses that temperature. However, I just read this article which states a lower temperature around 86 degrees F may produce yogurt with a better set.
What if You Don’t Have an Instant Pot or It Doesn’t Have the Yogurt Setting?
Before I had an instant pot I would use the cooler method. I would bring a cooler in the house. Next, I would boil some water and place it in a bowl in the cooler. Then I would place my milk that had been heated, cooled, and the culture added in a jar in the cooler. I would leave it for 8-12 hours. This worked just fine. Of course, I prefer the instant pot as it is less mess and I don’t have to have a cooler in the kitchen.
The idea is to keep it between 86-112 degrees F
Here are some other ways to incubate yogurt
- Use a dehydrator
- Use a heating Pad
- Wrap in a towel and set in a sunny window
- Use a yogurt maker
- If you also make bread then a Proofer like this might be a good investment
What should you use for a Starter?
Storebought Starter
My understanding is that a freeze-dried starter, like this one, contains the most beneficial cultures. Although, I do not claim to be an expert on this. I will say the flavor from the freeze-dried yogurt starter is tangier.
Cultures for Health also has a good starter and it is heirloom greek yogurt.
Store Bought Whole Milk Yogurt
I often use plain whole milk yogurt for my starter and I like the results and flavor a bit better.
Your Own Homemade Yogurt
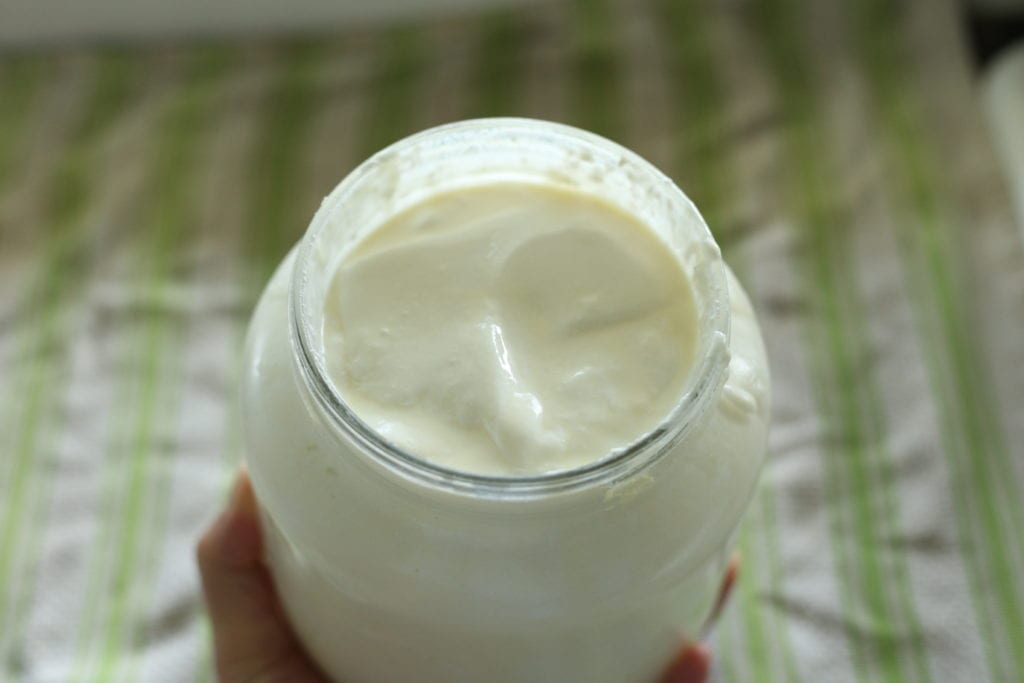
After making your first batch, you can save a cup or two of your yogurt and use it to start the next batch. This would definitely keep the cost down. My understanding is that the starter from your own yogurt will eventually lose it’s ability to incubate. I do not know this firsthand, because my reserved starter often gets eaten! I have had success using it two or three times, with no issues.
Incubation Time
I am always in a rush….not always because I need to be, but it just seems to be my mental state. I want to get it done fast. However, my understanding is that, the longer you let your yogurt incubate, the better it is for your digestive system. If you find that you are lactose intolerant, yogurt that has been incubated for 24 hours is the best for you. The reasoning being that the longer incubation greatly reduces the lactose content of the milk.
I usually incubate for anywhere from 12-24 hours depending on when I get it started. However, it should be set after 8 hours.
That’s It!

Here’s a Gripping Video Documenting My Experiment
As always, video is edited by my 17 year old son.
Pin For Later!
This is the Instant Pot that I use


This is great Jenn! I’ve been wanting to try yogurt in my Instant Pot. I have access to both raw cow and goat milk so thank you for this. I love experiments!
This looks fantastic. I really haven’t utilized my Instant Pot much and this is motivating! I am now really craving some yummy yogurt!
Maybe you can help me. I just made yogurt as you suggested with fresh morning milk and after 24 incubating and then cooling overnight, I ended up with a thick layer like cream cheese on the top. What did I do wrong? Should I have skimmed my milk? That seems counterproductive. Thank you!
That layer is likely just the cream. I am either going to delete or highly edit this post. You can see in another comment, I don’t really recommend making yogurt this way anymore. I have been reading some things from a cheesemaker and she claims that this is not really yogurt but something closer to clabber. Heating the milk to 180 and then cooling to 115 is really the best way to make yogurt. Otherwise, the raw milk bacteria is competing with the yogurt cultures and you don’t really get true yogurt. I definitely have more consistent results when I heat the milk first. I hated to “kill” the good raw milk bacteria but it seems to be the only way to get true yogurt. I hope that helps!
More info please! : ) came here excited to make yogurt in my instant pot then saw your comment. How do you do it the other way?
Hi there,
In the Instant Pot I use the saute function to heat the milk to 180 degrees. Then I let it cool to 110-120 degrees. After it is cooled I add in some plain whole milk yogurt or yogurt starter depending on what I have. I make mine about a gallon at a time so I add about 1 cup of yogurt for starter. You need less of course if you are making less. My Instant Pot has the Yogurt function, if yours does not have that I’m not sure you can make it in there. You may need to search the internet for making yogurt in the IP without the yogurt function… anyway I usually let mine go for at least 12 hours sometimes 24 depending on how tart you like it. I hope that helps!
All of these instant pot recipes have me wanting to get one of my own!! maybe when we move!
I was so reluctant to get one, but it really has been a useful addition to my kitchen!
Thanks for sharing your experiment. Marisa at Bunblebee Apothacary did a raw milk yogurt video a while back but she used a yogutherm. I was thinking I would try this in my instant pot but just havent had time. Thanks for doing the research!
It was my pleasure, I had to get it figured out! Ha!
Thanks for sharing your experiment on Farm Fresh Tuesdays, Jennifer! Your yogurt looks delish! I can’t wait to see your posts this week!
Thanks Lisa! I appreciate your blog too!
I am new to using raw milk. I have my first raw milk yogurt batch incubating now thanks to your method! I love making yogurt in the instant pot but since I’m new to handling raw milk I have a few questions. Approximately how long will this yogurt keep in the fridge? Would it strain successfully to create a greek style yogurt? I always strain the whey off when using pasturized milk and I assume there would be no reason you could not strain this as well. Thank you so much for the video by the way as that really helped to reassure me that this recipe should work.
So glad it was helpful. Probably two weeks for time. Yes you can strain this just as you would any other yogurt!
I’m so grateful for this easy-does-it recipe.
I just made my raw milk yogurt last night following your guidelines. Wow! Thank you!
Nona, I am so glad to hear this post helped you! Yes, it doesn’t get any simpler!
I tried this last night, using Cultures for Health yogurt starter for 8 1/2 hours, it stayed in the instant pot for about another 2 hrs beforeI I put it into the fridge, then it was in tere for about 2 hours, and it’s just sour milk. Any ideas what might have happened?
I replied to this in an email. I have recently had two batches not turn out well myself. The only difference has been the milk I used. Our cow is dry, so I have been buying milk. It is A2 milk. I am curious as to whether the protein that is easier for folks to digest does not make thick yogurt? I wish I had all of the answers!
My instant pot doesn’t have the yogurt setting. Any tips?
I sent an email. I just don’t know…maybe a keep warm setting?
Thanks so much for posting this recipe! I’m going to give it a try this week 🙂
Great! Thanks for stopping by! I hope it works out well for you!
I used a half gallon raw milk and half cup organic whole milk yogurt. Put it in my instant pot on the yogurt setting. It just finished and was runny. Any ideas? Thank you!
I grew up part of my youth drinking raw milk with no problem. My younger brother could go through a gallon or more a day. Our mother also made our own butter, we had a large cream separator to get the cream. I think she also made cottage cheese & ice cream sometimes. I hate store bought milk but don’t have a clue where to get raw milk here around Calgary Alberta. It’s really stupid the opinions people, the government, etc. think about products from the farm. You’re really tempting me now to get a Instant Pot. I have friends that have them & they love them. One of my problems also is counter space, I live in a very small apt. with almost no counter space. You’ve made me think. Will definitely keep your email with the information about making yogurt.
Yes, it’s discouraging that the world is so upside down right now with there being rules against things that are harmless! I hope you can find a source! Thank you for taking the time to reach out, sounds like you had a lovely time growing up!
I’m very new to using raw milk(like only a month in to having in it my life). Going down a fun rabbit hole 🤪. I was just curious can u add any flavoring like vanilla or maple syrup doing the process or should it be added at the end?
You should add it at the end. Also, I am considering removing or heavily changing this post. I have been following a cheesemaker on Instagram and she says that making yogurt this way isn’t really making yogurt it’s something more like clabber. I have also been getting very inconsistent results making the yogurt this way. If you want true yogurt and if you want it to come out nice and thick consistently you really do have to heat the milk to 180 degrees first then let it cool to around 110-115 F and add your yogurt or your yogurt culture. Yes you are killing the good bacteria in the raw milk but you are allowing the good yogurt bacteria to grow if that makes sense. Apparently the two compete and that is why it comes out runny sometimes. I hope that helps!