Udder Balm Recipe: Three Products, Plus Free Printable Labels!
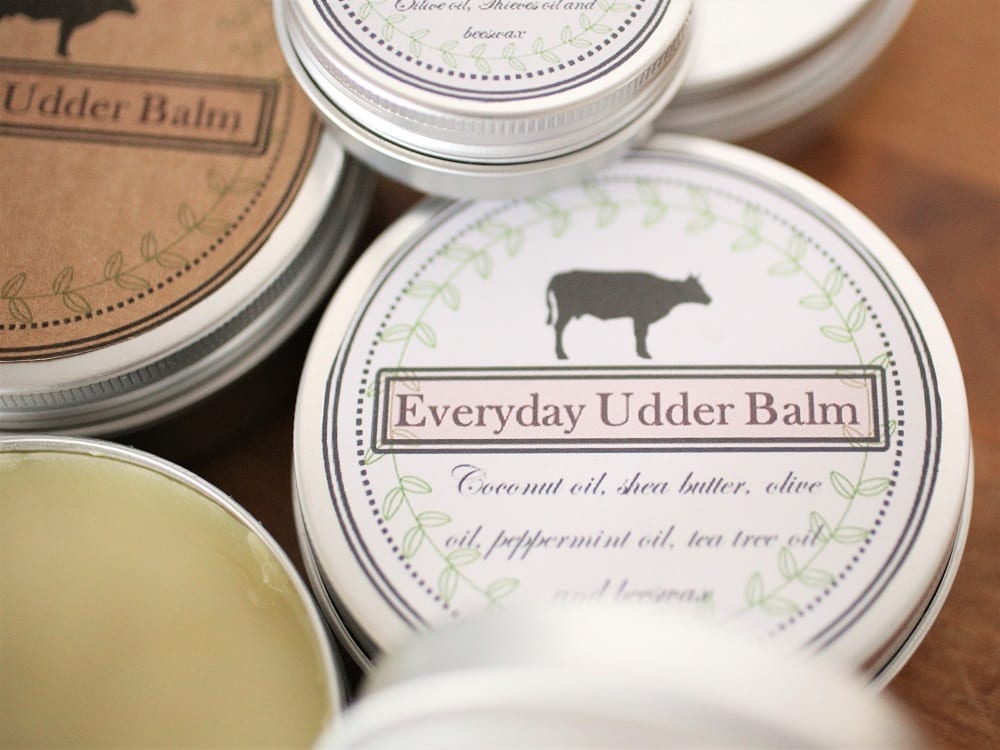
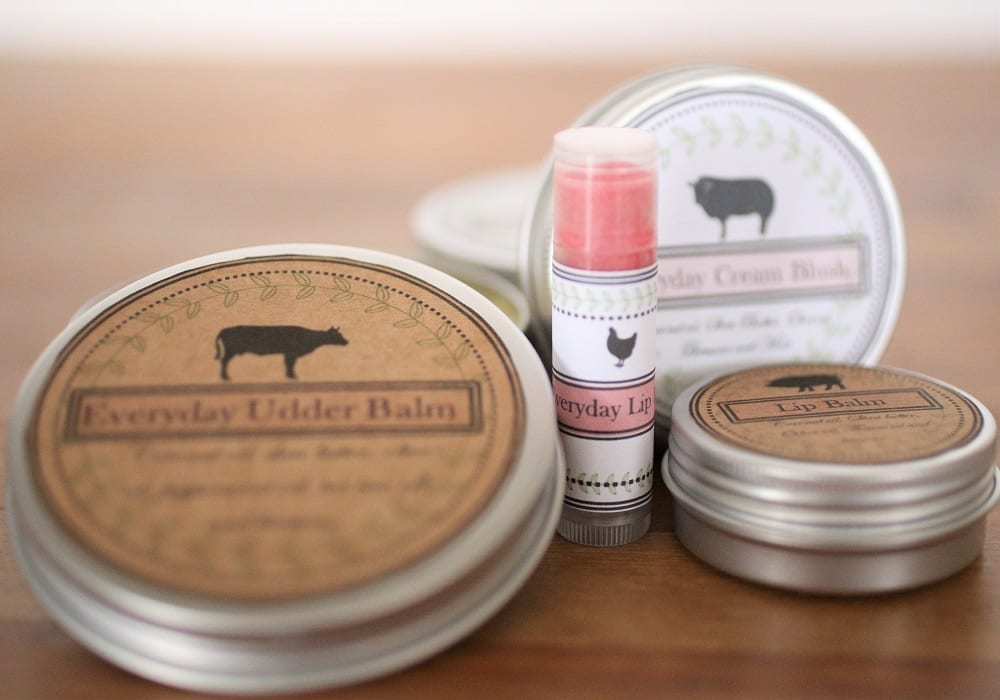
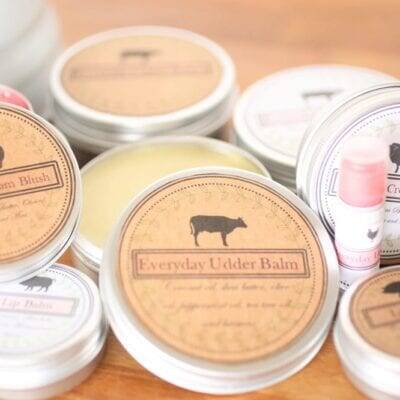
Udder and Lip balm recipe. Three handmade products with one simple recipe. Make lip balm, udder balm, and cream blush if you like!
When you have a busy household, the thought of getting in the kitchen and making anything other than dinner can seem daunting. If I plan to do something “extra” I want it to be worth my time. We were needing some udder balm for our milk cow. Of course, like most things, the thinking about it is often far worse than the actual execution of the project. I decided we would make a good size batch of the base for the balm, and then add different oils and make several products that we use. I will be showing you how to make Udder Balm, lip balm and cream blush with this base.
This post contains affiliate links
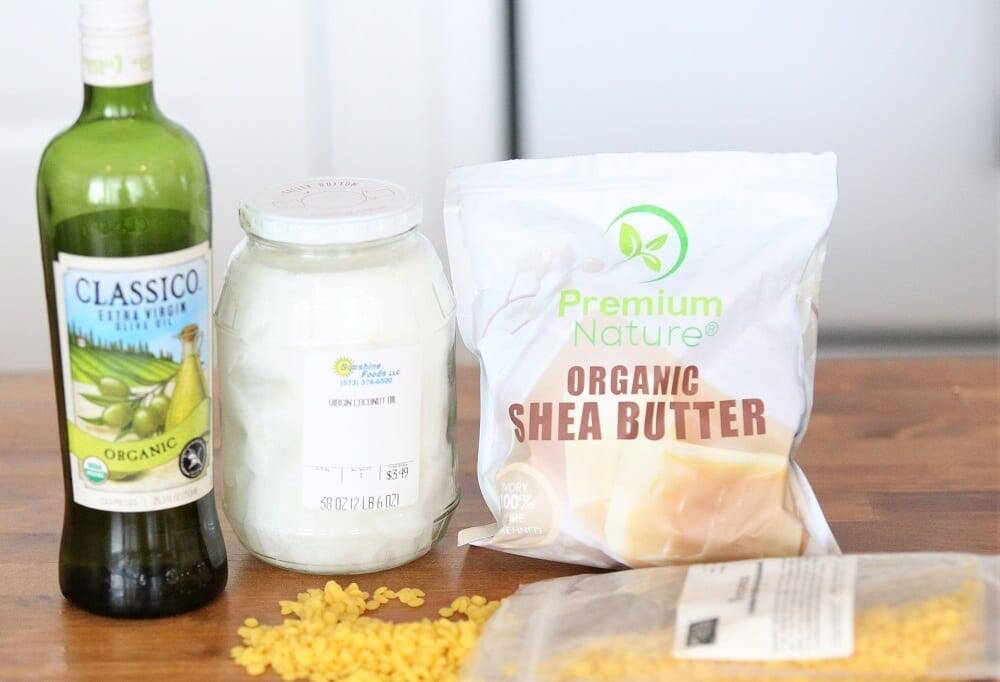
Ingredients for Udder Balm and Lip Balm
- Shea Butter or Tallow
- Coconut Oil
- Olive Oil
- Beeswax
- Mica (optional) if you want tinted lip balm or cream blush
Helpful Tools and Containers for Lip and Udder Balm
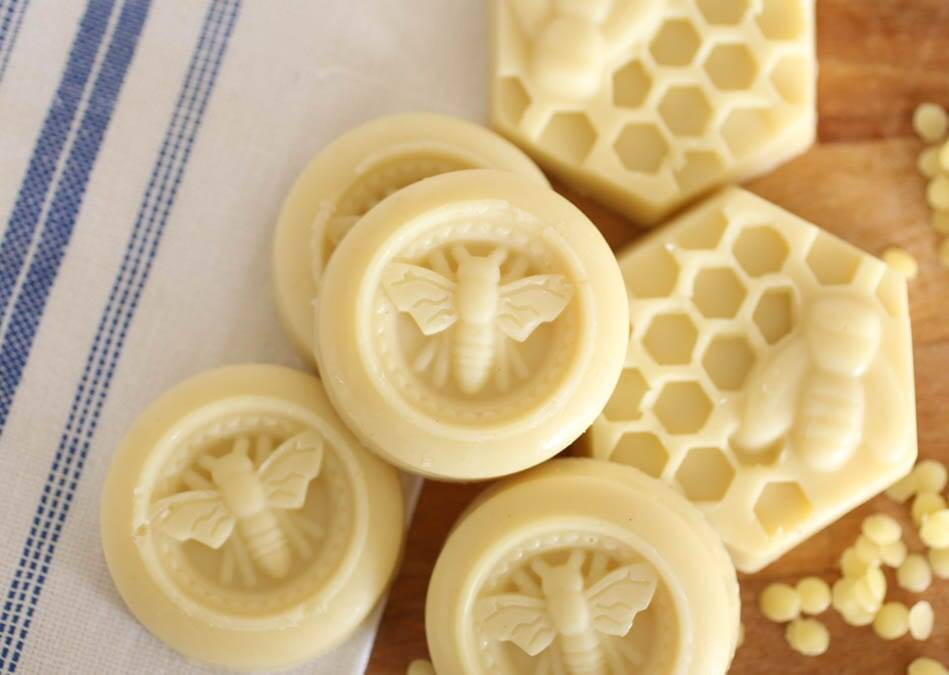
In this post, I will show you how to batch up a basic recipe for just about any balm you wish to make. We will make Udder Balm, which you could put in molds for lotion bars, or just use as dry hand balm if you don’t have a cow. Cream blush and Lip balm or chapstick. We love this mixture and find it to be better than anything we have purchased. The lip balm always gets rave reviews when we give it to family or friends.
Gather Your Necessities for Homemade Balm
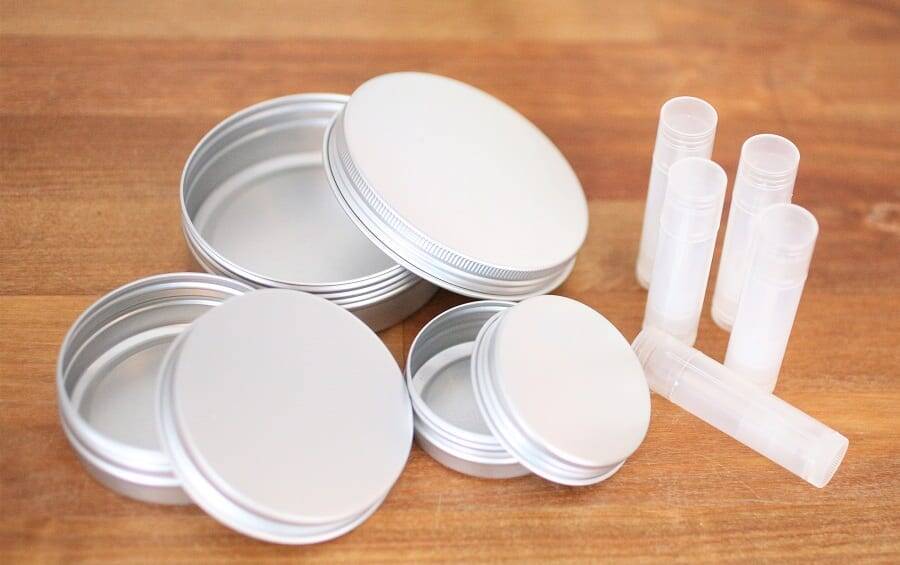
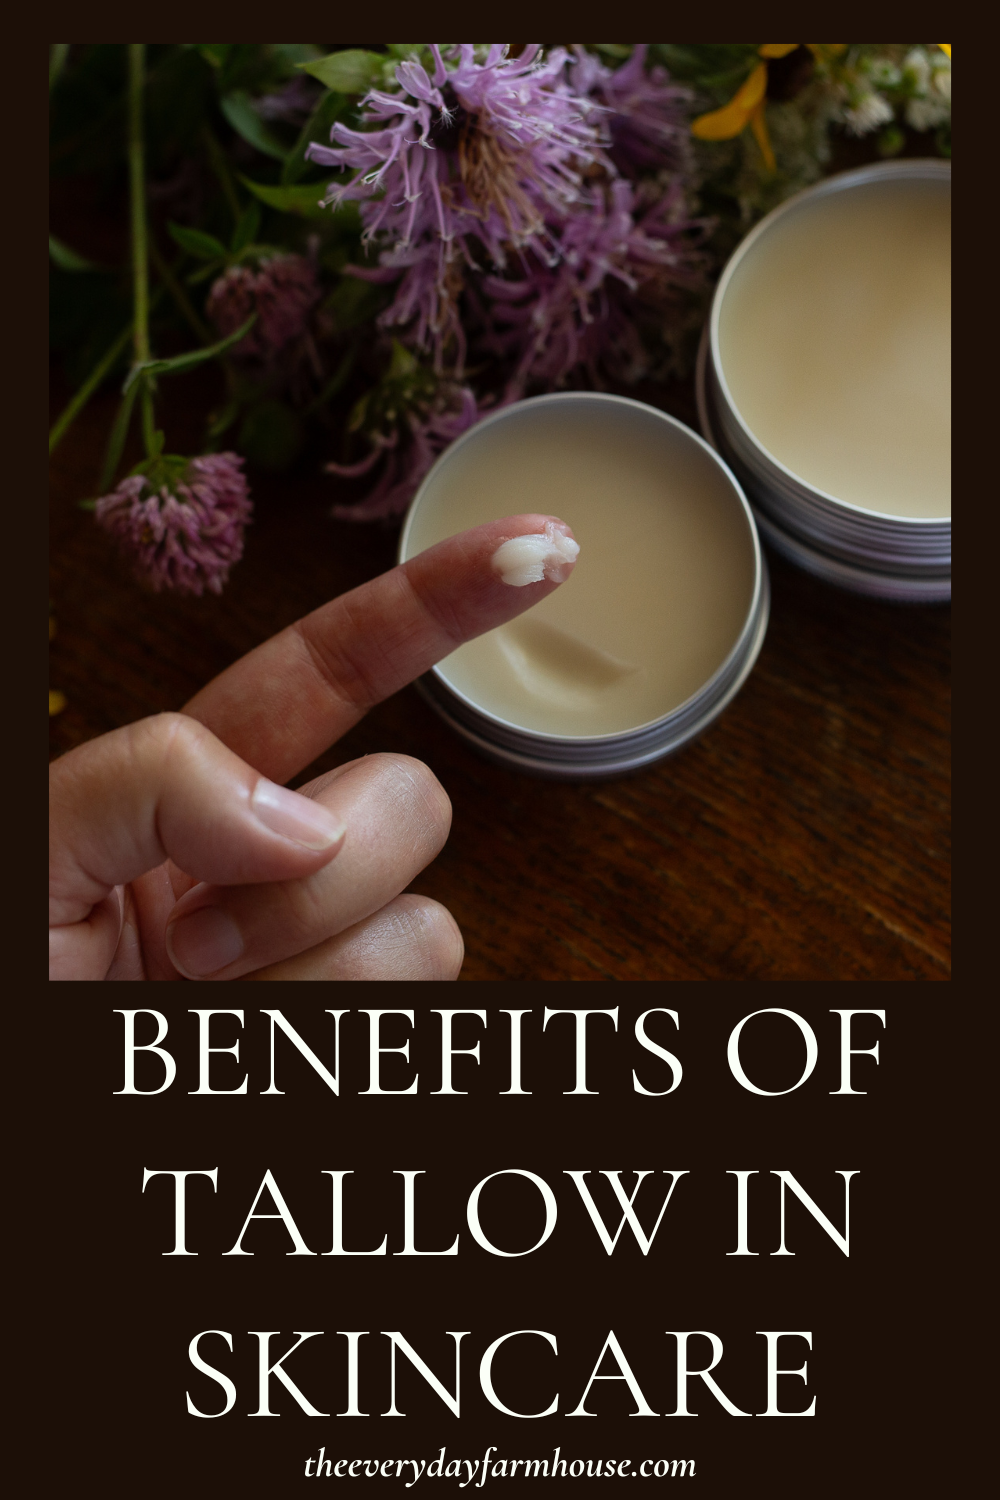
You can make this as simple or as fancy as you like. Purchasing these little tins from Amazon makes the product look professional. I like the variety of sizes for different needs. Then I have little lip balm tubes. They are so handy and they are very inexpensive. When you put the labels on the tins and tubes they are just so cute! However, any empty container will do. Small mason jars or empty cosmetic containers work fine!
Next, you will need your oils. Coconut, Olive, Shea Butter, Beeswax pastilles, and whatever essential oils you like. We used peppermint, tea tree, and thieves. Also, if you would like to tint your lip balm, you can add some mica powder.
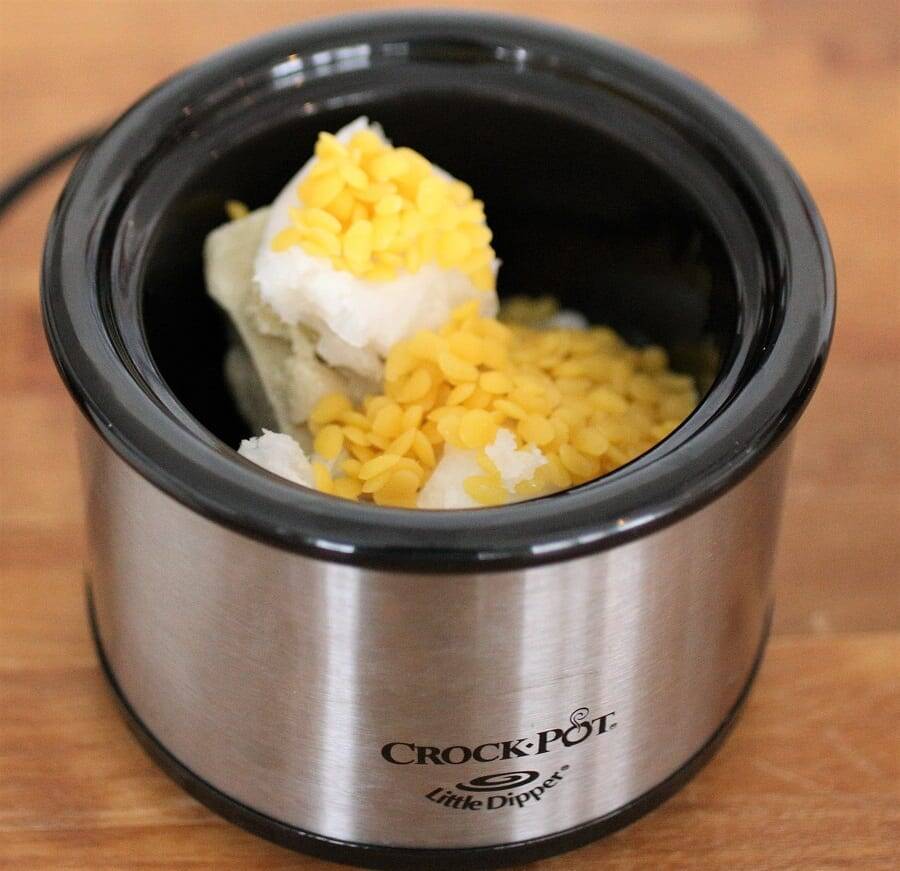
Lastly, gather either a double boiler set up or a little crockpot. We usually use a glass bowl nesting inside a pot of simmering water. However, I saw this little crock-pot in my cabinet and thought I would try this method. We never use the little thing because it is too small for our family, but it turned out to be perfect for this project! What was nice is that we didn’t have to babysit it. I put the oils in and was still able to go read a book to my little ones and put them down for a nap without worrying that the water would boil over.
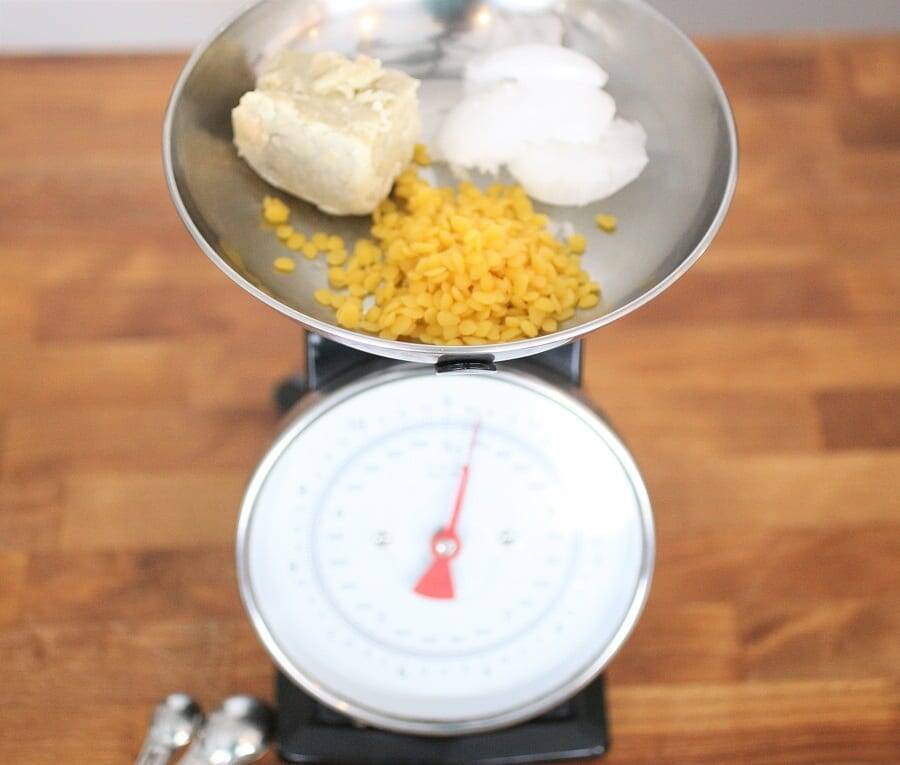
Measure out your Balm Ingredients
One could be as precise or as inaccurate as one wishes. I am more of a “splash of this” and a “metric glug of that” type of cook. This recipe is very forgiving and you really can’t mess it up too easily. To simplify, it is equal parts oils and half as much beeswax. For the sake of sharing this with you all, I gave weights and measures. We like the lip balm to be firm, so we leave out the olive oil. You could certainly add a bit if you like.
If you find that you would like it firmer after it cools, simply heat it again and add more beeswax. The same for if you would like it softer, heat it and add in some more olive oil or even some almond oil, any oil that stays liquid at room temperature.
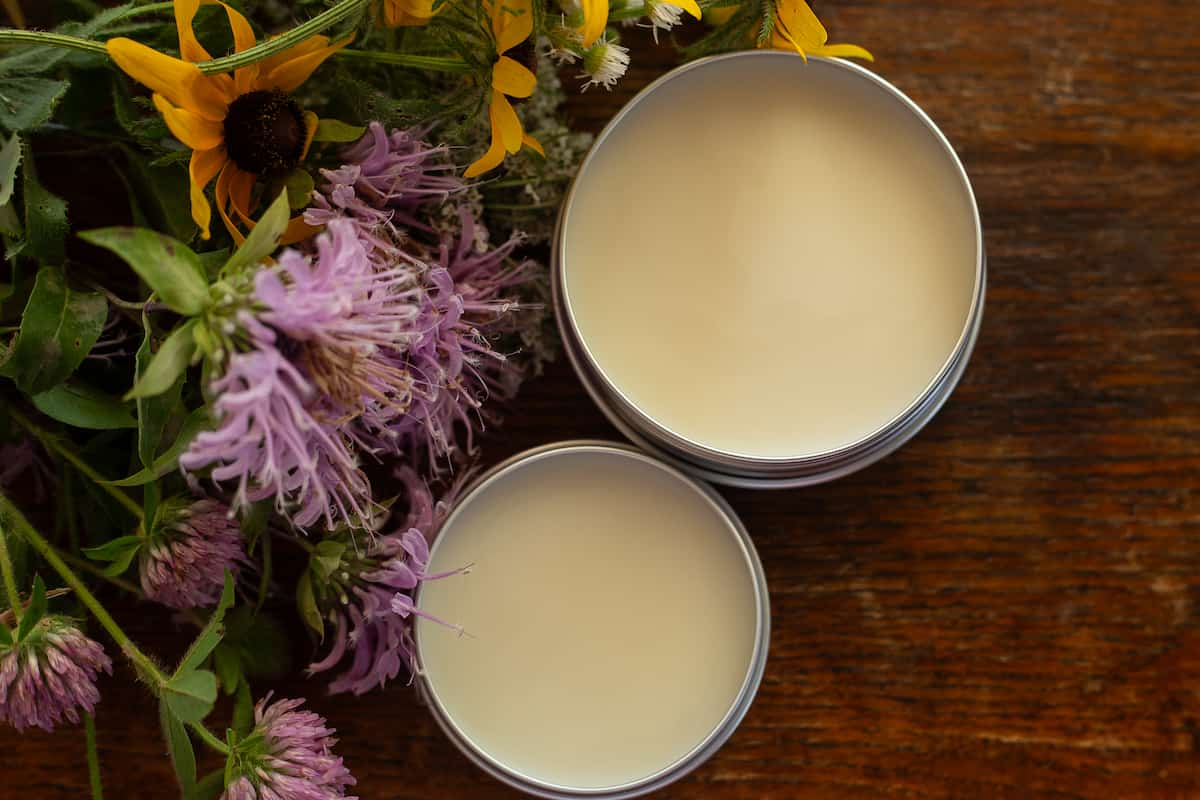
Pour, add essential oils to the Homemade Balm and let cool
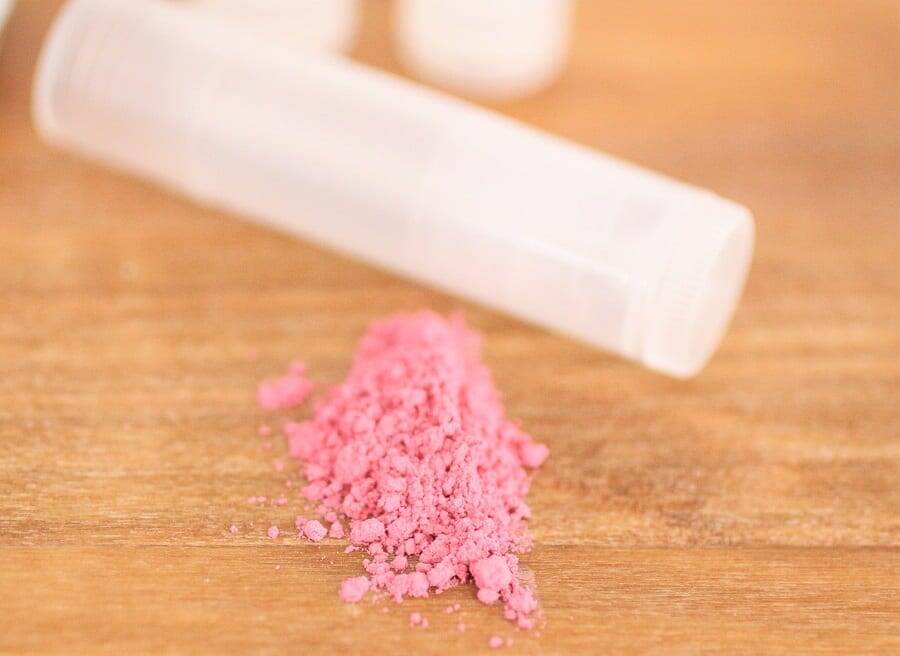
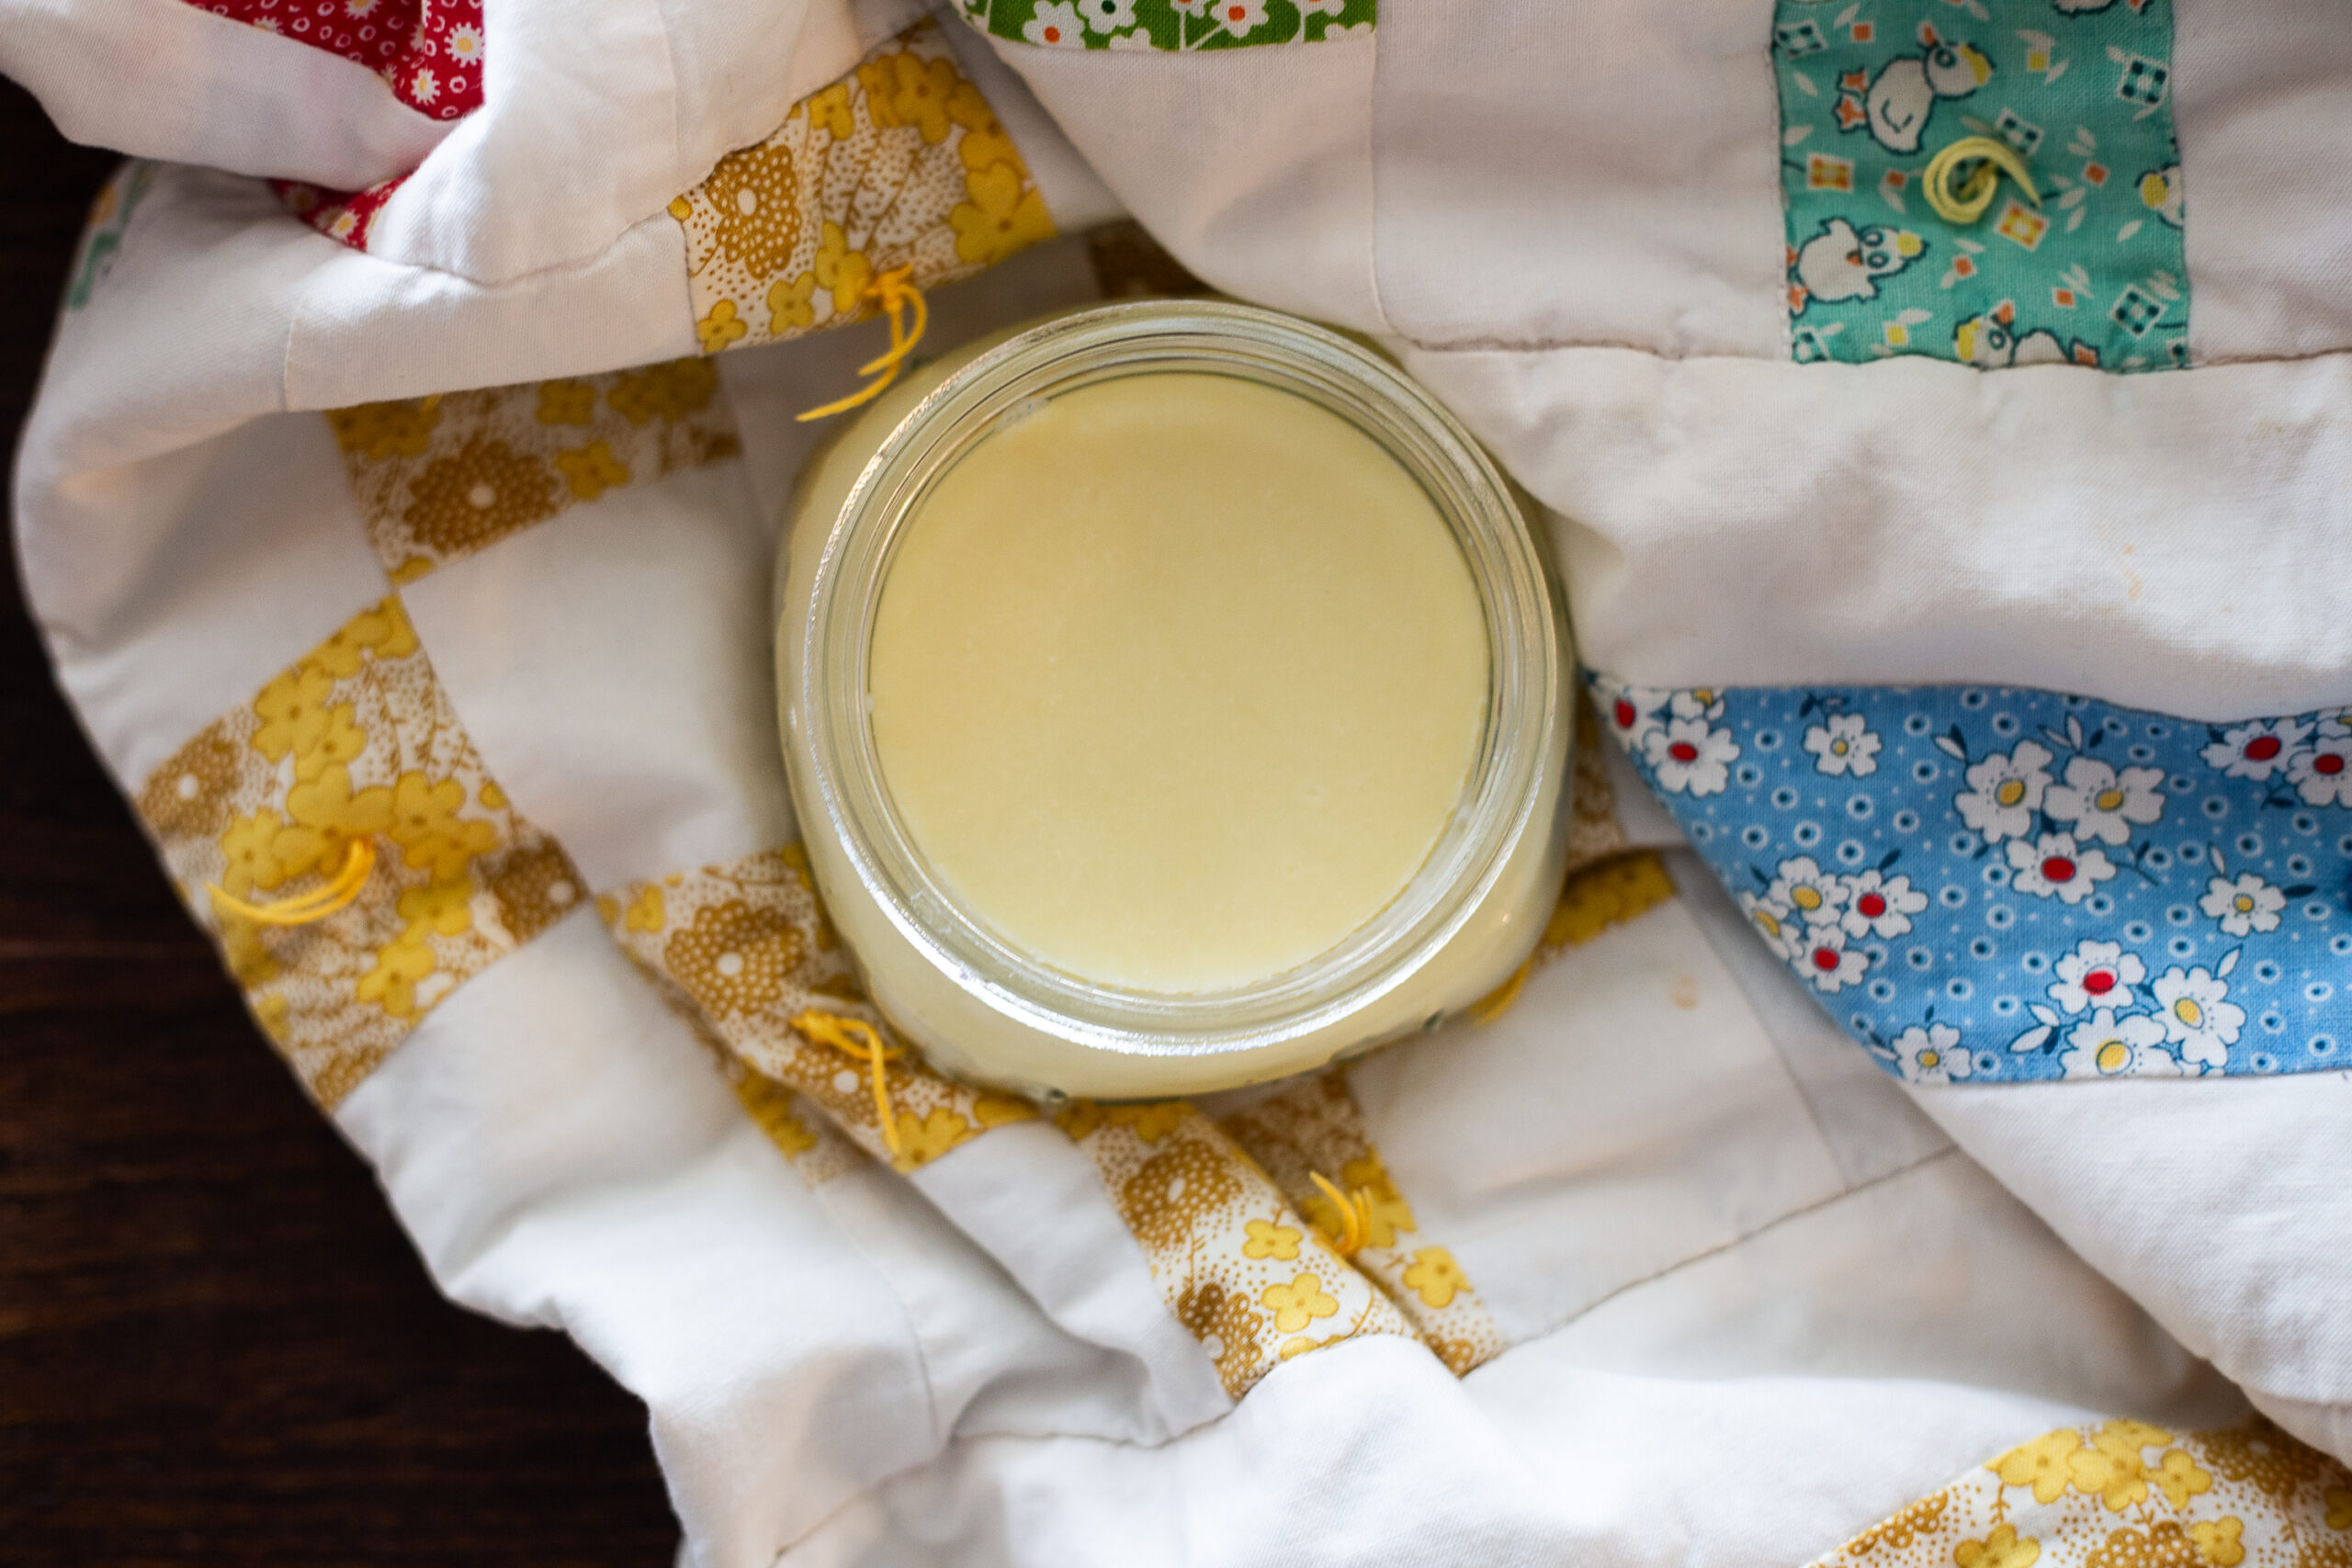
For the balms, just pour the melted oils into the tins and let them cool until they are solid again. If you are using chapstick containers then you will need a pipette or a medicine dropper. I have never bought a pipette, and have found that my glass medicine dropper works fine. They also make fancy lip balm filling equipment that I don’t have, but would get if I were making this all the time or in large quantities. Mica makes a good natural tint for blush and lip balms, you could add some of that too.
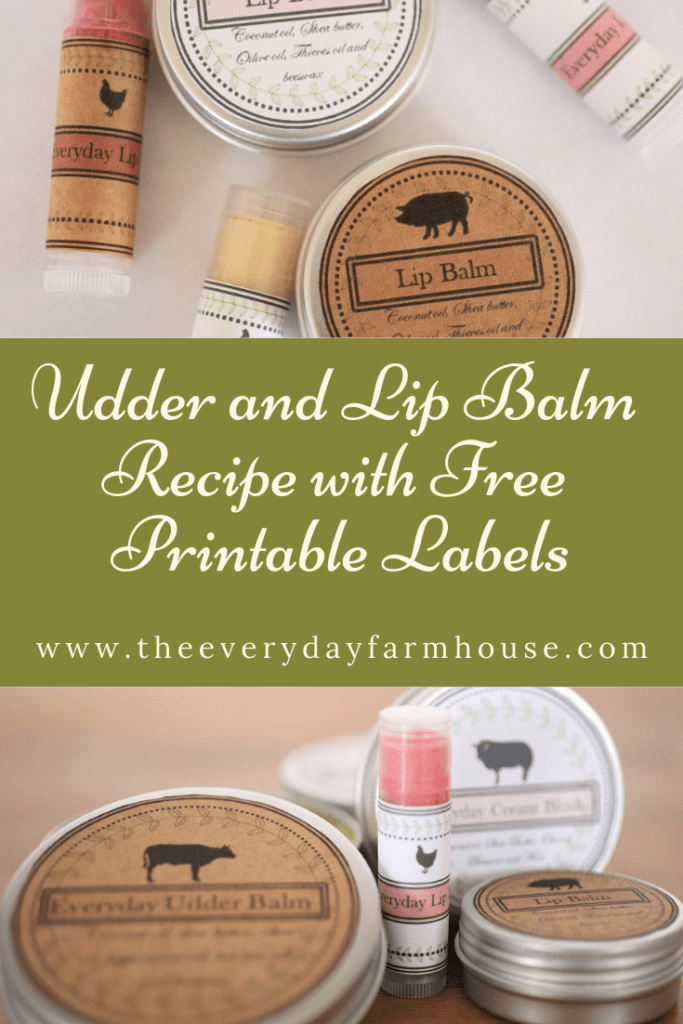
Print and Cut Udder Balm Labels
Subscribe to my password-protected library and you can access any or all of these labels. Printing on craft adhesive paper or plain white looks equally cute in my opinion. Also, some of the labels have the ingredients printed on them and some don’t. That way if you want to change up the ingredients you aren’t limited by the label.
Our Udder Balm Yield
With our measurements, four ounces of each oil and two ounces of wax, our yield was the following: three 4oz containers of Udder Balm, one 2oz. cream blush, two 1oz lip balms, and six lip balms in the tube. This took less than an hour.

I hope you make these balms and enjoy them as much as we do! Let me know if you have any questions or suggestions!
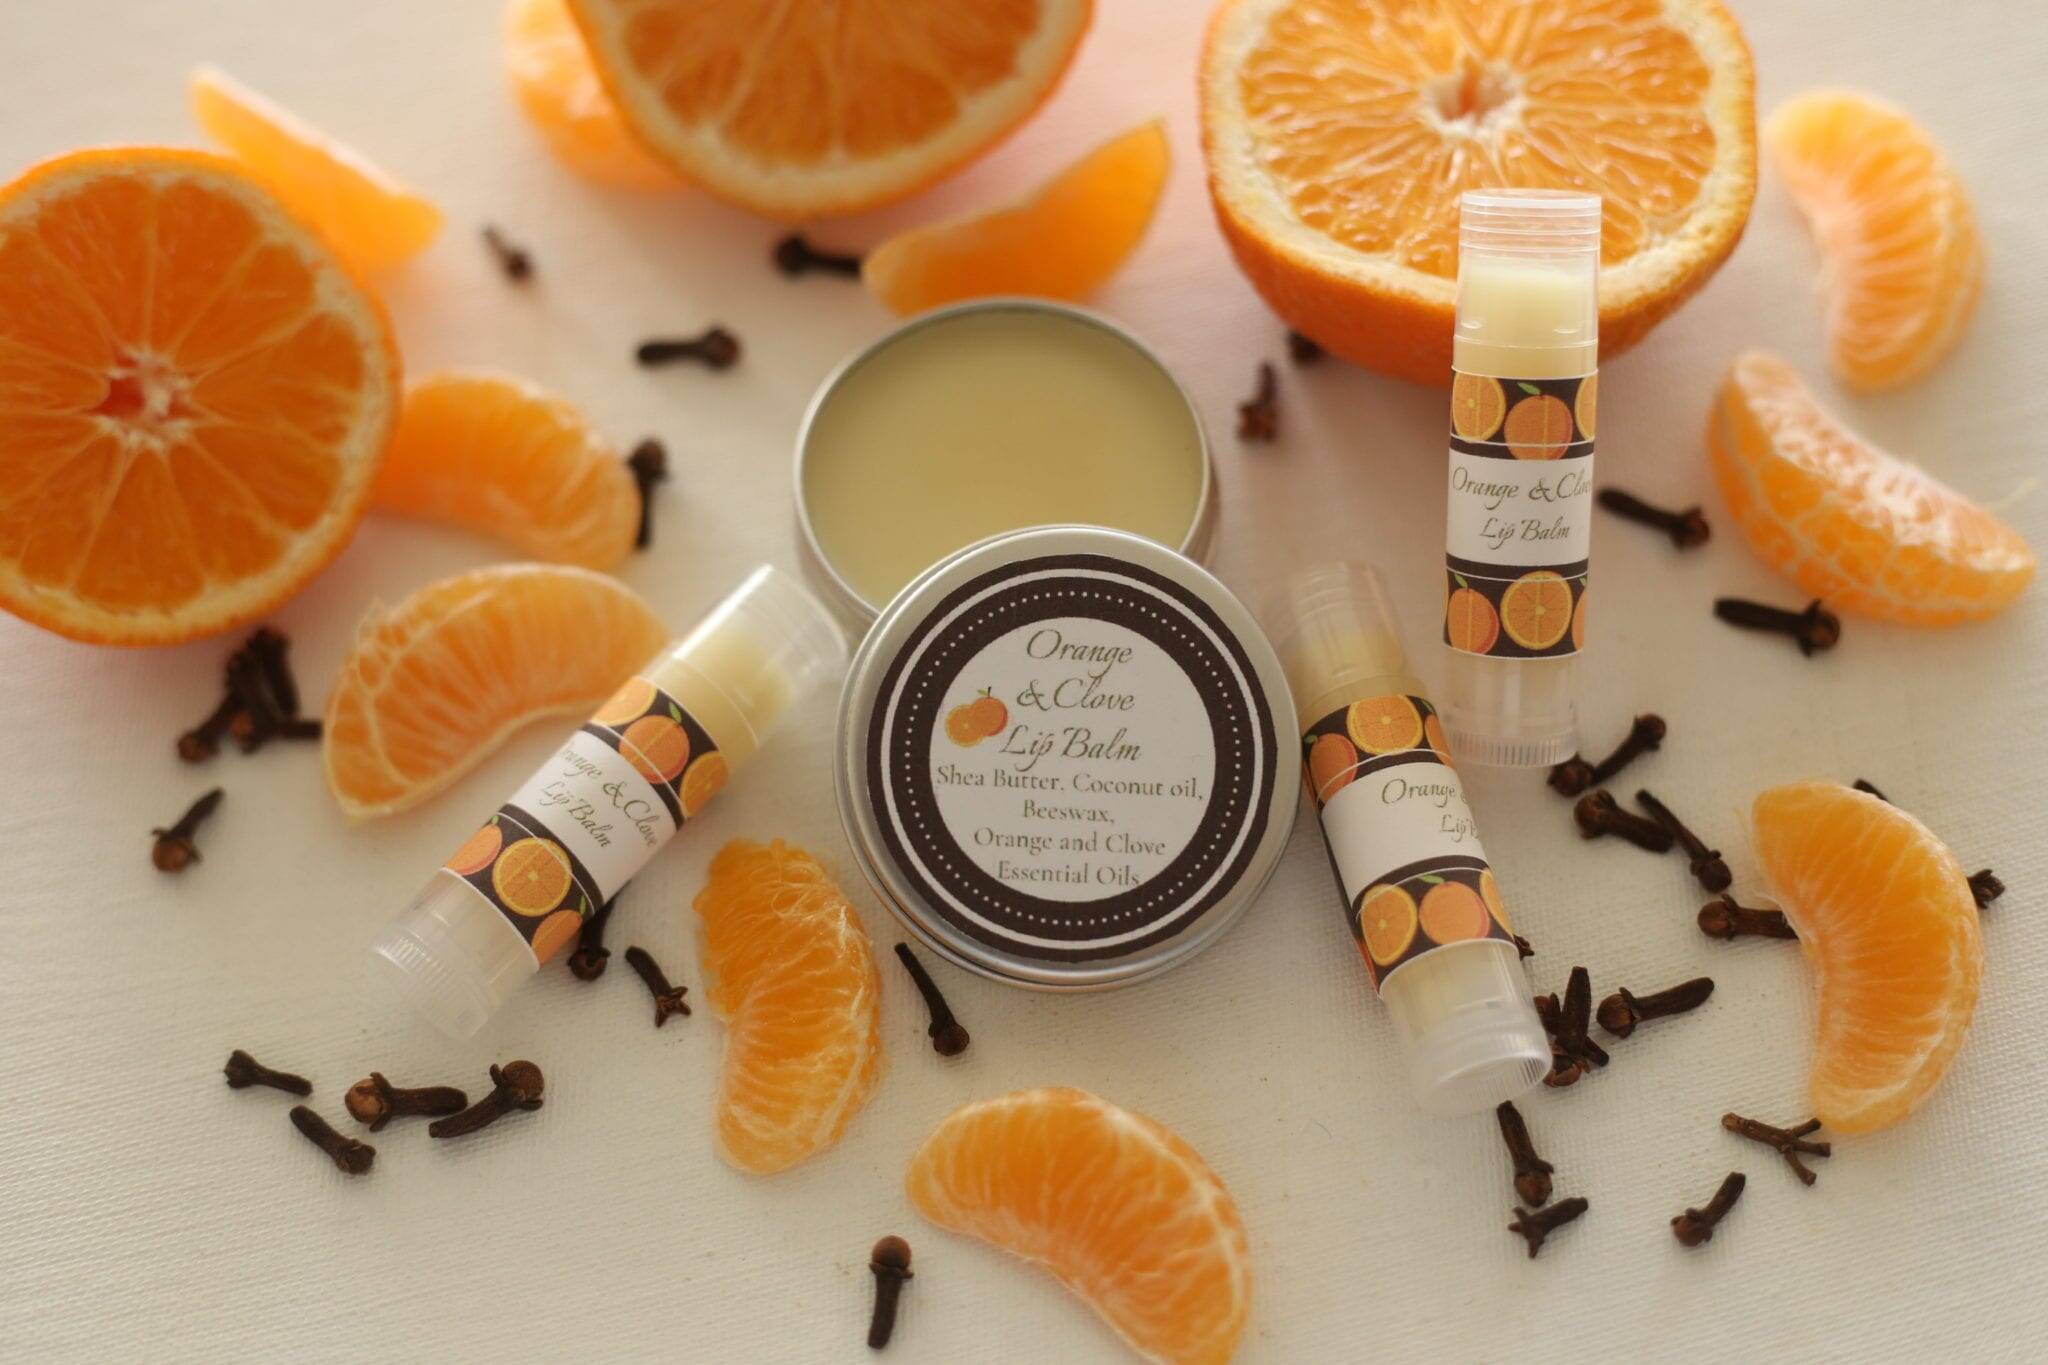
Here is My Recipe for Orange and Clove Lip Balm
Check out My Shop for Beautiful Planners to Help with Daily Life!
Everyday Balms
Ingredients
- 2 oz Beeswax about 3 heaping TBS
- 4 oz Shea Butter or Tallow about 6 TBS
- 4 oz Coconut Oil about 6 TBS
- 3 oz Olive Oil
- 2 TBS mica powder
About 15 drops of your choice of essential oil for each 4 oz. container, half the amount for a 2 oz and half again for a 1 oz.
Instructions
- Melt the beeswax, shea butter, and coconut oil together in a double boiler or small crockpot.
- Next fill your lipbalm containers, as these will not have the olive oil. If you choose to tint this with mica, you will want to do that separately and then fill the tubes. If you are using the tins, we found that we could mix the mica in the tin quickly before it hardened. We used about 1/2 tsp for a 1oz. tin.
- Step three is to pour in the olive oil, mix well and pour the melted oils into the containers.
- Lastly, put in the drops of essential oil and the mica if you are tinting it. For the large tins I use about 15 drops total. Ten of peppermint and about five of tea tree. For the smaller tins I use about half that amount. If you are tinting some of these to use for cream blush, you may want to leave out the essential oil or use one that is good for your face like orange or frankincense. Also, mix the mica in while it is still warm. We had success mixing the mica directly in the tin. We used about a tsp for a medium 2oz container. It really depends on how dark you want it. We wanted ours to be fairly subtle.
Notes
For lip balms, I like thieves oil. My daughter uses orange oil. You can use peppermint as well, really it’s whatever you like!

Pin for later!

This is fantastic! A friend of mine gave me a Shea and Cocoa Butter Whipped Balm and I’m almost out! I think I could make your recipe! Love the idea of using a small crockpot!
These are great recipes! I’ve never tinted my balms or anything before. Can’t wait to try this!
Thanks! Yes, we just started tinting ours last year, my pre-teen girls love it. Very subtle, but still feels like makeup to them!
I love your recipes! I’ve never used a crock pot or mica before. Can’t wait to try this!
Thanks Wendy!
Great packaging. Hanks for the recipes. I need to give these a try.
Thank you Kym!
I would love to make this! Thank you for sharing your recipe!!
So cute! Love these
Thanks Alleigh! Hope you try it!
Love EVERY LITTLE DETAIL! Those labels are ADORABLE! I’m thinking maybe I can do this and giveaway for Valentine’s Day to teachers and friends.
Thank you so much! Yes they make great gifts, and really so easy!
These are sooo cute! My girls would love to help make these.
I hope you all have fun together! My girls love doing this type of thing!
Absolutely beautiful site. You have a gift that brings me in! I want to buy everything on this post. Can I say that you have a special and blessed life. Keep doing what you are doing. You are special:) I need a ton more stars to give you:) be blessed.
So sweet! Thank you I wish blessings on you as well!
Oh my goodness, this post is great. I totally feel like I can pull this off – even though I’ve never made anything like this before! Going to give it a try!
Oh good I hope you do try it!
Great post and recipe! I add calendula infused oil to mine as well. It gives such a smooth feel to the mixture. I love this recipe though and will use it for my grandkids and friends as well. The labels are so cute. Thank you for sharing this.
I just infused oils for the first time to make a salve! Calendula was one of the herbs I used! Thank you for stopping by and commenting!
Hi Jennifer!
What a great idea to make 3 products from one base recipe! These all look so wonderful! I love making my own balms and salves. I have made lip balm but used the little tins instead of the tubes. I need to try the tubes. 🙂
I saw your post on The Homestead Hop and I would love to have you share this on Farm Fresh Tuesdays!
We also have an awesome Sweet Maple Giveaway going on until Monday, Sept 30th! I hope you’ll enter for a chance to win some sweet mapley goodness!
Thanks Lisa, I will enter this post!
Hi Jenn! I’ve featured your post on Farm Fresh Tuesdays this week! I hope you’ll stop by and share more of your talent with us. 🙂
Have a great week!
Thank you Lisa! I always love to participate!