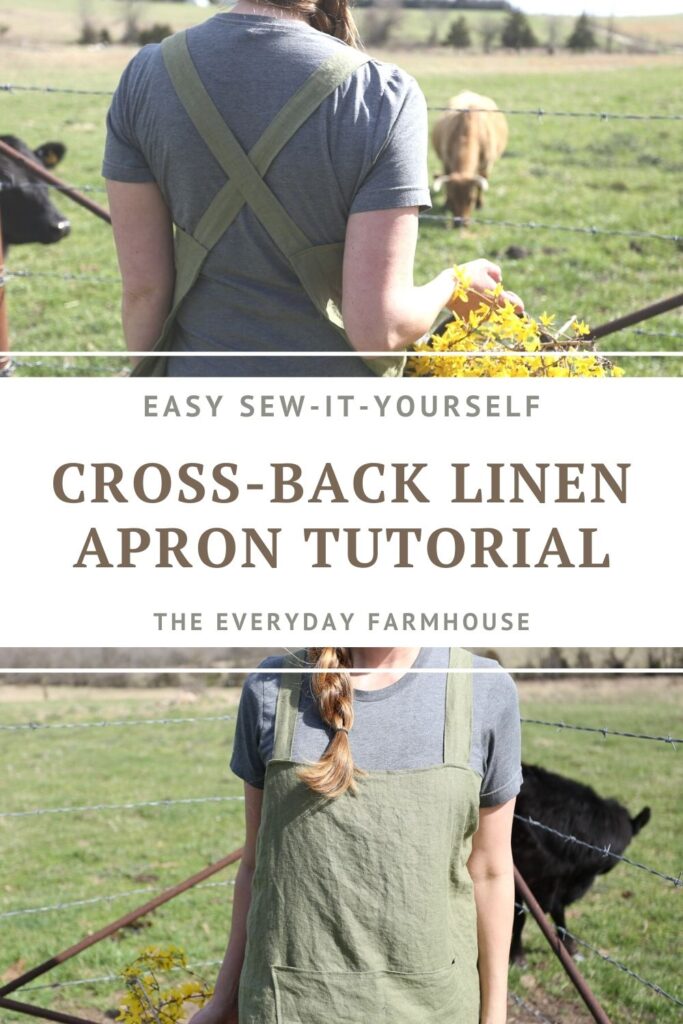
Simple Easy Linen Cross-Back Apron Tutorial
This simple easy linen cross-back apron is a perfect beginner sewing project. With only a few cuts and some straight seams, you can have your own handmade linen apron, perfect for spring!
If you’ve been following along in my #handmadehome series, last month we learned how to sew napkins. If you did that project and are looking for another simple way to practice your skills, this apron is for you!
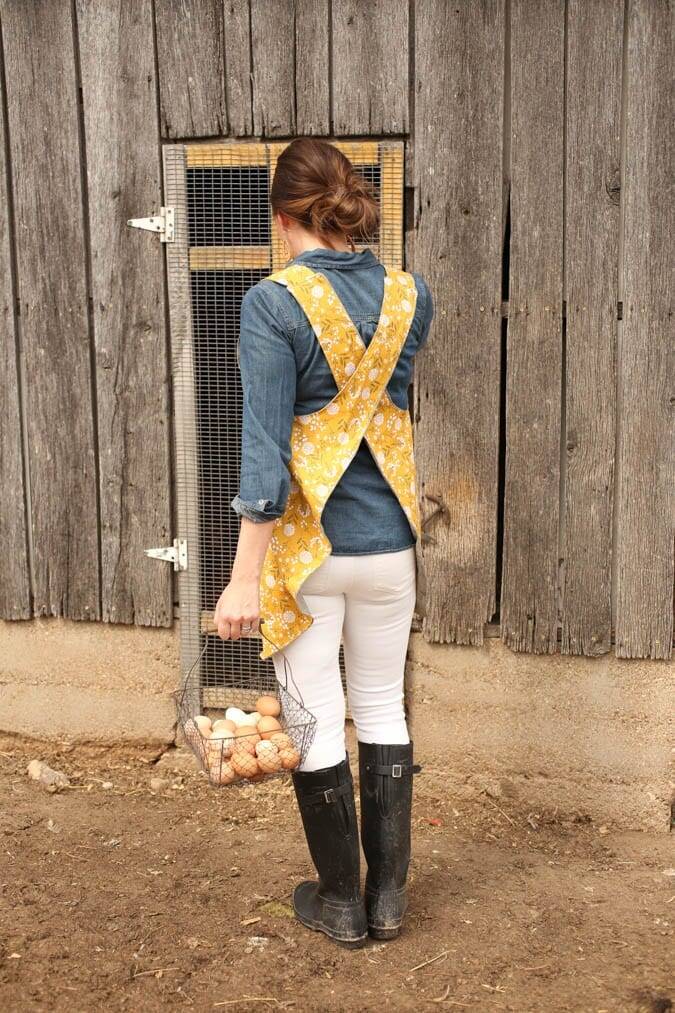
I absolutely love linen, it is a natural fabric and very breathable, perfect for spring and summer work outside! Plus, you can throw this on over your plain old jeans and t-shirt and feel a bit old-fashioned and productive…or maybe that’s just me! If you don’t love to sew, I sell some beautiful linen and cotton aprons in my shop!

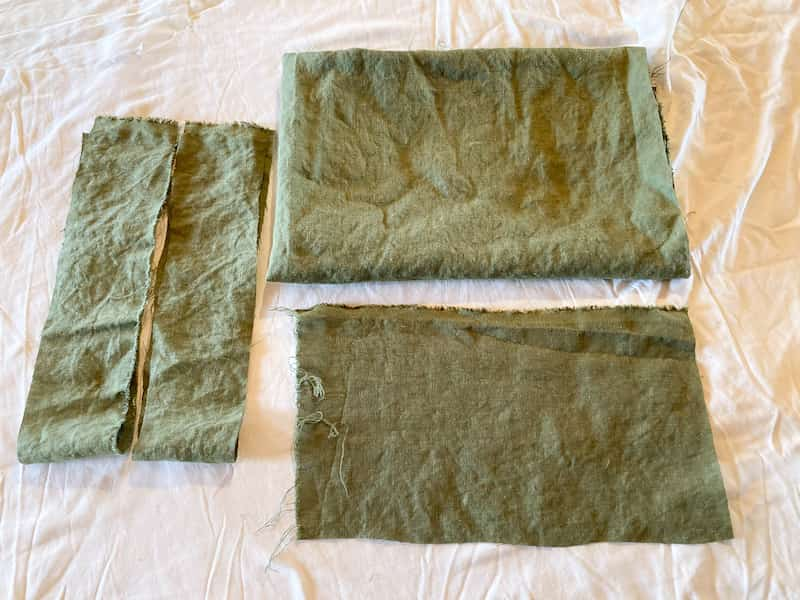
Linen Crossback Apron Free Pattern Cut List
- Body of Apron- Cut-38″x32″
- Straps-Cut 2-23″x3.5″
- Pocket-13″x7″ or two 7″x7″ squares (depending on what kind of pockets you want)
- Sewing Machine
- Iron
- Pins
- Linen 1 Yard, I bought mine here, this is a great alternative, and this one is a cotton-linen blend so a bit cheaper. Also, a reader just informed me of this store that sells organic linen if that is important to you.
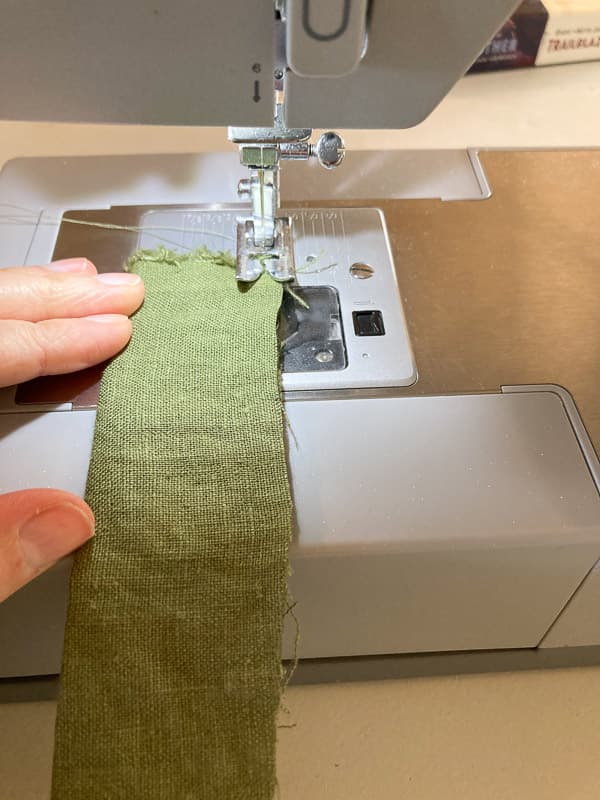
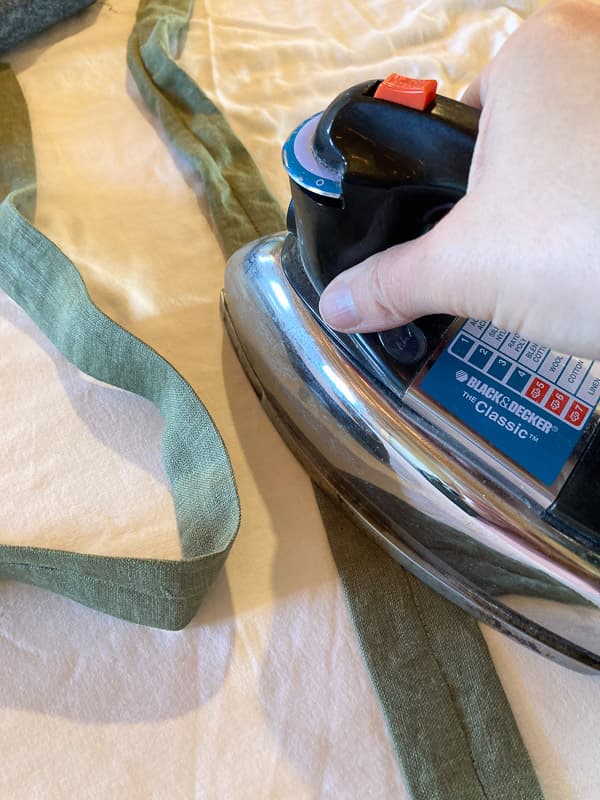
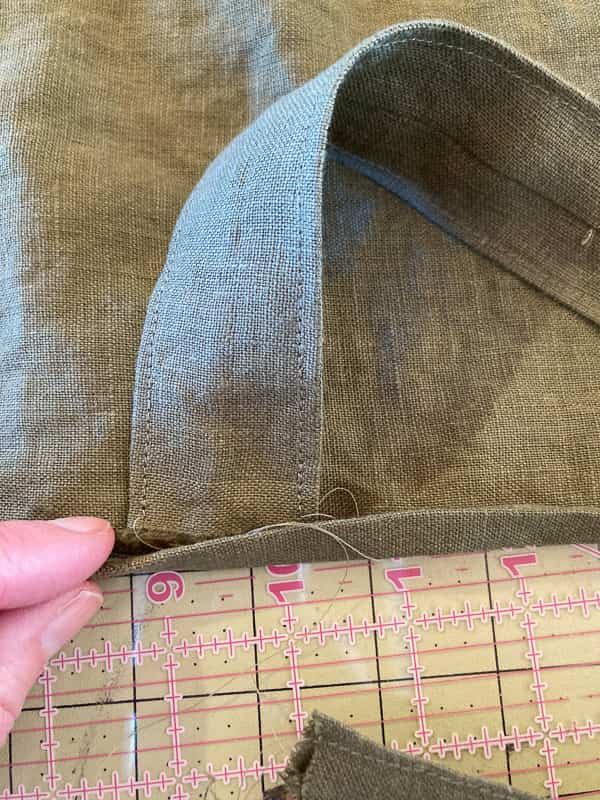
1. Make the Linen Apron Straps
This is the first step in making your apron, and probably the most time-consuming step, although the whole thing is a relatively quick project.
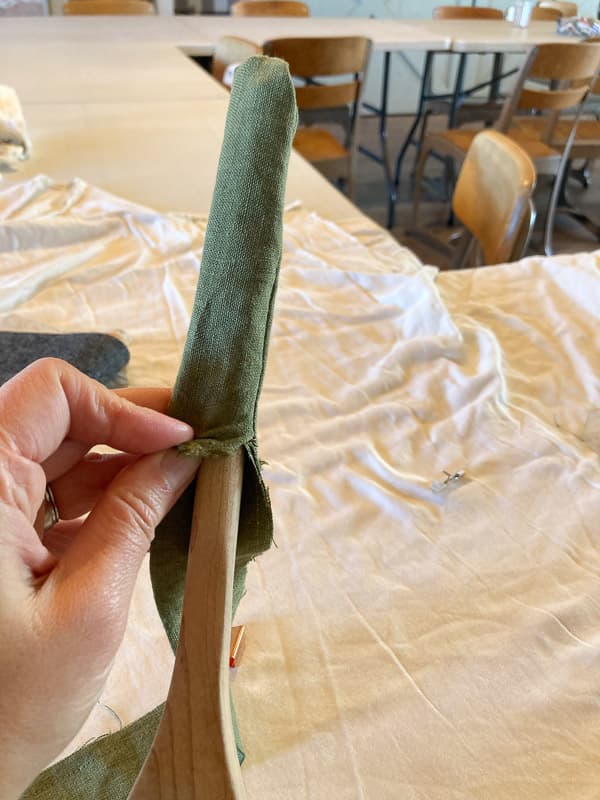
After you have cut your strips, fold each one in half lengthwise with the (right sides together which is kind of hard to determine with linen, and really doesn’t matter all that much) and give it a quick press. Then stitch down the side of the strap. Next, turn it right side out. Some people use a large safety pin and pin it to one end and then turn it out using that. I can somehow never find a large safety pin until I am finished with a project…no kidding I found one that very night. Anyway, you can always use a wooden spoon or something like that to turn the strap out.
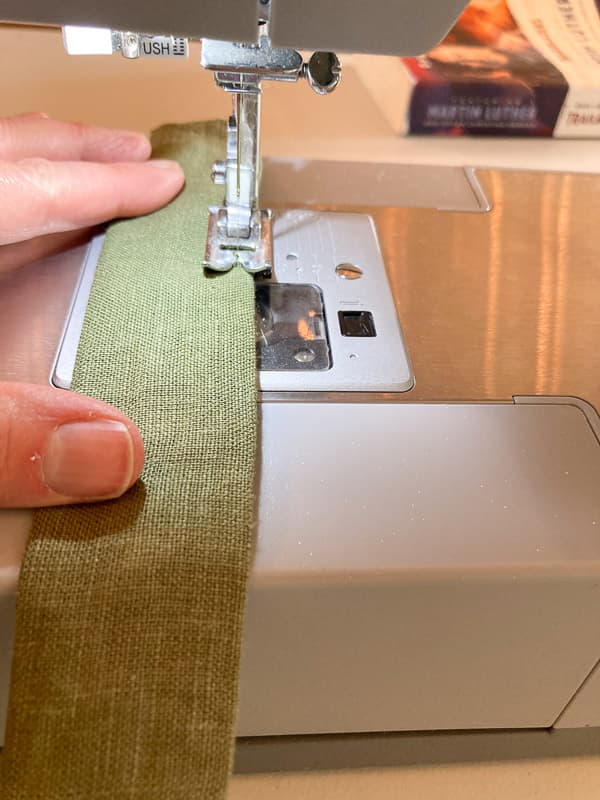
Next find the seam and place that in the center of the strap. Press the strap flat with the seam down the middle. Lastly, take the strap to your machine and stitch down each side of the strap. This gives a nice finished look and keeps the strap from bunching up after you wash it.
2. Make the Apron Body
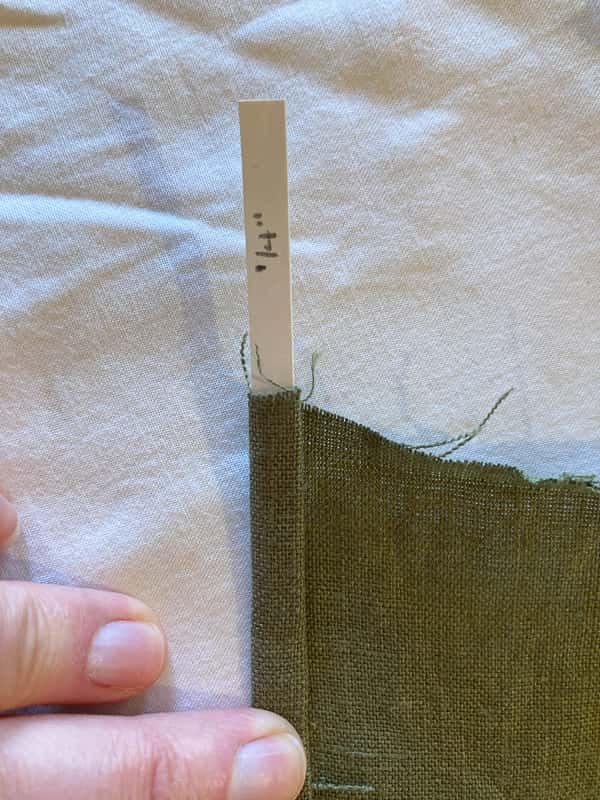
The apron body is just a big rectangle. For this, you will press a 1/4″ seam and then press it over again. I like to use this little hem guide that I made for making these napkins. After you have pressed the seams, follow the steps for attaching the straps below.
3. Attach the straps to the front of the apron
I like to tuck the raw edge under the hem of the top of the apron before I stitch it in place. Then I fold it up and stitch all along the top, this hides the raw edge and combines the hem with the strap.
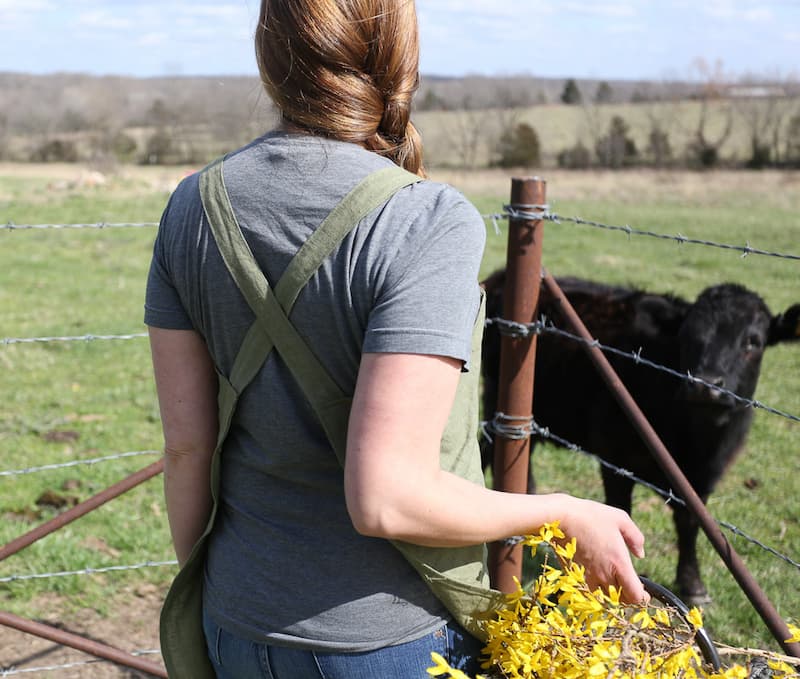
The straps are stitched 9″ apart from each other on the front of the apron.

After you have hemmed along the top and attached the straps, you can then stitch all around the remaining sides of the apron.
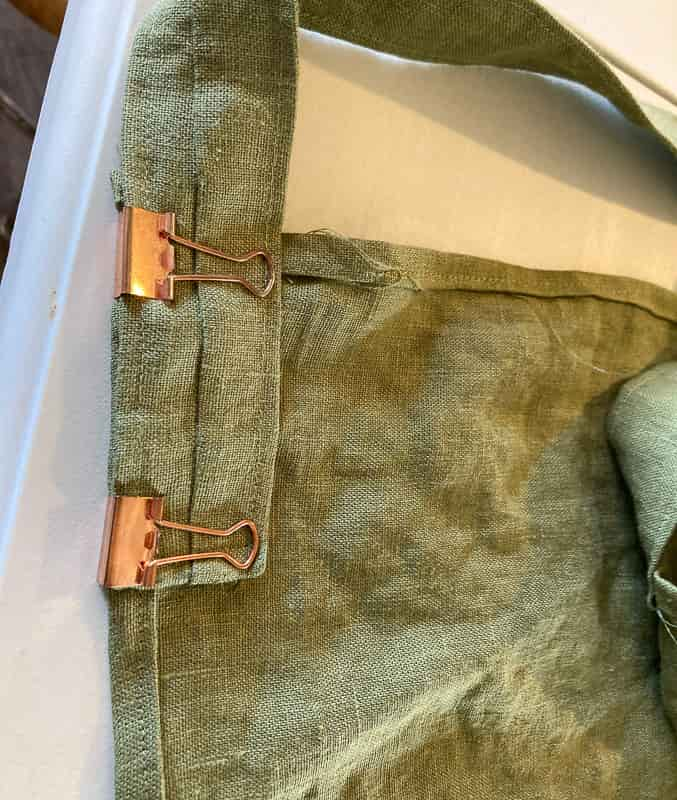
4. Attach the straps to the back of the apron
For this part, I measured down 3.5″ and clipped the strap in place. Then you stitch a rectangle around the strap to hold it in place. The raw edge of the strap is pressed under and stitched in place as well.
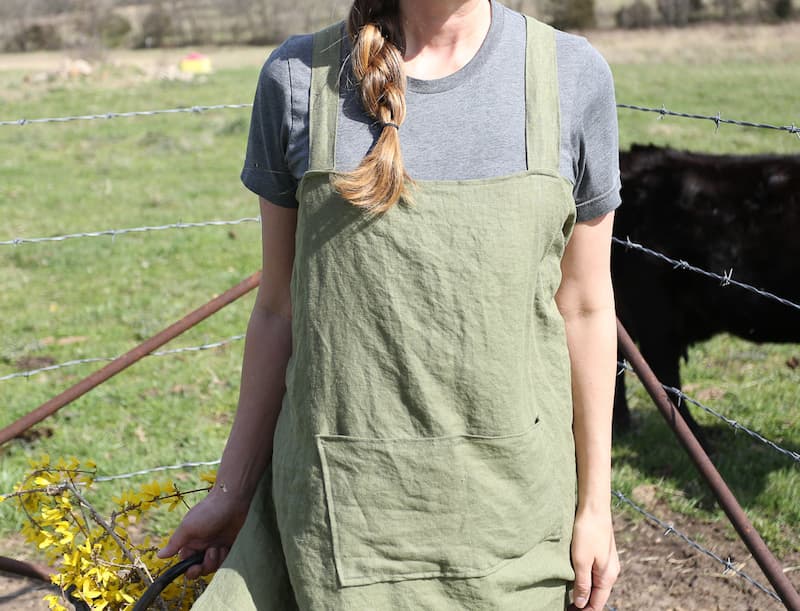
5. Add a Pocket or Pockets to the Apron
I’ll be honest, I don’t love the way the pocket turned out. If I had it to do over again…which I probably will, I would do two things. First, I would follow this tip that I just learned about cutting linen perfectly straight. Mine looks very crooked in the pictures, I think it is partly the way the wind blew the apron, it doesn’t look that crooked to me in real life. Secondly, I would probably have made two 7″ pockets on each side of the apron rather than one large pocket divided. I thought of that after…
With all that said, here is how I made the pocket. I cut the 12″x7″ piece of fabric, I folded and pressed a 1/4″ hem around all sides. Then I stitched one long side of the hem, that will be the top. After that I measured down about 12″ from the top of the apron body and approximately 10″ up from the bottom. You should try on your apron and see where your hands would comfortably rest and place your pocket there.
I found the center of the pocket and the center of the apron and then marked with chalk and pinned the pocket in place. After it is pinned stitch around the three sides obviously leaving the top open. Lastly, stitch down the center of the pocket to divide it in two.
That’s It! A Super Simple Easy Linen Cross-back Apron!
I hope you give this apron a try, it is a great beginner sewing project and the apron is so nice to throw on when you go out to the garden, or when you are working in the kitchen!
More Apron Tutorials!
DIY Cross-Back Reversible Apron Pattern-Linen and Cotton
Aprons in My Shop!
If you love linen and cotton aprons but don’t really like to sew, I have some beautiful aprons in my shop!

Pin and Share!