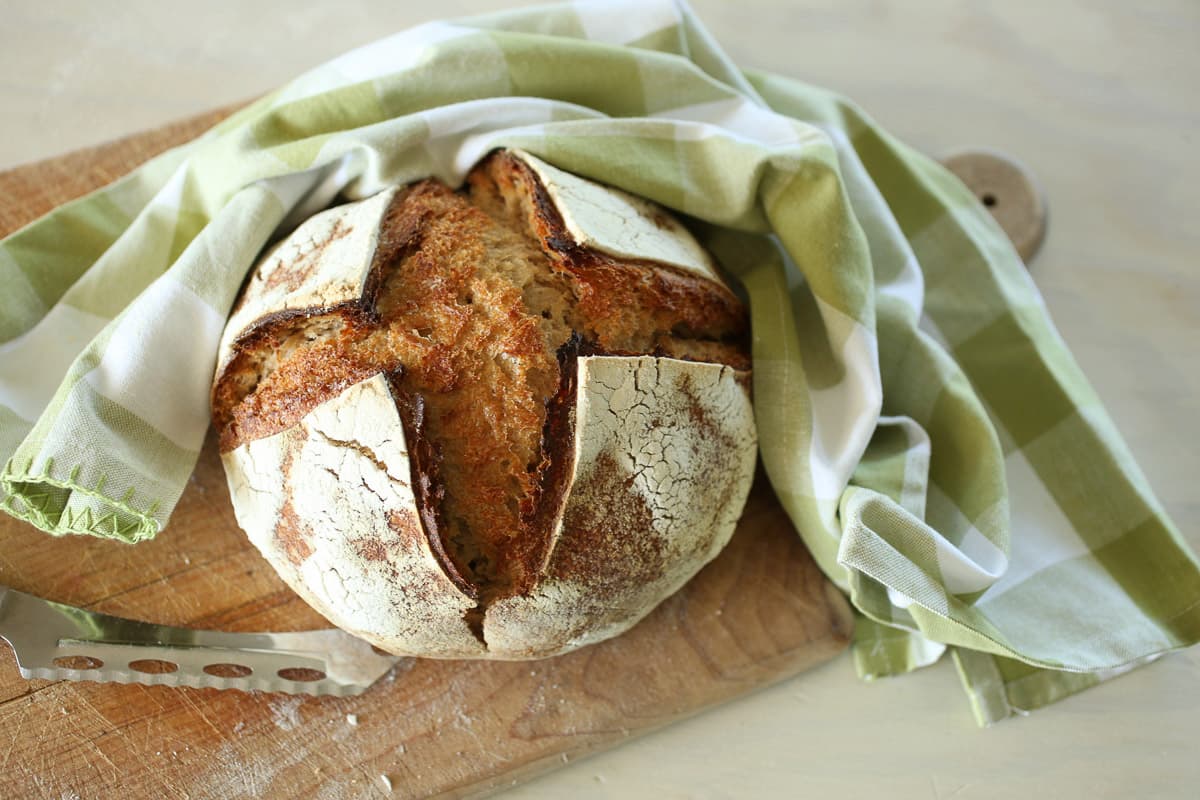
Simple Artisan Sourdough Loaf – Step by Step Recipe
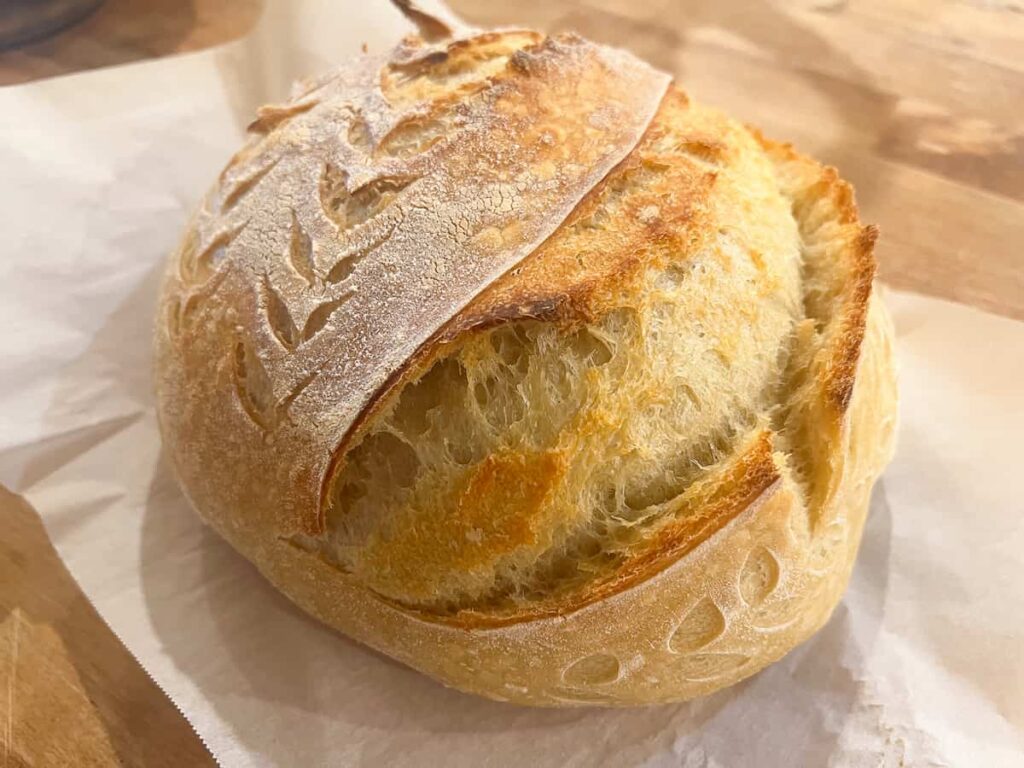
This simple artisan sourdough loaf is perfect for beginners yet impressive enough for seasoned bakers. Made with just four basic ingredients, this naturally leavened bread is as wholesome as it is delicious. There’s nothing quite like the satisfaction of baking your own sourdough bread—crisp, golden crust, an airy interior, and that signature tangy flavor.
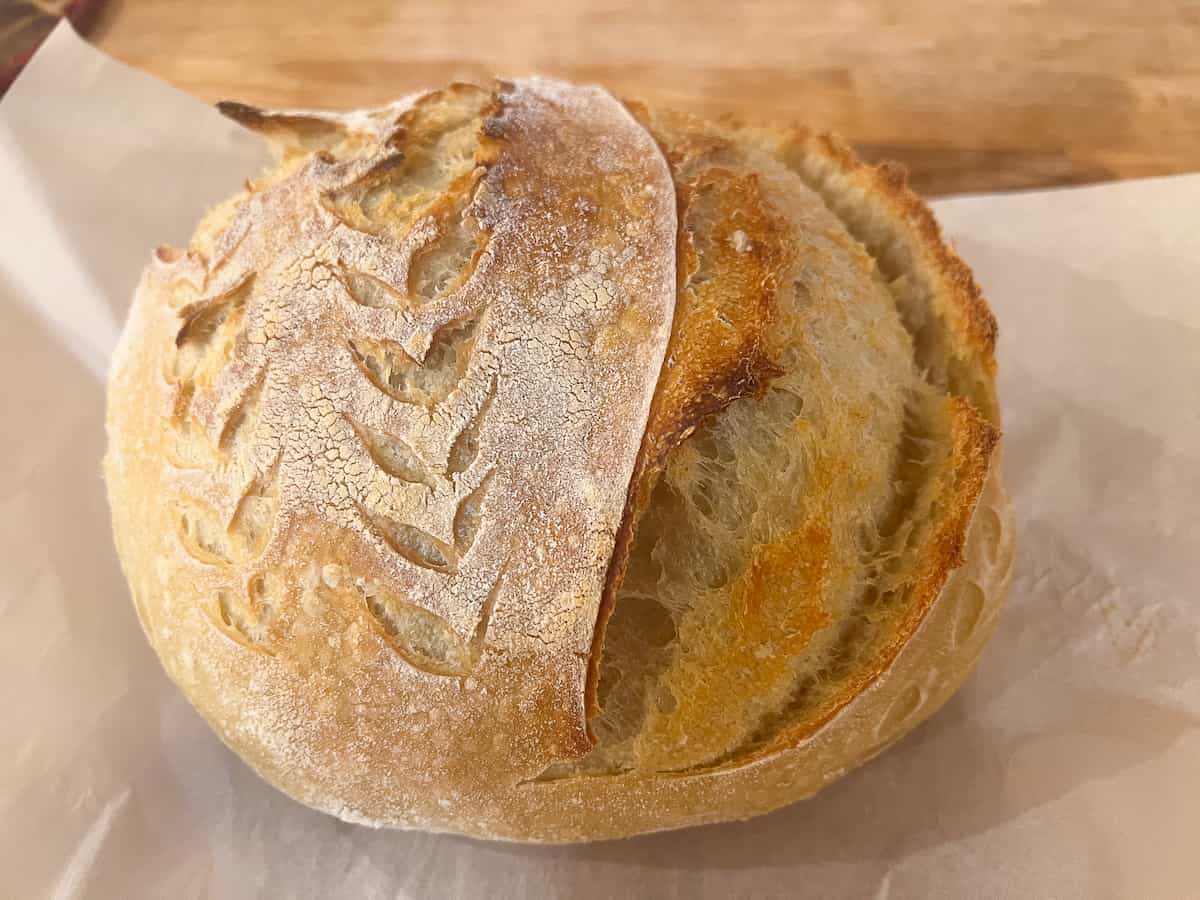
Whether you’re brand new to sourdough or looking to streamline your process, this step-by-step guide will walk you through creating a beautiful, crusty loaf with a chewy crumb using only flour, water, salt, and sourdough starter.
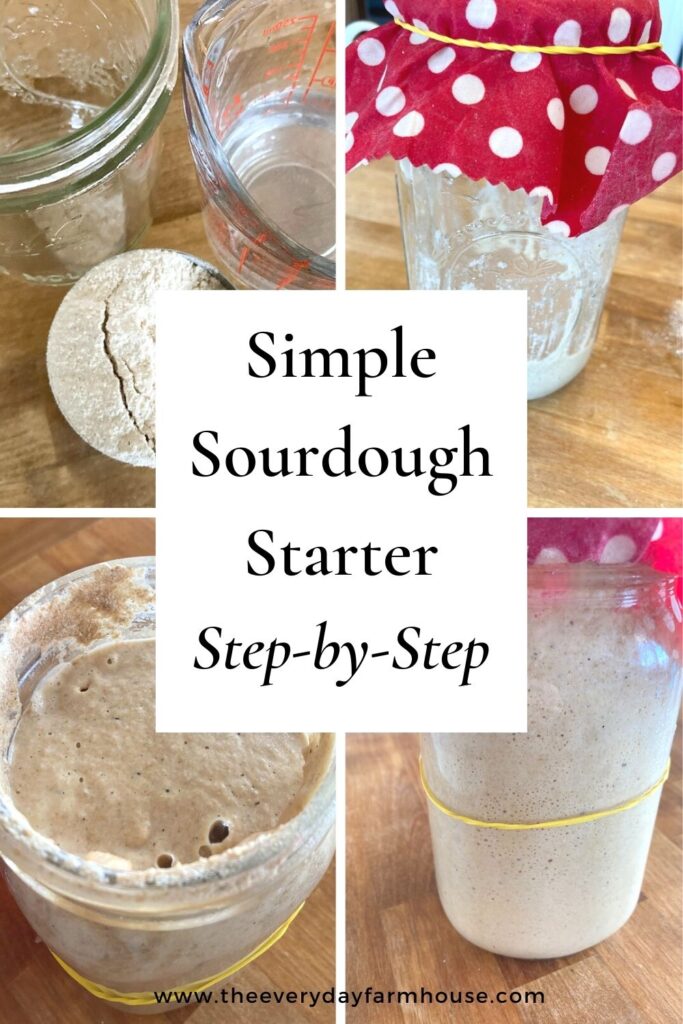
How Do You Get a Sourdough Starter
I have a step-by-step tutorial here for making your own starter. I also have instructions on rehydrating a dried starter here.
How Far Ahead Do I Have to Plan for Sourdough?
Setting up a schedule for sourdough is the key to being satisfied with baking. You know that a loaf that you start today will not be ready to bake until tomorrow. However, if you prepare two loaves then you can bake one tomorrow and keep the other one in the fridge for the next day. If you prepare the dough every other day, you will always have a loaf ready to go! This is so nice if you have unexpected company, you can bake fresh bread with little prep!
Simple Sourdough Artisan Loaf
Ingredients
- 50 – 100 grams bubbly active sourdough starter – I always use 100g for consistency and a stronger rise. (¼ – ½ cup)
- 375 grams warm water (around 80–85°F or 27–29°C) (1½ cups + 1 tbsp)
- 500 grams white flour (4 cups + 2 tbsp)
- 9 to 12 grams fine sea salt (1½ – 2½ tsp)
Instructions
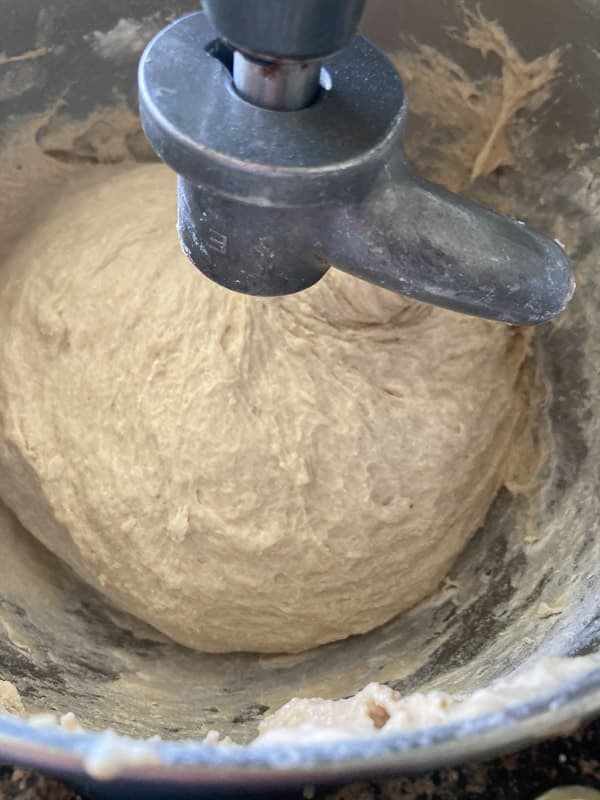
Mix the Dough
- In a large bowl, mix: 100g active starter, 375 g warm waterStir gently to dissolve the starter. Then add: 500 g white flour 9-12 g sea saltMix until no dry spots remain. The dough will look shaggy and sticky—this is normal. I use my KitchenAid mixer for this first step, however, you can do it by hand. You may feel like the dough is too wet and sticky. Don't worry, as you complete the stretch and folds in the next step, you will see the dough become glossy and smooth.
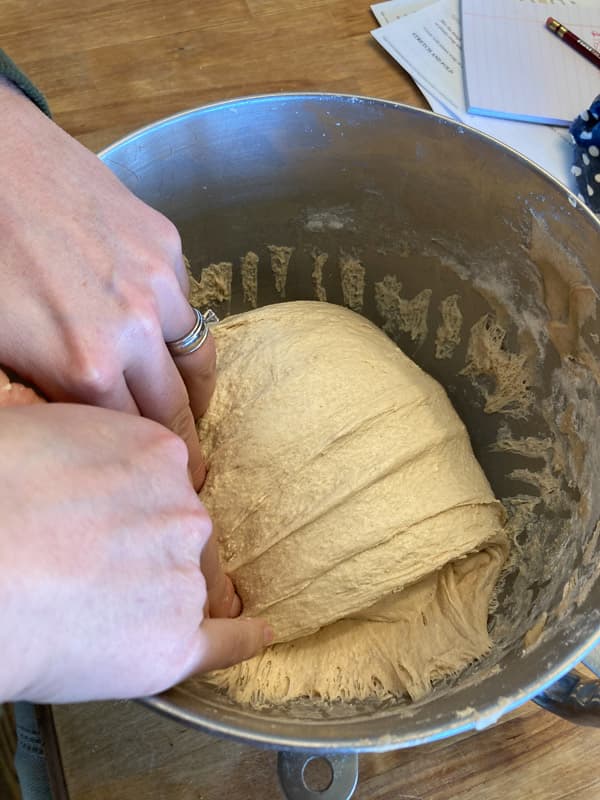
Bulk Ferment & Stretch and Folds
- Let the dough rise at room temperature (70–75°F or 21–24°C) for 4 to 6 hours, performing stretch and folds every 30–45 minutes during the first 2 hours. This doesn't have to be precise. I stretch and fold mine when I am walking through the kitchen on my way to do something else. I don't live as a slave to my sourdough. Also, this may take 8 hours or more if your house is cold.How to stretch and fold:Grab one side of the dough, stretch it up, and fold it over itself. Rotate the bowl and repeat 3 more times (like folding an envelope). This strengthens the dough without kneading. This also makes the dough smooth and glossy, you will see it become less sticky.Cover and let the dough continue fermenting until it has risen by about 50% and looks puffier and smoother.
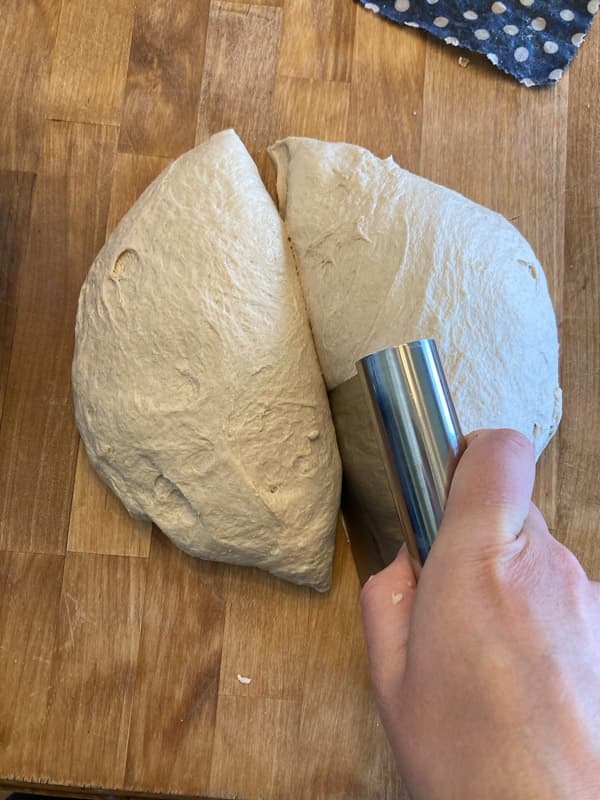
Shape and Rest
- Shape the dough into a round or oblong loaf depending on how you are making it. Leave the dough on the counter to rest for about 30 minutes.
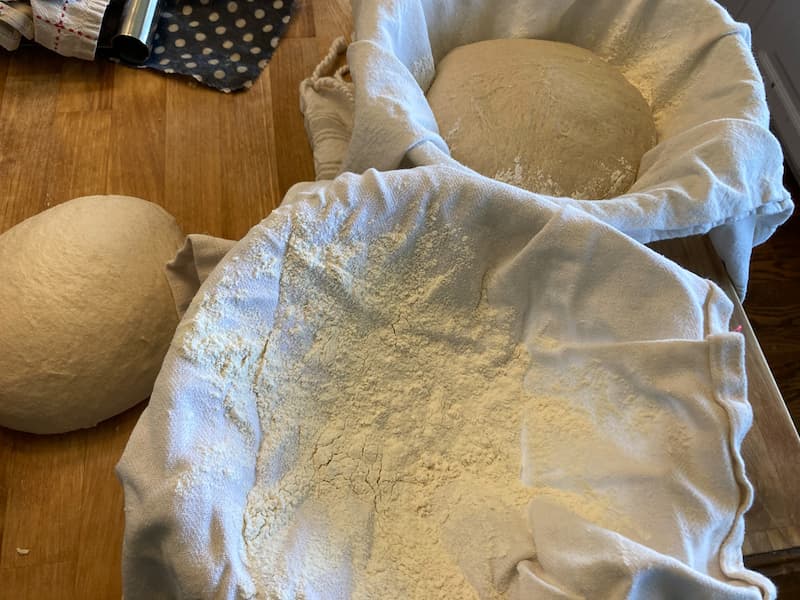
Put in a Banneton or Towel Lined Bowl & Proof
- Place it seam side up in a well-floured banneton or towel-lined bowl. Cover and proof in the fridge overnight or up to 48 hours. This gives the loaf a very good flavor and a nice crumb.
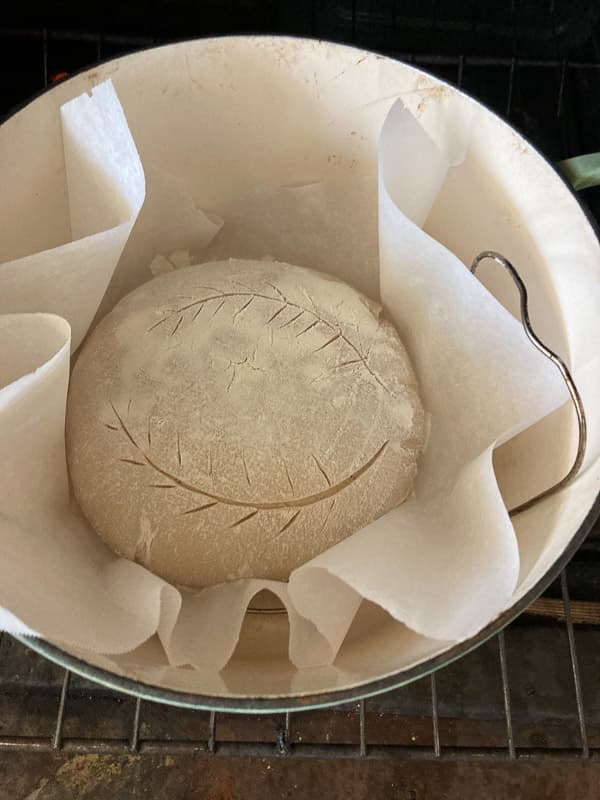
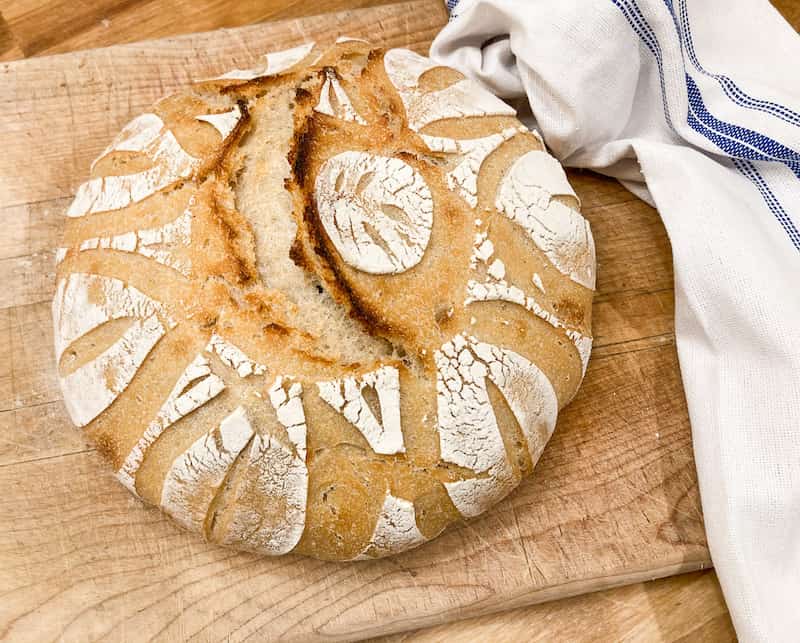
Score and Bake
- Preheat your oven to 500°F (260°C) with a Dutch oven inside for at least 30 minutes.Gently invert the dough onto parchment paper. Score the top with a sharp blade. Carefully transfer into the hot Dutch oven.Bake covered for 30 minutes (to steam and rise), at 450 degreesTurn the oven down to 400 degrees F and bake uncovered for 15 minutes until deep golden brown.I always place a baking sheet full of water on the rack below my Dutch Oven. This prevents the bottom of the loaf from burning at a high temperature.
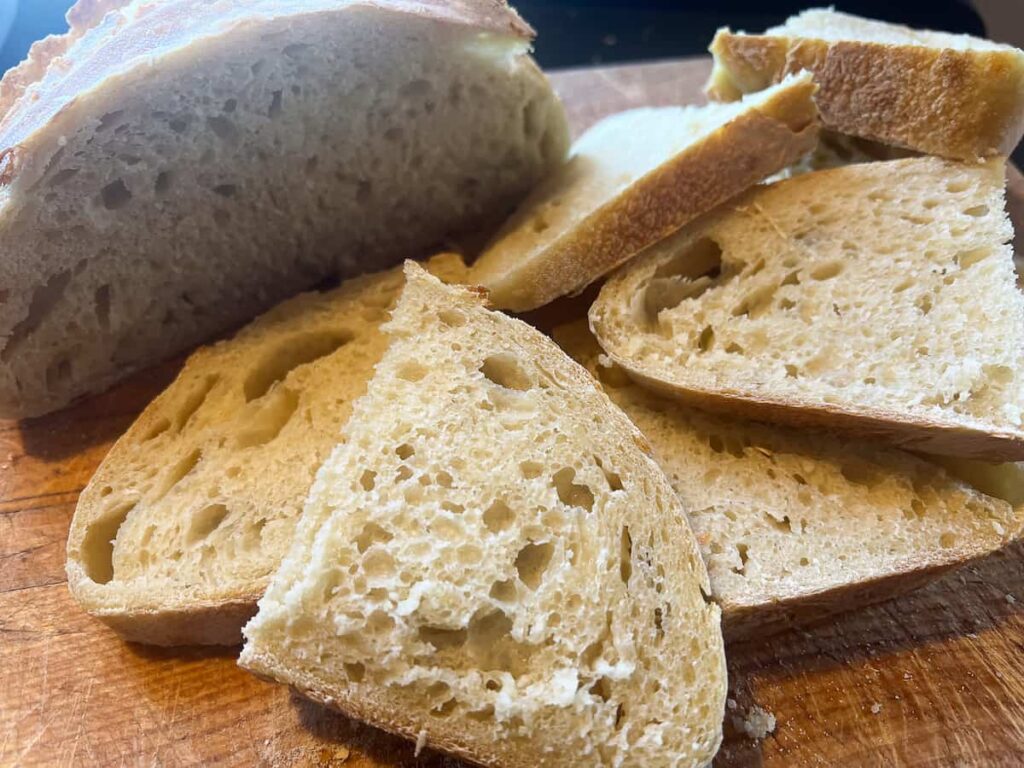
Cool and Cut
- Let the loaf cool on a rack for at least an hour before cutting. This will prevent the crumb from being gummy.
Tools Needed
You can make sourdough with just the most basic tools. This is what I use, but if you don’t have a mixer or Dutch oven, you can still make sourdough. You can open bake on a baking sheet. The results will not be exactly the same but if you put water in a pan underneath, you should still get the effect of steam.
- KitchenAid Mixer with the dough attachment
- A Dutch Oven
- A Banneton Basket or a tea towel-lined bowl ( the towels in the link are an excellent value)
- A digital scale
Ingredients
- 50 – 100 g (¼ – ½ cup) bubbly, active sourdough starter – I always use 100g for consistency and a stronger rise.
- 375 g (1½ cups + 1 tbsp) warm water (around 80–85°F or 27–29°C)
- 500 g (4 cups + 2 tbsp) white flour
- 9 to 12 g (1½ – 2½ tsp) fine sea salt
Note: All measurements are by weight for accuracy. A digital kitchen scale is highly recommended.
Step-by-Step Instructions
1. Mix the Dough
In a large bowl, mix:
- 100g active starter
- 375g warm water
Stir gently to dissolve the starter. Then add:
- 500g white flour
- 9-12 g sea salt
Mix until no dry spots remain. The dough will look shaggy and sticky—this is normal. I use my kitchenaid mixer for this first step, however, you can do it by hand. You may feel like the dough is too wet and sticky. Don’t worry as you complete the stretch and folds in the next step you will see the dough become glossy and smooth.
2. Bulk Fermentation & Stretch and Folds

Let the dough rise at room temperature (70–75°F or 21–24°C) for 4 to 6 hours, performing stretch and folds every 30–45 minutes during the first 2 hours. This doesn’t have to be precise. I stretch and fold mine when I am walking through the kitchen on my way to do something else. I don’t live as a slave to my sourdough.
How to stretch and fold:
- Grab one side of the dough, stretch it up, and fold it over itself.
- Rotate the bowl and repeat 3 more times (like folding an envelope).
- This strengthens the dough without kneading.
- This also makes the dough smooth and glossy, you will see it become less sticky.
Cover and let the dough continue fermenting until it has risen by about 50% and looks puffier and smoother.
3. Shape and Rest
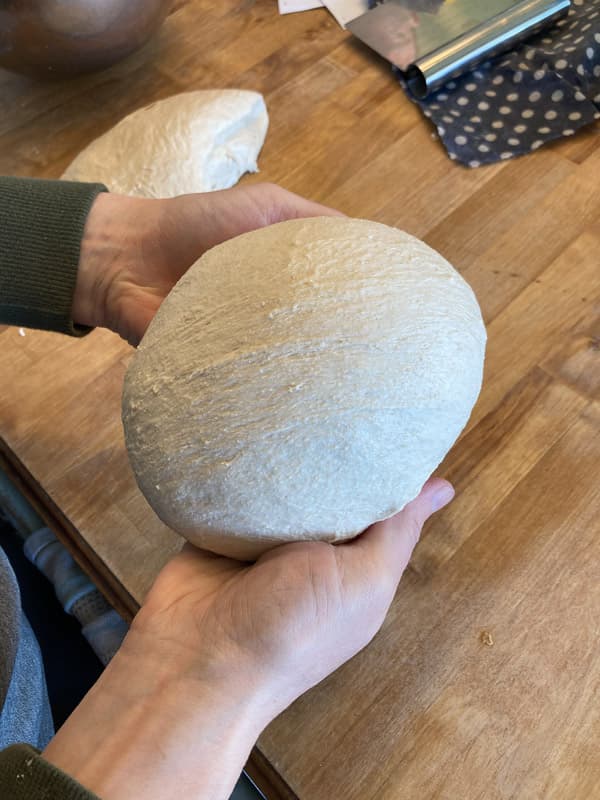
Shape your dough into a tight round or oval, depending on your proofing basket (banneton) or bowl.
Place it seam side up in a well-floured banneton or towel-lined bowl. Let the dough rest for 30 minutes. Cover and proof in the fridge overnight or up to 48 hours. This gives the loaf a very good flavor.
4. Proof:
Cover and let the dough proof in the fridge for 4-48 hours. I like to let mine go for 18-24 hours as the crumb is just better.
5. Bake Your Loaf
Preheat your oven to 500°F (260°C) with a Dutch oven inside for at least 30 minutes.
When ready to bake:
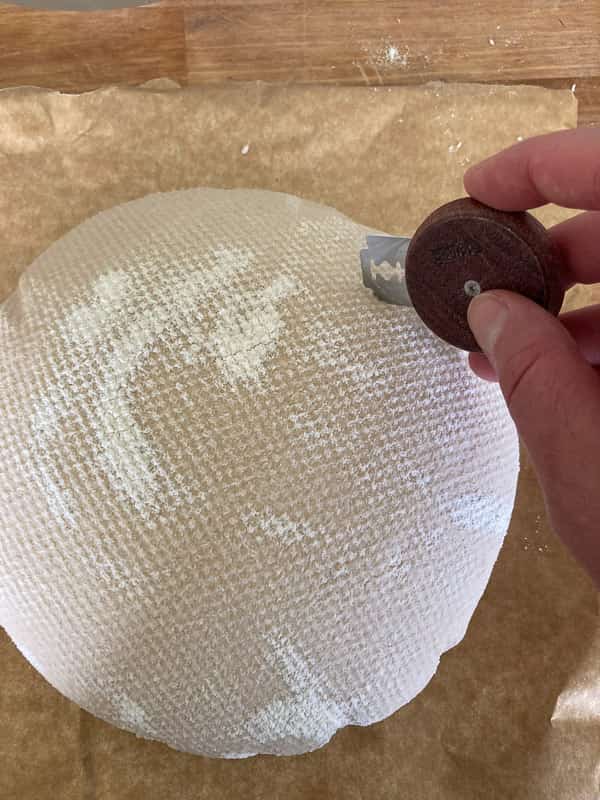
- Gently invert the dough onto parchment paper.
- Score the top with a sharp blade.
- Carefully transfer into the hot Dutch oven.
Bake: Turn the oven down to 450 degrees F and place the Dutch oven with the lid on it into your oven. Bake:
- Covered for 30 minutes (to steam and rise), at 450 degrees
- Turn the oven down to 400 degrees F and bake uncovered for 15 minutes until deep golden brown.
- I always place a baking sheet full of water on the rack below my Dutch Oven. This prevents the bottom of the loaf from burning at a high temperature.
Cool on a wire rack for at least 1 hour before slicing.
Tips for Success
- Use an active starter: Your starter should be bubbly and pass the “float test” before using.
- Hydration matters: If you’re new to sourdough, use 100g starter and the full 375g water for better structure.
- Don’t rush fermentation: Temperature and time matter more than strict schedules.
- I always make two loaves at a time. That way, I always have a loaf in the fridge ready to bake.
Why This Sourdough Recipe Works
This simple formula uses baker’s percentages and a flexible approach to suit your kitchen schedule. It’s a great base recipe you can adapt with different flours or add-ins like seeds, herbs, or dried fruit.
Love Sourdough? Try These Posts!
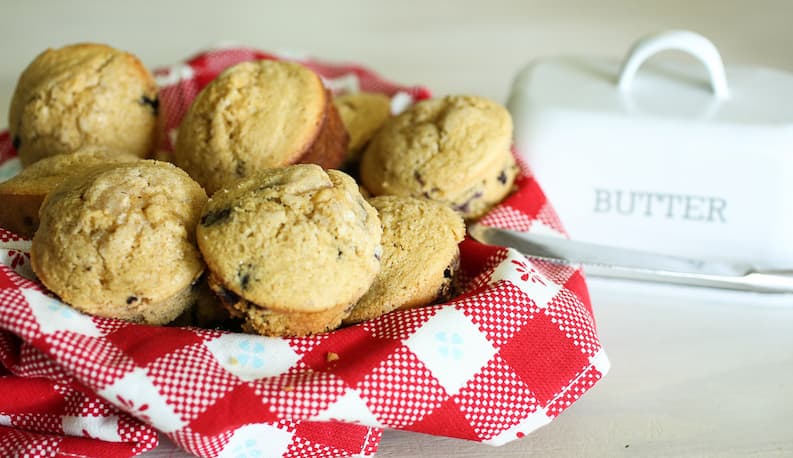
- Sourdough Discard Blueberry Muffins
- Sourdough Apple Crisp Recipe
- Sourdough Blueberry Scones With Lemon Glaze | Discard Recipe
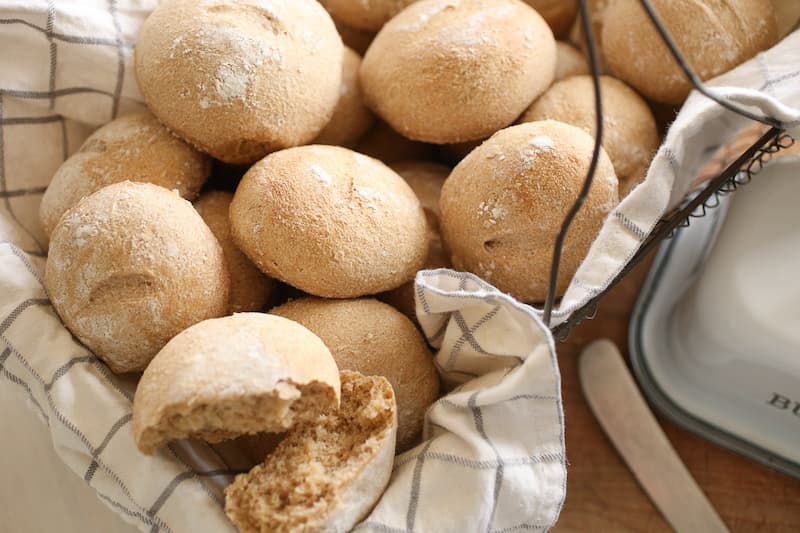
- Whole Wheat Artisan Sourdough Bread Recipe
- Homemade Einkorn Sourdough Bread Recipe (Easy + Nourishing)
- Sourdough French Bread with Yeast | Whole Wheat
🍞 Ready to Bake?
Let me know how your loaf turns out in the comments! And if you’re into homemade, real food projects, don’t forget to subscribe for more sourdough recipes, natural ferments, and traditional baking tips

Do you remove the baking sheet after you take the lid off your Dutch Oven or leave it in?
I followed your recipe for my starter and everything went great. It passed the float test and doubled in size on day 7. However when I went to follow this recipe for the actual dough, it came out super thick and hard to mix not shaggy and sticky at all. Im not sure where I went wrong as I triple checked that I had all the measurements correct.
I’m so sorry yours didn’t turn out the way you thought it should. It’s hard for me to know what went wrong or what is different. It could be that your starter is dryer than mine, it could be that my house is more humid than yours. There are just so many factors. Next time add a bit more water and see if that resolves it.
I have tried many “beginner “ recipes and found yours the best! However, you say you make two loaves at once, do you double your recipe or do you split this recipe as written in half and make two smaller loaves? These loaves go so fast in my house, I need to start making two at a time, lol!
Great question, I should have been more clear on that! I double this recipe to make two loaves! Thank you for the kind words by the way!
Fantastic recipe and instructions. First time sourdough baker. Starter made from scratch. Followed all your suggestions to the letter and I am thrilled with the results! Only thing I would change is to go a little darker on the bake. I think the dough was a tiny bit under (my fault). Family is demanding another loaf asap.
That is wonderful! Yes, ovens bake differently for sure so adjust the time until it suits your family! So glad they love it!
I followed your starter instructions, and bread recipe. It is delicious!
I proofed mine for about 3 hours in the air fryer, then overnight in the fridge.
It is very flavorful and my family loves it. It just feels a bit dense to me. Any tips to make sure it’s airy and light?
I’ll be trying some of your discard recipes too.
Thanks so much!
Great! I’m glad your family loves it! If it feels dense, maybe try a bit less hydration or make sure it is fully proofed.
Great recipe but I can never get mine into a good ball. It always tends to loosen up and it’s very sticky . I never can press into it without it sticking to my finger.
Try adding a bit more flour if you find that it is too sticky. It certainly is a trial and error process. The humidity in your house can effect how much flour you use. It will definitely be sticky at first but should stiffen up some as you do the stretch and folds.