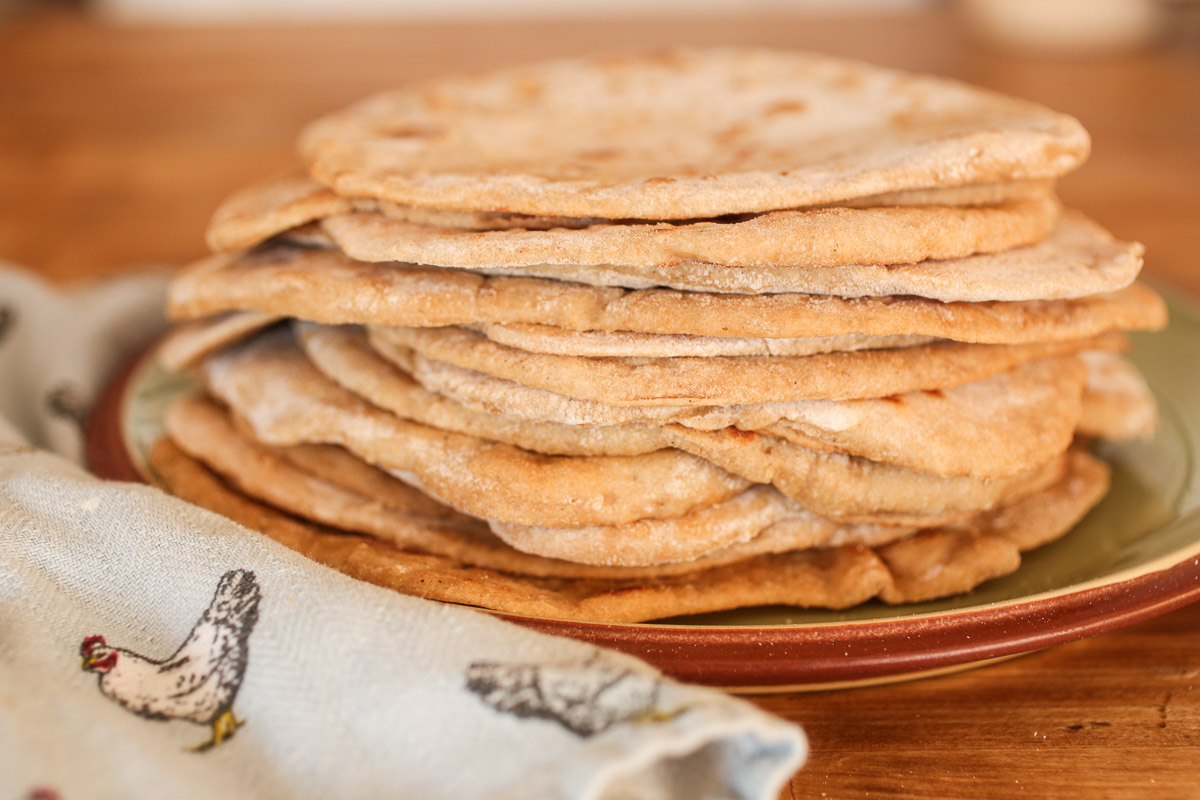
Whole Wheat Artisan Sourdough Bread Recipe
Whole wheat artisan sourdough baking can even be for a busy mom! Artisan sourdough bread can be intimidating, but this recipe with a schedule can help you make sourdough bread even on a weeknight!
I have tried loads of methods and recipes for artisan sourdough bread. I believe it is called artisan for a reason…(poetic), the truth is sourdough is a bit of an art. Each person’s starter is different and therefore my results and your results may be very different as well!
I have followed complicated recipes where the ingredients were measured by weight… too stressful for me! I am not super precise with anything in the kitchen and to think that I would change that for sourdough is unrealistic! Therefore I have tweaked and played around with artisan loaves until I have achieved a loaf that my family likes and that I can make consistently!
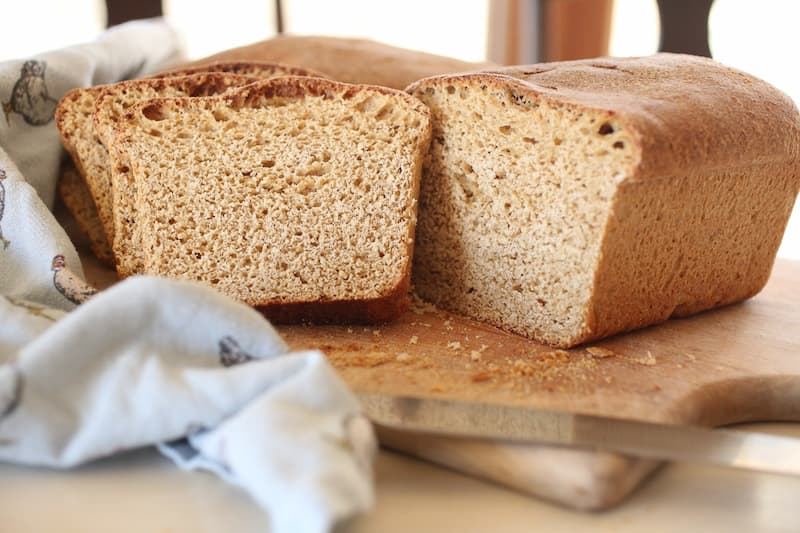
By the way, this bread makes excellent toast!
This post contains affiliate links
May’s Handmade Home Challenge
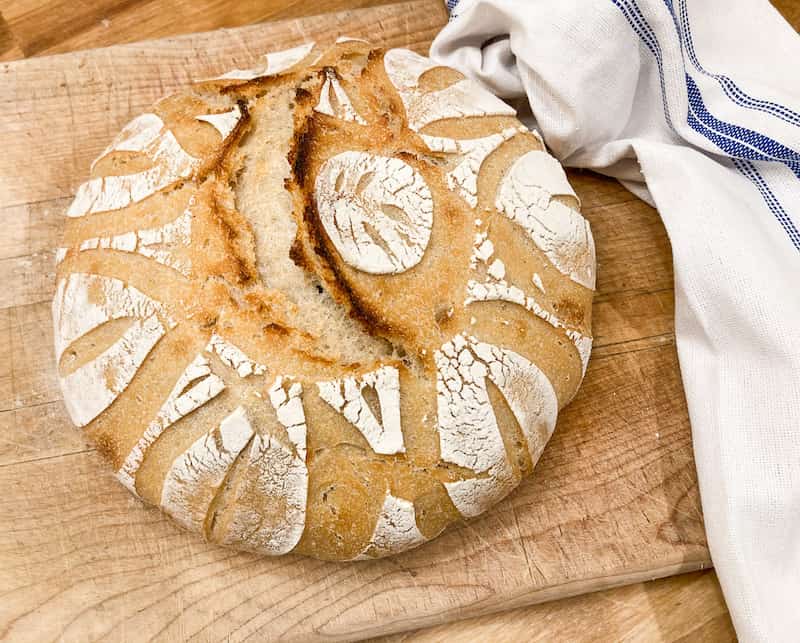
If you have been following along with our #handmadehomechallenge, then you know this month we are making an artisan loaf! Once I started trying to come up with my own recipe…I almost immediately regretted this month’s choice!
I told my husband that I thought that I had failed at sourdough in every way that a person could possibly fail! Then I would try another loaf and learn that there were more ways to fail! I think I finally got all the kinks worked out and in my defense none of the loaves were inedible! As a matter of fact, my ten-year-old son raved about each and every loaf!
Most “failures” were really just a matter of the results falling short of my expectations. Some loaves didn’t rise the way I had hoped, some spread out rather than rising, and one loaf was raw in the middle when I cut it open (if that ever happens, just put it back in the oven even if it’s cut in half, just bake it longer, it will be ok)! Some loaves had a beautiful large crumb but were too dark on the bottom, some looked perfect on the outside but the crumb on the inside wasn’t what I was going for. Once, I tried to move the loaf to a trivet after the first 25 minutes in the oven and I broke the loaf and it deflated….we still ate it!
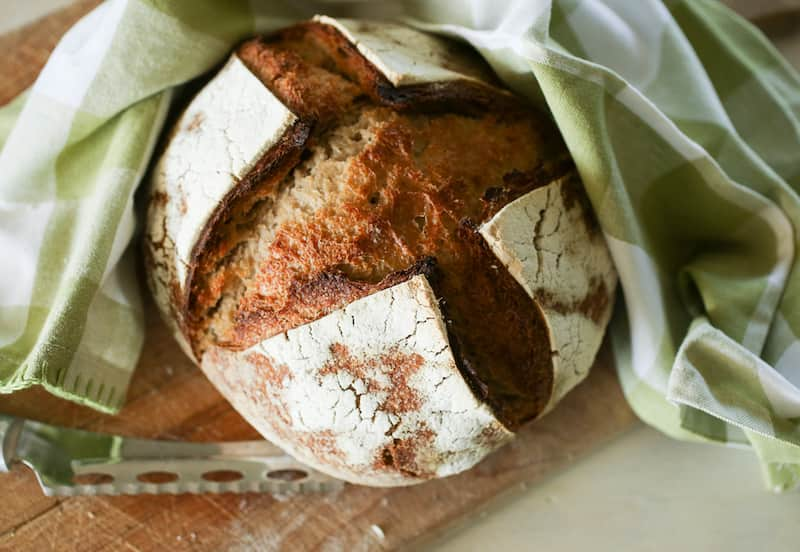
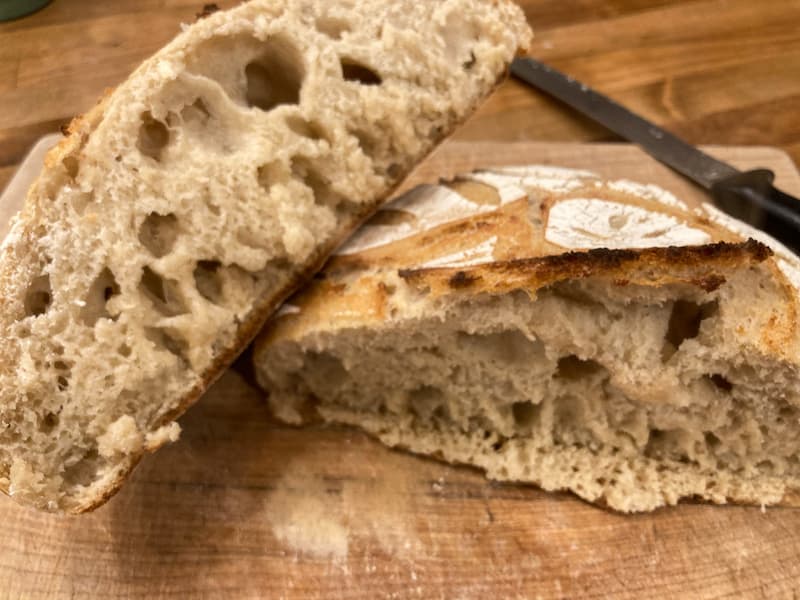
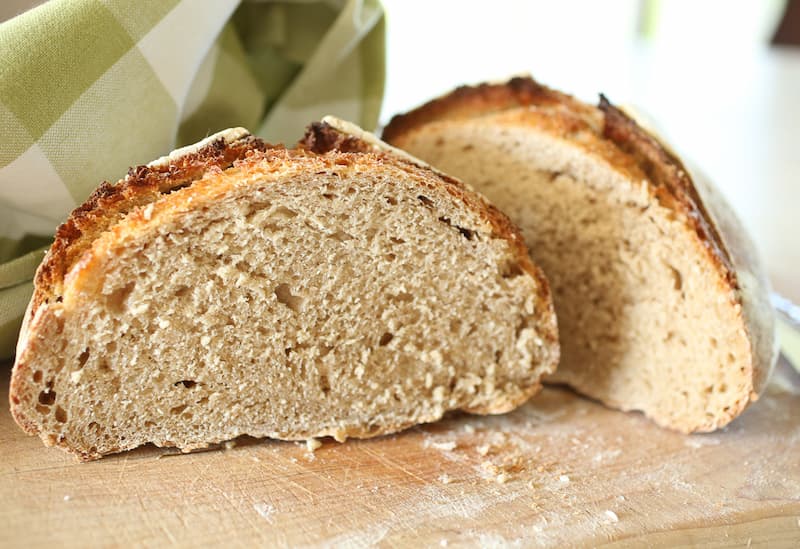
Sourdough is definitely an art and it’s a learning process, but doggone it’s fun to try! Don’t let pictures of perfectly baked bread or all of the information out there intimidate you. It is an art and you may find that what you like isn’t necessarily the “right” way. I don’t think there is any single “right” way and figuring out what your family enjoys is part of the fun!
Whole Wheat Flour for Sourdough
My starter is 100% whole wheat, you can check out this post on making your own starter, or this one on rehydrating a dried starter. Both methods are simple and will get you baking sourdough in about a week. One note on artisan bread, you might wait to try this until your starter is a bit more mature, like at least a month old.
Whole wheat flour can be used for baking sourdough bread, however, I do mix in some white flour just to get that really nice rise that can sometimes be lacking with 100% whole wheat bread. This recipe is about 50%/50%.
Also, I use Prairie Gold White Whole Wheat Flour. It is a finely ground wheat flour that bakes beautifully!
Plan Ahead for Baking Sourdough
Sourdough isn’t necessarily difficult to bake, but it does take time. Since you aren’t doing a lot of kneading, the dough gets strengthened through time and folding and stretching. Therefore if you want to bake a loaf of artisan sourdough tonight…it’s too late! You needed to start yesterday! Goodness, I know that can be frustrating.
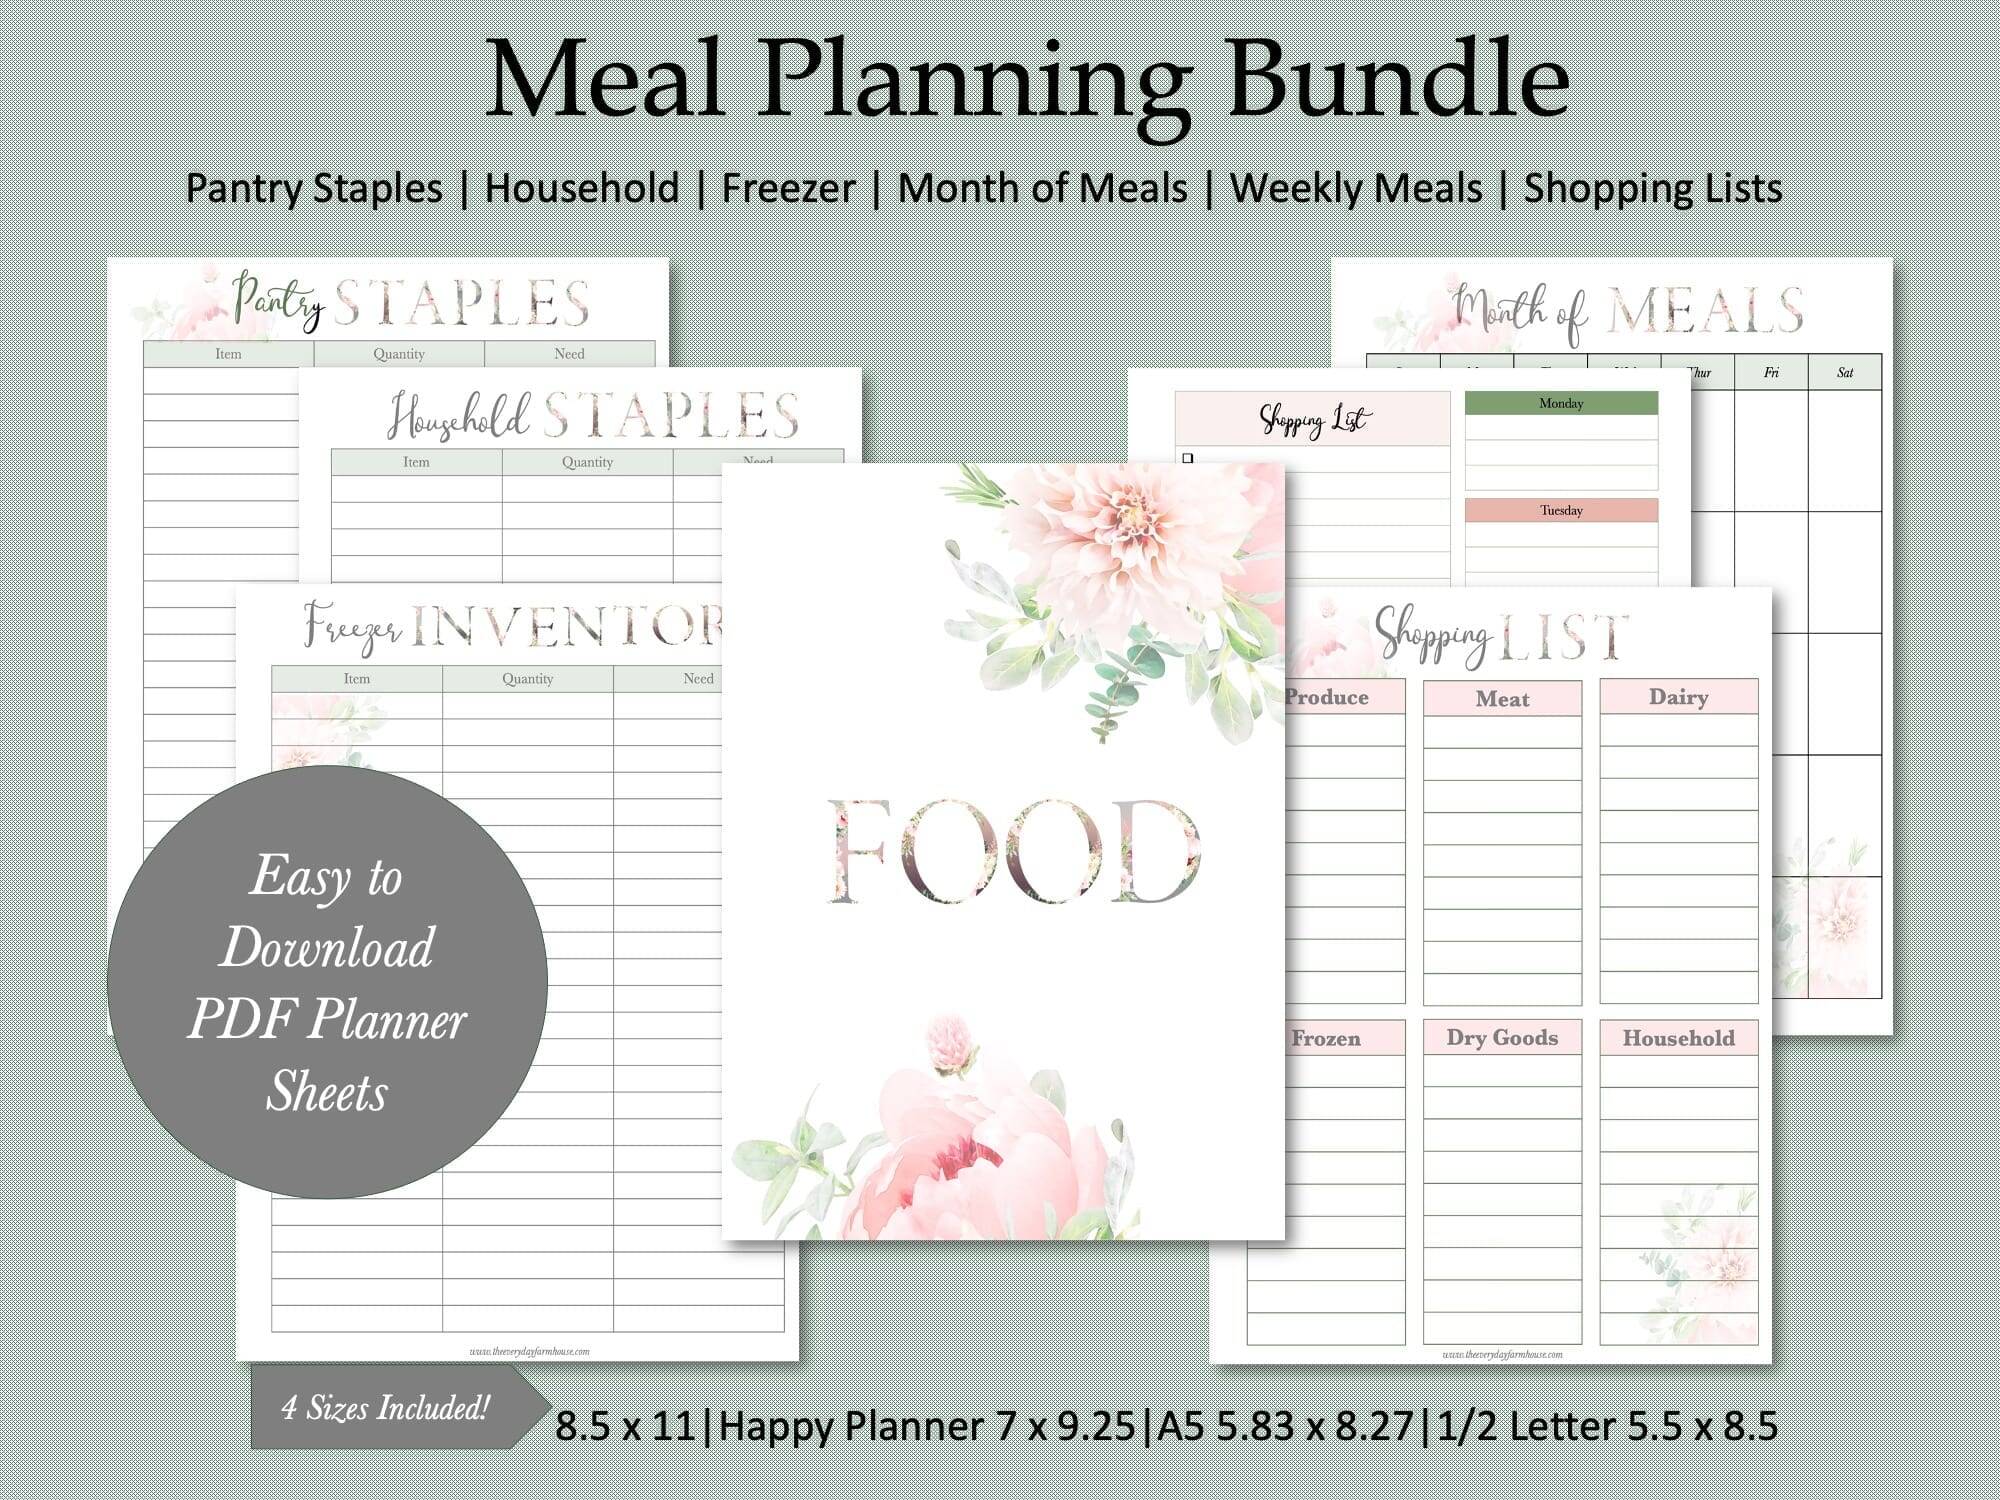
I have come up with a way to have sourdough when I want it. It’s called meal planning…blah I know! However, even if you don’t plan for every night, having a plan in place for at least a few nights makes this so much easier! I make sourdough on Wednesday night, therefore I plan a meal that goes well with bread. Usually soup, I make lots and lots of soup, especially through the cold months!
You can find five of my favorite soup recipes here.
My Sourdough Baking Schedule
Since I know we are having sourdough on Wednesday, I make sure that on Monday night I pull my starter out of the fridge and feed it. On Tuesday morning, I feed it again. By lunchtime on Tuesday, my starter is active and bubbly. I then mix the dough. It’s easy to put together, so I do that while I am already in the kitchen. Some days I don’t get the dough mixed until naptime, that is still ok, it still has time to bulk rise over the late afternoon and evening.
Then throughout the afternoon and evening, I stretch and fold it from time to time. Next, I cover it and leave it out to bulk rise until it is doubled or nearly doubled. Then I cut it in half, shape each piece and place each one in a bowl lined with a flour-dusted tea towel. I wrap the towel over and let the bread proof in the refrigerator until I am ready to bake it the next day.
When you put your loaf in the banneton basket or towel-lined bowl, make sure the seam side is up. Otherwise, when you dump the loaf out before baking, your seam will actually be on the top. This will cause splits that you don’t want on top of your bread. I made that mistake quite a few times!
Need Help with Meal Planning?
A Few Tips for Making Artisan Sourdough
- I followed many recipes that had the oven temperature start out at 500 degrees. Every single time my bread burned on the bottom and that was within the first 30 minutes. My oven just bakes hot or something! I now start my oven at 425 degrees and my family likes it much better, no one likes blackened bread that is nearly impossible to cut! You will still get a nice crusty loaf even at the lower temperature!
- A trivet or a silicone mat will help immensely with keeping the bottom of the loaf from getting too dark or too hard. I just use the trivet from my Instant Pot. My dutch oven is a bit taller and this works well, if yours is shorter and the trivet won’t fit with the lid on, try one of these silicone mats or even parchment paper with some cornmeal sprinkled on it will help a bit.
- Even if you weigh your ingredients and follow a recipe exactly your bread may come out differently. Your starter may be wetter or dryer than the author of the recipe. As you bake more you can begin to know what feels right with your dough!
- Prepare for failure…I’m sorry but it will happen! Don’t be too disappointed and don’t give up! You will make a great loaf! I really wanted to post a “fail-proof” recipe but I honestly don’t think it exists!
- If you don’t have a dutch oven you can try to recreate the steamy environment in your oven by tossing some ice cubes in a spare cast iron pan while you bake the bread. You could also use a deep stockpot and cover the top with a baking sheet to try to trap some steam in there while you bake.
Tools for Artisan Sourdough
You can buy lots of special tools for making sourdough, or you can try to make do with what you have on hand, the choice is yours!
- A dutch oven- This feels pretty necessary, however, if you don’t have the money to spend on one, you can follow the tip above for making a steamy oven environment. Also, I have an enameled cast iron dutch oven and a black cast iron dutch oven. I really prefer the enameled one, I find that bottom of my bread gets darker in the black cast iron.
- Silicone Mat or Trivet
- A Lame– this is for scoring the bread, you can also use a razor or a sharp knife.
- Banneton Bowl– you can certainly use a bowl lined with a tea towel sprinkled with flour, I have never bought a banneton bowl…but I want to!
- Here is a kit with banneton bowls, a lame, a pastry cutter, and a bowl scraper. I’m very tempted by this!
- Parchment paper– I really like to use parchment paper as it makes it easy to transfer the loaf to the dutch oven.
- A good serrated bread knife
Steps for Baking an Artisan Sourdough Loaf
This recipe will make two loaves.
Ingredients
These measurements can be adjusted. I have made loaves of bread when it is very humid and found that I needed to increase the flour, conversely, I have made loaves when it is cold and dry and found that I needed less flour. Learn to feel your dough and know what feels right. This will take some trial and error!
- 3.5-4 cups whole wheat flour
- 3.5 cups white flour
- 3 1/4 cup water
- 1 cup active starter (fed that day)
- 1 1/2 TBS salt
Mixing
I do use my stand mixer with the dough attachment. This is not necessary as technically this could be a no-knead bread. However, I like to mix it in the mixer so I do 🙂
First, add the flours and the water. You can mix this up and let it sit for about 20 minutes, this is called autolyse. This is a great article on the autolyse method. For me, I usually skip autolyse, I’m a baking rebel and I don’t like extra steps or anything complicated and the truth is I don’t really like to be bossed around, so I just mix everything together and go on down the road. Perhaps someday when I really refine my skill I will contemplate all of this more!
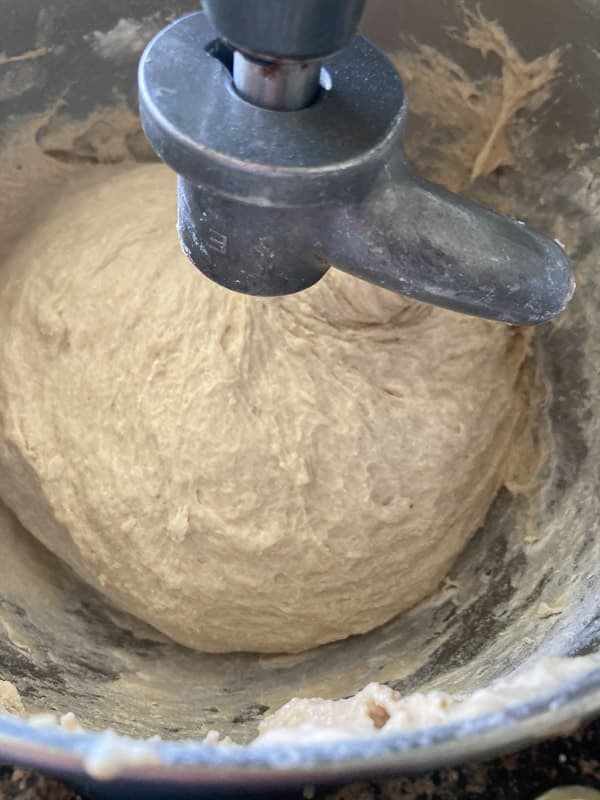
Next, add the starter and salt. Mix until combined. The dough should come together nicely but should be a bit sticky. I prefer mine to be a bit firmer and easier to work with than some artisan loaves. I don’t like to have a dough that slides out and doesn’t hold its shape.
Bulk Ferment or Bulk Rise
Place in a greased bowl. Throughout the afternoon and evening, go over to the bowl and stretch and fold it. This helps to strengthen it and give it nice air holes. You can do this every thirty minutes or so for about two hours. I like this article on stretching and folding.
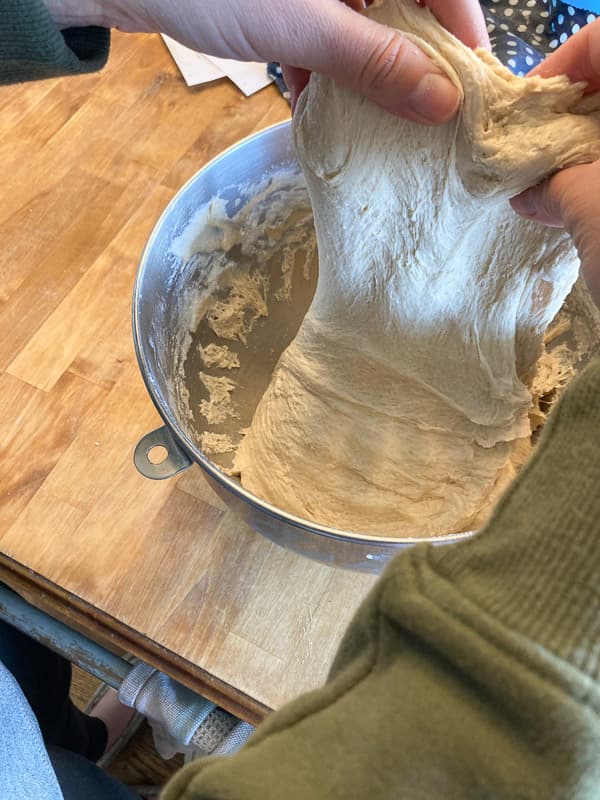
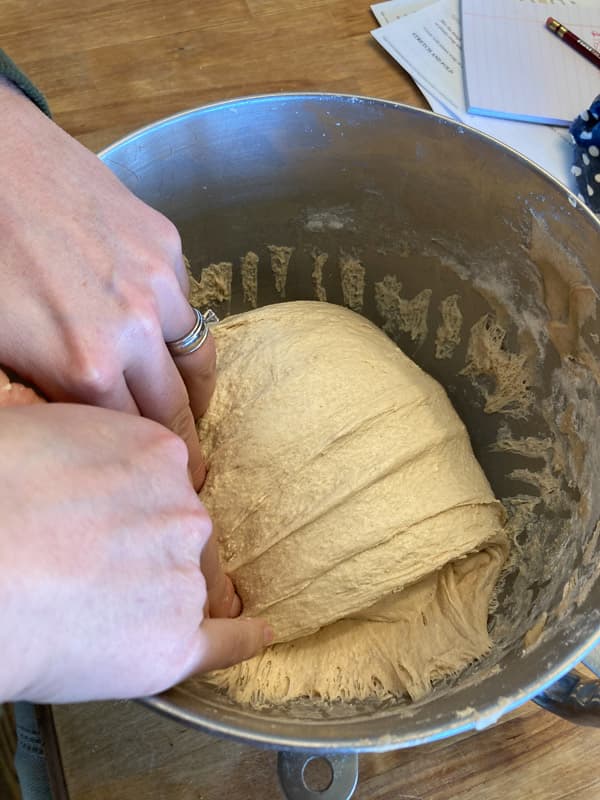
Leave the dough out to bulk rise or really it is bulk fermenting, this is essentially when the gases and acids are doing their work to develop the dough. This step gives the bread its flavor and strength.
Before bed or after your dough has nearly doubled, cut it in half and shape it into loaves. There should be bubbles just below the surface of the dough…I didn’t get a very good picture of that.
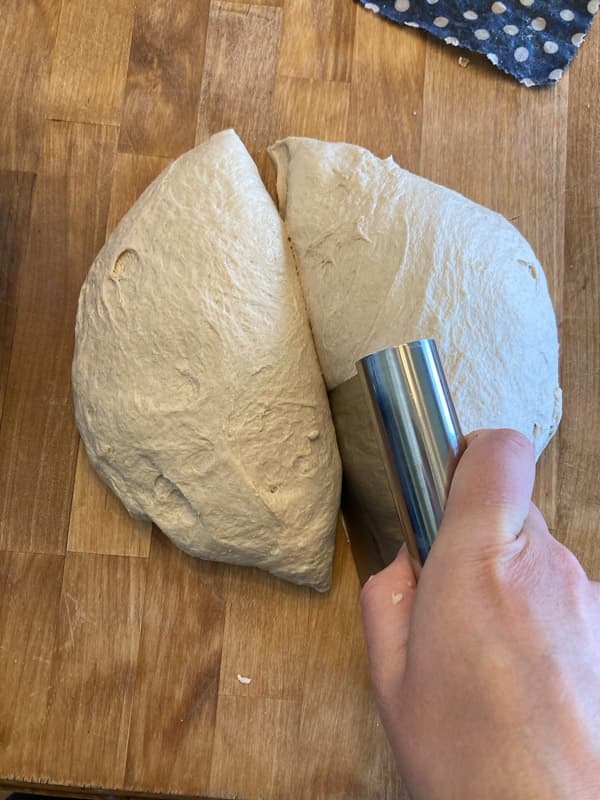
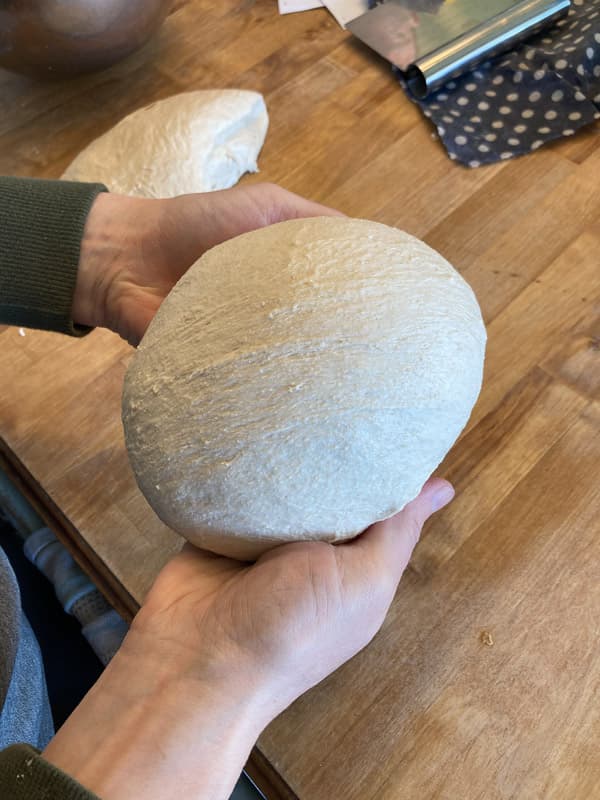
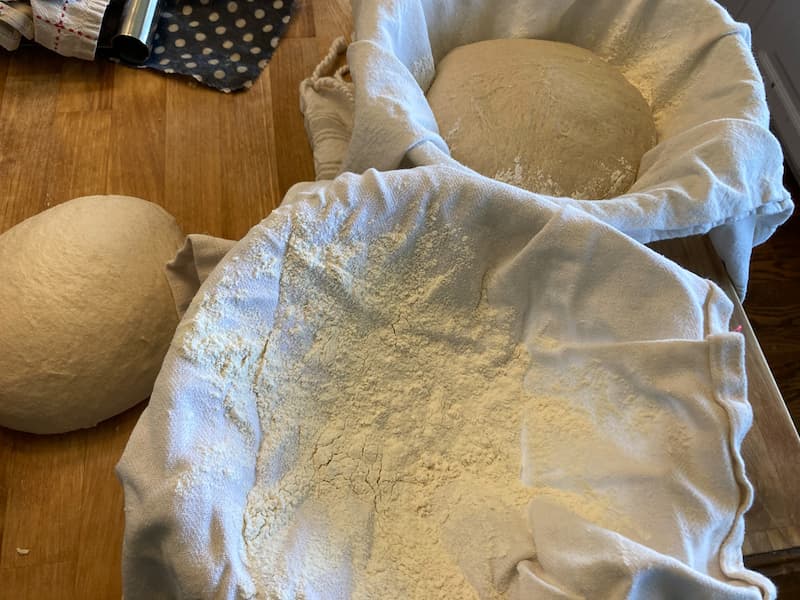
Place each loaf in a banneton bowl or a towel-lined and flour-dusted bowl. Cover and place in the refrigerator until you are ready to bake the next day.
Day 2-Baking Day!
If you have two dutch ovens, place them both in the oven and preheat them to 425 degrees. If you only have one, then you can just do one loaf at a time. Be sure to allow enough time as each loaf will take close to an hour to bake!
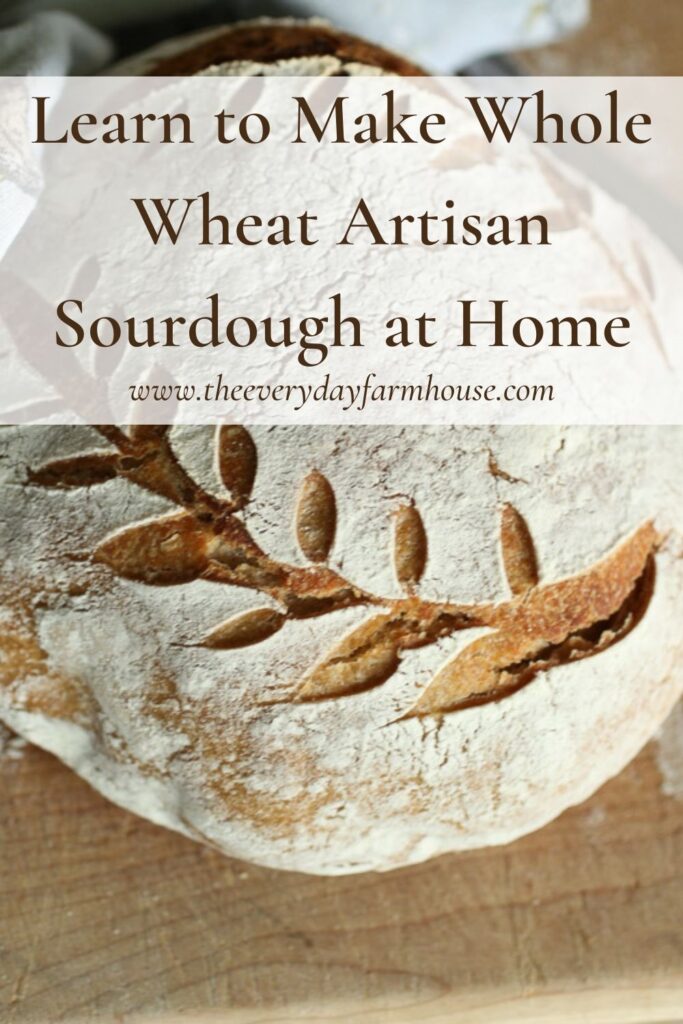
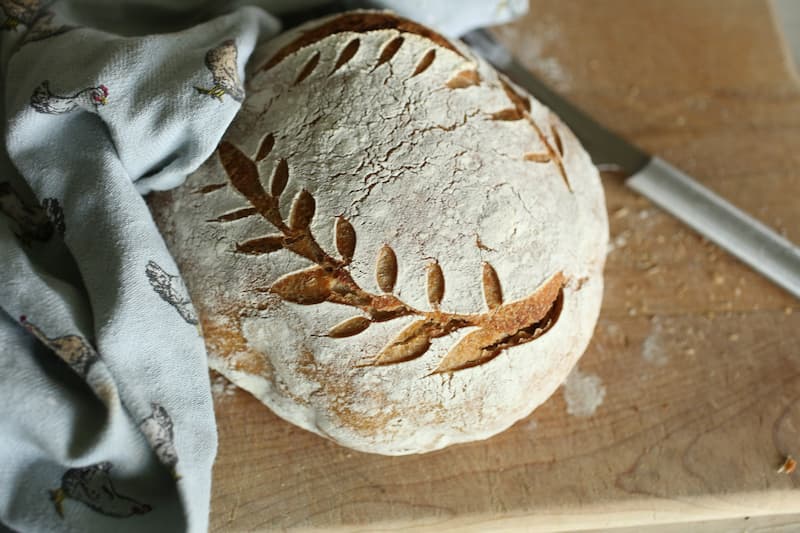
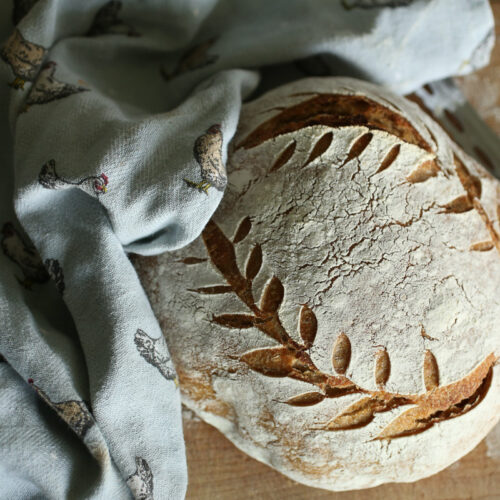
Once the oven is heated, remove the loaf from the fridge. Place it on a floured counter and then score the loaf while it is still cold. You can get fancy with this or you can just slash it.
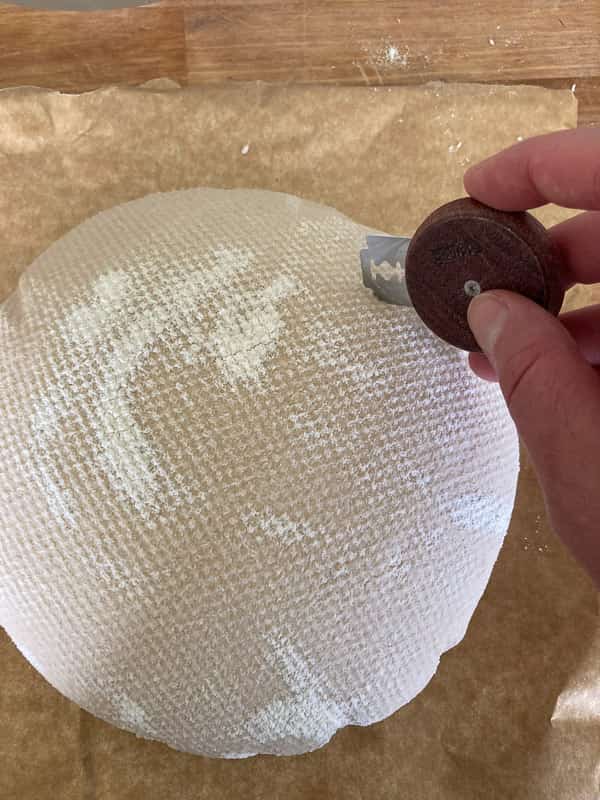
If you are trying out designs, the key is to not cut too deep. Just a bit below the surface of the bread. Otherwise, it will bust wide open…I have had many, many wide-open loaves!
Once you have your loaf scored, gently transfer it to the cast iron pot. This is where parchment and either a trivet or a silicone liner come in handy!
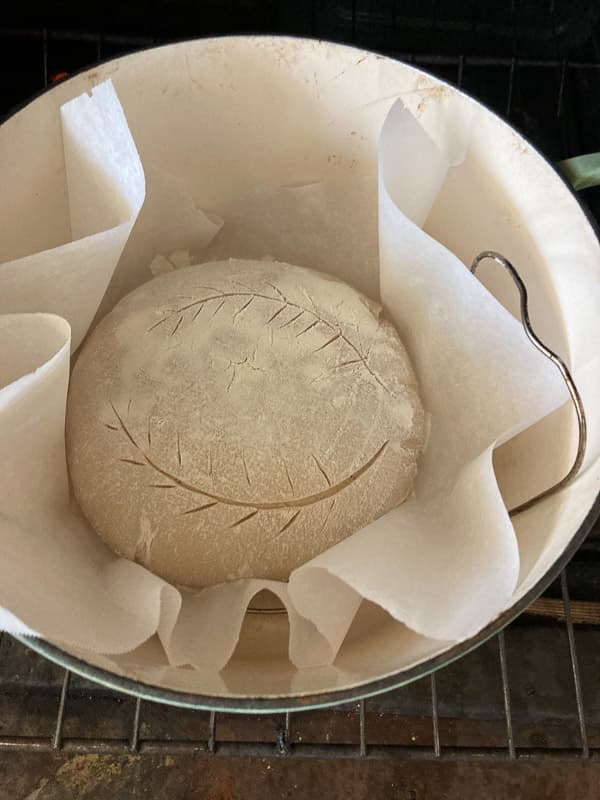
Put the lid on the pot and bake for 25 minutes.
After the timer goes off, remove the lid and bake for another 20-25 minutes. When finished the outside should be a nice deep golden brown and should feel hard and crispy!
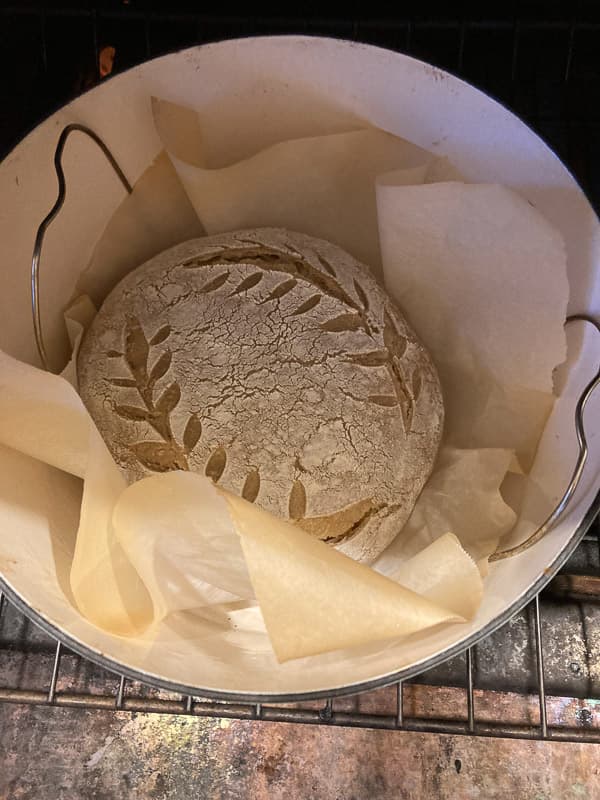

When to Cut the Sourdough Loaf?
Avoid cutting the loaf for at least 90 minutes. Cutting too early will reveal a rather gummy texture to the bread. It’s still baking right when it comes out, let it cool for a bit.
However, it’s not the end of the world and if you just can’t wait and you want the bread warm go ahead, but I warned you!
Printable Sourdough Recipe
Artisan Whole Wheat Sourdough Bread
Equipment
- 1 Cast Iron Dutch Oven
Ingredients
- 3½-4 Cups Whole Wheat Flour I use Prairie Gold White Whole Wheat
- 3½ Cups White Flour
- 1 Cup Active Starter
- 3¼ Cups Water I use filtered
Instructions
- Remember Artisan Sourdough takes time. Your dough must be put together the day before you wish to bake it.Make sure your starter is active and bubbly, feed it the morning that you are putting your dough together. If you keep it in the fridge, pull it out and feed it the night before and also that morning.Measure out your ingredients and mix them. I like to use a stand mixer. Move your dough to a greased bowl and allow to bulk rise for the remainder of the day or until it is nearly doubled in size. Bubbles should form just under the surface of the bread. During the first two hours of the bulk rise, stretch and fold your dough about every thirty minutes or so. This isn't super strict, just do it when you think of it.After the dough is doubled, remove it from the bowl, cut it in half and shape it into two loaves.Prepare two banneton baskets or bowls lined with tea towels and sprinkled with flour. Place the shaped loaves in the bowls with the seam side UP.Cover and place in the refrigerator overnight or until you are ready to bake the next day. This should be 12-15 hours. Longer is fine.
Baking Day
- When you are ready to bake your bread, preheat the oven with the cast iron dutch oven in it to 425°. Once the oven and the pot is hot, remove your first loaf from the fridge. Place on a floured piece of parchment paper seam side down. Using a lame or a sharp knife, score your dough.Place the dough and the parchment paper in the preheated dutch oven with the lid on. If you have a trivet or a baking mat, use it.Bake with the lid on for 25 minutes.After 25 minutes, remove the lid and bake uncovered for another 20-25 minutes or until the loaf is nice and crispy and brown on the outside.The bread should cool for at least 90 minutes before cutting.
