How to Make Natural Soy Wax Candles
Homemade soy wax candles are easy to make and are excellent handmade gifts. Soy is a natural and renewable resource that you can feel good about using.
This post contains affiliate links.
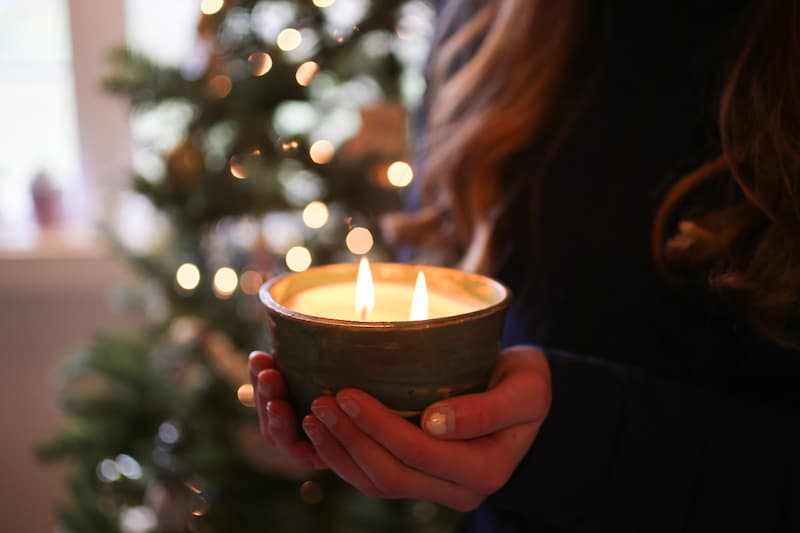
Why Make Your Own Candles?
I love burning candles in our home, especially during the fall and winter. A spicy-smelling candle makes the house feel cozy and festive. A handmade soy wax candle is a wonderful gift as well.
My favorite candle is one from Trapp Candle Company, it’s an orange and clove candle. It makes the whole house smell amazing! However, I noticed that if I am near the candle while it’s lit, my eyes will start burning. Turns out it is a blend of soy and paraffin waxes. Paraffin wax is wonderful for making a strong-smelling candle, however, it isn’t the best for your health. Paraffin is a by-product of petroleum and when burned it releases soot that contains known carcinogens. Bummer…
When I went to replace the candle for this season, I felt a little sticker shock, and the fact that it wasn’t the healthiest choice was also in the back of my mind. $33 for a candle is a bit steep. So, being a good little DIYer, I took my $30 and instead bought 10 lbs of soy wax flakes!
Now I know that I can make a healthier candle that smells wonderful for a fraction of the cost! BONUS: It’s super fun and you can give them as lovely gifts!
Benefits of Soy Wax Candles?
Soy wax is natural and a renewable resource, it is also biodegradable and cleans up easily with soap and water. Soy wax has a lower melting point than paraffin wax and because of this, soy candles will burn slower or longer than paraffin candles. When it burns it does not put off petro-soot, creating healthier petro-soot-free candles. This is important if you are concerned with reducing carcinogens in your home.
Beeswax is another healthy choice for candles. Beeswax has a pleasant smell even without adding fragrance. The main benefit of using soy over beeswax is cost. Soy wax is less expensive.
Video for Pouring Soy Wax Candles
Handmade Soy Candles DIY
Making your own candles is really pretty simple. There are a few things that you need to keep in mind when you are making the candles. However, if you follow these steps you should have a very nice candle with a professional result.
This kit that I bought has almost everything you need to get started, wax, wicks, and wick anchors.
Items Needed for Making Soy Candles
- A glass jar, can or candle pourer. This will need to be set aside specifically for the purpose of making candles.
- A Pot for Simmering Water
- A scale
- A digital thermometer
- Soy Wax Flakes– This kit actually came with wicks and centering devices, the wicks seem fine to me, some of the reviews said they weren’t the best. I have burned several candles with them and don’t see any issue with them.
- Candle wicks
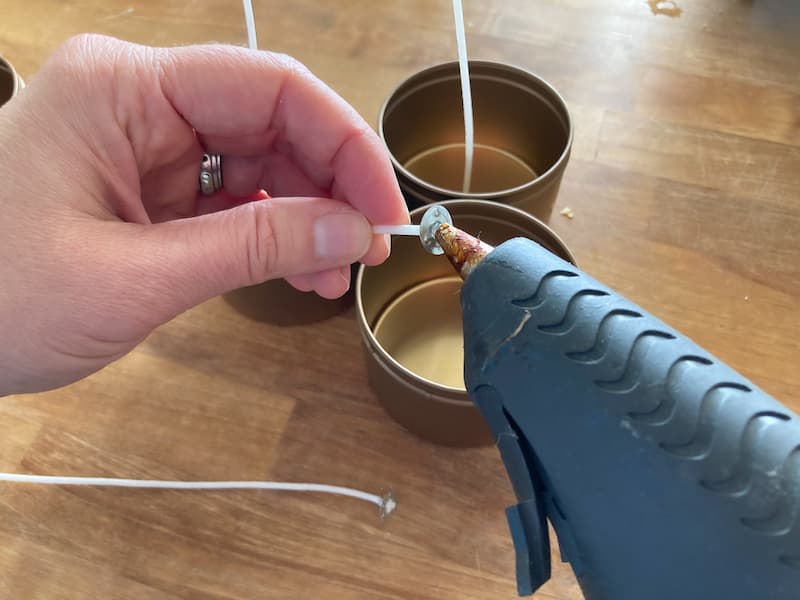
- Glue dots or hot glue, this holds the wick in place so it doesn’t just float up.
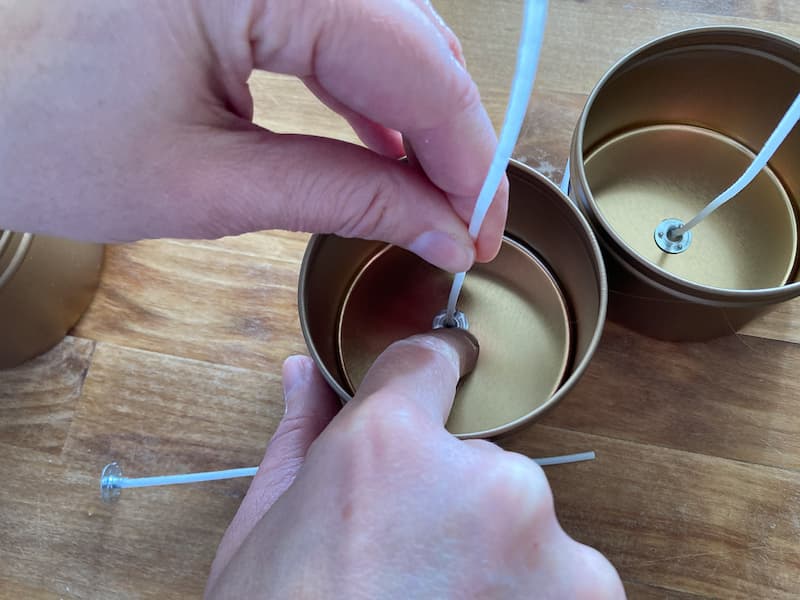
- Wick anchors or a clothespin or a couple of chopsticks to hold the wick up straight while you pour the wax
- Container for candles. I love these little tins, however mason jars, old candle jars, jelly jars, etc can be used!
- Essential oils or fragrance oils for scent
Steps for Making Soy Wax Candles to fill 6- 8oz candle tins
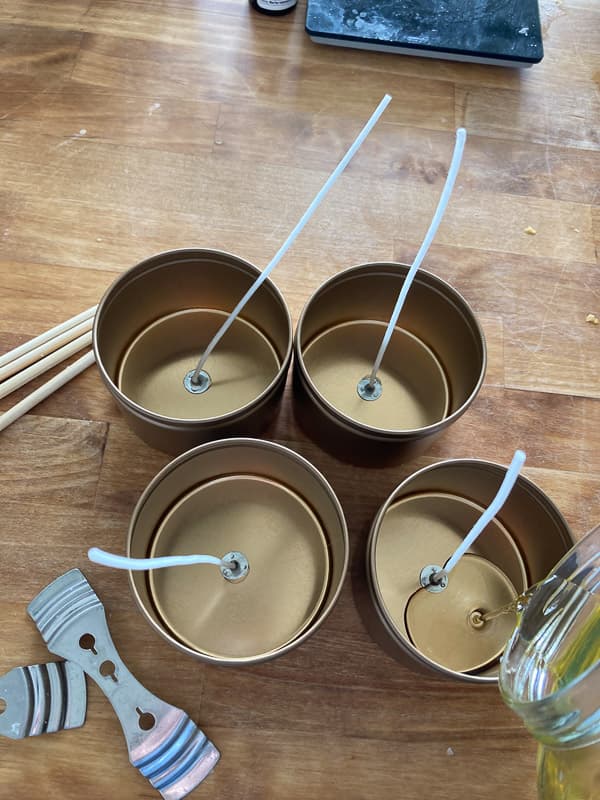
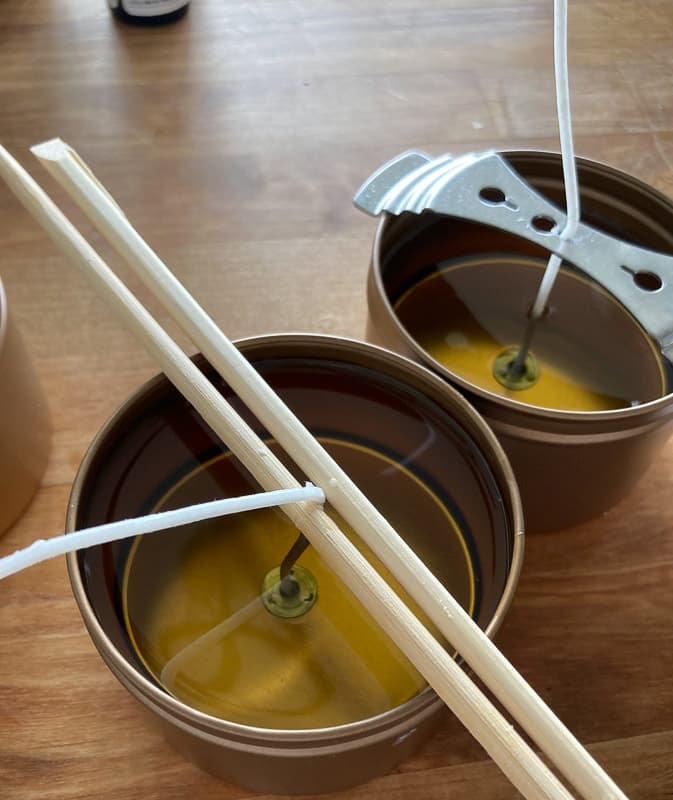
Steps:
**Note all measurements are by weight
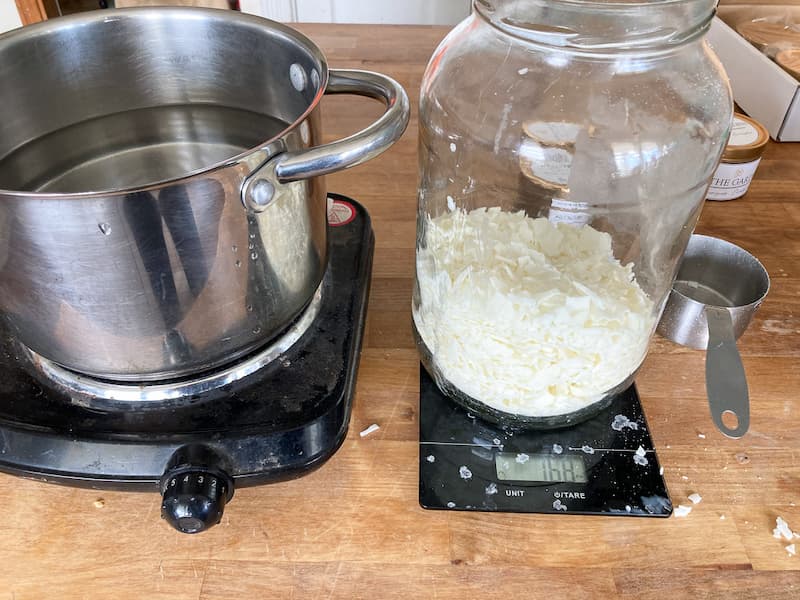
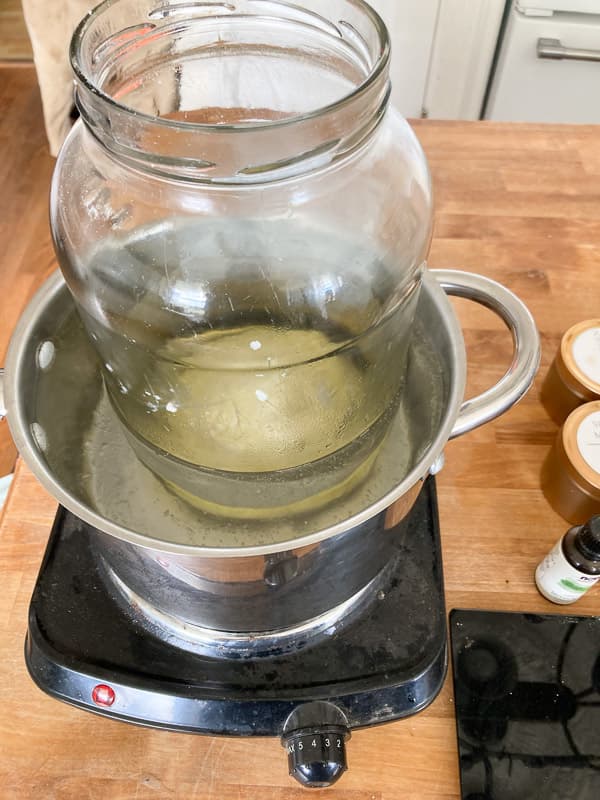
- Using a Double boiler setup, measure out 2.5 lbs of soy wax flakes and pour it into your container for melting.
- Turn the heat to medium/high, you want the water to simmer, not wildly boil
- While waiting for the wax to melt, prepare your candle containers. Place a glue dot or drop of hot glue on the wick base, and stick the wick to the bottom center of the container
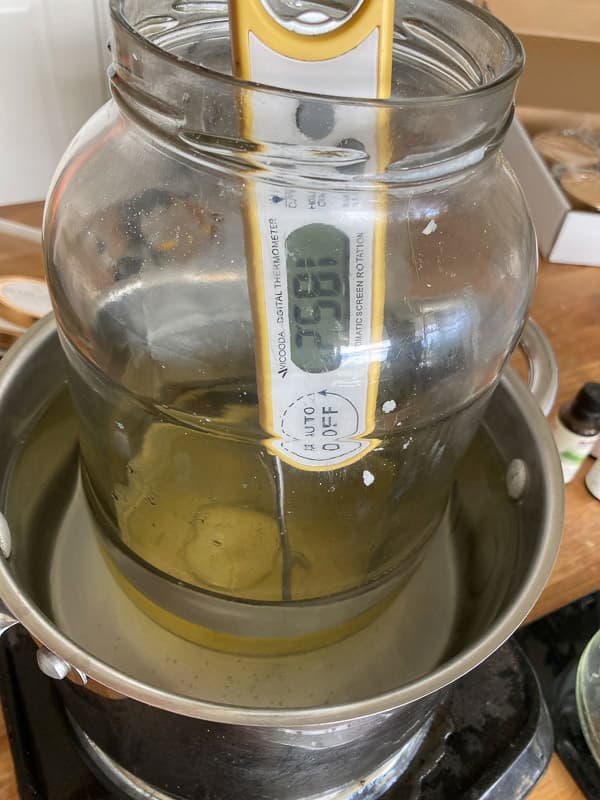
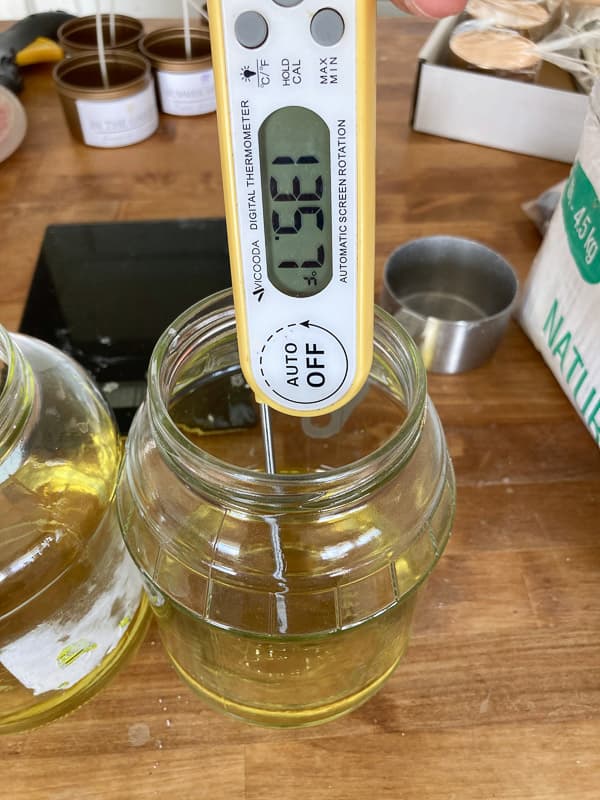
- The wax not only needs to melt, it needs to reach 185 degrees
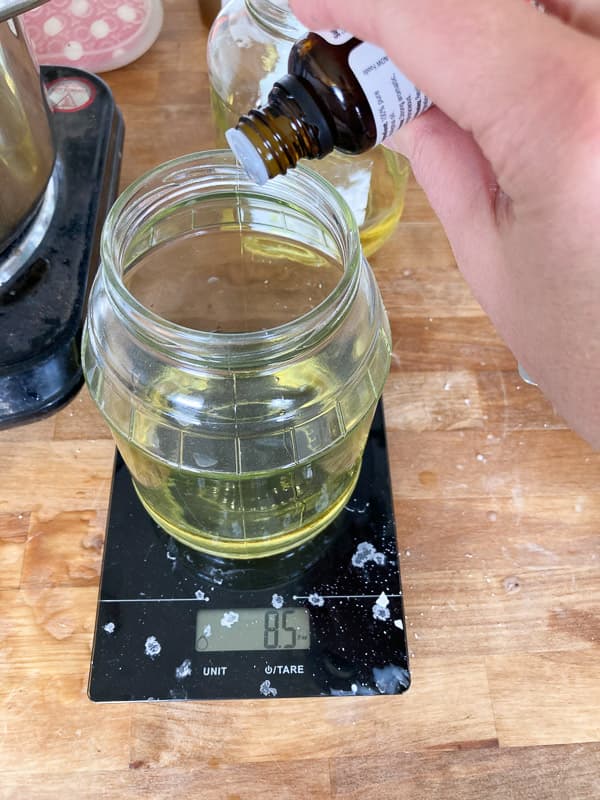
- Once the wax reaches that point, you can mix in the essential oils or fragrance oils. You will want about .5 oz of fragrance oil for each 8 oz candle, so about 3 oz for this recipe, it’s ok to add a little extra.
- Gently stir the fragrance oils into the wax for a minute or two, I just do this with my thermometer.
- If I am making a few different fragrances, I pour them into different jars to add the fragrance and to cool.
- Next, let the wax cool to 135 degrees before pouring into the containers.
- Let the candles cool and cure for a few days to make sure the fragrance molecules bind to the wax
- Trim the wick to 1/4″ This should be done each time you burn the candle
Please note: Your container may hold less or more than the described amount. an 8 oz container may only hold 6.5 oz as you don’t want to fill it to the tippy top. Therefore you may find that you have a bit of wax left. I also think that some waxes melt differently and yield different results. 2.5 lbs of wax will fill six 8 oz containers, and maybe one smaller container.
This article is great for deciding how much wax to melt
This article is good for figuring out how much fragrance oil to add
How Many Wicks per Candle Container
If your container is 3″ in diameter or less, you can get by with just one wick. However, if your container is 4″ in diameter or greater, you really should use two wicks. If you don’t, you will have a candle that doesn’t get hot enough to melt the entire surface of the candle. Then you have a terrible waste of wax and a tunnel burned down through the middle.
Essential Oils vs Fragrance Oils in Candles
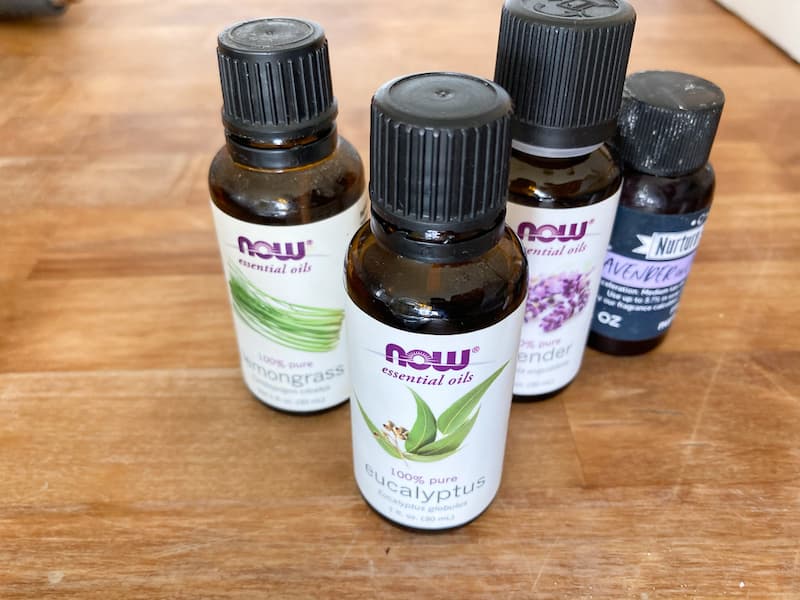
When I first started making candles, I wanted to use only essential oils. However, I quickly found that you just cannot get a candle that is going to smell strong the entire burn time with essential oils only. They may smell great when they are cold, but it becomes a different story once you start to burn them. One way to remedy this is to add more oils once the candle is burning. If you notice the smell is not as strong as you would like, you can add a few more drops to the wax pool while it is burning.
I use a mixture of essential oils and fragrance oils. Just make sure that your fragrance oil is free of any of the chemicals on this list. A good company shouldn’t be carrying oils that are IFRA approved and disclose the approved ways to use the oil.
Seasonal Gift Candles
Free Printable Labels for Handmade Candles
I made a couple of different labels that you can print and add to your handmade candles. These make your gift look special and not really homemade! The labels for all of the candles are in my Printable Library. Everything in my library is FREE for my subscribers. If you are not a subscriber, you can fix that right here!
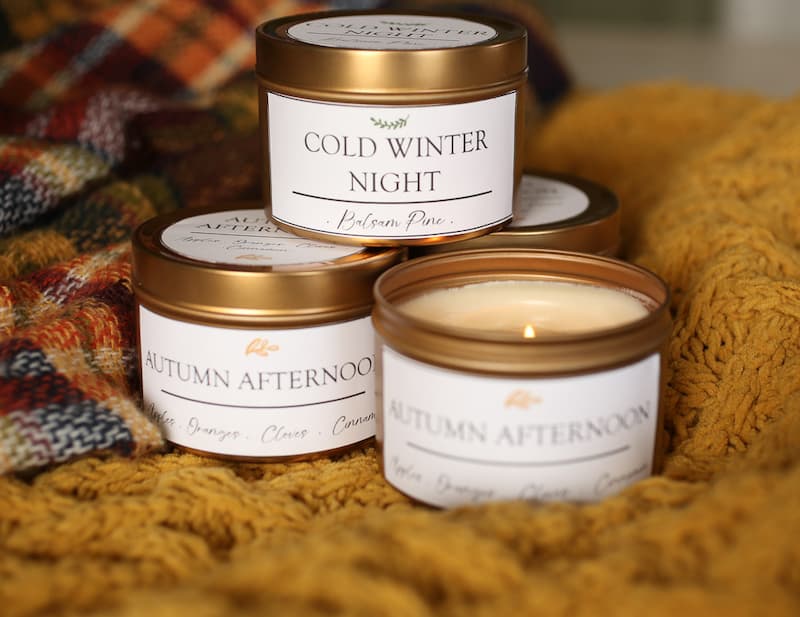
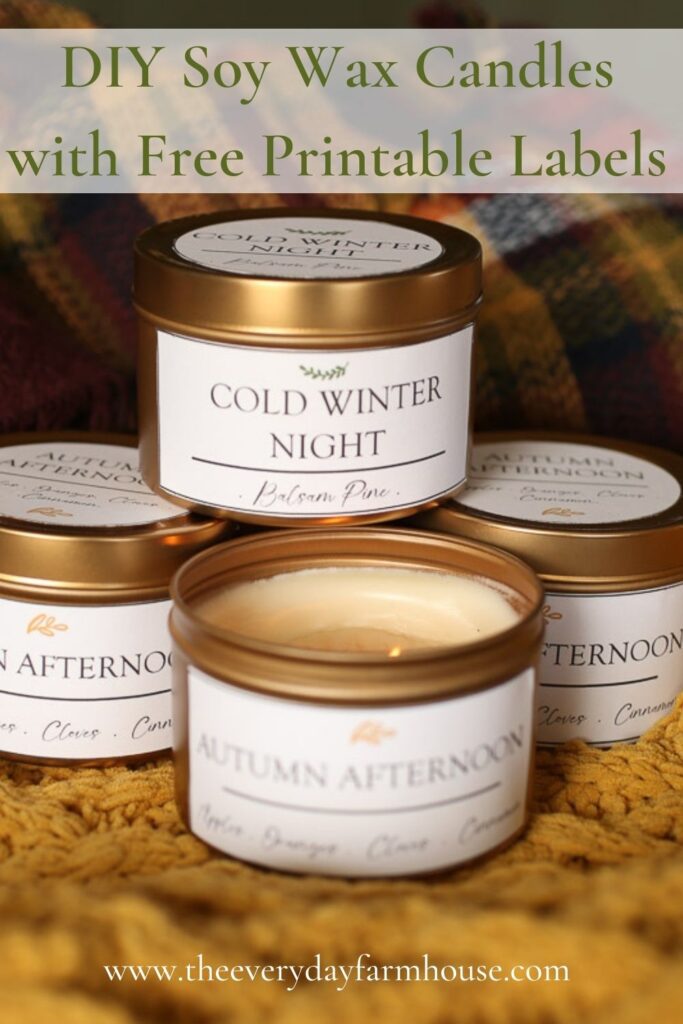
I thought it would be fun to make candles with labels for each season. A four-pack of candles would make a lovely gift! Here are the ones that I came up with and the fragrances for each candle. A list of handmade soy wax candles for each season.
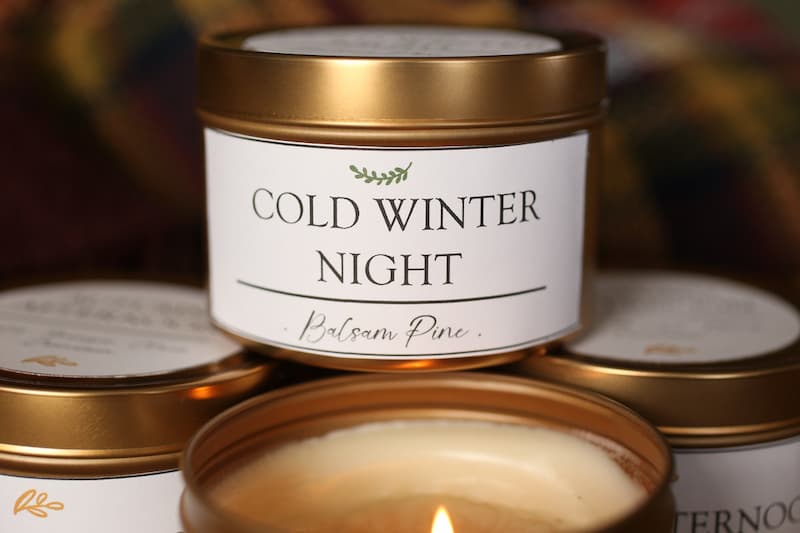
Winter Soy Candle
This one is called Cold Winter Night. It is scented with Balsam Pine Fragrance Oil
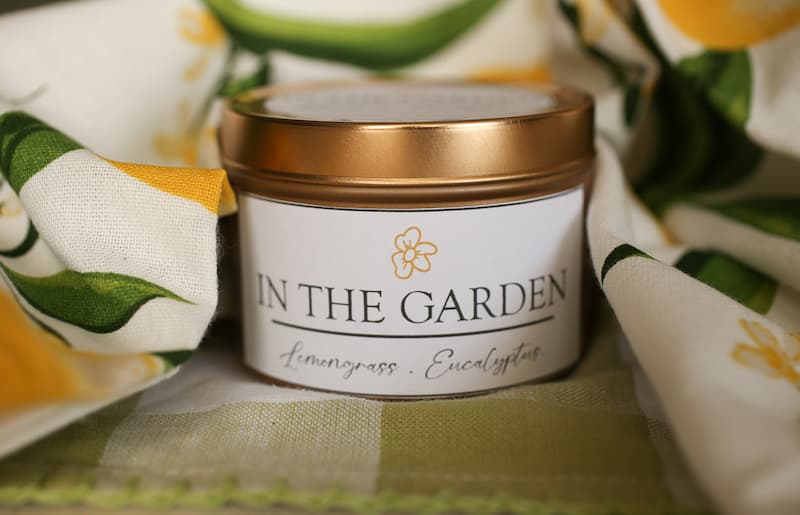
Spring Soy Candle
This one is called In The Garden and it is scented with lemongrass and eucalyptus
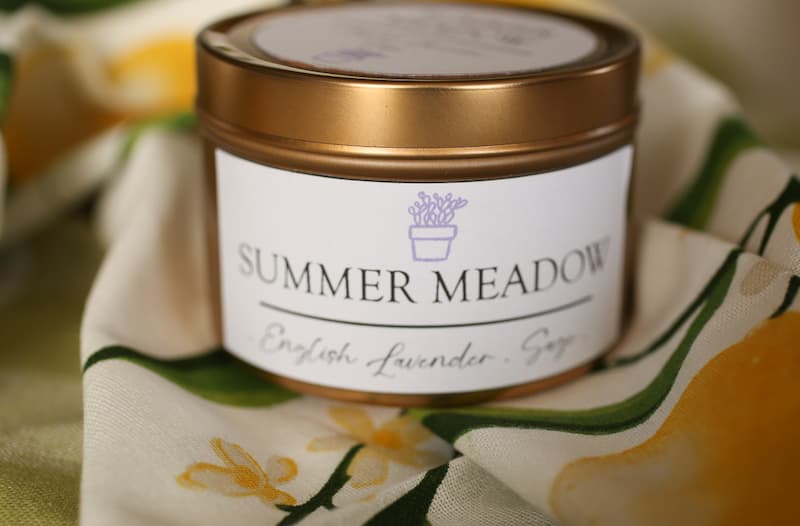
Summer Soy Candle
This one is called Summer Meadow and is scented with Lavender and Sage
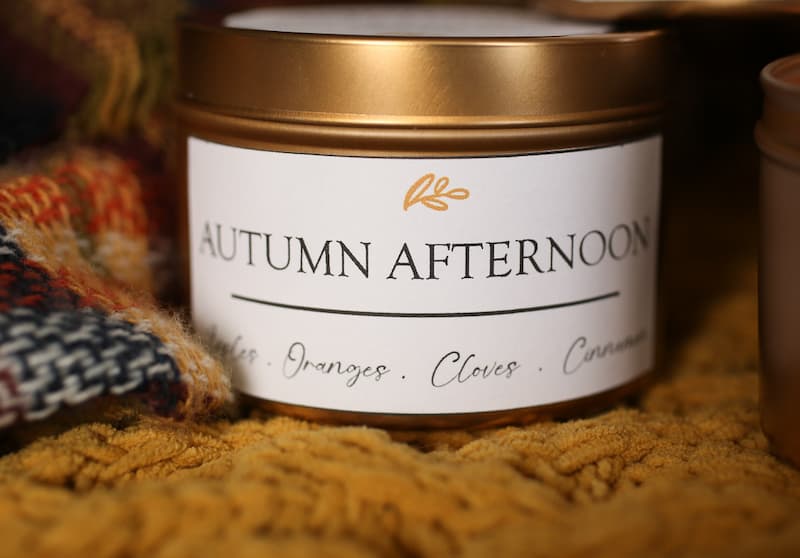
Autumn Soy Candle
This one is my favorite, it is called Autumn Afternoon and is scented with Cinnamon, Cloves, Apples and Oranges. I also added Clove and Cinnamon Essential oils. All to equal .5 oz for each 8oz tin.
What containers for Handmade Soy Wax Candles
I bought these little tins for my candles, they look super professional and lovely. They do not get hot when the candle is burning. Now, they are from Amazon, and I am trying not to be so dependent on them, but doggone, they sure are convenient!
These tins are 8 ounces and that is a pretty nice size for a gift. I hope this inspires you to make some handmade candles this season! It is something you could do in an afternoon and have a beautiful gift to give to someone else or for yourself!
Love making gifts? You may like these lotion bars or this orange and clove lip balm!
Follow Me On Pinterest and Pin and Share these Handmade Soy Wax Candles!



This is a very informative post, Jenn! I love burning candles at home but I noticed that they gave me headaches and left a horrible smell in the room afterwards from the paraffin wax. I started making my own soy wax candles a few years ago and have no more headaches. I love gifting them to friends and family too, they are so easy to make. I love the labels you’ve made and the tins are so pretty! Brilliant post!
Jayne, thank you so much for the kind words! I admire your style and consider this a true compliment!