How to Clean a Diffuser | Properly Clean an Essential Oil Diffuser
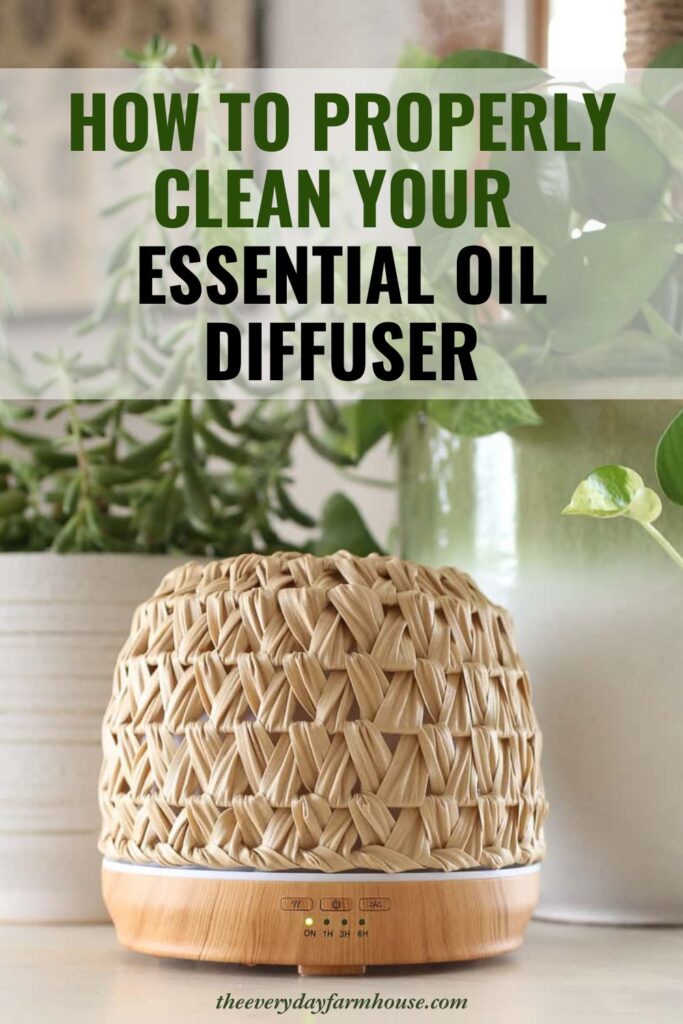
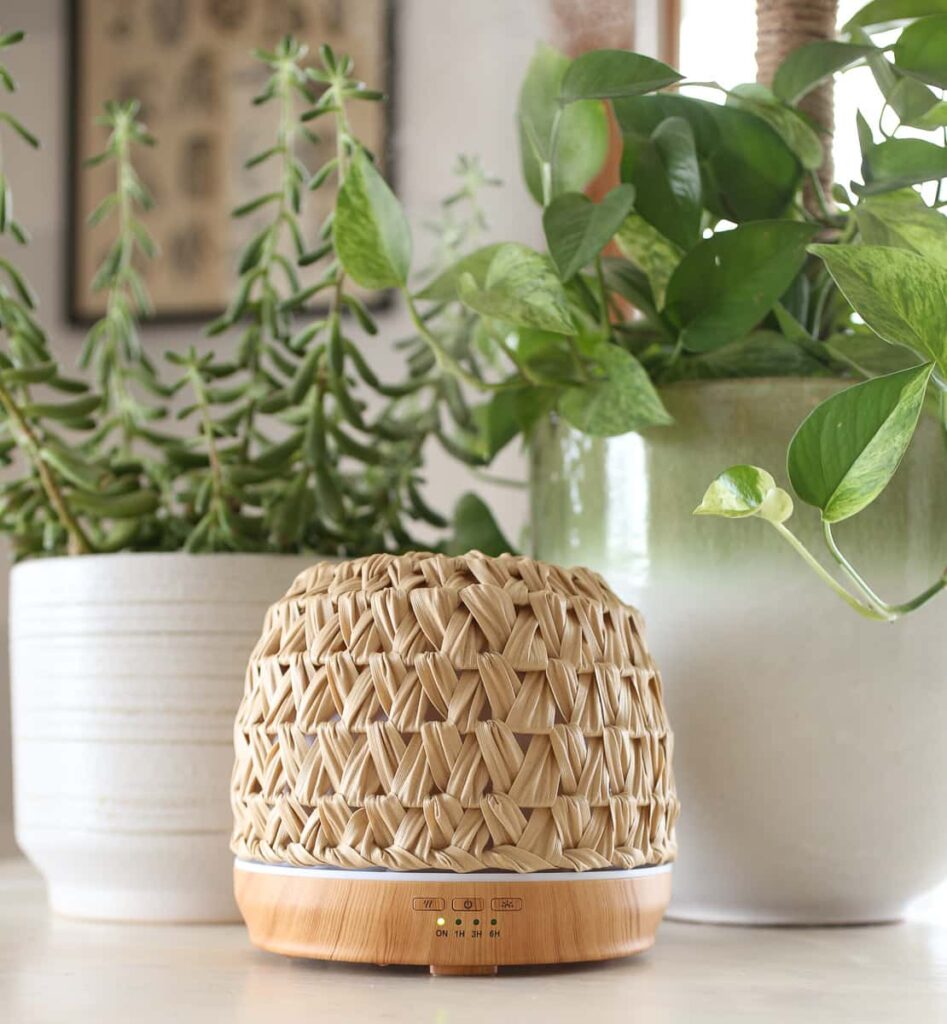
Essential oil diffusers are wonderful devices for creating a relaxing atmosphere and dispersing pleasant scents throughout your home. However, regular cleaning is essential to maintain their efficiency and prevent the buildup of oil residue and mold. Here’s a step-by-step guide on how to clean your diffuser thoroughly:
This post contains affiliate links
Things You Will Need to Clean Your Diffuser
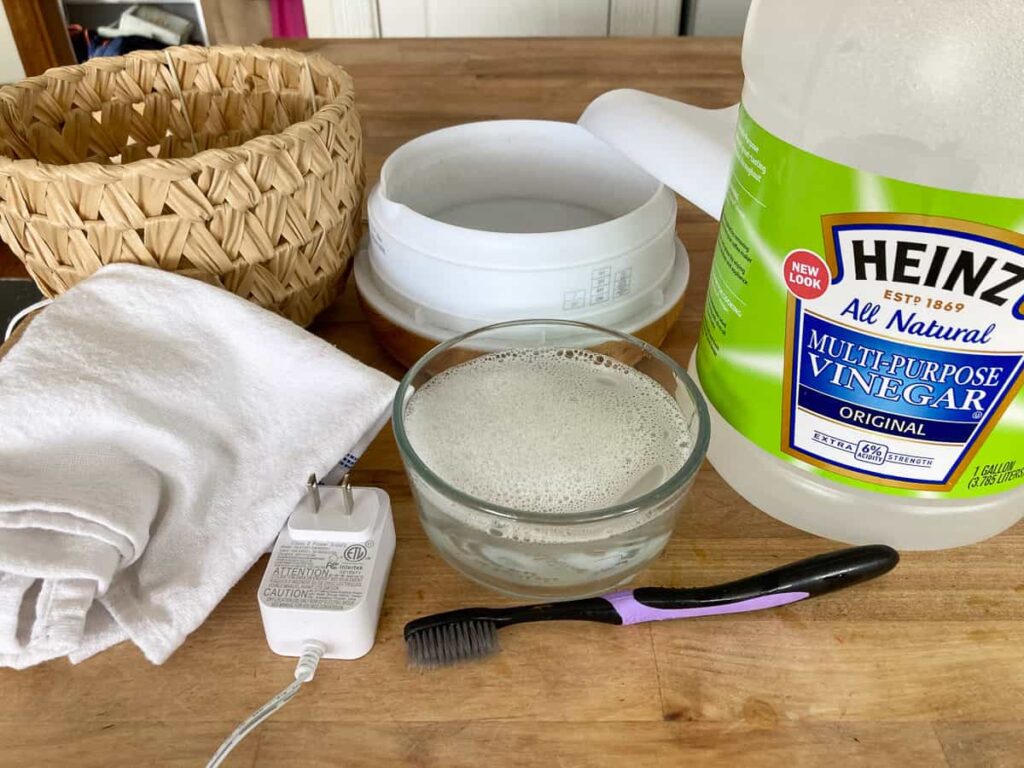
You don’t need much to clean your diffuser, most of this you probably have on hand.
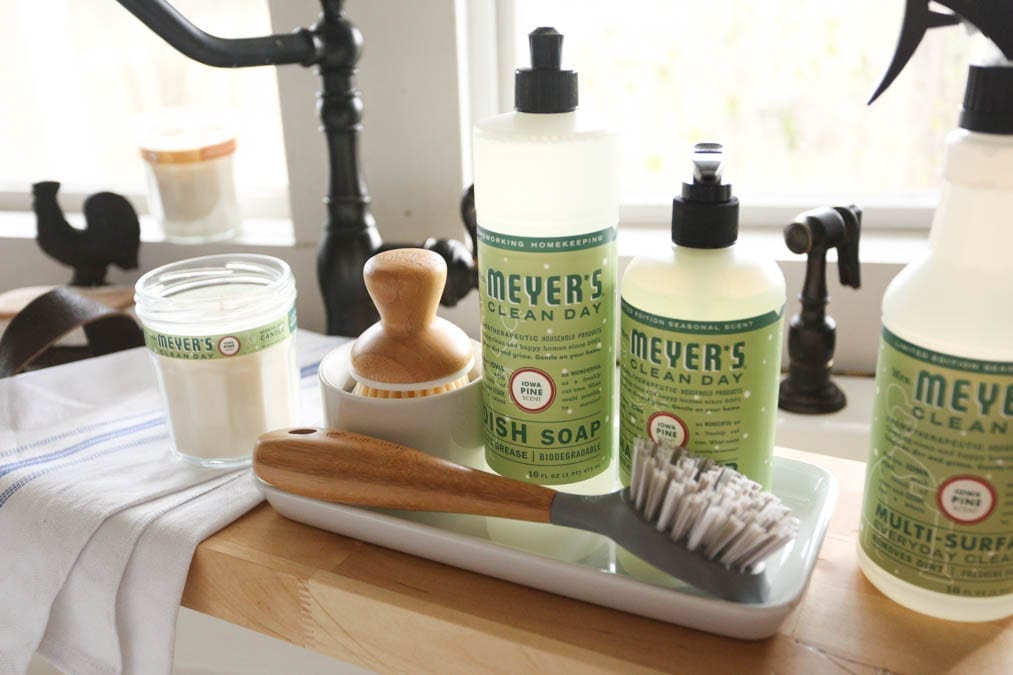
- Mild Dish Soap (I have a recipe if you ever want to make your own liquid dish soap)
- Vinegar- you will need this if you have buildup or residue from your water
- A soft bristled brush-I think a toothbrush is perfect for this
- A clean cloth for wiping and drying
Step 1: Unplug the Diffuser
Always start by unplugging the diffuser from the power source before cleaning. This ensures safety and prevents any potential electrical accidents. I have to say that…I’m not trying to insult your intelligence!
Step 2: Empty and Rinse
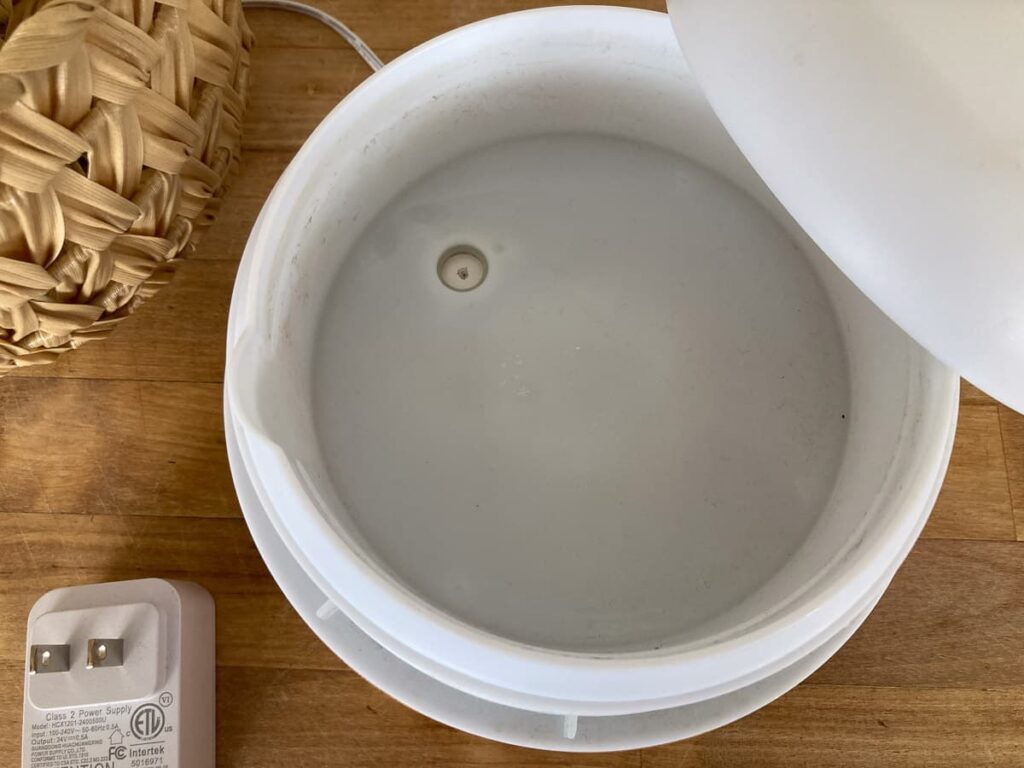
Carefully pour out any remaining water and essential oil from the diffuser. Rinse the water tank with clean water to remove any leftover residue. Be cautious not to get water into the electronic components.
Step 3: Clean with Mild Soap
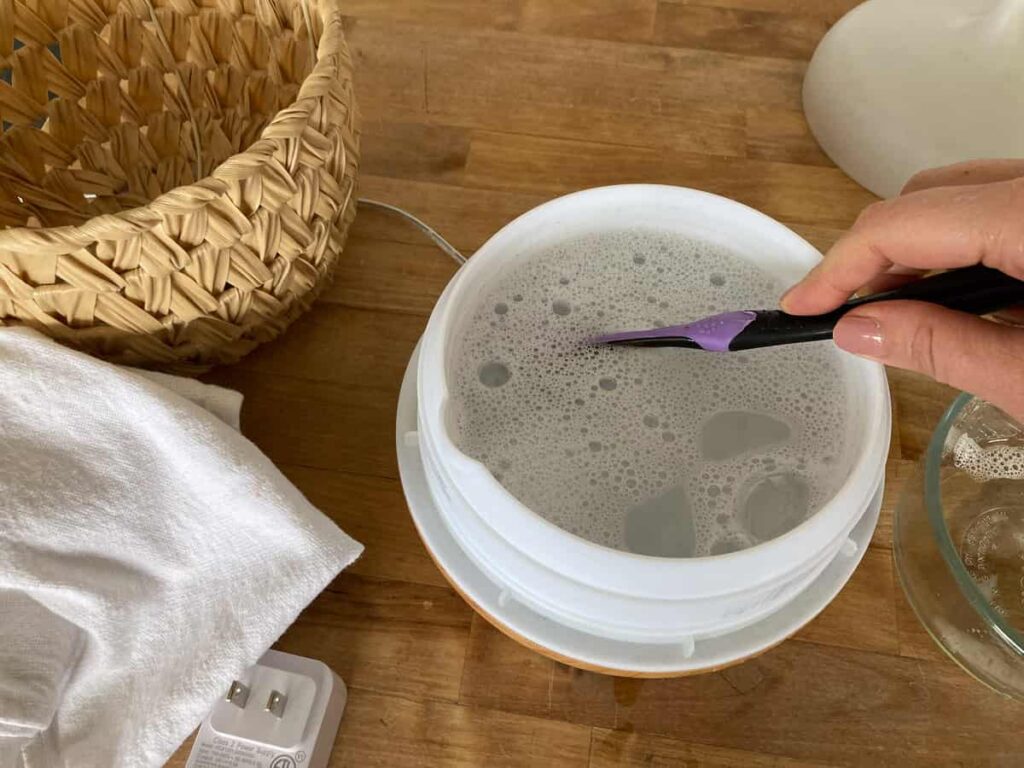
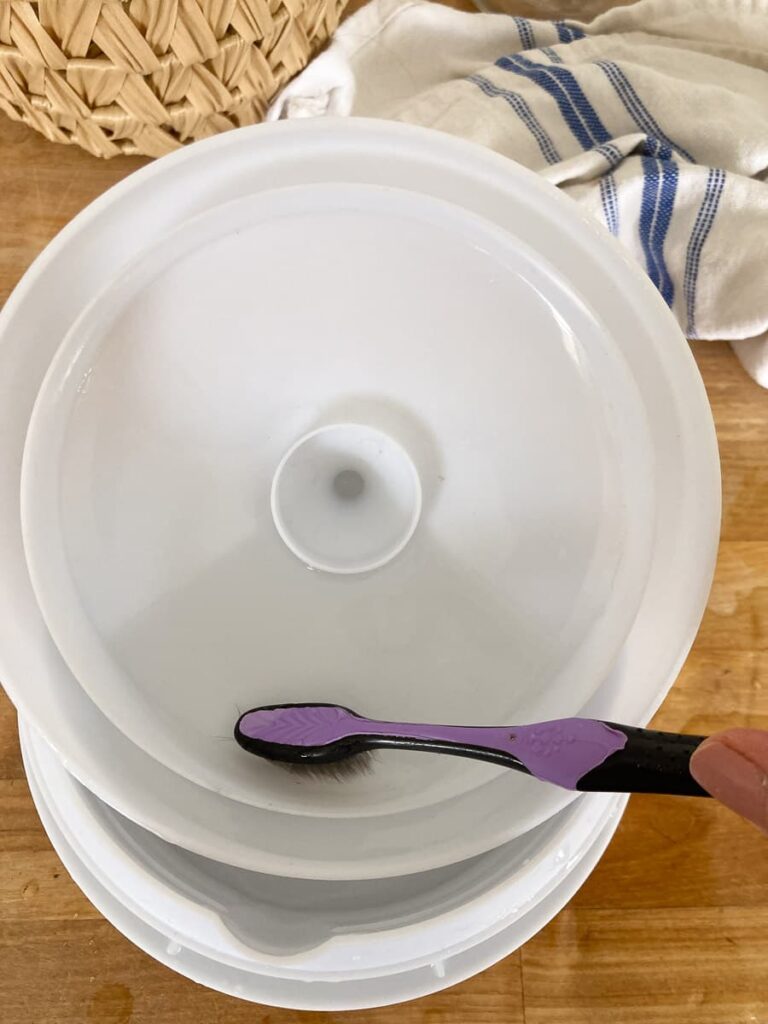
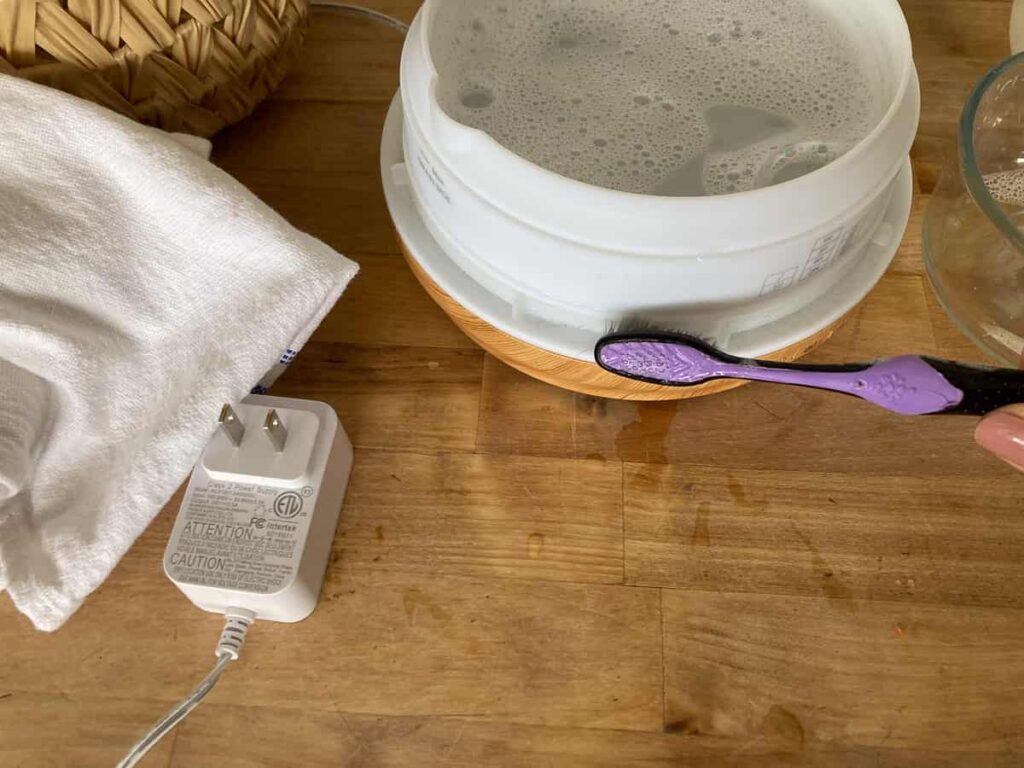
Fill the tank halfway with clean water and add a few drops of mild dish soap. Use a soft-bristled brush or cotton swab to clean the inside of the tank, the ultrasonic plate, and any other reachable areas. Gently scrub to remove any oil buildup or residue. Don’t forget the lid as well.
I like to use a toothbrush for this. Toothbrushes are easy to find, and the bristles are soft.
Step 4: Rinse Thoroughly
After cleaning with soap, rinse the diffuser thoroughly with clean water to ensure all soap residue is removed. Again, avoid getting water into the electronic parts.
After cleaning mine with soapy water, I could still see some of the rusty residue that our water leaves. I went ahead and did step 5 to remove that.
Step 5: Deep Clean with Vinegar
For a deeper clean, fill the tank halfway with water and add a small amount of white vinegar, about a tablespoon. Let the solution sit in the tank for about 10-15 minutes. Vinegar’s natural acidity helps break down oil residue and disinfect the diffuser.
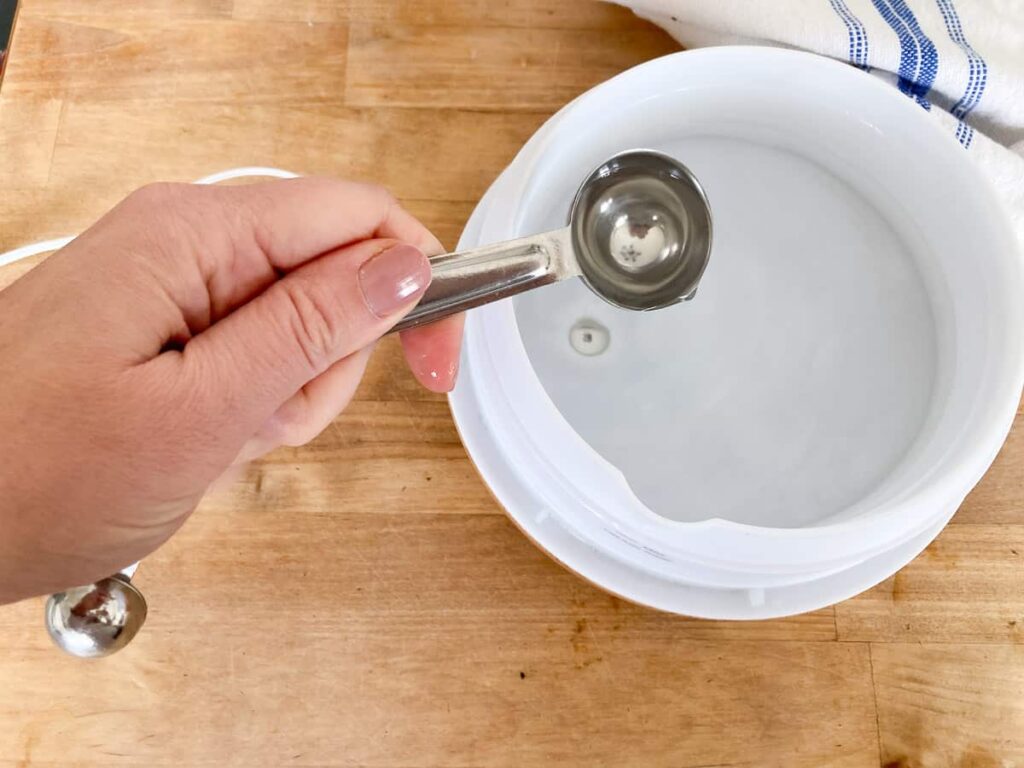
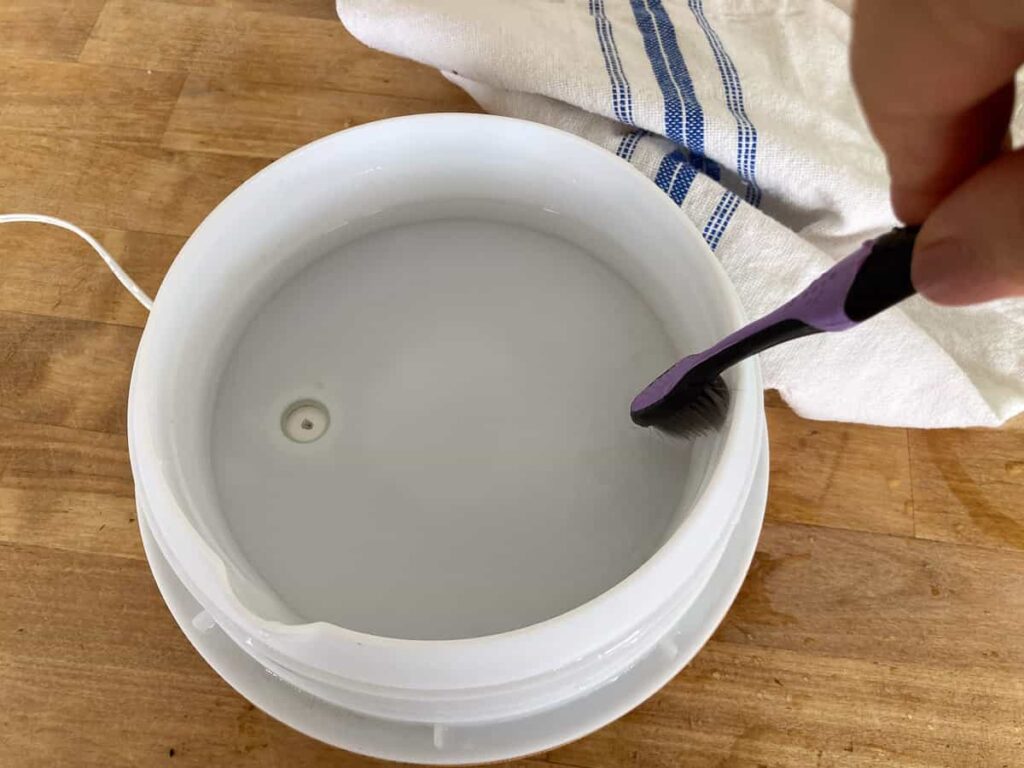
I like to do a deep clean like this about once a month. It’s really shocking how residue can build up over a month. We live on well water and everything is left with a rusty-colored buildup. Using distilled water would be best but I don’t always remember to buy that!
Step 6: Scrub and Rinse Again
Use a brush or cotton swab to gently scrub the tank’s interior surfaces while the vinegar solution is inside. Afterward, rinse the tank thoroughly with clean water to remove any vinegar smell or residue.
Step 7: Dry Completely
Wipe the tank and other parts of the diffuser with a clean, dry cloth. Leave the components to air-dry completely before reassembling the diffuser. Ensuring it’s thoroughly dry prevents mold or bacteria growth.
This step is really essential if you plan to put the diffuser away for a season or some time.
Step 8: Reassemble and Test
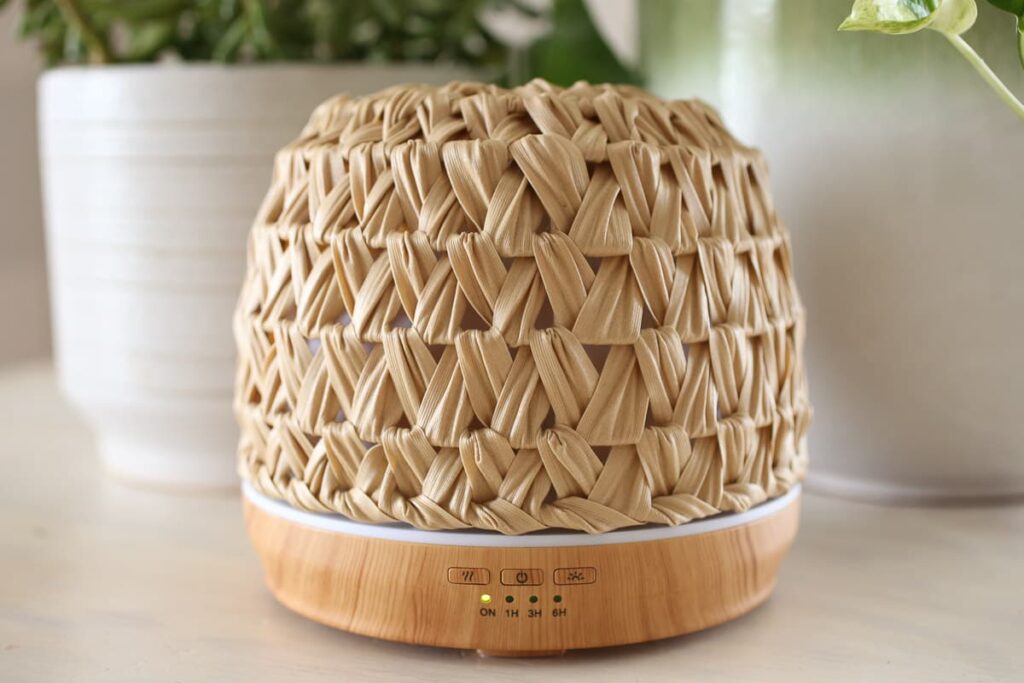
Once everything is dry, reassemble the diffuser according to the manufacturer’s instructions. Fill the tank with clean water and a few drops of your favorite essential oil. Run the diffuser for a short cycle to ensure it’s functioning properly and dispersing the aroma effectively.
Step 9: Regular Maintenance
- Clean your diffuser at least once a week for regular use.
- Use distilled water in your diffuser to minimize mineral buildup.
- Follow the manufacturer’s instructions for specific cleaning tips and frequency.
Regular cleaning and maintenance are crucial for keeping your essential oil diffuser in top condition. By following these simple steps and making them a part of your routine, you’ll ensure that your diffuser continues to spread delightful aromas and contributes to a soothing ambiance in your home.
