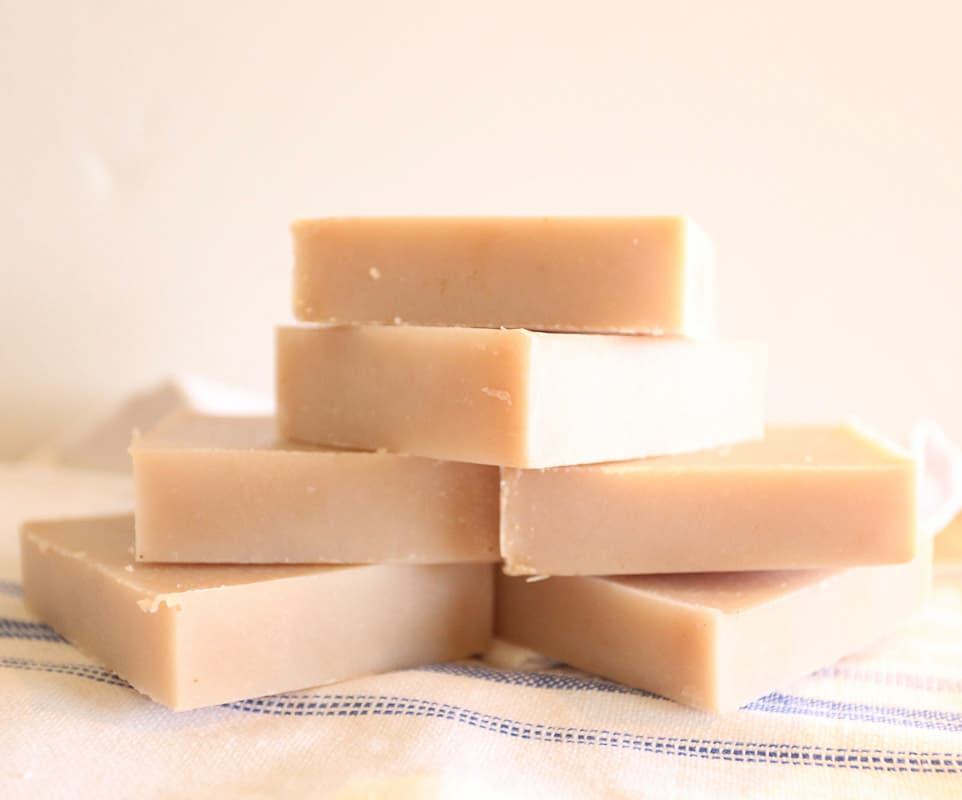
Soap Recipe with Mango Butter and Shea Butter
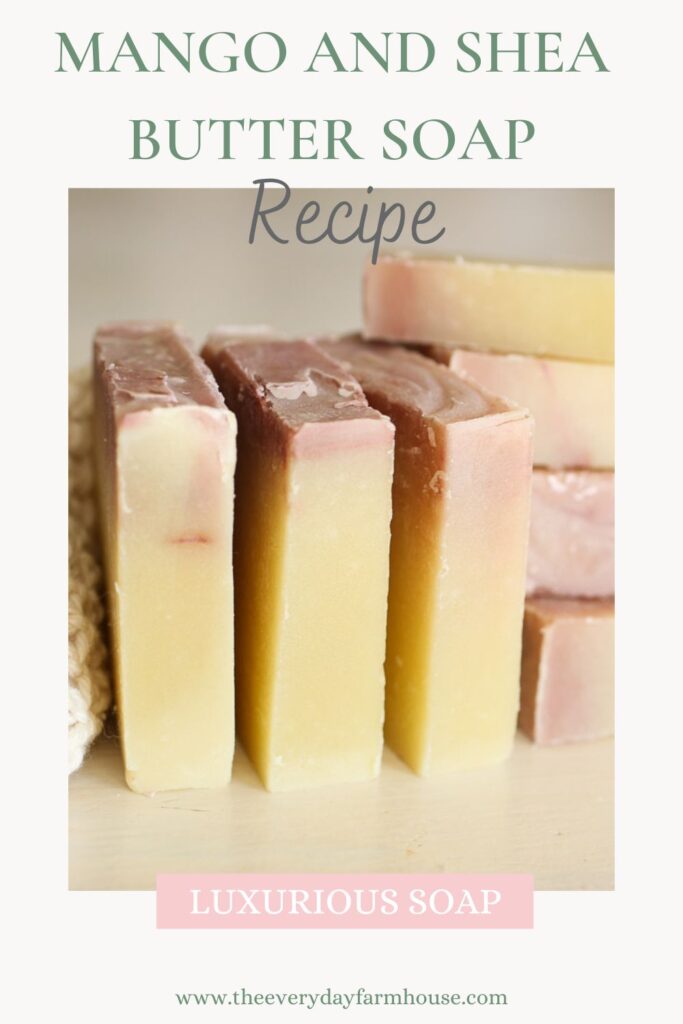
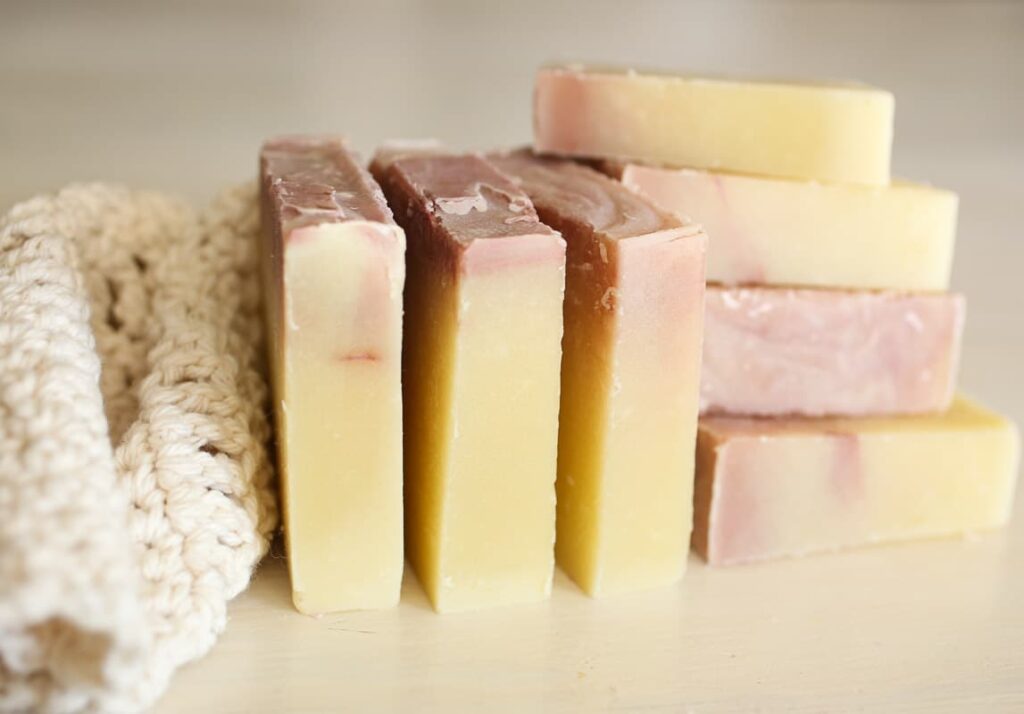
Mango and Shea butter soap is luxurious and nourishing. This soap is a smooth hard bar that makes your skin feel supple and soft!
This post contains affiliate links
My Favorite Hobby
As a result of the #handmadehomechallenge, I have a new favorite hobby! A couple of years ago I decided to learn a new skill every month for the year. Soapmaking was one of those skills that I had wanted to learn for years but the thought of it intimidated me! I am so happy that I finally took the time to learn how! This is now one of my favorite hobbies!
Making recipes is one of the pleasures of soapmaking. Learning about each oil and butter and what it does and then mixing and matching to come up with a great bar of soap! This mango and shea butter soap is one of those recipes that I just love!
What are the benefits of Mango Butter in Soap?
Mango butter just feels luxurious, from the moment you open the package you know this butter is special! It’s so smooth and silky! Turns out it is also wonderful for your skin!
- helps treat dry skin
- plumps skin and makes it feel firmer and more supple
- contains oleic acid which is conditioning and adds silkiness to the soap’s lather
- contains palmitic acid which improves the bar’s hardness and makes the lather creamy
- Also contains stearic and ricinoleic acid which improve the hardness and moisturizing values
- rich in carotenoids and antioxidants
- overall provides a protective moisture barrier
Benefits of Shea Butter in Soap
- is an antioxidant
- moisturizing
- anti-inflammatory
- antifungal
- boosts collagen production
- promotes cell regeneration
- safe for all skin types
- makes the soap creamy and moisturizing
- contains palmitic, stearic, oleic, and linoleic acid
The Benefits of Coconut Oil in Soap
- full of antioxidants
- has healthy saturated fats
- contains vitamin E
- contains lauric acid and caprylic acid
- builds a great lather in soap
- very cleansing
- antimicrobial and anti-inflammatory
Benefits of Using Lard in Soap
- great substitute for palm oil in soap
- easy to source
- inexpensive
- can help eczema
- very moisturizing and compatible with human skin
The Benefits of Olive Oil in Soap
- suitable for all skin types
- gentle cleansing lather
- high in oleic acid
- conditions and softens skin
- benefits dry skin
- high in antioxidants which can protect against free radicals
- contains vitamins A, D, E, and K
Castor Oil Benefits in Soap
- Is a humectant which means it draws moisture to your skin
- adds big bubbles for a great lather
- cleansing
- can accelerate trace
Basics of Soapmaking
If you are brand new to soapmaking, you might check out my posts on Beginner Soap also you may want to know Why Should You Make your Own Soap!
Basically, when you make cold-process soap, you are melting fats and oils and then combining them with a lye solution. After mixing rapidly you pour the thick soap into a mold and let it harden. Next, you unmold it and let it cure for at least 4 weeks. That is the jist of soaping!
Basic Tools for Soapmaking
- An immersion blender
- A soap mold-you can actually get very creative with this and use things that you have on hand, plastic containers work well. This post shows how to use a cardboard box to make a soap mold!
- Digital Kitchen Scale
- Gloves – I like nitrile gloves, they are stronger than latex and better for use with chemicals
- Goggles
- Instant read Thermometer
- A Rubber Spatula
- Measuring spoons
- Glass bowl or measuring cup for oils
- Extra spoon or spatula for mixing
Mango and Shea Butter Soap Recipe
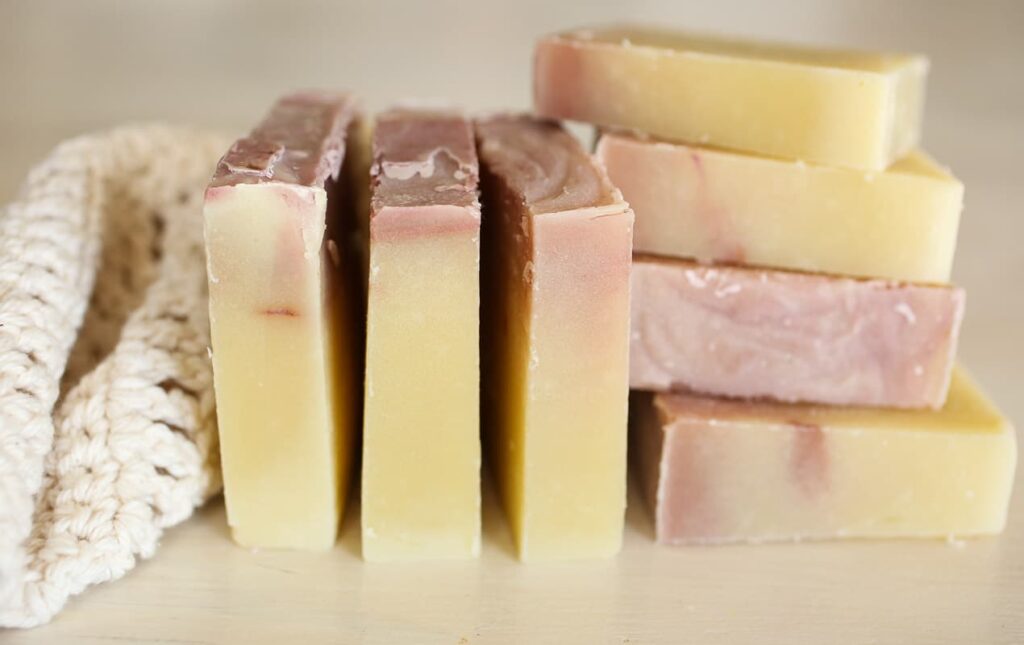
Ingredient List (30 oz mold)
- 8 oz coconut oil (26%)
- 7 oz olive oil (22%)
- 7 oz lard (22%)
- 4 oz mango butter (13%)
- 1.5oz castor oil (4%)
- 3 oz shea butter (9%)
- 10 oz distilled or filtered water
- 4.2 oz sodium hydroxide
- 2 oz fragrance oil if desired
Instructions Mango and Shea Butter Soap
Always take the necessary precautions when working with lye. Wear long sleeves, nitrile gloves, safety glasses, and protect your work surface. Also, it’s best to work near an open window when mixing the water and sodium hydroxide.
First, mix the sodium hydroxide into the water, never pour the water into the sodium hydroxide. Think of snow falling on a lake so that you can remember! Set this aside near an open window to cool.
Melt your butters then add in the liquid oils. Set aside to cool.
You want your oils and your lye to be within 10 degrees of each other. I like to soap around 115-120 degrees.
Once they are both cool, pour the lye into the melted butters and mix with an immersion blender. You will mix until you reach trace, add in the fragrance oil once you begin to see the batter is starting to come to trace.
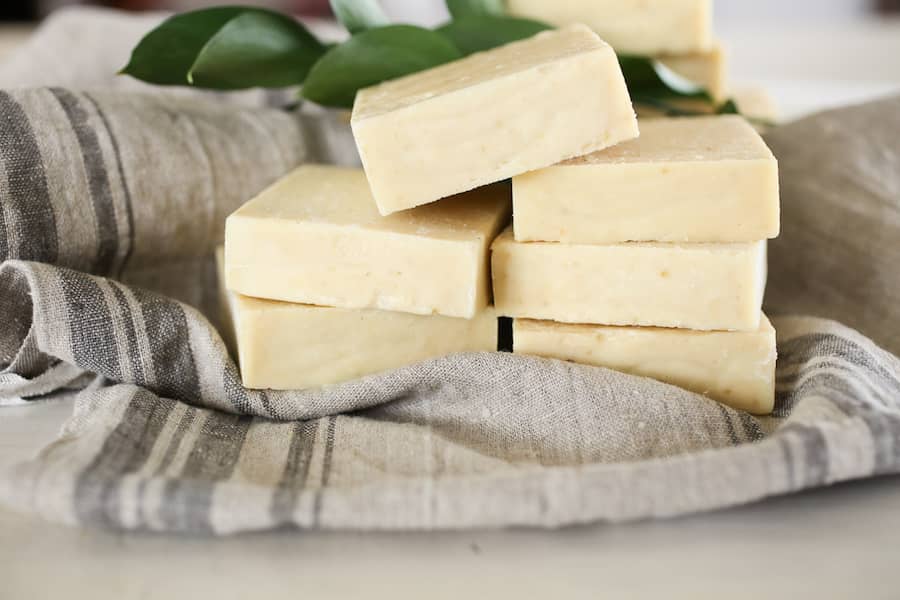
Pour into your prepared mold and cover. Let it sit for 24 hours and unmold the next day. Slice into bars and allow to cure for at least 4 weeks.
