How to Render Beeswax at Home Step-by-Step
Rendering beeswax at home is a rewarding process that ensures you get pure, clean wax for your projects. Whether you are using beeswax for candle making or for health and beauty products, after rendering you will have clean pure beeswax. In this guide, we’ll walk you through the steps to render beeswax safely and efficiently.
I use a crockpot or slow cooker to render beeswax. This ensures that it doesn’t get too hot and also I don’t have to tend it so closely on the first melt.
Why Render Beeswax?
Raw beeswax often contains impurities such as honey, pollen, and debris from the hive. Rendering removes these impurities, leaving you with clean, usable wax. Whether you’re a beekeeper or purchased raw beeswax, rendering is an essential step before using it in DIY projects.
What You’ll Need
Before starting, gather the following materials:
- Raw beeswax (with debris and impurities). If you have processed your own honey, you will likely have beeswax in a filter bag.
- Crockpot with a disposable crockpot liner or a double boiler setup with a pot used only for beeswax.
- Cheesecloth or fine mesh strainer
- Heat-safe container (for collecting melted wax). An old glass jar is perfect
- Wooden spoon (designated for wax use)
- Water
Step-by-Step Instructions
Step 1: Prepare Your Workspace
Place a crockpot liner in your crockpot. If your wax is still in the mesh bag that you used to get all of the honey out of it, place the whole thing in the crockpot. I didn’t get a picture of the whole thing in there, sorry. You may want to put a bit of craft paper or newspaper underneath to protect your counter from drips.
Step 2: Melt the Wax
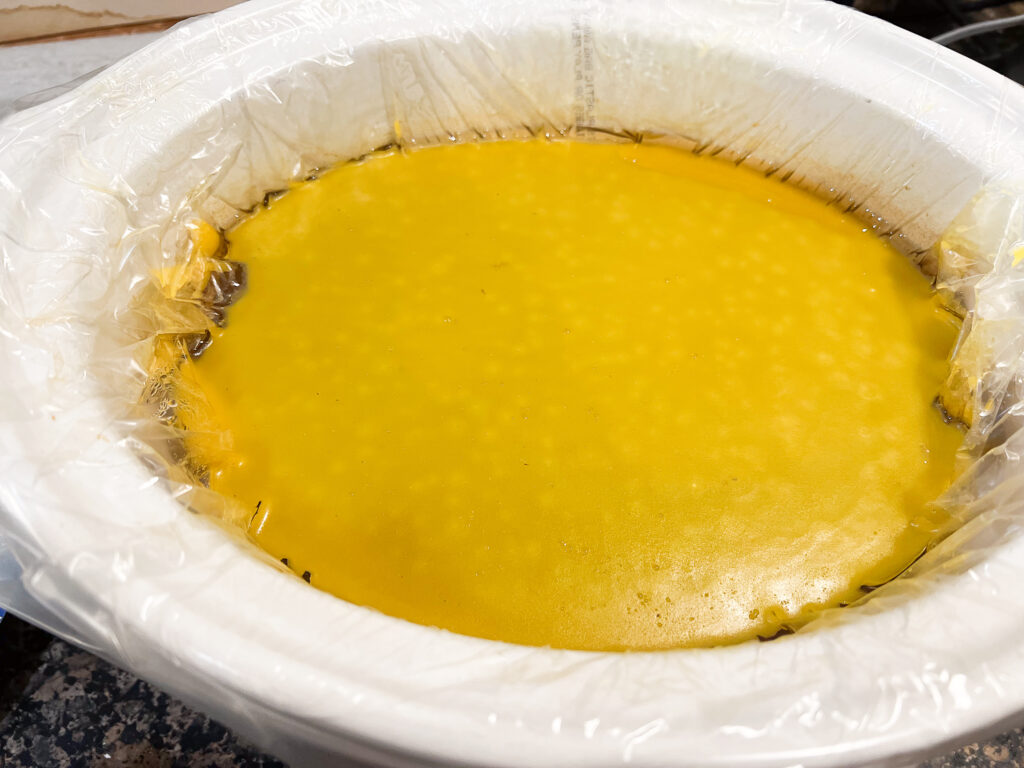
- Add water: You can add as much water as you like. I fill it enough to cover all of the wax.
- Heat gently: Beeswax has a melting point of around 145 degrees F. If you put the crockpot on medium or high it will melt within a couple of hours. If you are using the stove, just watch it as you don’t want it to get too hot and burn.
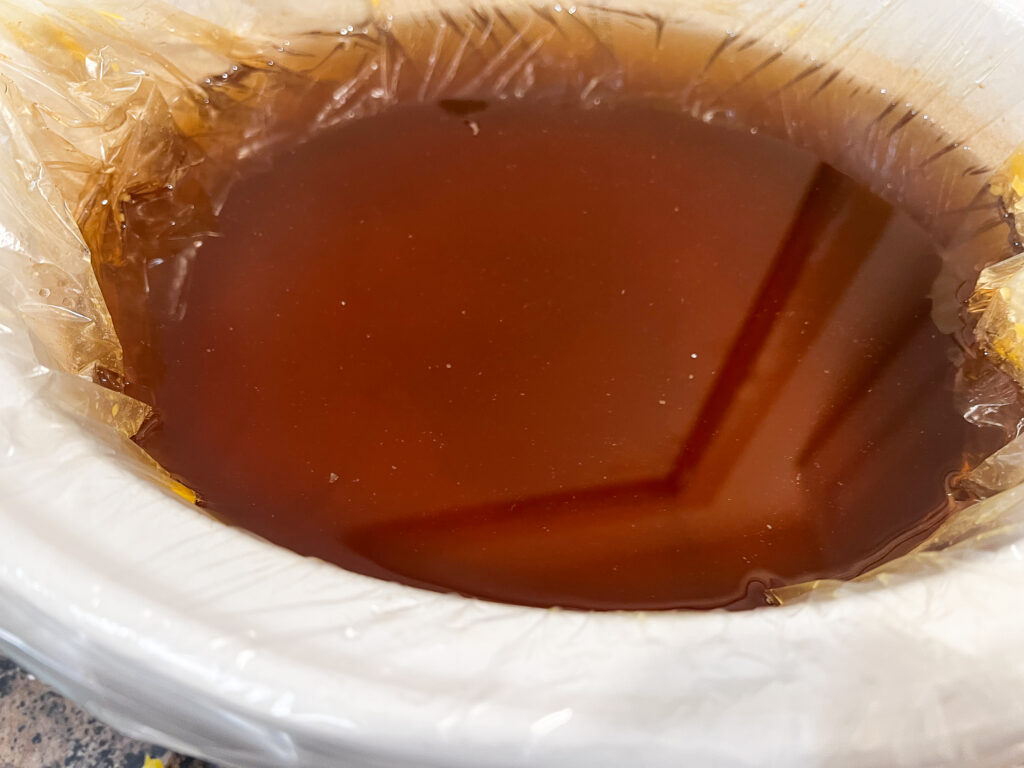
Step 3: Let the whole thing cool
- Remove the filter bag if you had one. The wax should have melted out of the bag and some of the impurities have likely stayed in there.
- Turn off the crockpot
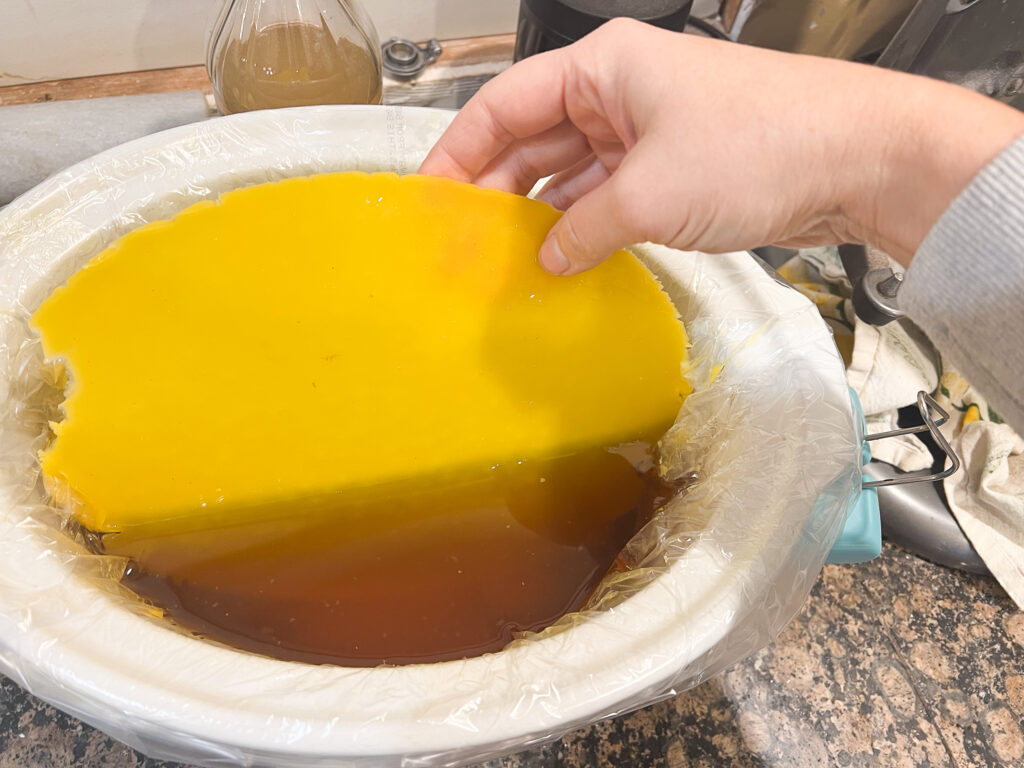
- Allow to cool: Let the wax cool and harden in the container. The clean beeswax will form a solid layer on top of the water.
Step 4: Remove the hardened Wax
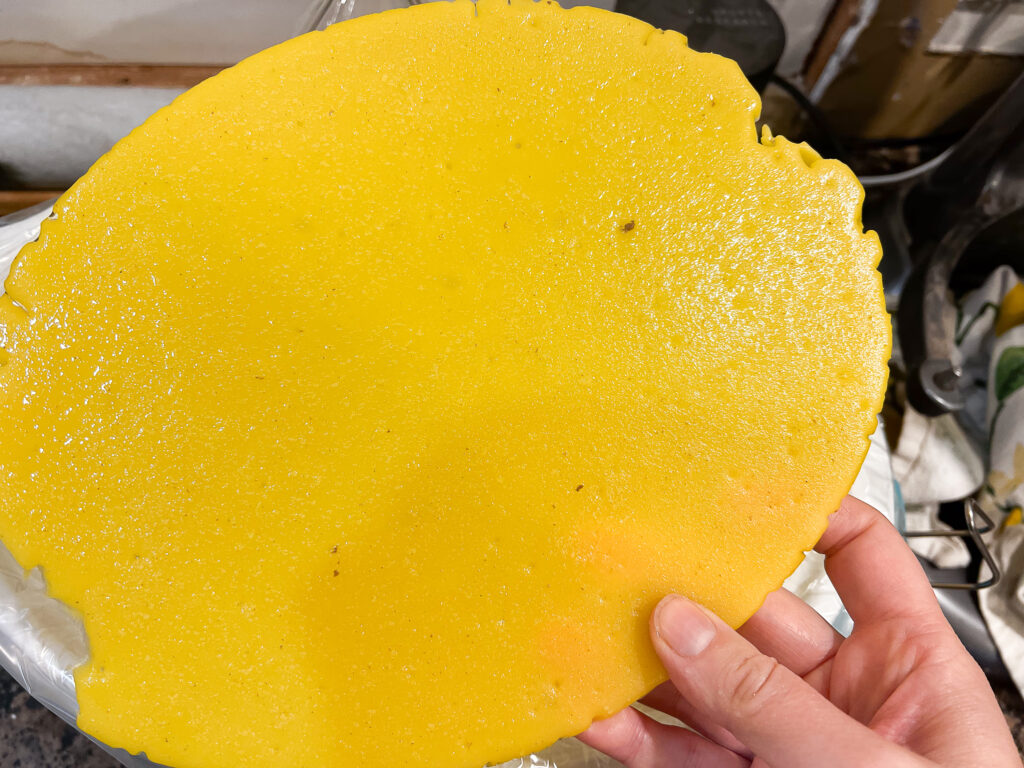
- Separate the wax: Once the wax has cooled and hardened, gently lift it from the container.
- Scrape the bottom: Use a knife or spatula to scrape off any remaining debris on the underside of the wax. I run mine under cool water as well. Just be sure to dry it off really well. You will be able to feel the impurities and debris on the underside.
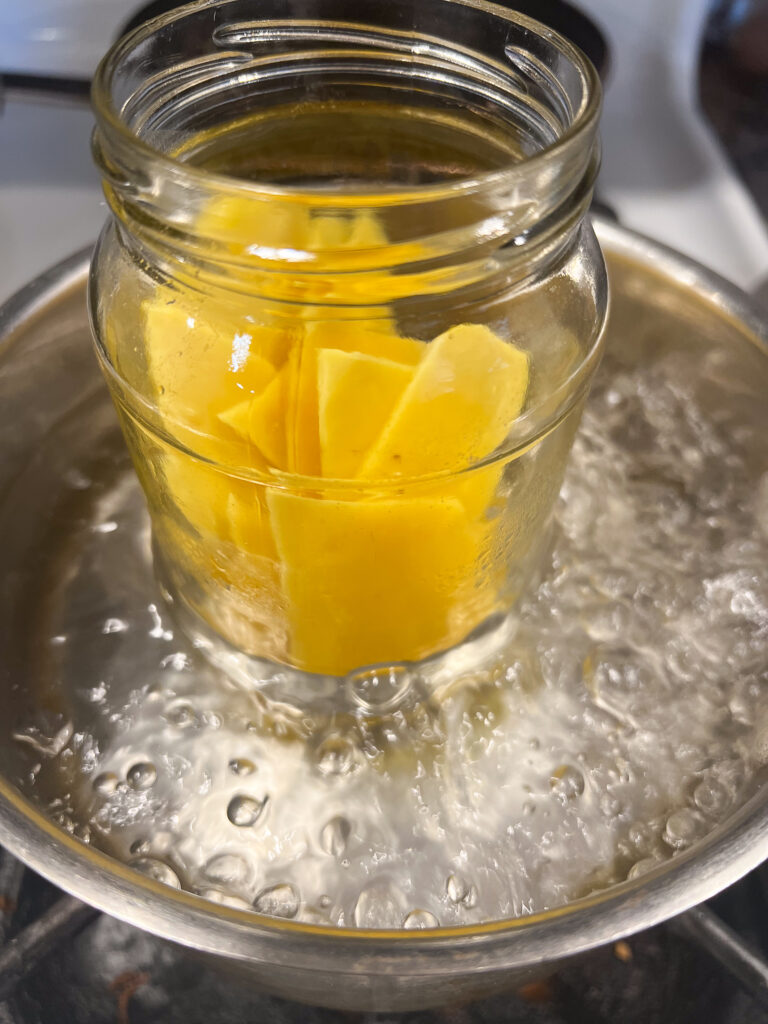
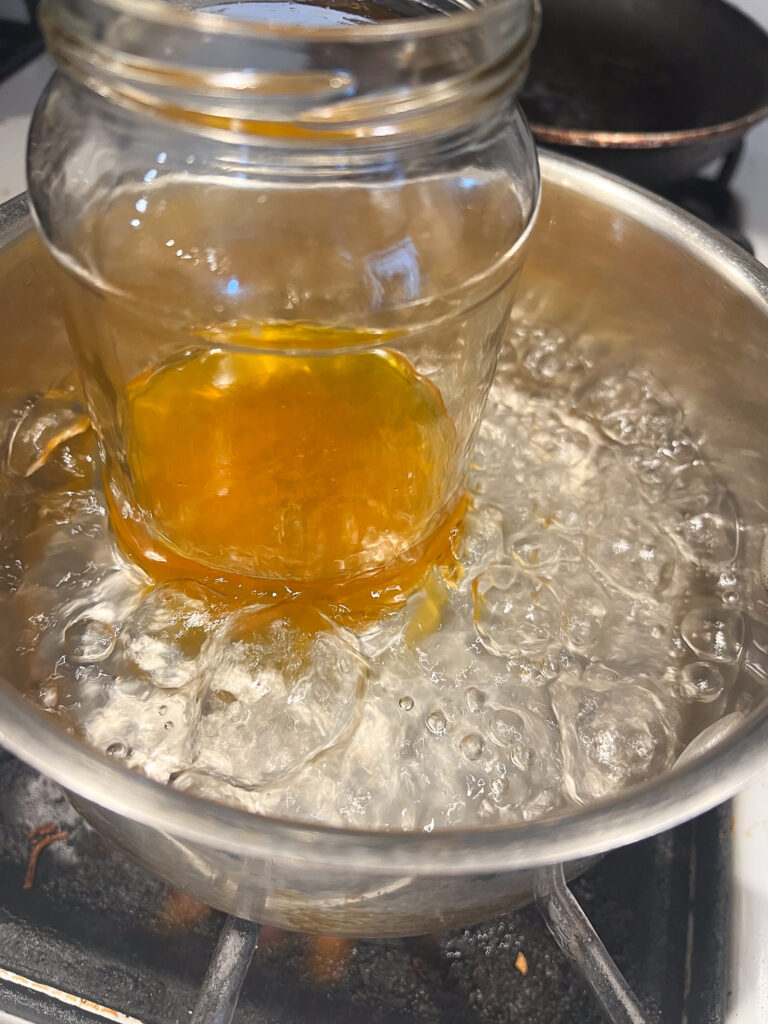
Step 5: Melt the beeswax again and Filter
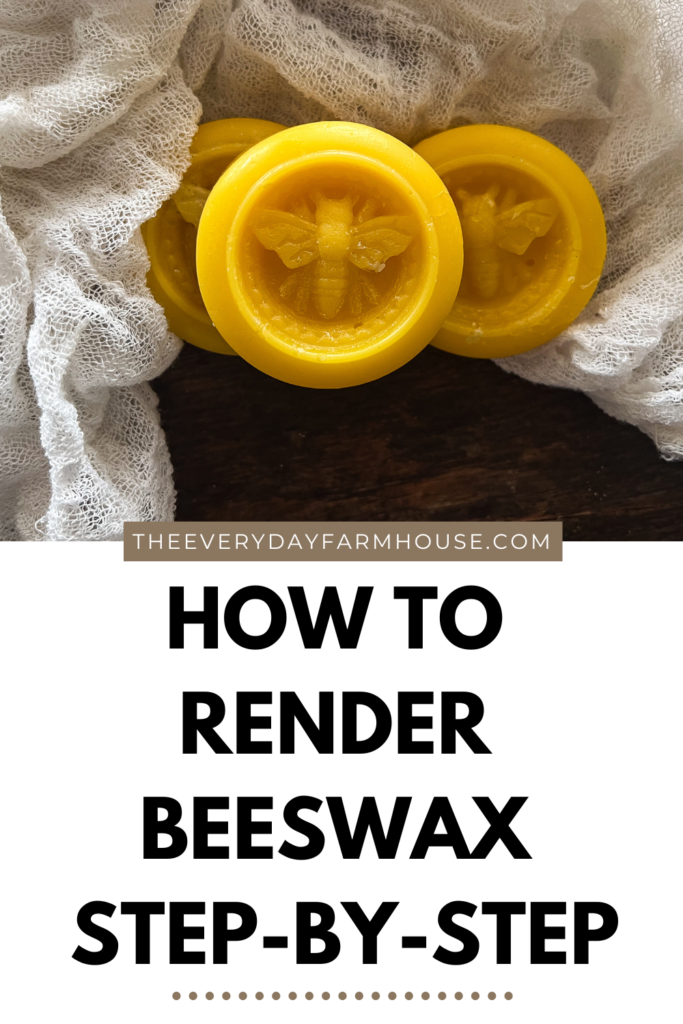
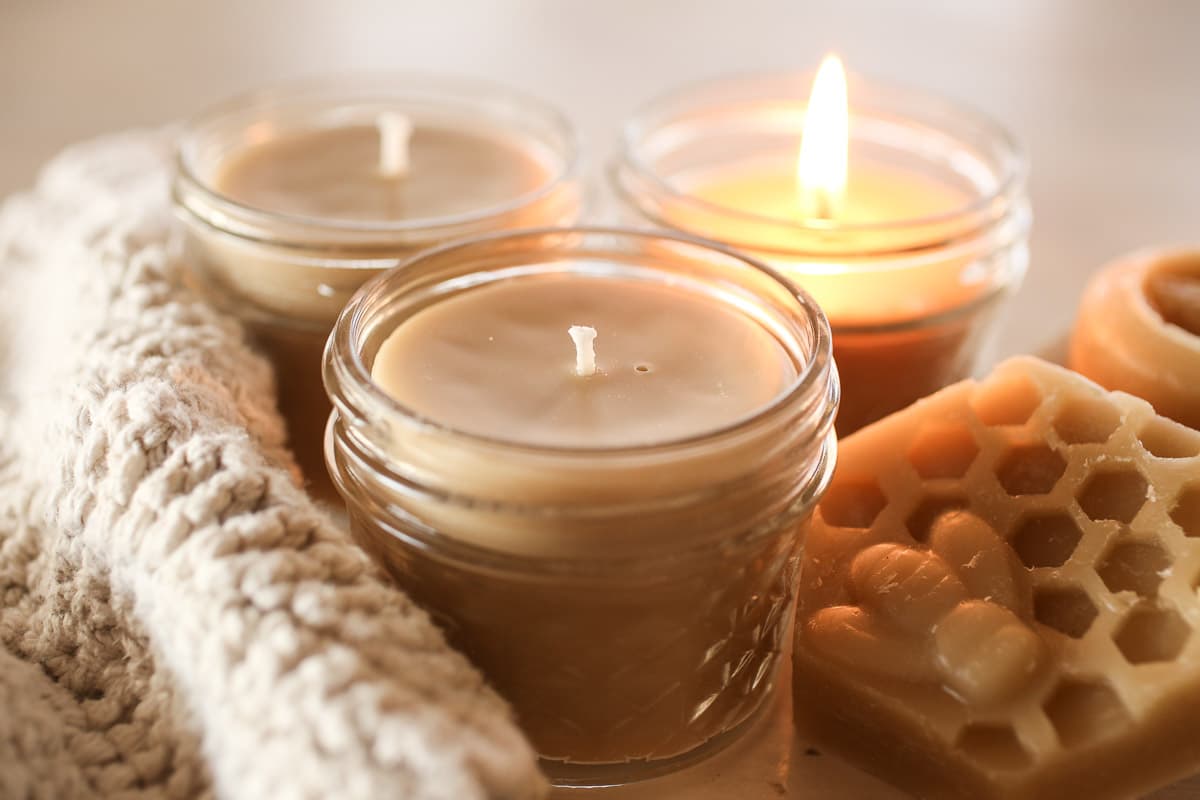
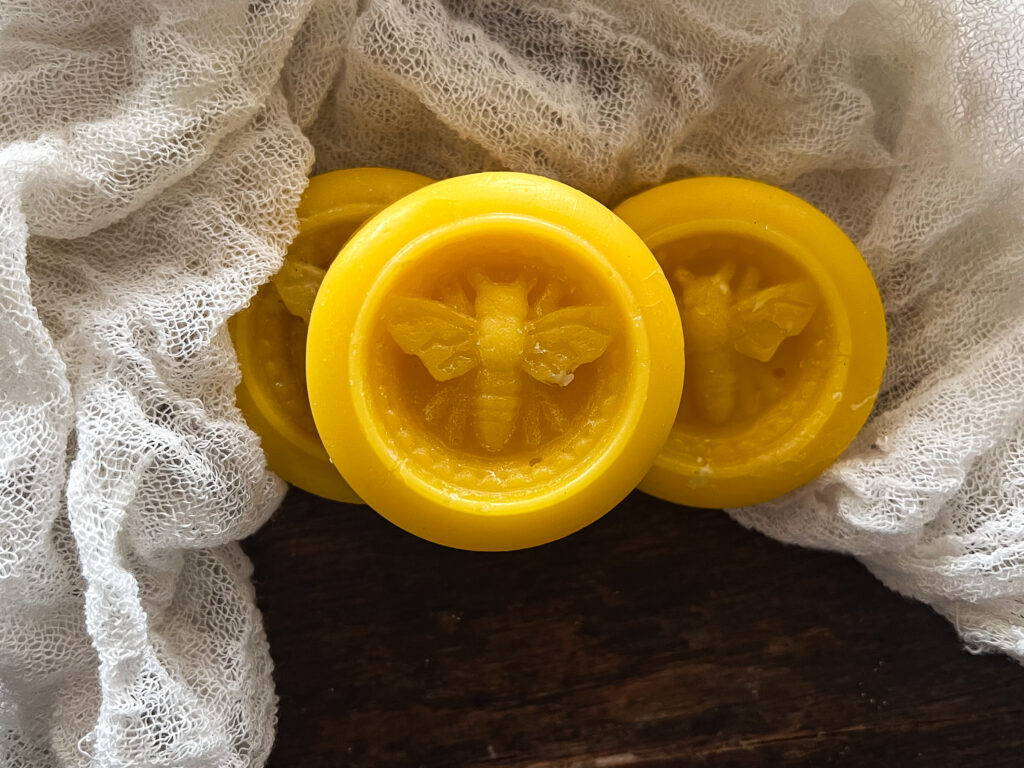
I just use an old jar and set up a double boiler with a pot underneath. Once the wax is fully melted pour it through a filter or cheesecloth that you use only for beeswax. You could also pour it out on a parchment-lined baking sheet and let it cool in a thin sheet. You decide what form would be easiest for you to use. Let the wax cool and you have perfectly pure beeswax. I pour mine into these cute little molds.

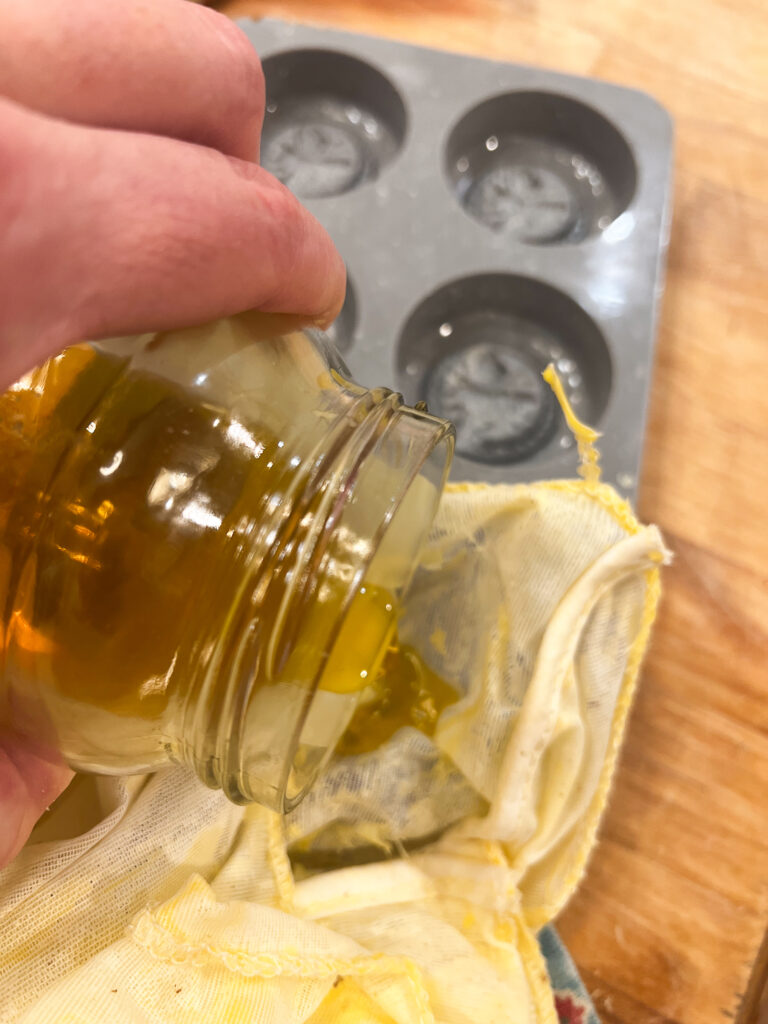
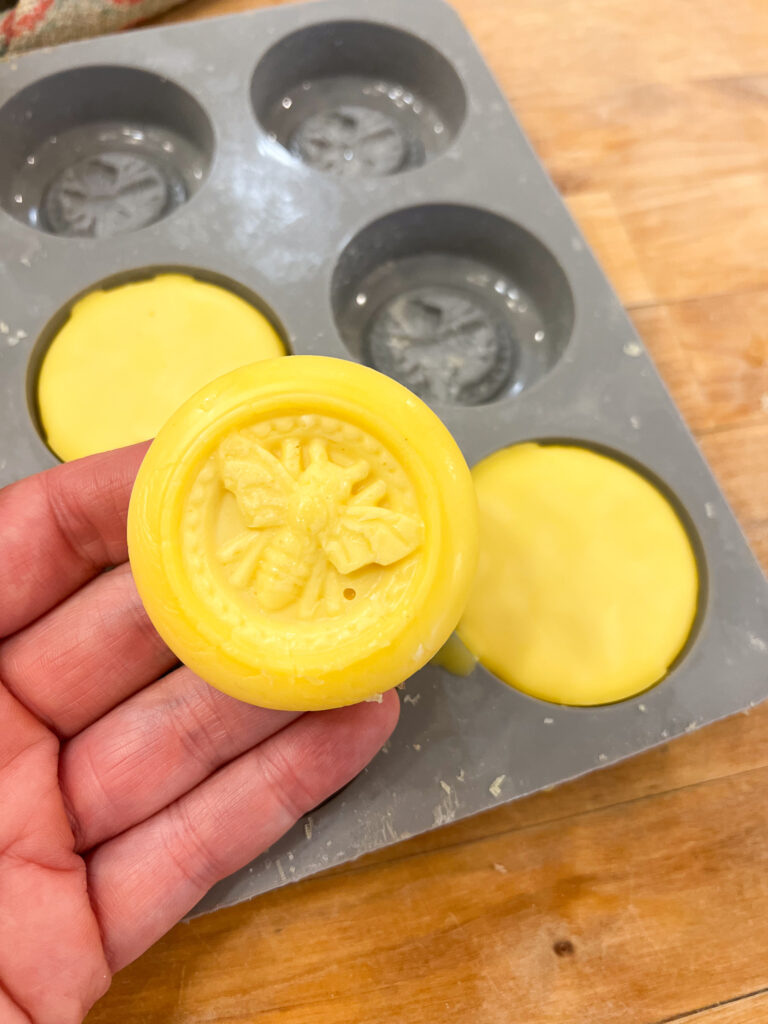
Similar molds found here
Tips for Success
- Double Boiler Method: If you’re worried about burning the wax, use a double boiler or place a smaller pot inside a larger one filled with water.
- Reuse Cheesecloth: Rinse the cheesecloth with hot water immediately after use to remove residual wax, allowing you to reuse it for future rendering sessions.
- Safety First: Always monitor the wax as it melts, and never leave it unattended. Have a fire extinguisher or baking soda nearby in case of a wax fire.
Overview of Steps
Rendering beeswax at home is a straightforward process that yields a high-quality, natural product ready for your DIY creations. Remember the steps are to melt the wax in water, let it cool, melt the wax again, and filter. It’s really quite easy!
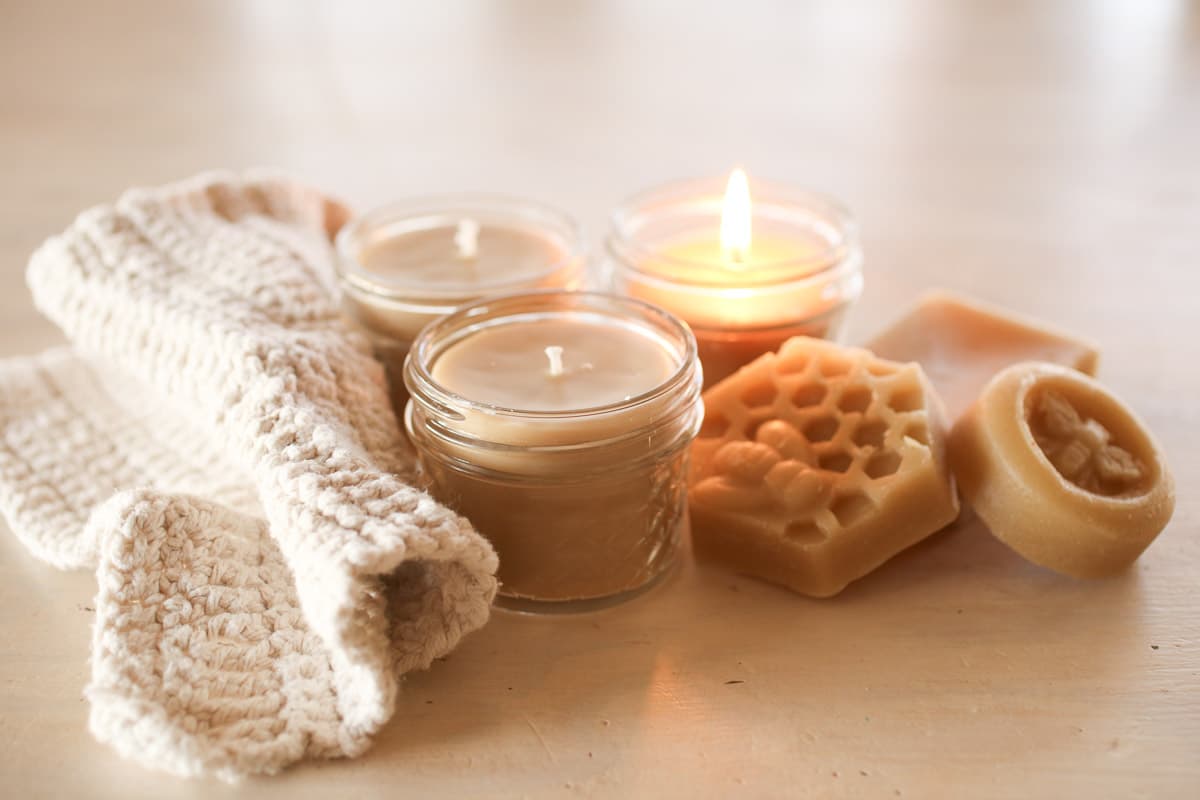
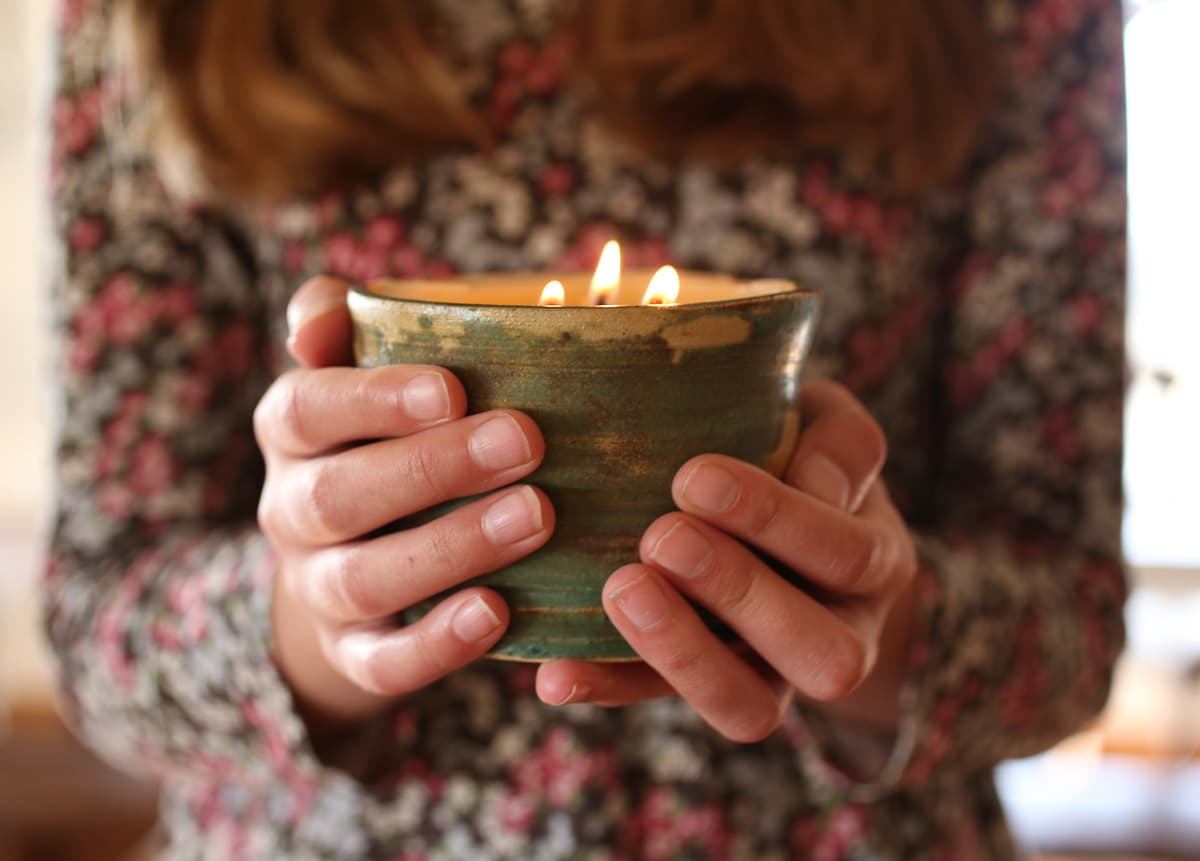
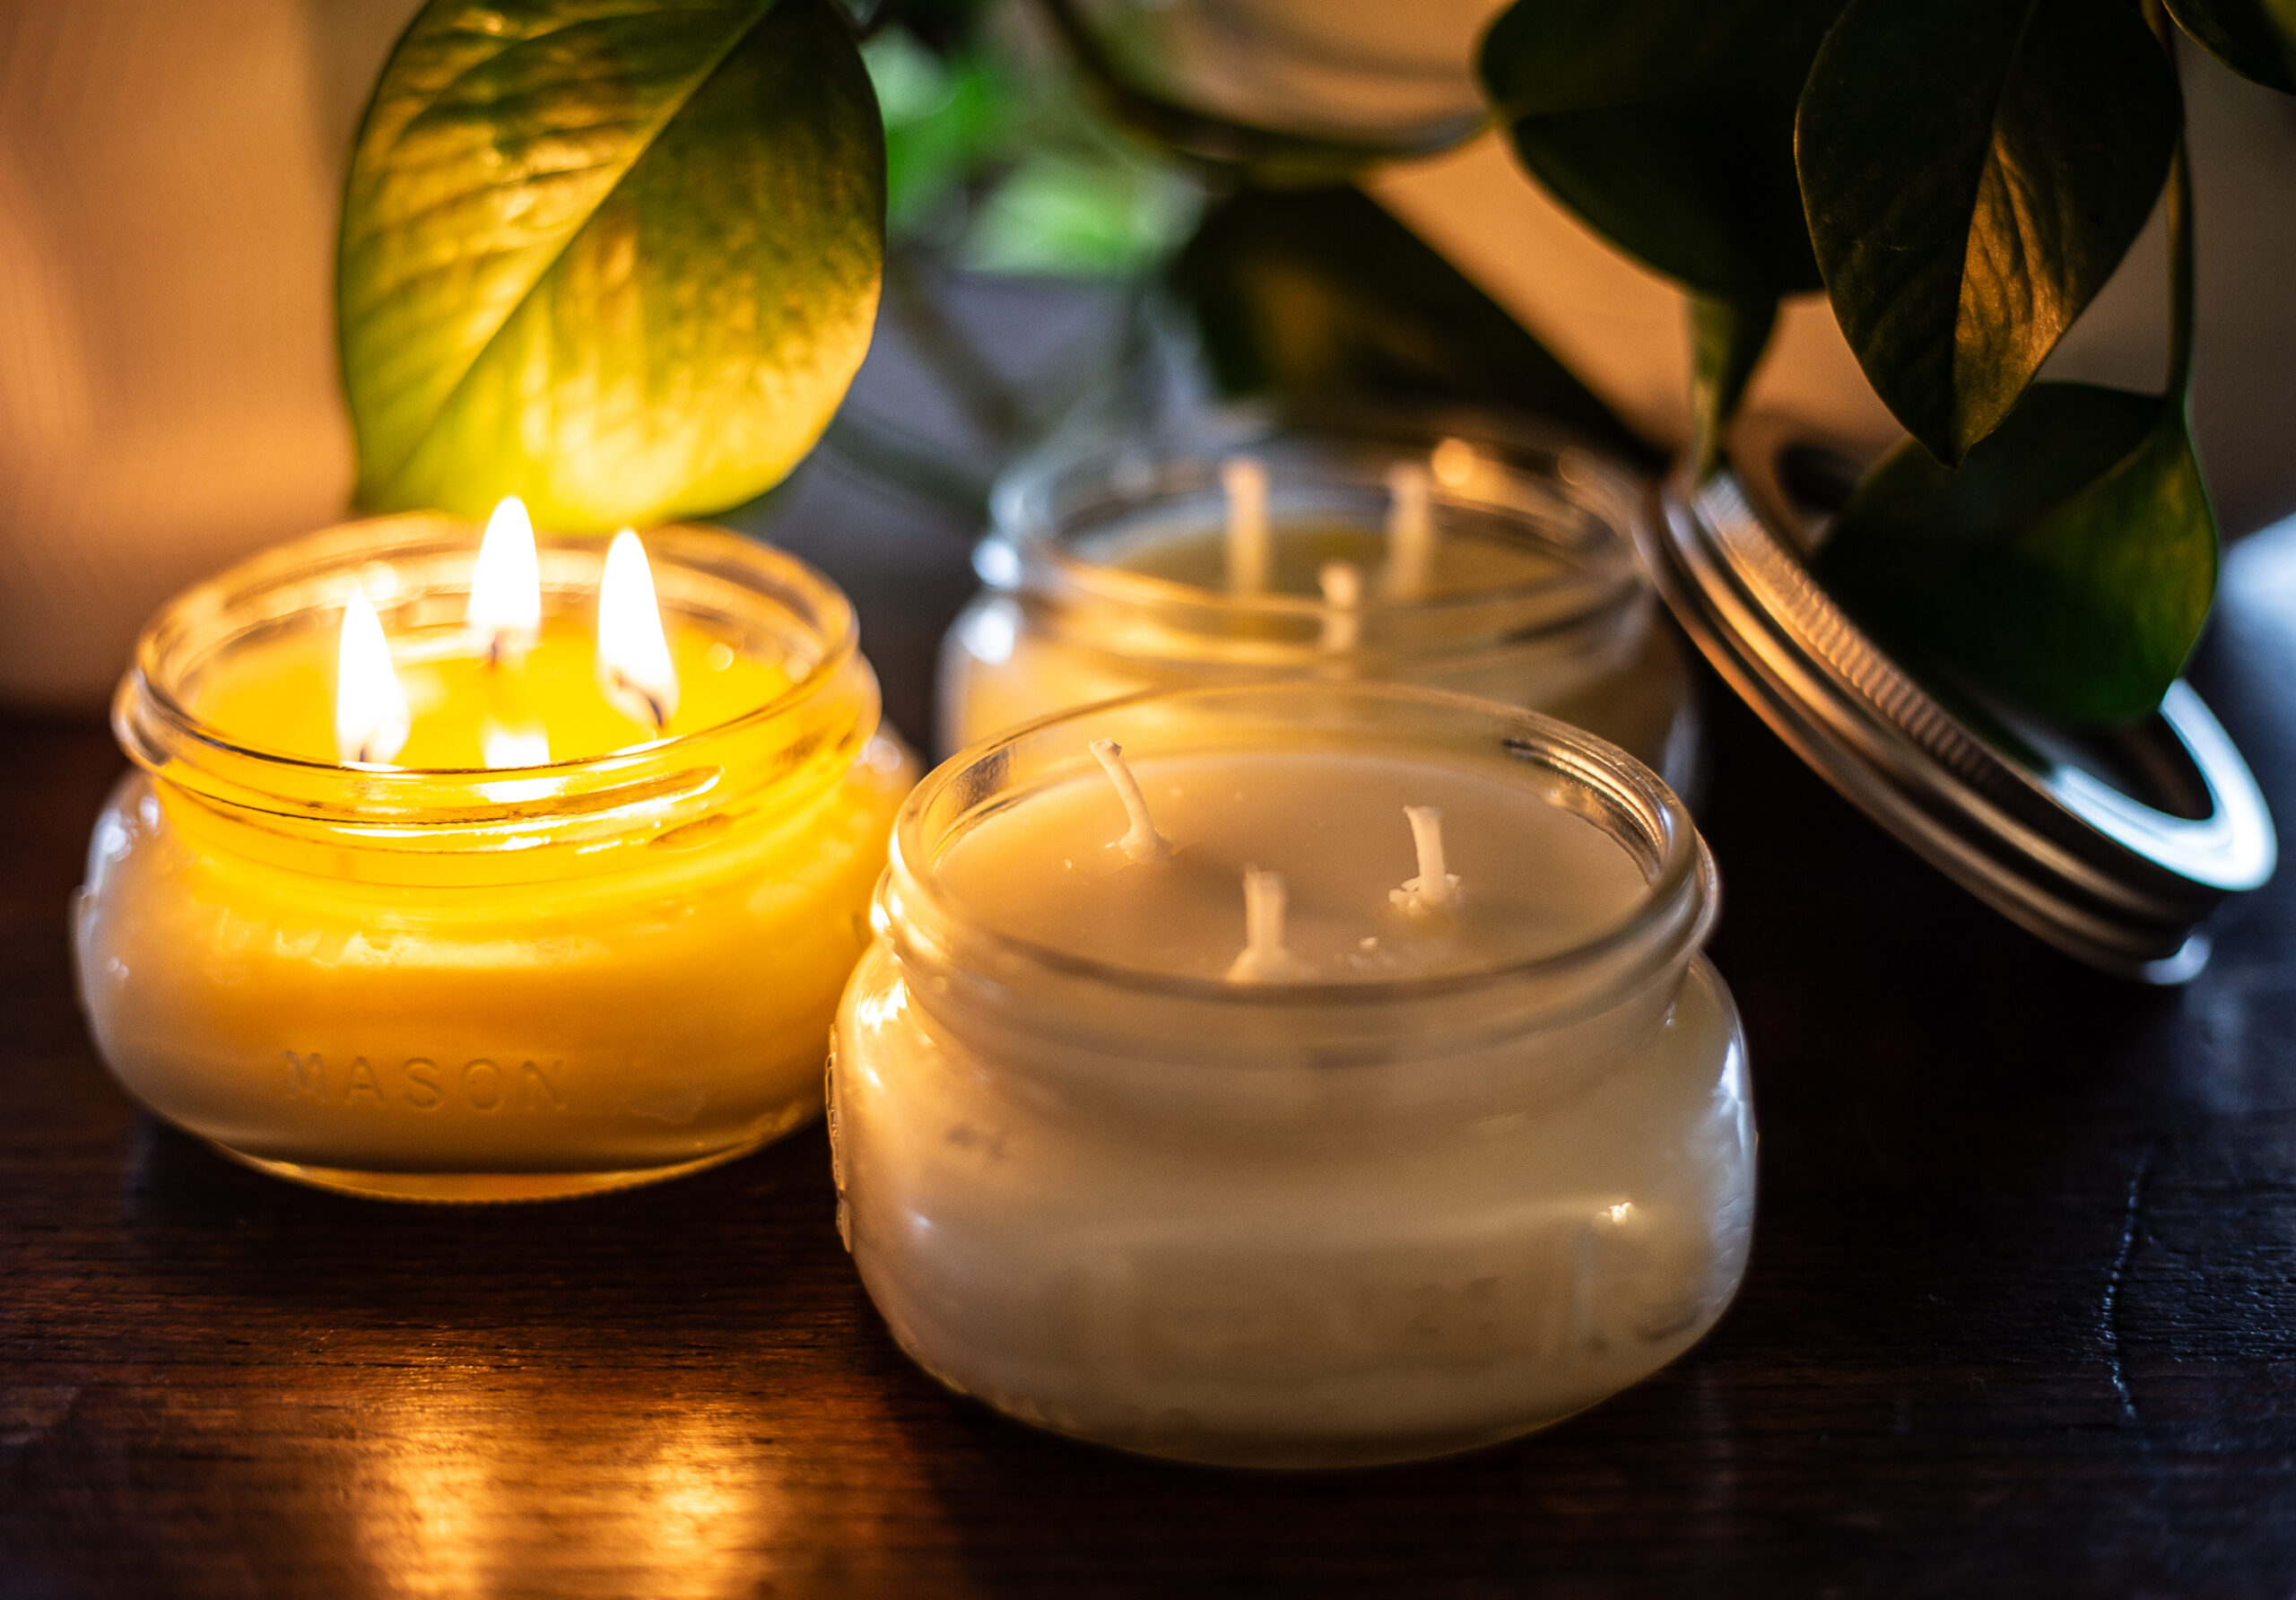
Ready to put your rendered beeswax to good use? Check out our recipes for homemade lip balm, candles, and more!
- DIY Beeswax Candles: Making and Pouring Beeswax Candles
- Candle Dipping | Handmade Beeswax Taper Candles
- DIY Lip Balm with Beeswax: A Nourishing Recipe for Soft Lips
- DIY Reusable Beeswax Wraps Three Ways!
- DIY Simple and Nourishing Lotion Bars
- DIY Gift Basket Ideas-Tallow, Beeswax and Lard