How to Clean a Humidifier with Vinegar | Step-by-Step
We burn wood exclusively for heat. While this makes for a cozy and inviting home. However, much like forced air heat it also makes for a very dry environment. We have humidifiers going throughout our home every day during the winter season. What we have noticed is that if we don’t clean them regularly they quit working. Sediment and hard water buildup cause them to break. With some regular care, you can keep your humidifier working for years.
This post contains affiliate links

Vinegar is one of the most effective and natural ways to clean a humidifier. Vinegar’s acidic properties make it a safe and powerful cleaning agent, capable of removing mineral deposits, mold, and bacteria buildup from your humidifier. Follow these steps to clean your humidifier thoroughly.
Step 1: Gather Your Supplies
Before you start cleaning, gather the necessary supplies:
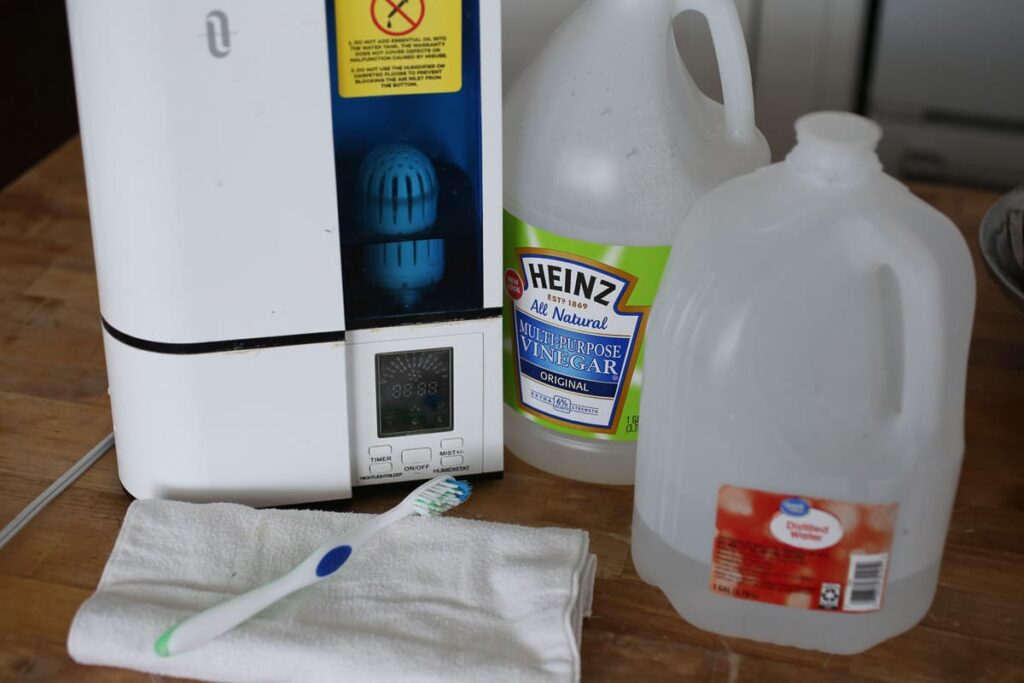
- White vinegar
- Water
- Soft-bristled brush or sponge (I use a toothbrush)
- Clean cloth or towel
- Distilled water is optional for cleaning and refilling your humidifier
Step 2: Unplug and Disassemble
Always unplug your humidifier from the power source before cleaning. Disassemble the humidifier carefully, following the manufacturer’s instructions. Separate the water tank, the base, and any removable parts.
Step 3: Prepare the Cleaning Solution
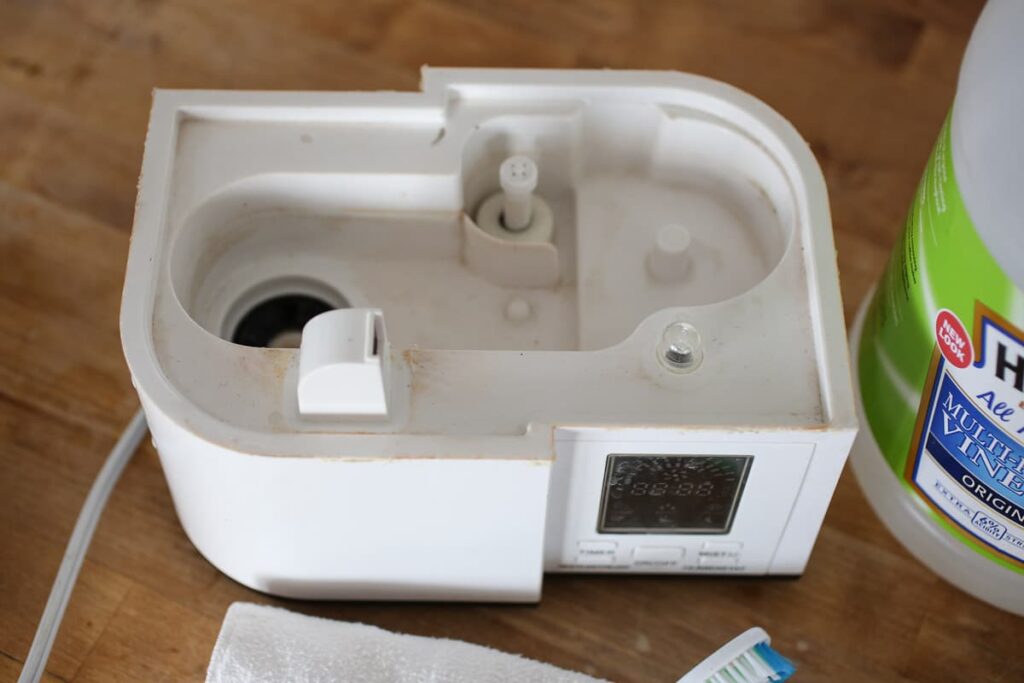
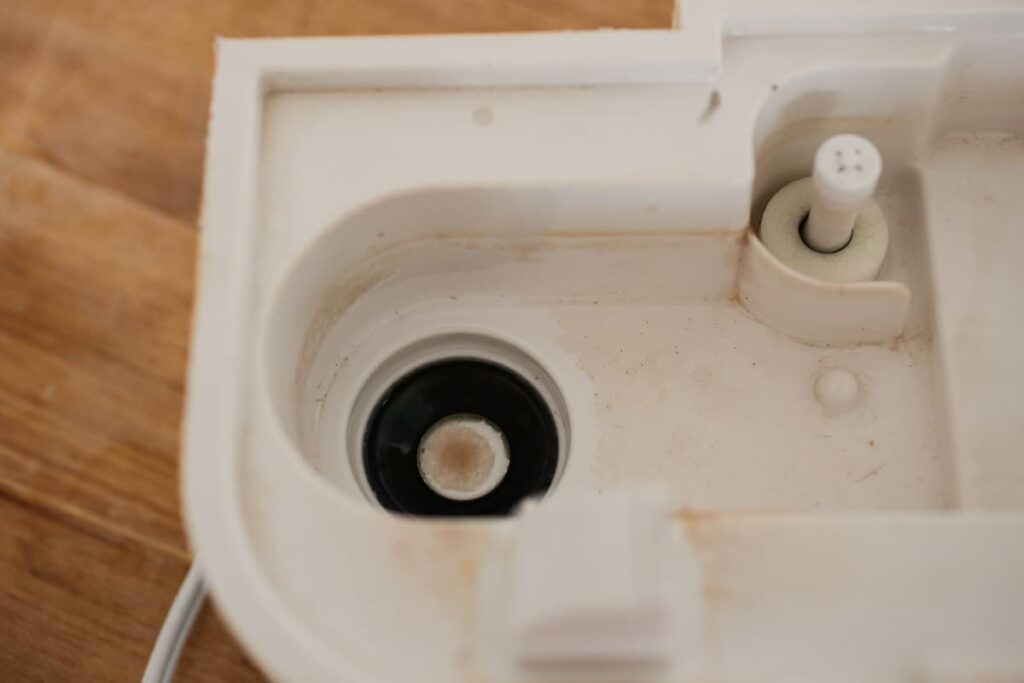
Create a cleaning solution using equal parts of white vinegar and water (distilled would be best) Pour the solution into the base of the humidifier. I mixed up about a cup and a half of water and vinegar. If there are stubborn stains or mineral deposits, increase the vinegar concentration slightly.
Step 4: Soak and Clean
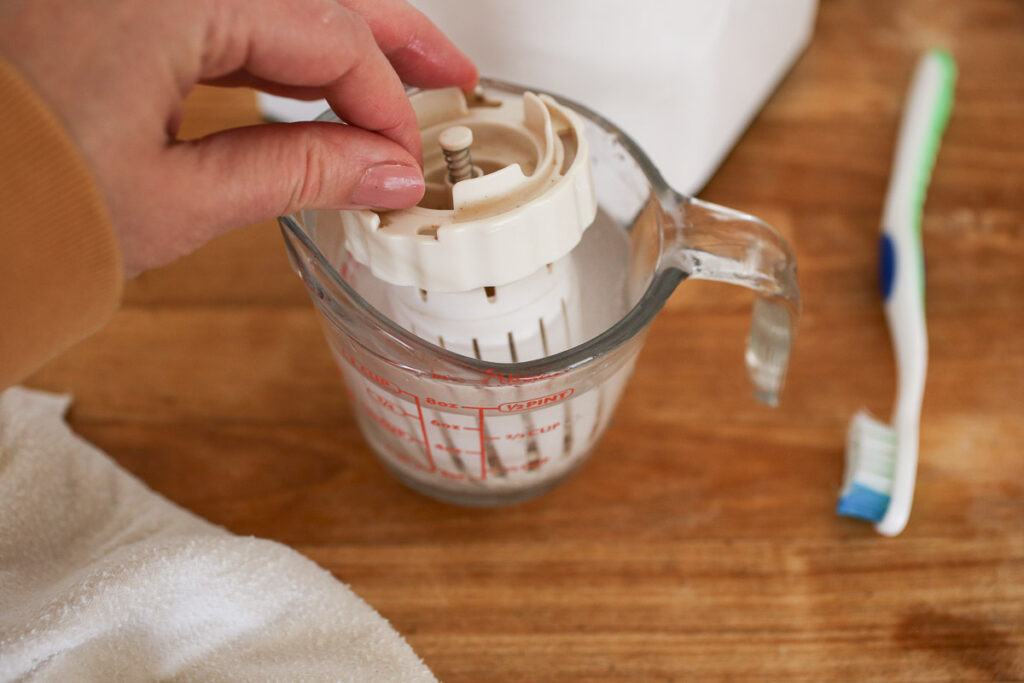
Allow the vinegar solution to sit in the base for at least 15-30 minutes. This gives the vinegar time to break down mineral deposits and kill bacteria. For smaller parts like filters, soak them in a basin or container filled with the vinegar solution. I just fill the tank with vinegar and water and swirl it around, then I let it soak while I clean the base.


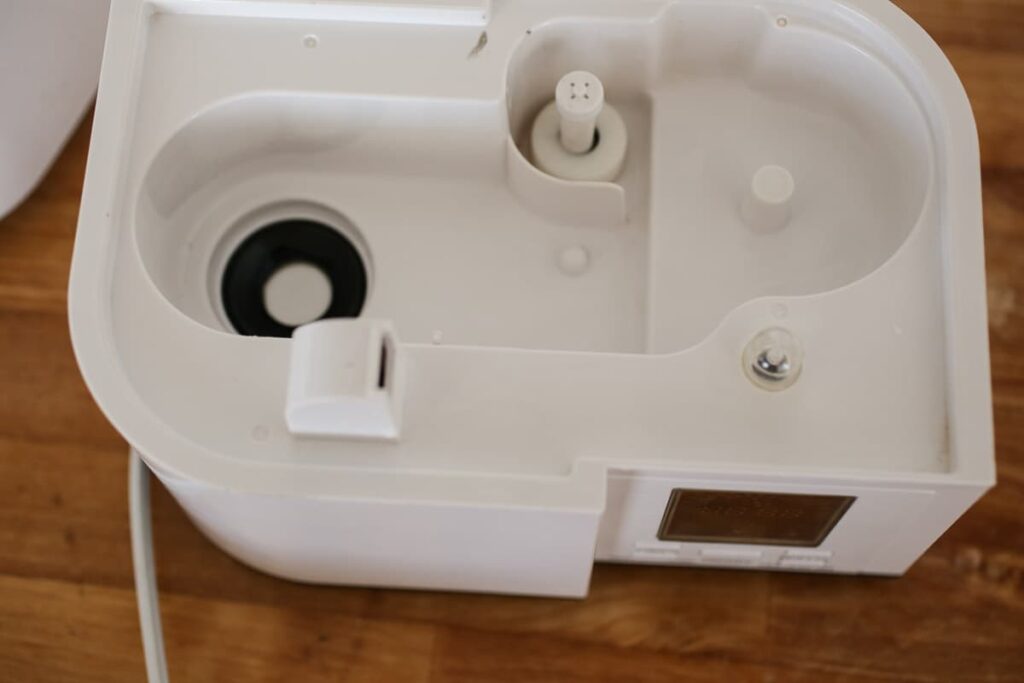
After soaking, use a soft-bristled brush or sponge to scrub the inside of the base and other parts. Ensure you reach into any crevices or corners where buildup might occur. Rinse the parts thoroughly with clean water to remove any vinegar residue. Repeat if necessary. Mine was bad enough that I did the process twice.

Step 5: Wipe and Dry
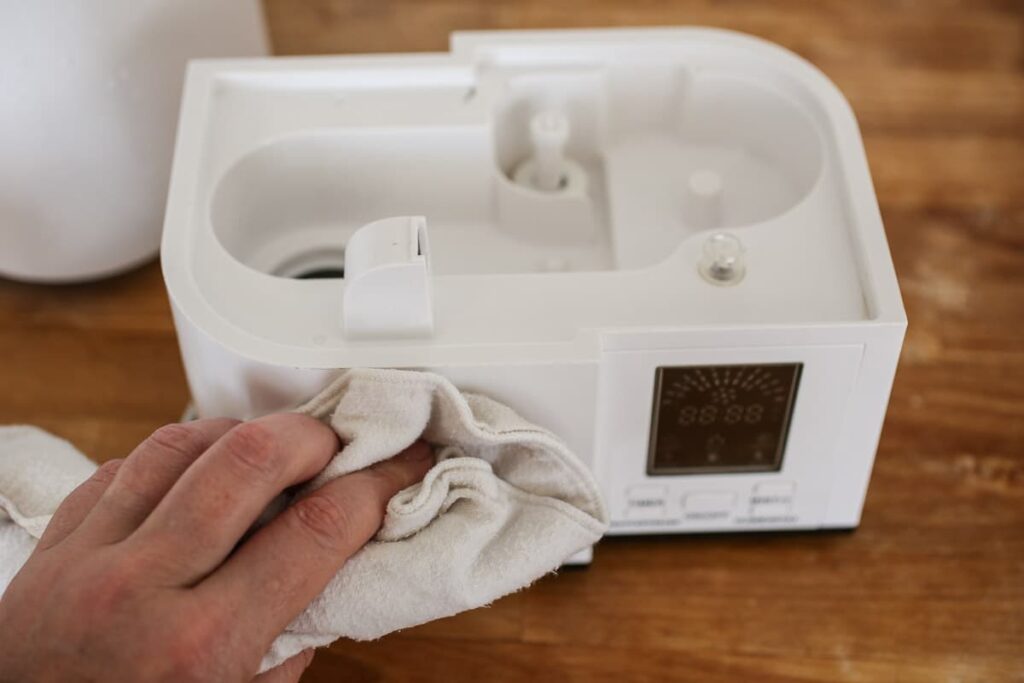
Take a clean cloth or towel to wipe down all the parts of the humidifier. If you are cleaning the humidifier for storage, make sure it is completely dry before putting it away, otherwise, mold may grow.
Step 6: Reassemble and Test
Once everything is dry, reassemble the humidifier according to the manufacturer’s instructions. Fill the tank with fresh water and run the humidifier for a few minutes to ensure there’s no lingering vinegar smell or residue.
Step 7: Maintenance Tips
- Clean your humidifier at least once a week during regular use.
- Use distilled water in your humidifier to minimize mineral buildup.
- Follow the manufacturer’s guidelines for specific cleaning instructions.
- Always clean and dry thoroughly before storing away during off-seasons
Check Out My Shop!
Planners, aprons, pillow covers, and kitchen towels!

Regular maintenance and proper cleaning with vinegar can extend the lifespan of your humidifier while ensuring the air it disperses remains clean and healthy. Remember, a clean humidifier not only enhances air quality but also reduces the risk of respiratory issues caused by mold or bacteria. With these simple steps, you can keep your humidifier running smoothly and your indoor air fresh.
Other cleaning posts here

